
 admin
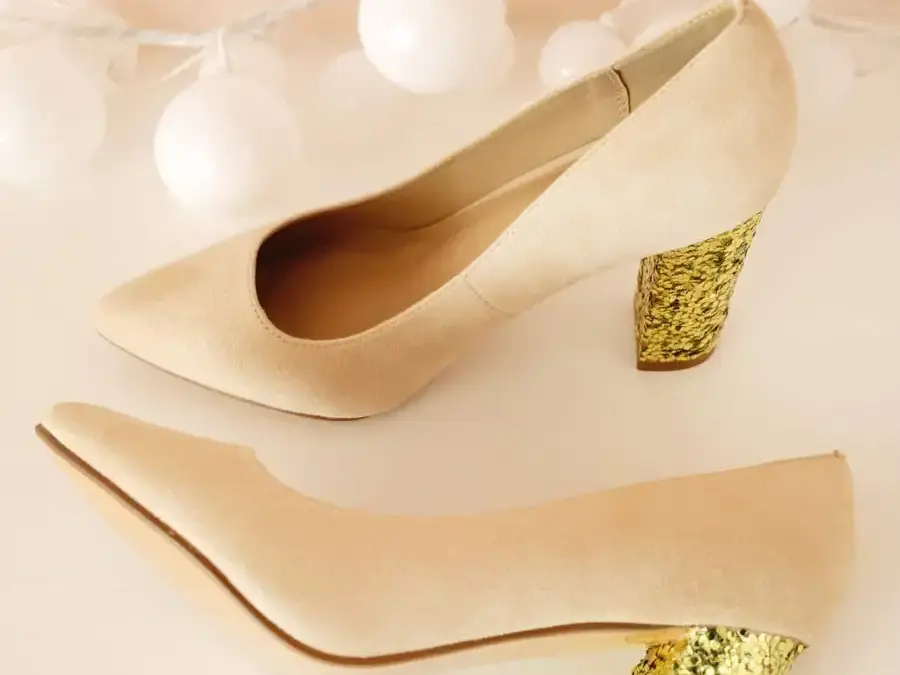
Glitter shoes can add a bold, sparkling detail to an outfit, and you can customize an existing pair at home. With a suitable adhesive, loose glitter, and a clear sealer, this DIY project works on many suede, matte leather, faux leather, and fabric shoes. Set up a contained work area first: glitter can spread easily while you apply it.
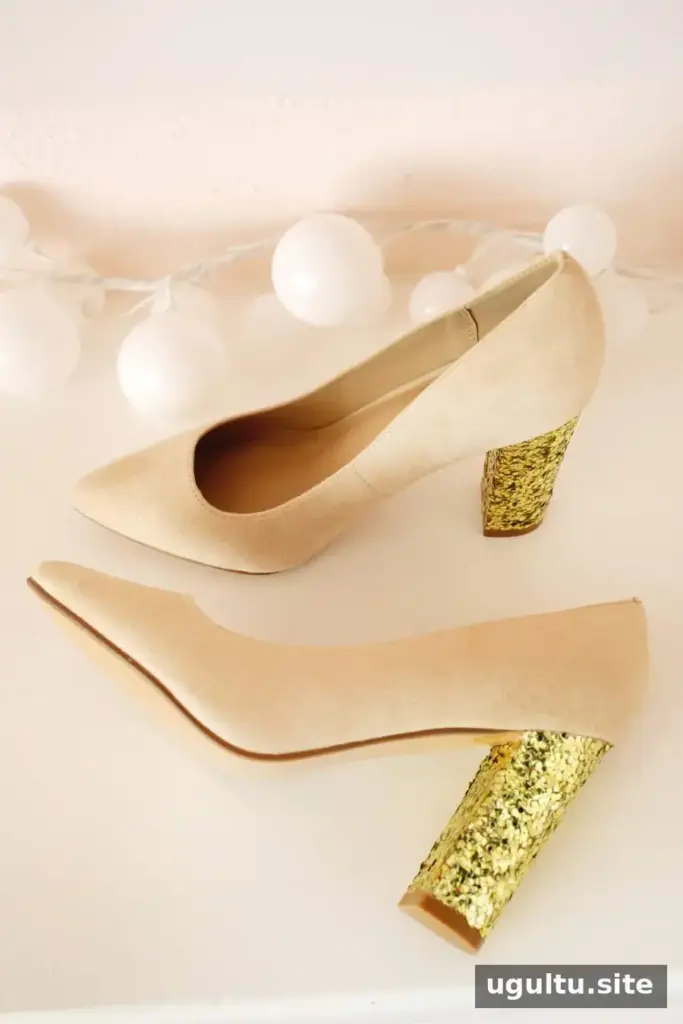
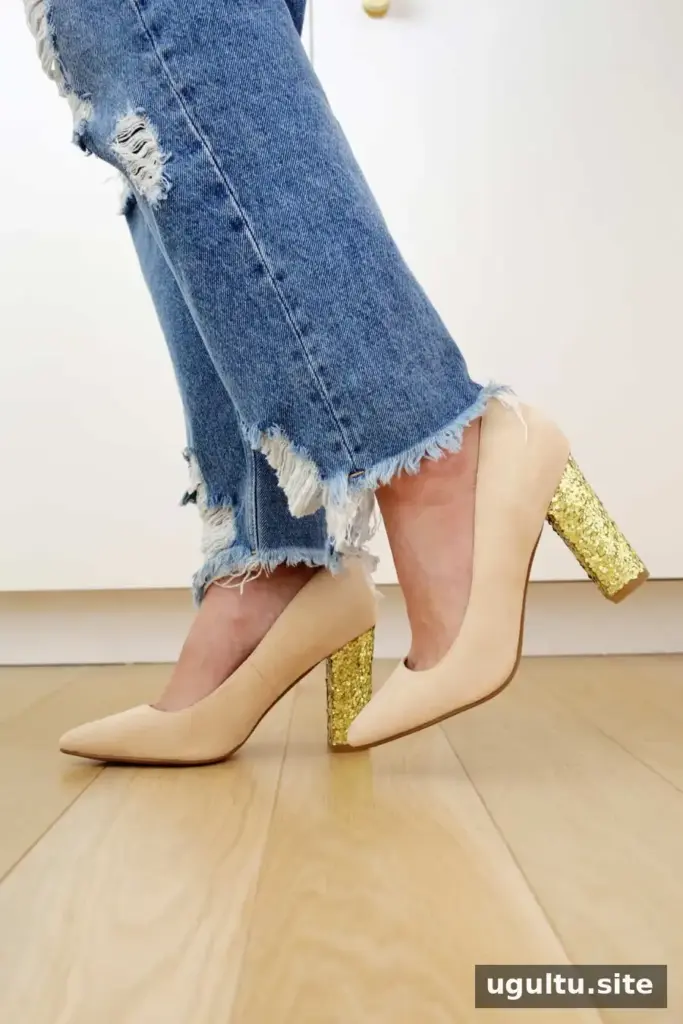
How to Make Glitter Shoes
The project takes about 20 minutes to prepare and around one hour to dry, for an estimated total of 1 hour and 20 minutes. The listed cost is $7, and the materials are enough for one pair. Actual drying time may vary, so follow the adhesive and sealer instructions before wearing the shoes.
Supplies and equipment
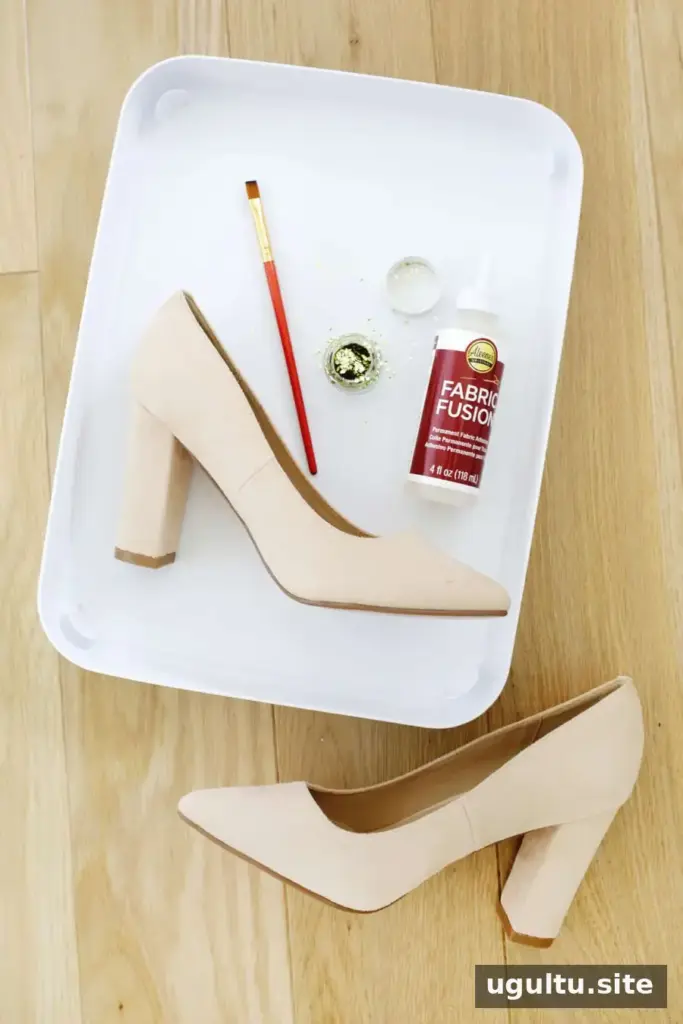
- A pair of shoes or boots to decorate
- Fabric glue or tacky glue
- Glitter
- A small paintbrush
- Painter’s tape or masking tape
- A clear sealer
- A plastic bag to cover areas you do not want decorated
- A plastic bin or box lid to catch loose glitter
Choose shoes and glue that suit the project
Suede, matte leather, and faux leather are suitable choices; fabric shoes can work too. A shoe surface that is not highly glossy may help the finish look more even. Fabric glue or tacky glue is recommended because it is made to bond with fabric and craft materials. Avoid glue intended mainly for paper.
For a more seamless result, choose glitter that is close in color to the shoe. This helps disguise small gaps between glittered areas.
Can you use biodegradable glitter?
Biodegradable glitter can be used for this project. However, glittered shoes are best kept away from harsh conditions, such as heavy rain or very rough outdoor use. Let the finished shoes dry fully and consider where they will be worn before choosing the material and finish.
Make a quick glitter accent
If you want a faster project or a subtler look, decorate only the heel or toe. Use painter’s tape or masking tape to mark the section, then cover the rest of the shoe with a plastic bag. This limits stray glitter and makes it easier to create a clean boundary.
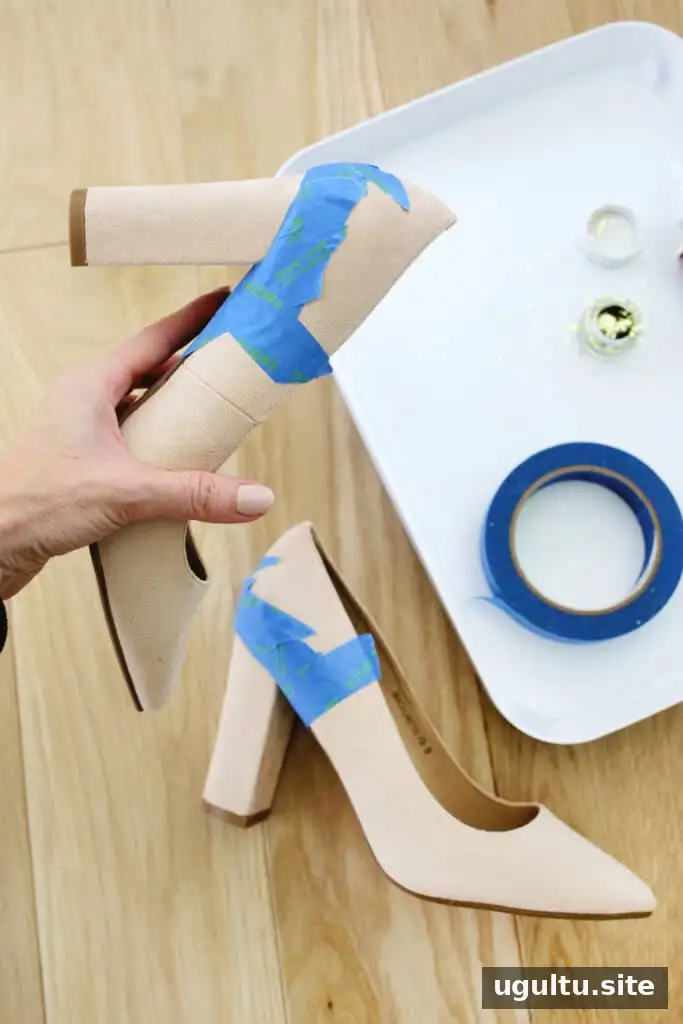
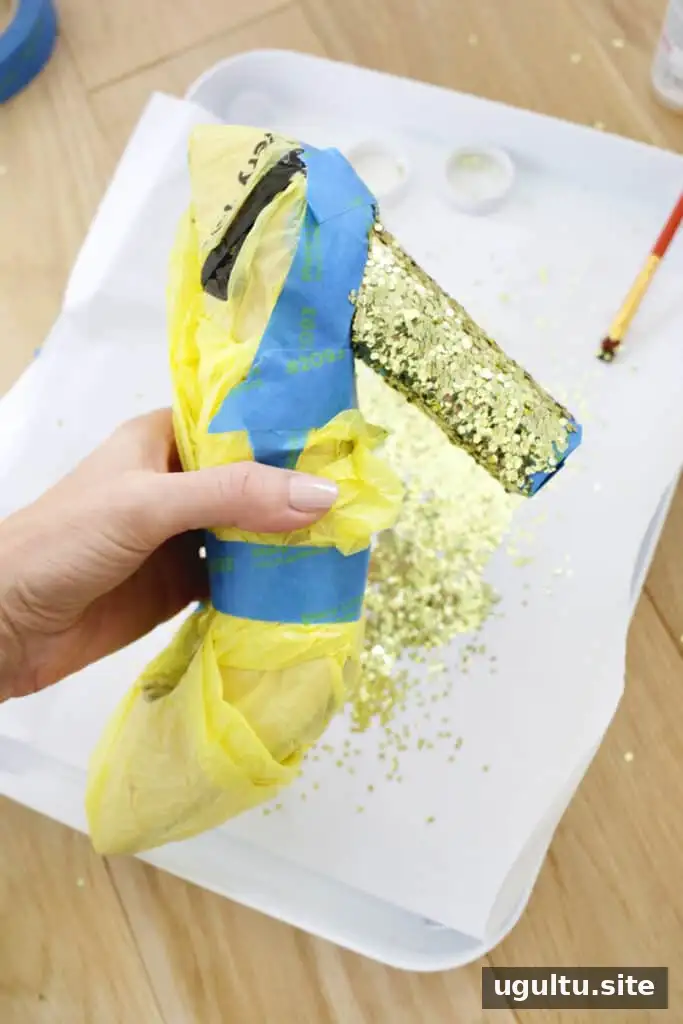
Applying glitter to shoes
- Place the shoe over a bin or box lid to catch excess glitter. Protect nearby surfaces and keep the plastic bag and tape within reach.
- Use a small paintbrush to spread a generous layer of glue over one section of the shoe.
- Pour glitter over the glued area, preferably above a piece of paper so you can collect and reuse the excess.
- Allow that section to dry, then continue with the next area until the desired coverage is complete.
- Once the glue has dried, apply one or two coats of clear sealer to help reduce shedding and improve wear. Some sealers look white when wet but dry clear; check the product label and allow each coat to dry as directed.
Work in small sections so the glue does not dry before you add glitter. The toe, tongue, laces, and edges may need extra attention. After the whole shoe is dry, inspect it and fill any missed spots with more glue and glitter.
Wear and maintenance
Glitter may come loose over time, especially where the shoe bends during walking. Check the finish after the first few wears and touch up any thin areas if needed. Even with sealer, avoid soaking the shoes or scrubbing the decorated surface.
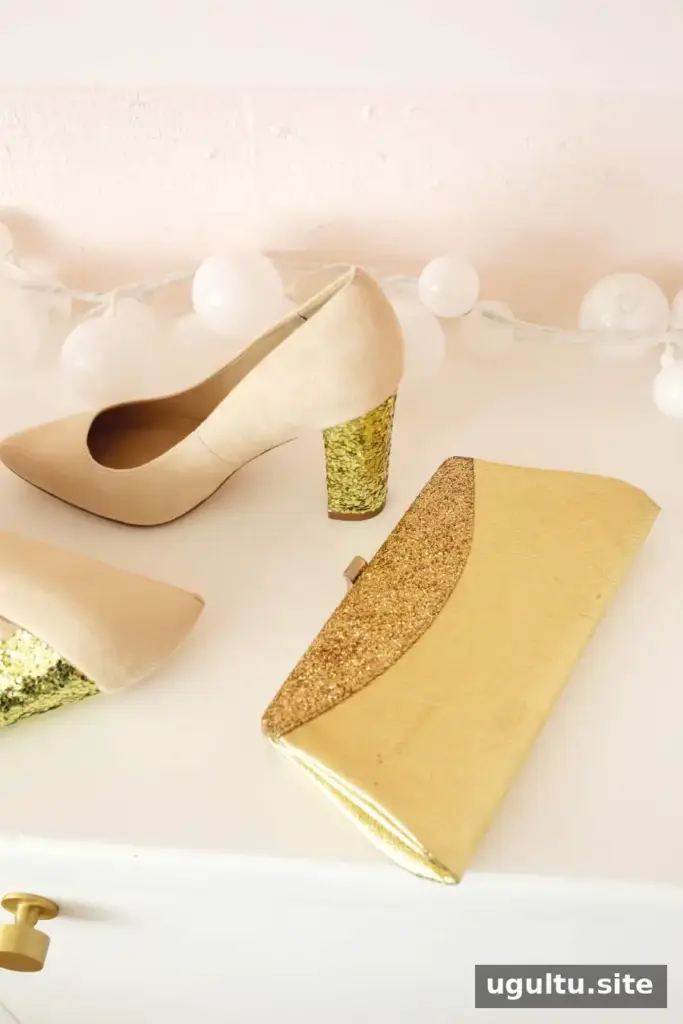
Can you glitter other accessories?
The same method can be used on accessories such as hair clips and purses, provided the surface is compatible with the glue. Items that are handled often may lose glitter more quickly. On a purse, try to keep the decorated area separate from the parts you regularly hold, such as the strap.
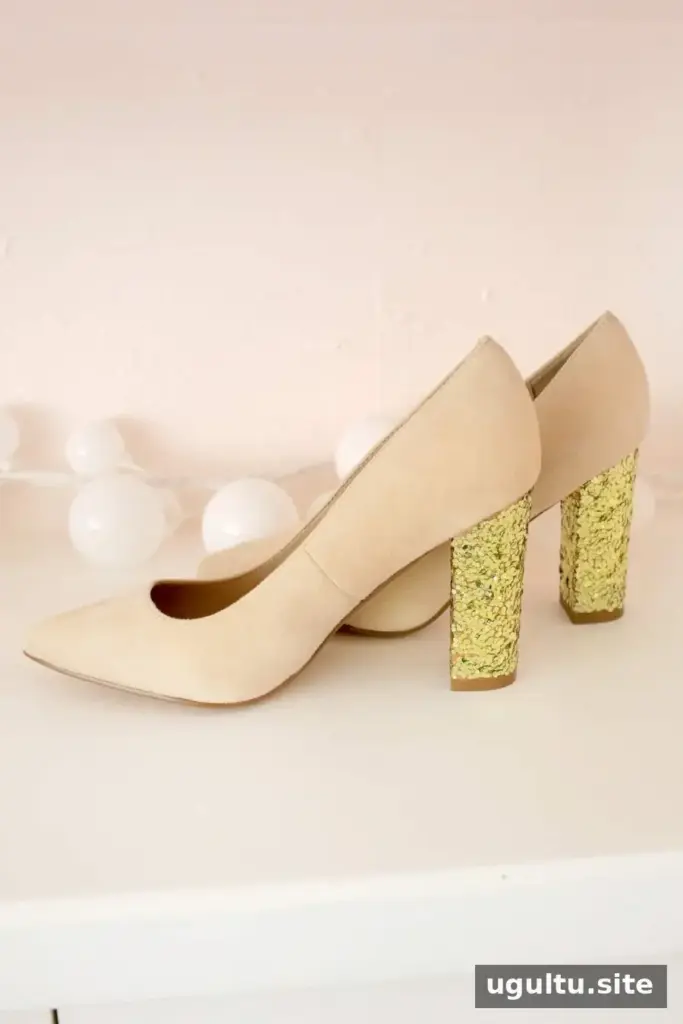
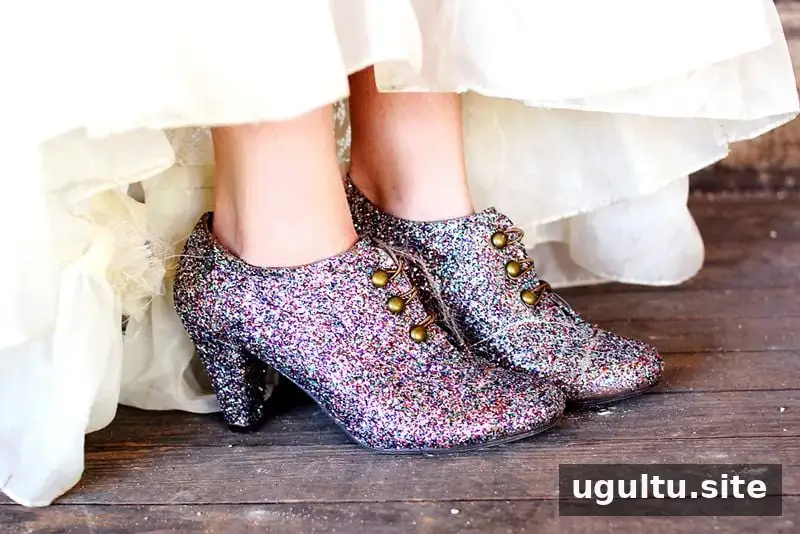
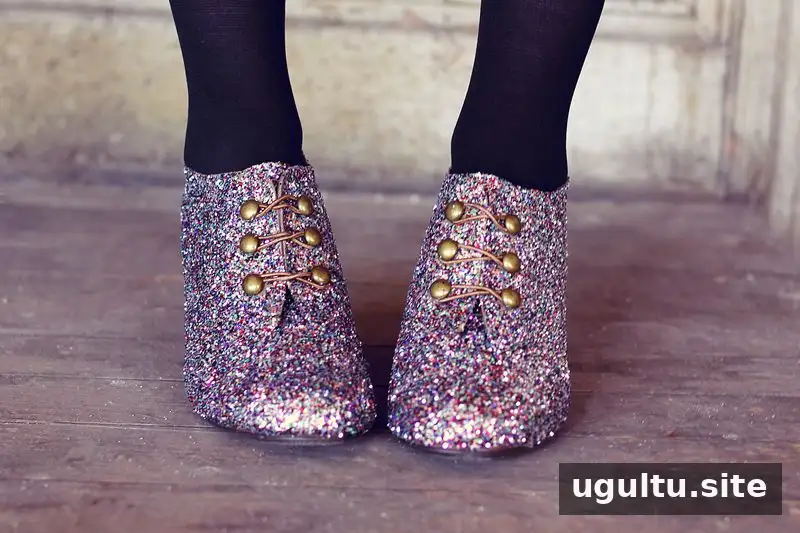
A full-coverage glitter shoe was made by Elsie for Stacy, demonstrating a high-sparkle version of the project. Project by Elsie and Laura.
Final tips for glitter shoes
Making glitter shoes is a straightforward way to refresh a pair you already own. Choose a suitable shoe surface, protect the work area, apply glitter in manageable sections, and let the glue and sealer dry completely. For the most durable result, use a compatible adhesive and keep the finished shoes away from extreme weather.


