
 admin
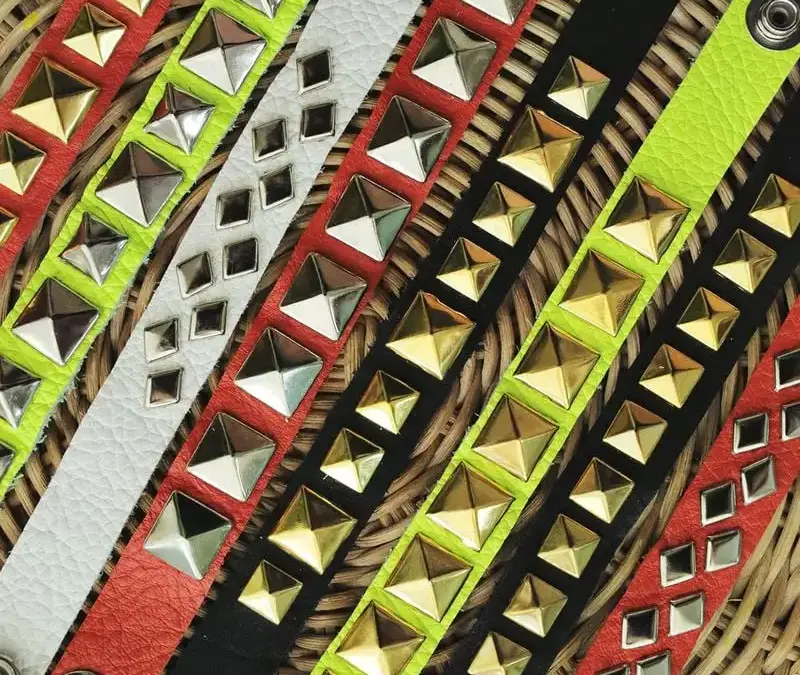
Leather stud bracelets are a simple DIY accessory that can be customized with different colors, shapes, and stud arrangements. With a few basic supplies, you can make a bracelet that fits your wrist and add as many or as few studs as you like.
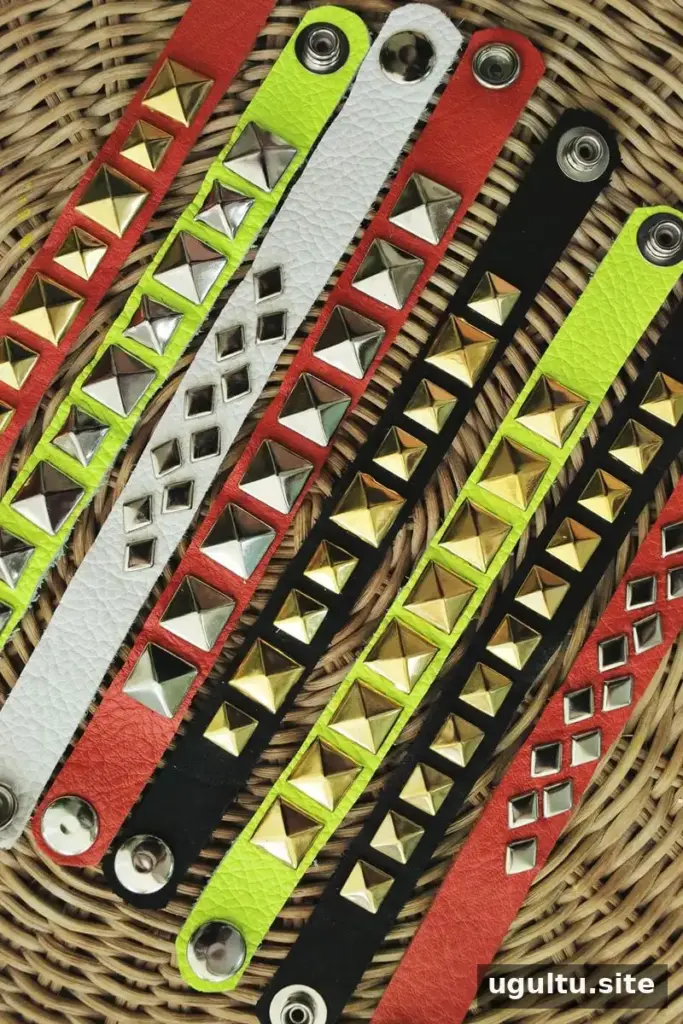
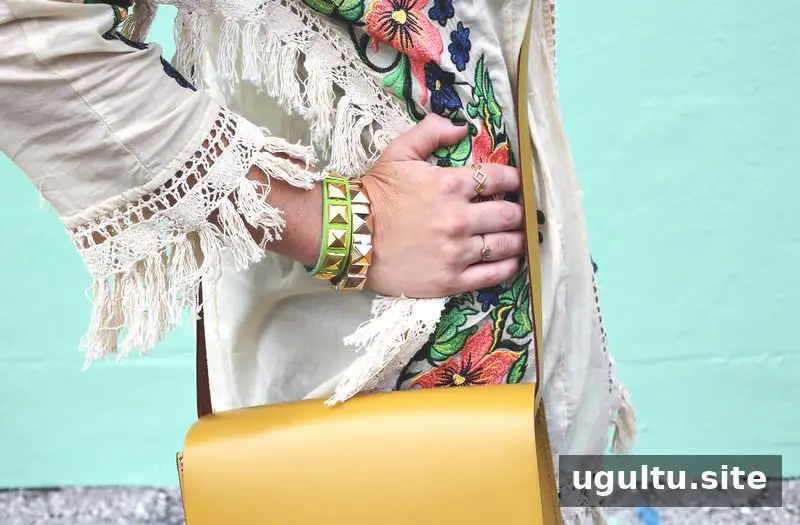
A set of bracelets can be styled together or worn individually, and making your own lets you choose the materials and finish. This tutorial covers the supplies, sizing, stud placement, and snap closure.
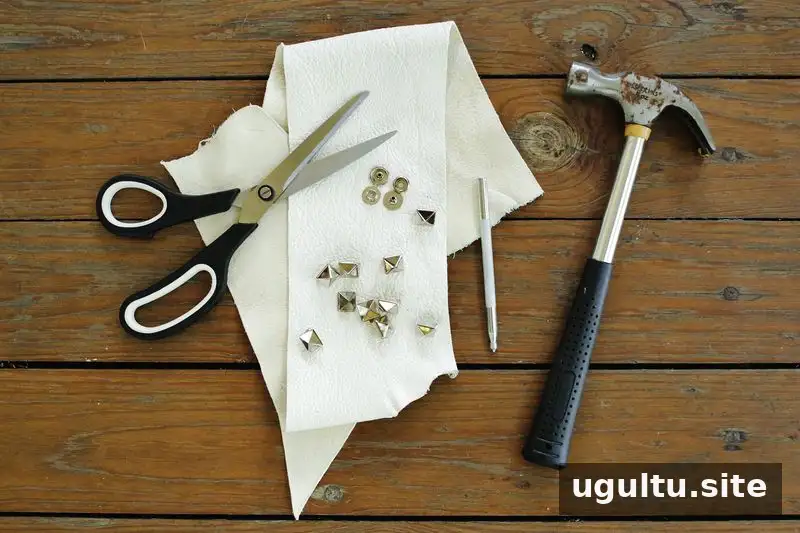
Supplies for Leather Stud Bracelets
Gather these materials before starting:
- Leather scraps
- Studs
- Snap components
- Hammer
- Scissors
- An X-Acto knife
- A cutting mat or piece of cardboard to protect your work surface
- A snap setter for attaching the closures
Choosing leather and studs
Leather can be costly, and some retailers may not offer small cuts. Look for scraps at craft stores or ask a local leather shop about its remnants. Small leather pieces may also be available through online craft marketplaces. For a vegan option, consider high-quality synthetic leather or vinyl from a fabric store.
Basic stud shapes and sizes are often available at craft stores. For more specialized designs, check leather-supply shops or online craft-supply listings. Before you begin, make sure your studs and snap components suit the thickness of your chosen material.
How to Make Leather Stud Bracelets
- Measure and cut the strip. Measure around your wrist, then cut a leather strip about 3/4 inch wide and 1 inch longer than your wrist circumference. Round the corners at both ends with scissors for a softer outline.
- Plan the stud layout. Place a stud prong-side down on the leather where you want it. Press gently so the prongs leave small marks. Repeat to map out the design before making any cuts. Around eight studs is one possible arrangement, but the number is up to you.
- Make the openings. Put cardboard or a cutting mat under the leather. Use an X-Acto knife to make a small incision at each mark. Keep your fingers clear of the blade and cut carefully; the openings only need to be large enough for the prongs.
- Attach the studs. Push the prongs through the incisions, then fold them flat against the back of the leather. Continue until the design is complete. Check that each stud feels secure and that no sharp prongs are sticking out.
- Add the snaps. Make a small incision at each end and fit the snap components according to their orientation. Check that the two sides face one another correctly so the bracelet can close. Use a snap setter and hammer to secure the snaps.
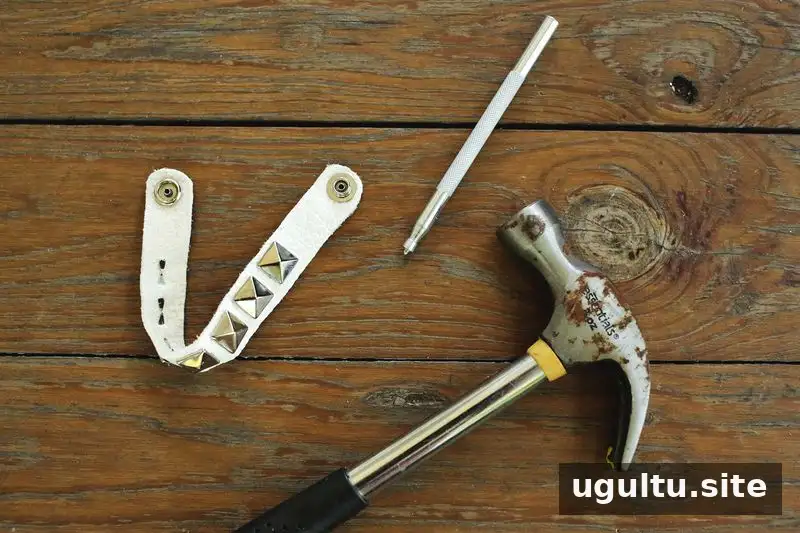
Fit and finishing tips
Try the strip around your wrist before attaching the snaps, allowing enough length for the closure. If you are using a new material or snap setter, test the components on a spare scrap first. This can help you confirm the fit and avoid making unnecessary marks on the finished bracelet.
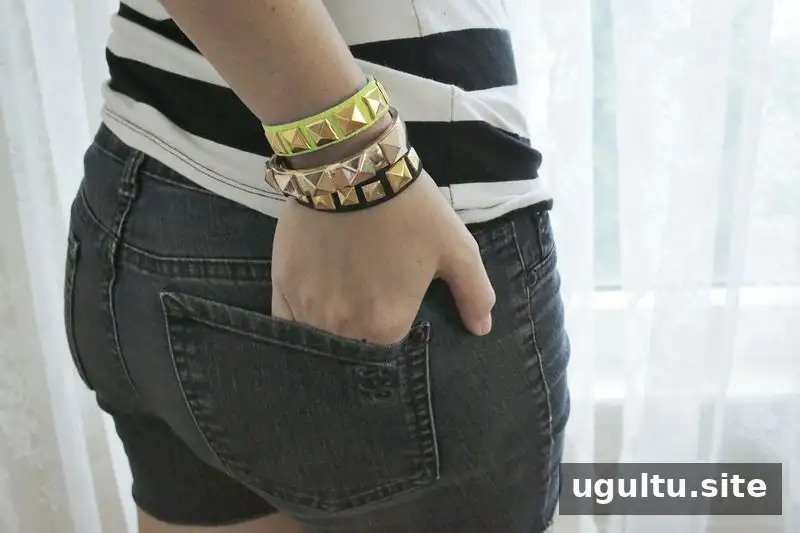
Make a Set of Leather Stud Bracelets
Once you have finished one bracelet, vary the leather color or stud placement to make a coordinated set. You can also explore painted leather for a different look. Leather stud bracelets are easy to personalize, and careful measuring and secure closures help make each piece more comfortable to wear.
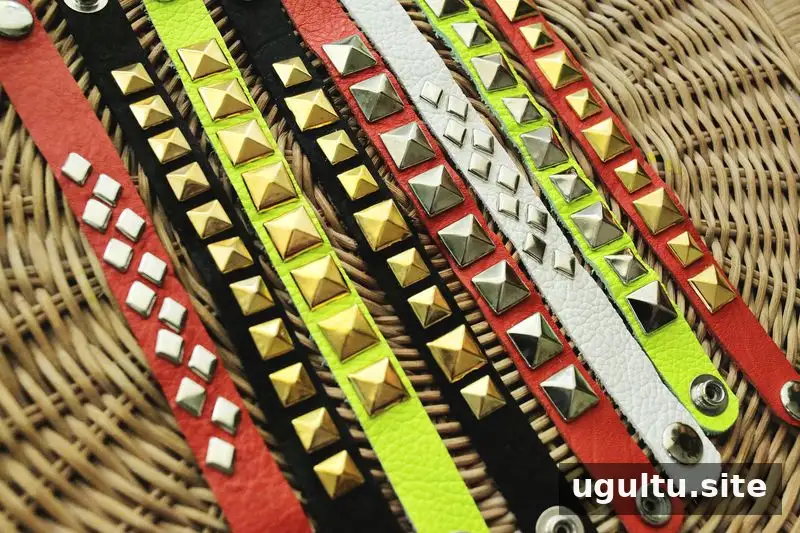
Have fun making a studded accessory. Design credit: Elsie.


