
 admin


Making your own professional-looking gift bags is a practical way to wrap presents when you do not have a suitable box or a store-bought bag on hand. With wrapping paper, a box to use as a template, and a few basic tools, you can create a neat bag in a size that suits your gift. Make several at once and keep them ready for future occasions.
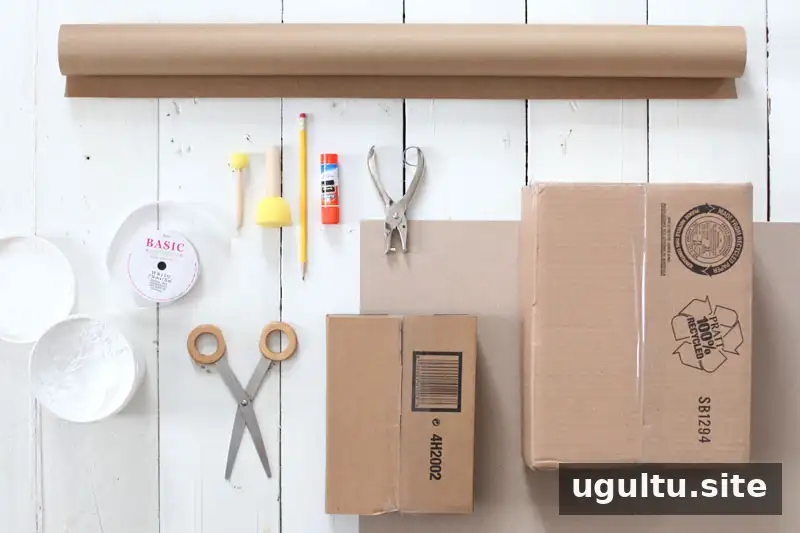
Materials for professional-looking gift bags
- A box sized to fit the gift
- Wrapping paper or kraft paper
- Scissors and a glue stick
- A hole punch
- Ribbon or rope for handles
For a stronger bag, also prepare non-corrugated cardboard or cardstock, a pencil, and optional painter’s masking tape. Paint and round foam dabbers are useful if you want to decorate plain kraft paper. Avoid chipboard for the handle supports, as it can be difficult to punch through.
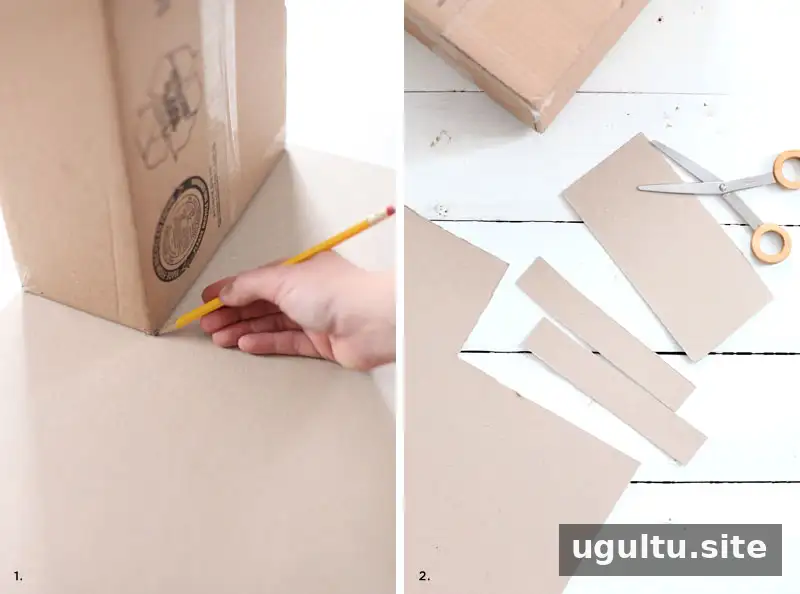
The box is a shaping form, not part of the finished bag. Using one as a template helps you make multiple bags of a consistent size. For heavier gifts, add cardboard supports beneath the handle area and a firm insert at the base. For lightweight contents, those reinforcements may be omitted.
How to make professional-looking gift bags
Shape and seal the paper
- Prepare the supports. Stand the box on its end on cardboard or cardstock and trace around it. Cut out that rectangle for the bag’s base. Cut a second, slightly smaller rectangle and split it lengthwise to make two handle supports no wider than two inches. These pieces can be skipped for lightweight gifts.
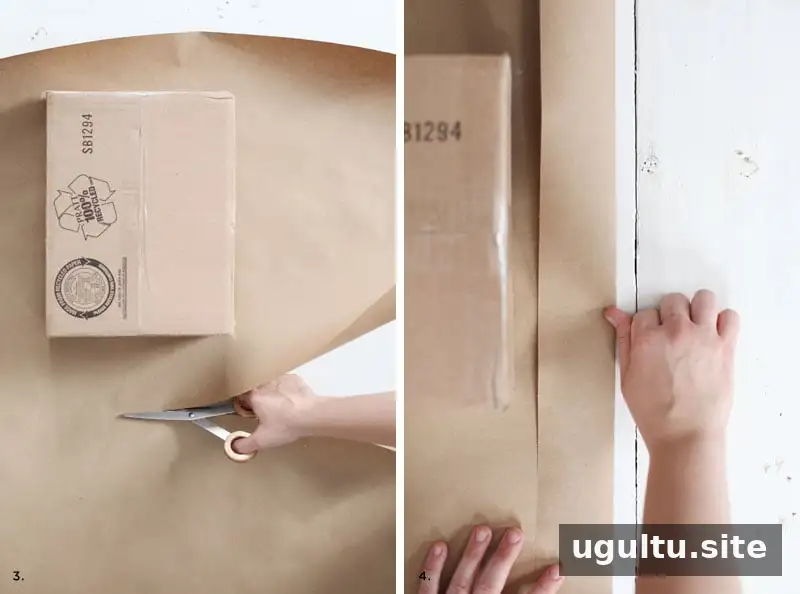
- Cut the paper. Unroll the paper and cut a length that extends about three inches beyond each end of the box.
- Make a folded edge. Fold about two inches of paper along one long edge and press a crease into it.
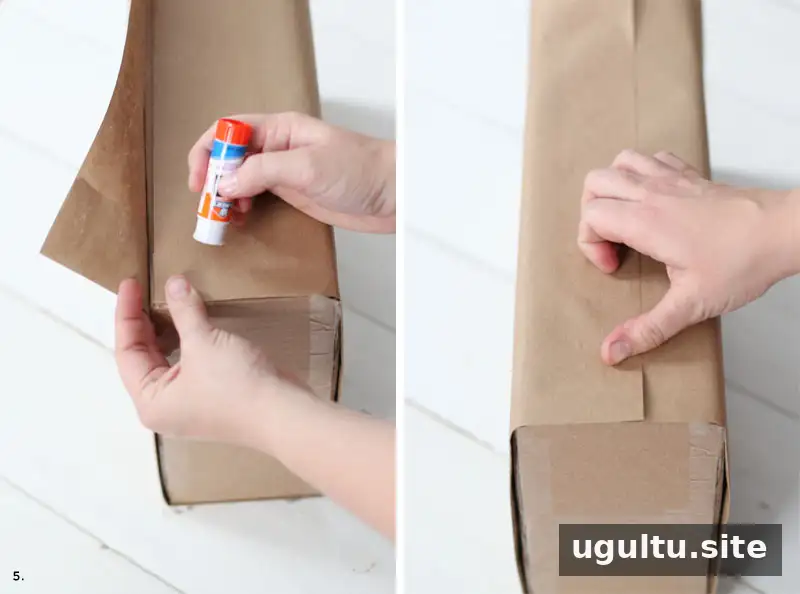
- Wrap the box. Set the box beside the crease and wrap the paper around it. Position the joined edges along a corner of the box rather than across a flat face. Seal the overlap with a glue stick. If needed, hold it temporarily with painter’s tape while the glue sets. Avoid wet glue, which may wrinkle the paper.
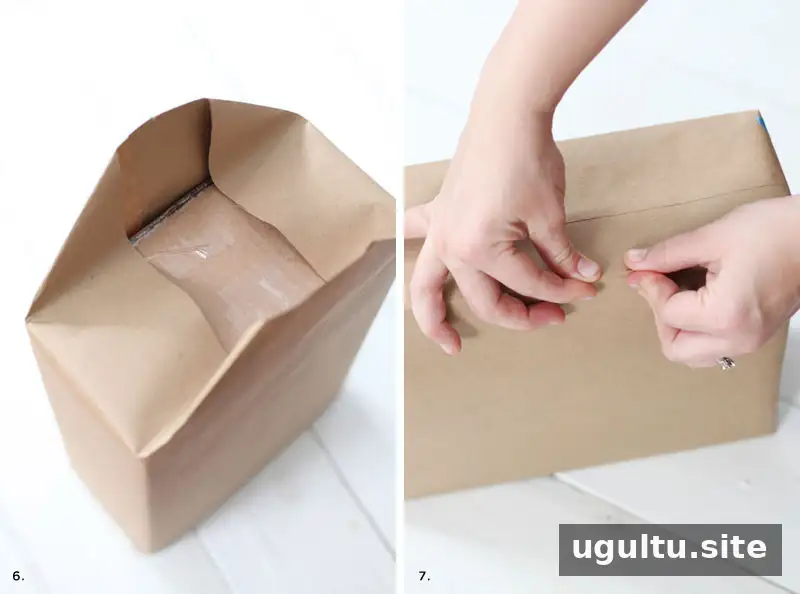
- Close the bottom. Stand the box so the folded edge faces down. Fold the remaining three-to-four-inch overhang as you would when wrapping a present: press in the sides, fold the triangular flaps down, and glue paper to paper. Keep adhesive off the box so it can be removed easily.
- Define the corners. Pinch and crease each corner while the box is still inside. These creases help the finished bag keep a tidy shape.
Decorate, reinforce, and add handles
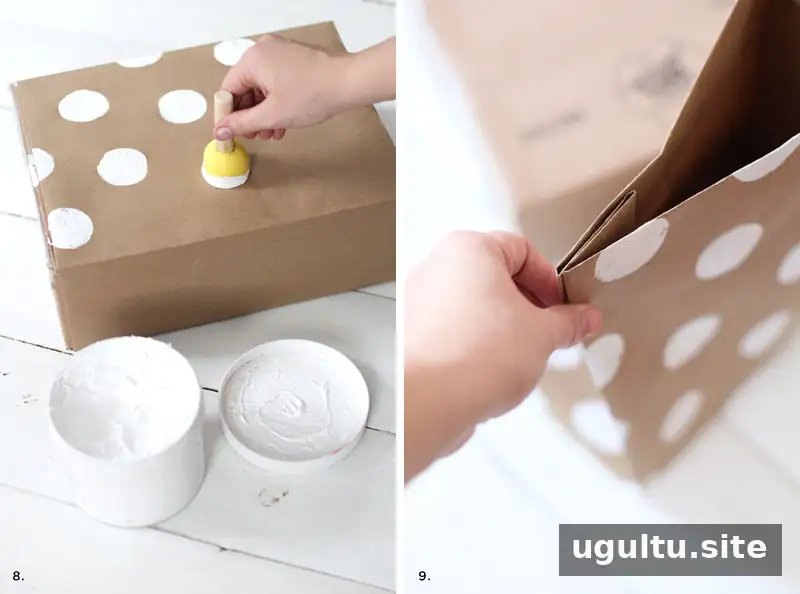
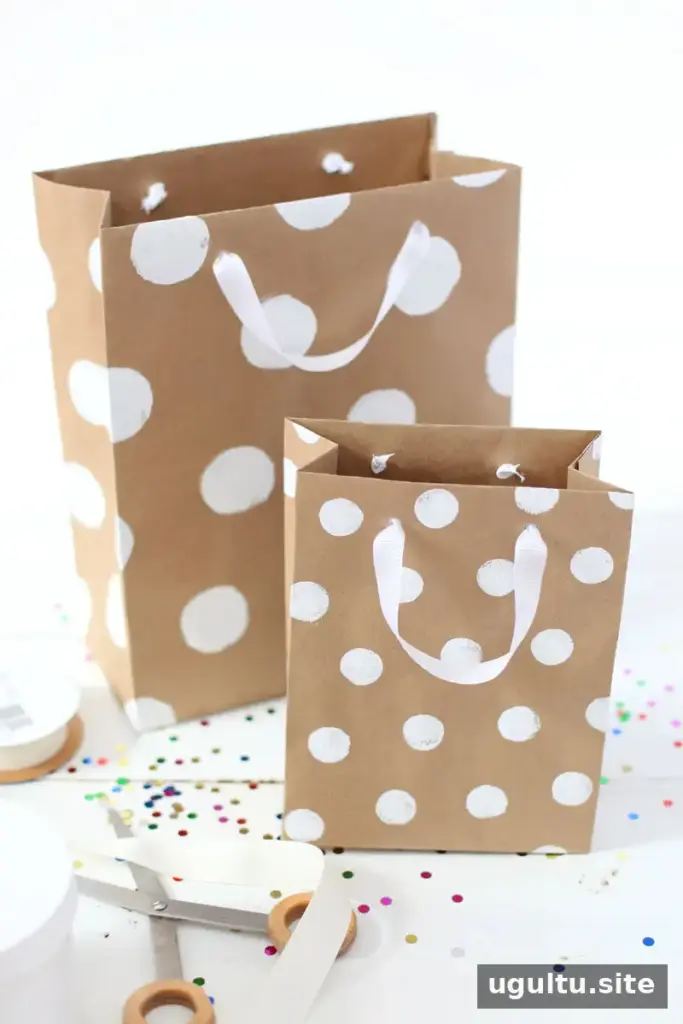
- Decorate the paper. If painting, do so before removing the box. A foam dabber and gesso can add decoration while helping reduce paper waviness compared with thinner paint. Dab away excess before applying it. Markers are another simple option. Let any paint dry before continuing.
- Remove the form. Carefully ease the box out, then press creases into the upper half of the bag’s sides to shape them.
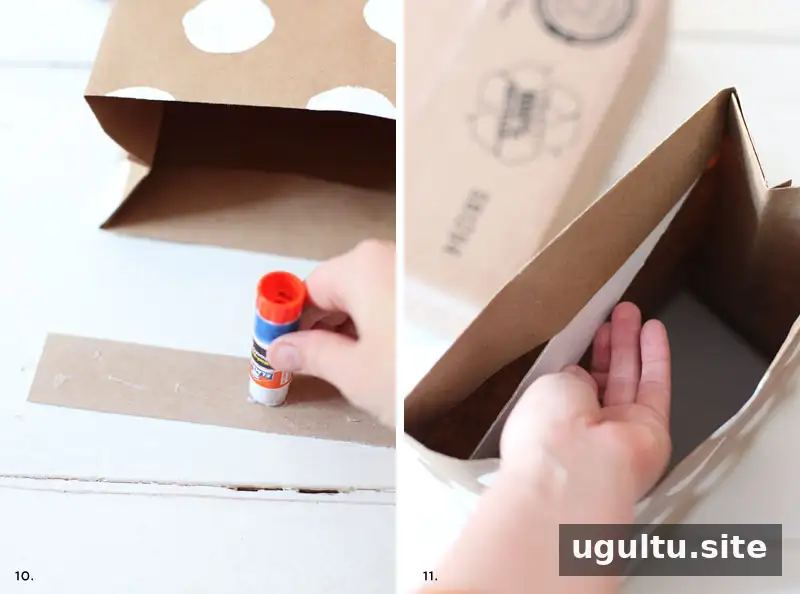
- Attach the handle supports. Apply glue to one side of each narrow cardboard or cardstock strip. Slide them beneath the folded top edge where the handle holes will go, then press them in place.
- Stabilize the base. Put the larger rectangular insert inside the bag with its glued side facing down.
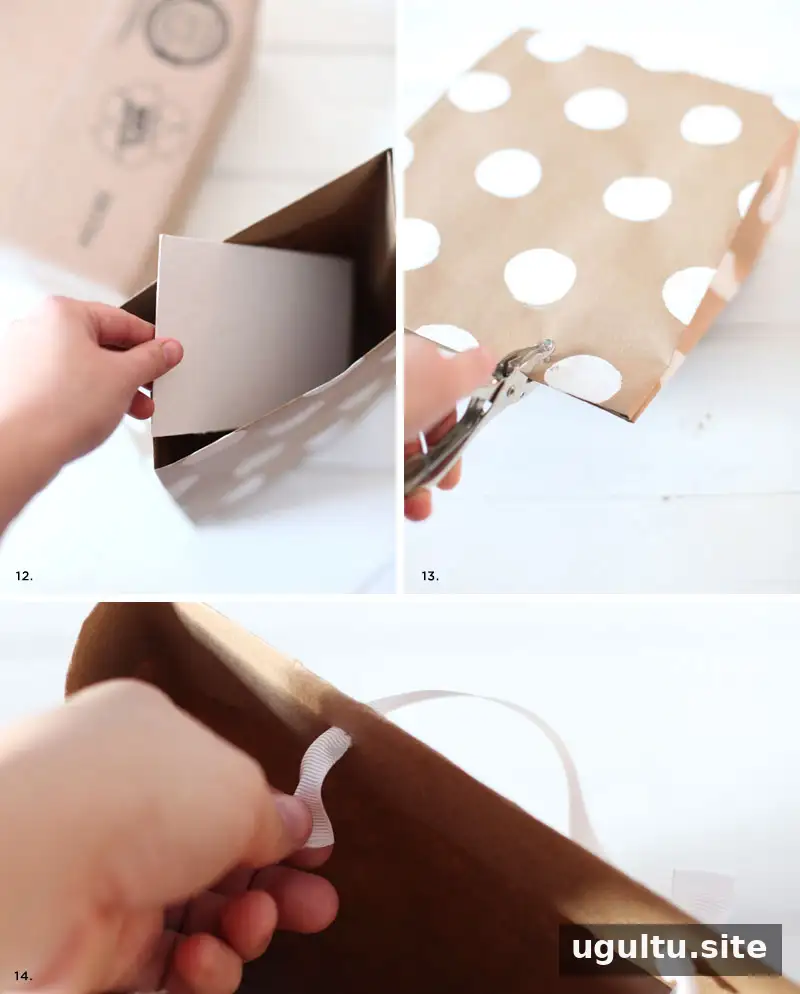
- Punch the holes. Make two evenly spaced holes near the top, avoiding the folded side creases. Punch through the front and back together to help align the openings.
- Fit the handles. Cut two ribbon lengths of about ten inches each, or adjust them to your preferred handle length. Thread the ends through the holes and knot them on the inside. If a knot slips through, place a bead between it and the hole as a stop.
Finishing touches
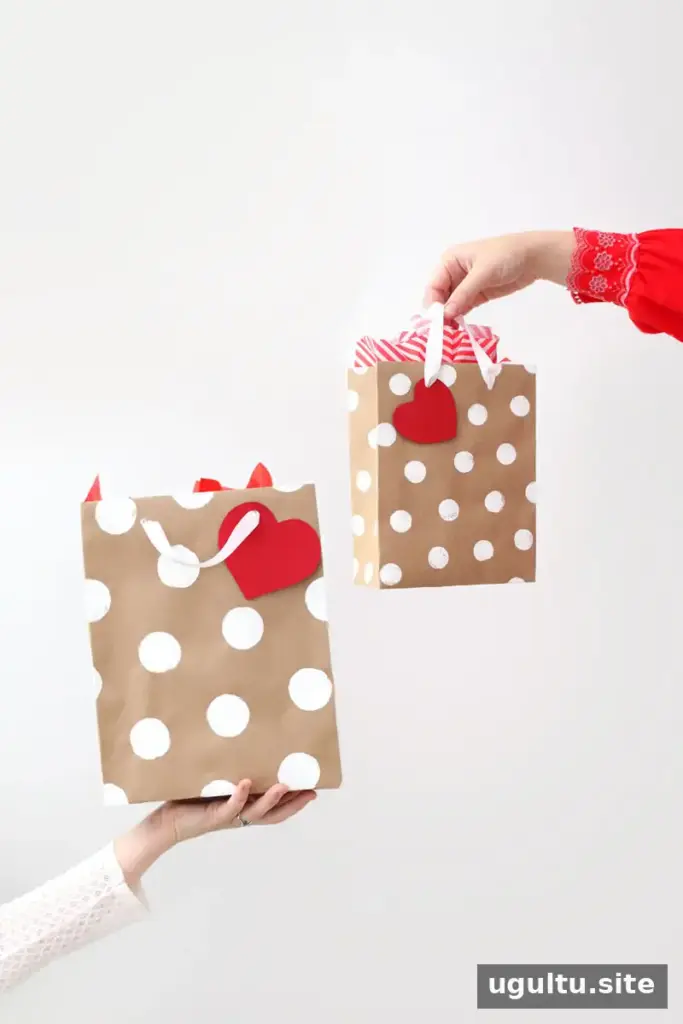
Add a cardstock gift tag by punching a hole in it and threading it onto a ribbon before tying the handle. Tissue paper in a coordinating color can complete the presentation. For a polished result, keep the holes evenly spaced, make sure the base insert lies flat, and allow glue or paint to dry before filling the bag.
Conclusion
Learning how to make professional-looking gift bags gives you a flexible wrapping option for different gifts and occasions. A box helps form the bag, while optional supports make the handles and base sturdier. Choose paper and decorations to suit the present, and prepare a few bags ahead of time for convenient, handmade gift wrapping.
— Mandi


