
 admin
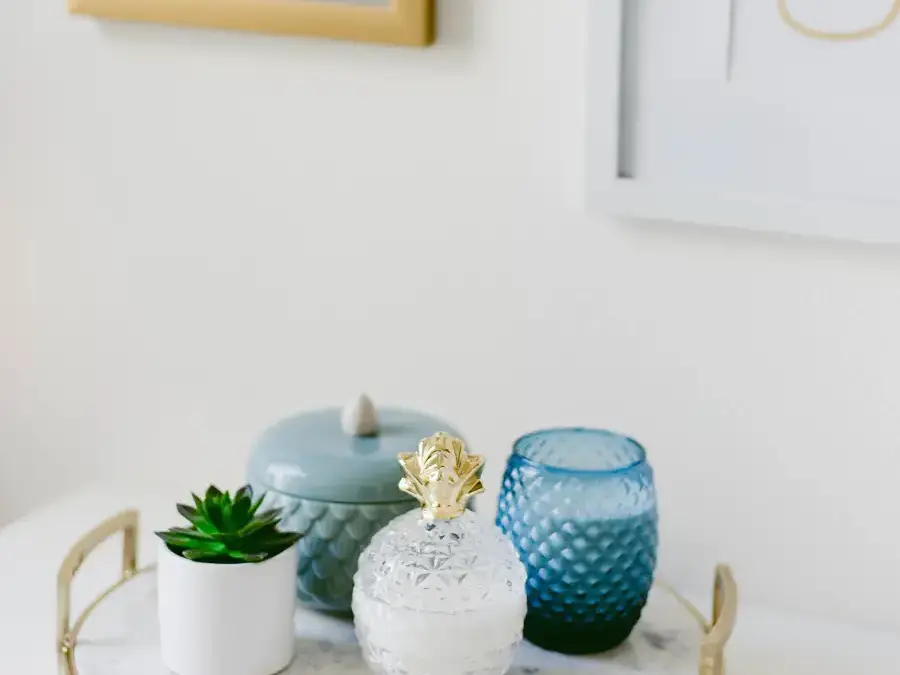

Learning how to make soy candles is a simple way to create custom home décor or thoughtful handmade gifts. With soy wax flakes, candle wicks, jars, and a few basic tools, you can make candles in containers that suit your style. Before you begin, choose jars that are clean, completely dry, and suitable for candle use.
Supplies for Making Soy Candles
Gather everything before heating the wax so you can work safely and pour without rushing.
- Soy wax flakes
- Essential oils
- Natural candle wicks with metal bases
- A saucepan
- Pencils
- Candle jars or another suitable candle vessel
- Parchment paper or wax paper for the work area
- A hot glue gun to secure the wick bases
Use a stable, heat-resistant work surface and keep the jars away from drafts while the wax cools. Never leave heating wax unattended.
How to Make Soy Candles Step by Step
1. Prepare your work area and measure the wax
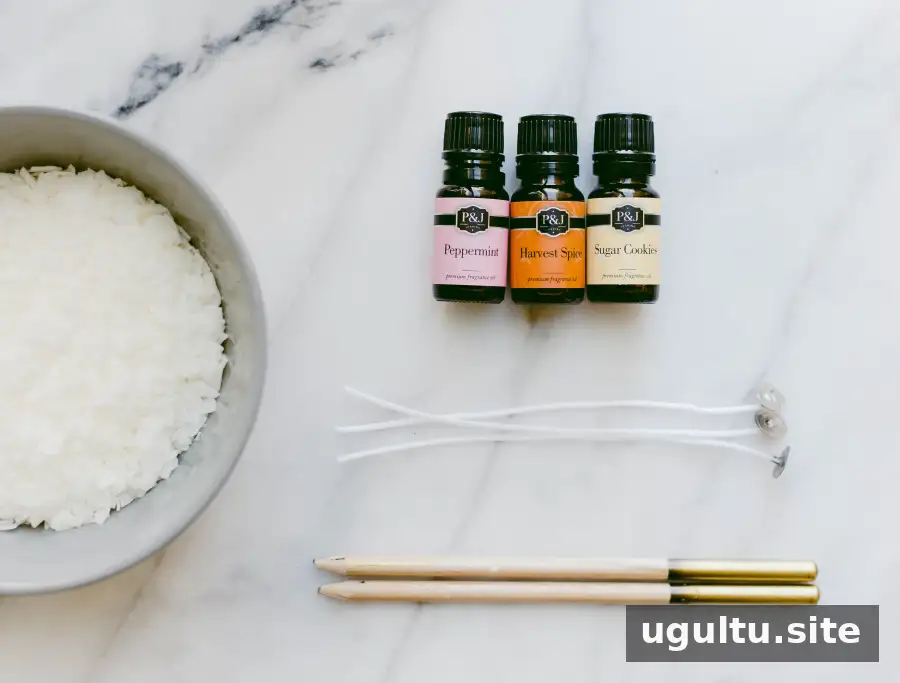
Lay parchment or wax paper near the stove to make cleanup easier. Measure the volume of each jar, then use roughly twice that volume of soy wax flakes as a starting estimate. Set the measured wax aside. The flakes take up more space than melted wax, so this guideline helps you estimate how much to prepare.
2. Secure and position the wicks
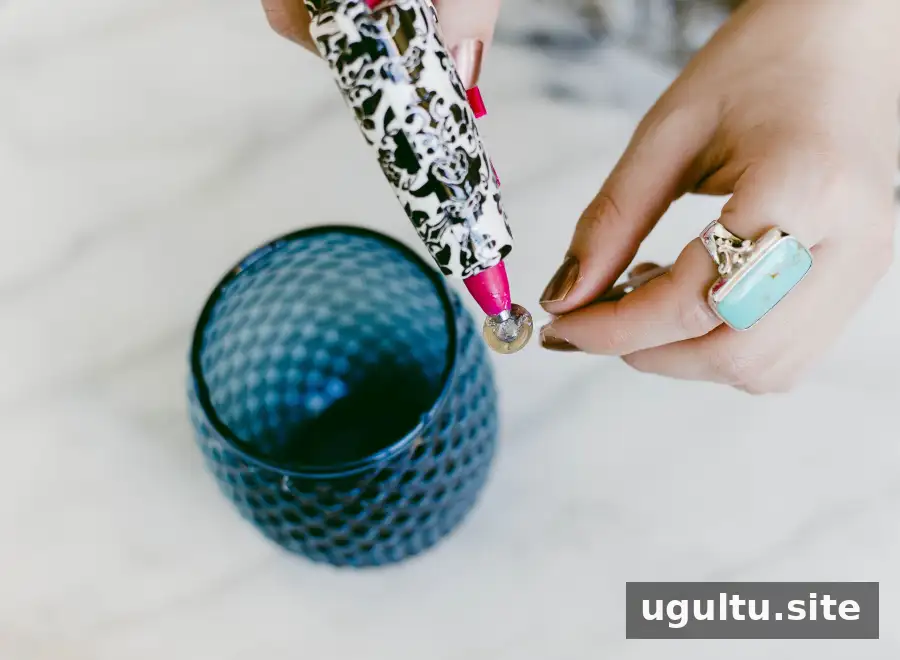
Use a hot glue gun to attach each wick’s metal base to the center of the bottom of its jar. Let the adhesive set so the wick is less likely to shift during pouring.
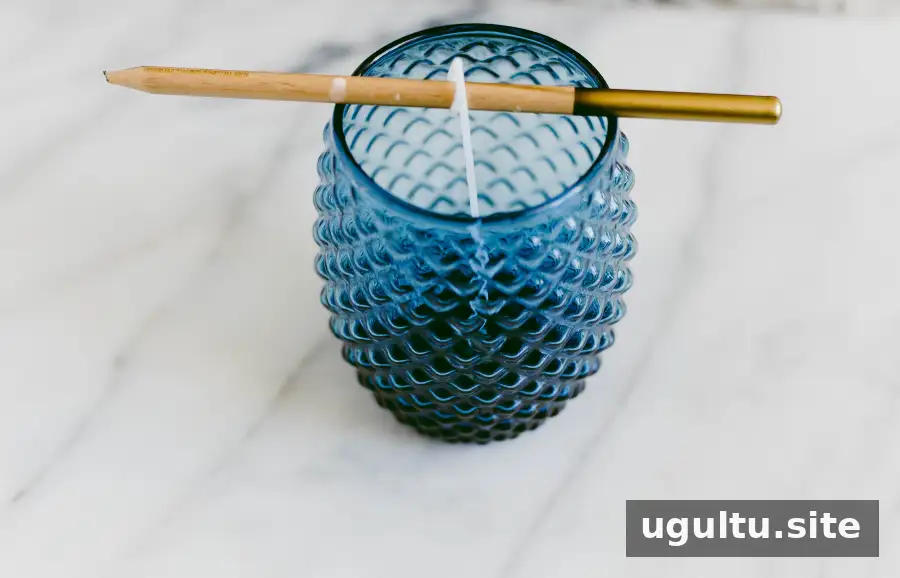
Wrap the loose end of the wick around a pencil and rest the pencil across the jar opening. Center the wick and keep it upright; this makes it easier to maintain its position as the wax sets.
3. Melt the soy wax and add scent
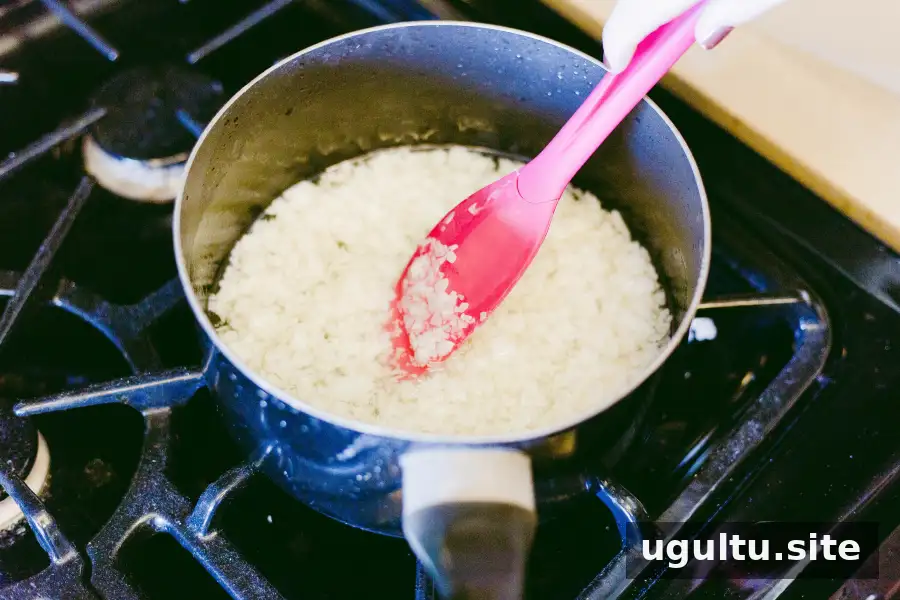
Place the wax flakes in a saucepan and warm them over low heat, stirring frequently until melted. Remove the pan from the heat once the wax has liquefied. Avoid overheating the wax, and do not leave the saucepan unattended.
Add approximately 10–20 drops of essential oil per candle and stir to combine. The amount will depend on the candle’s size and how strong you want the scent. The smaller blue jar used 10 drops, while the larger container used 20. For best results, check that the oil is suitable for candle making and follow its usage guidance.
4. Pour the wax and let the candles cool
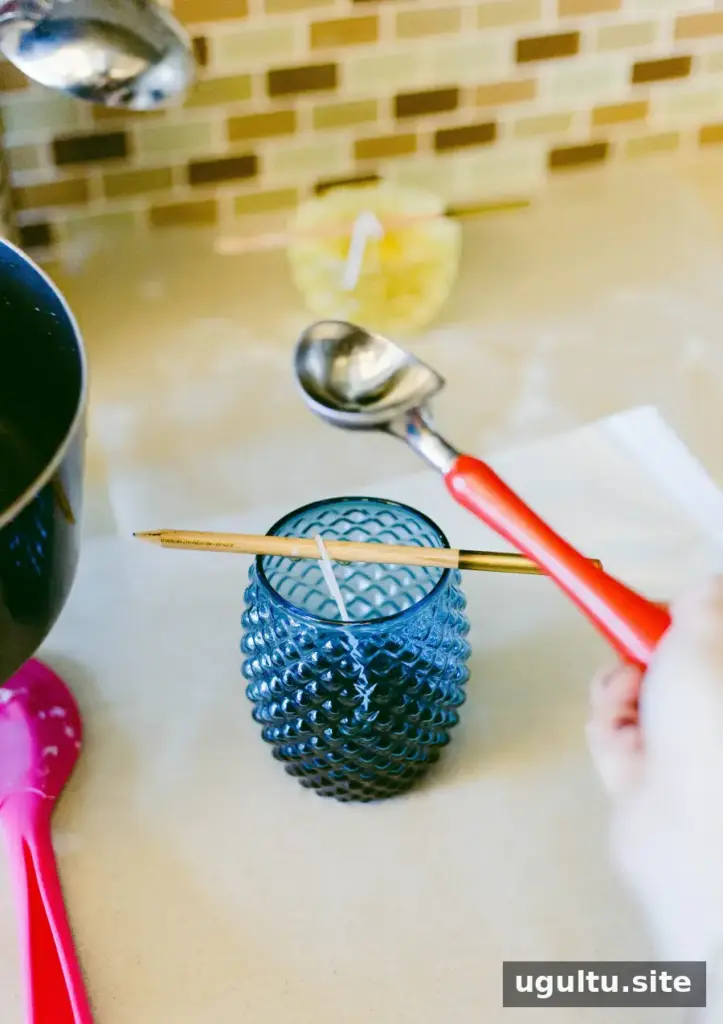
Carefully pour the melted wax into each prepared jar, keeping the wick centered. If a jar has a narrow opening, use a small scoop to transfer the wax more neatly. Work slowly and handle the hot pan and wax with care.
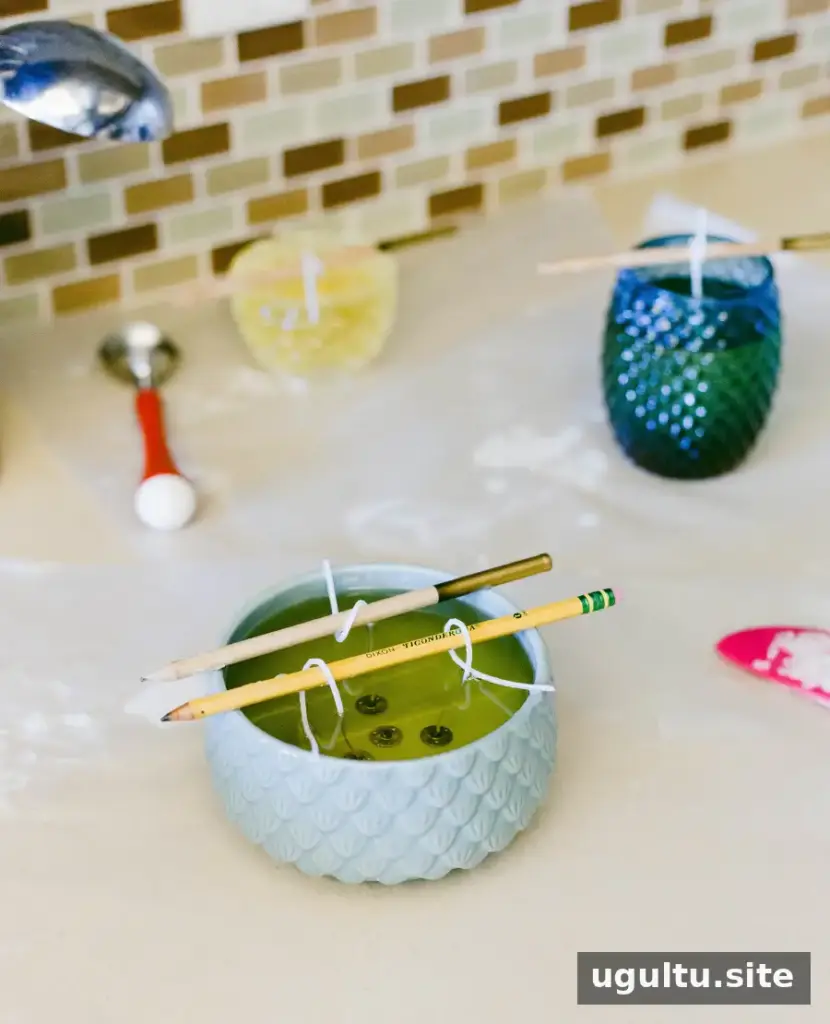
Leave the candles undisturbed until the wax is completely cool. Depending on the size of the container, cooling can take 1–4 hours; allowing the candles to cool overnight before use is also an option. Once the wax has fully set, trim each wick to ½ inch.
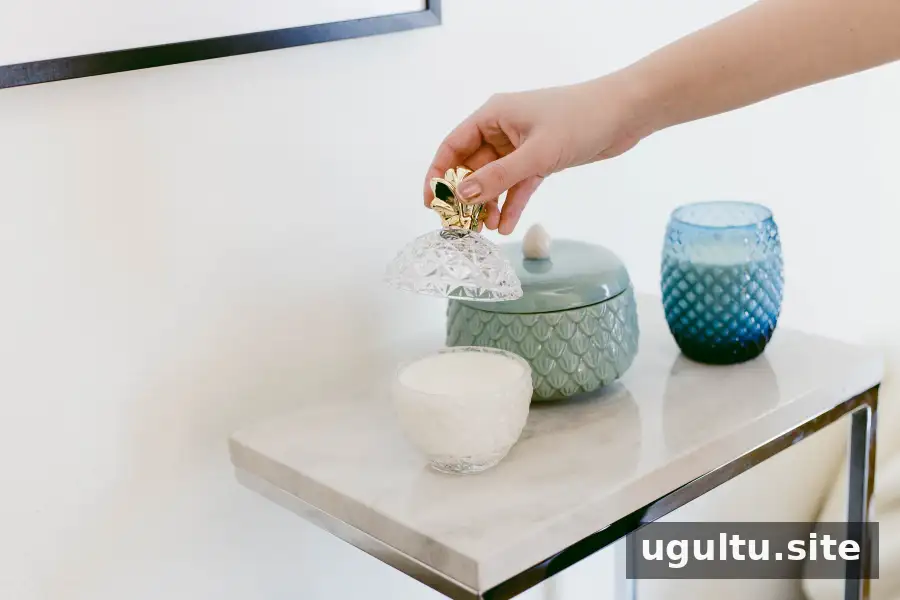


Handmade candles can make personal gifts for friends and family. Choosing jars that match someone’s taste also gives the finished candle a decorative purpose beyond its fragrance. Before lighting a candle, place it on a stable, heat-resistant surface and keep it away from flammable materials.
Final Tips for How to Make Soy Candles
For a polished result, check that each wick remains centered, use jars intended to hold candles, and let the wax cool fully before trimming or moving the finished candles. Keep the original measurements in mind as a starting point, since jar size affects the amount of wax and scent needed.
—Britta & Carli Garsow


