
 admin

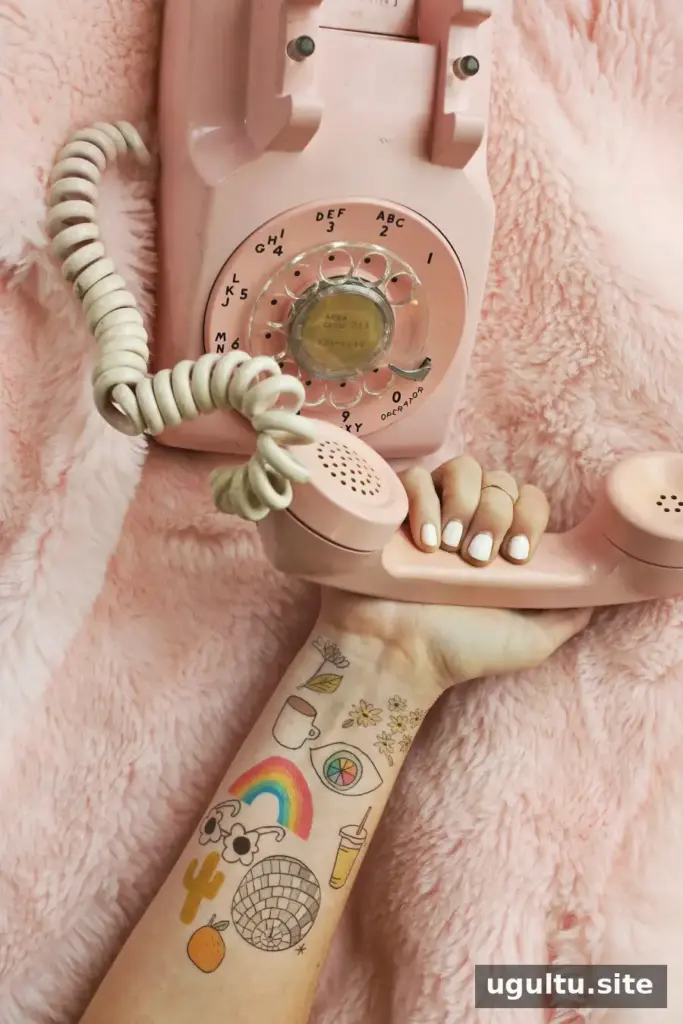
Learning how to make temporary tattoos is a simple way to try a design before committing to permanent ink, or to create a fun activity for a party or family craft day. With printable tattoo paper and a printer, you can prepare custom designs at home. Follow the paper manufacturer’s instructions, since printing and application details can vary by product.
How to Make Temporary Tattoos with Printable Paper
Start with tattoo paper designed for your printer type. Check the packaging to confirm whether it is compatible with an inkjet or laser printer, and read its instructions before printing. This helps prevent smudging and ensures the transfer layers are used in the right order.
1. Prepare and mirror your design
Choose an existing design or create your own. Set up the artwork on an 8.5 × 11-inch page. Before printing, flip or mirror the design so it appears backward on the sheet; this makes it read correctly when transferred onto skin. Text and directional images especially need to be mirrored.
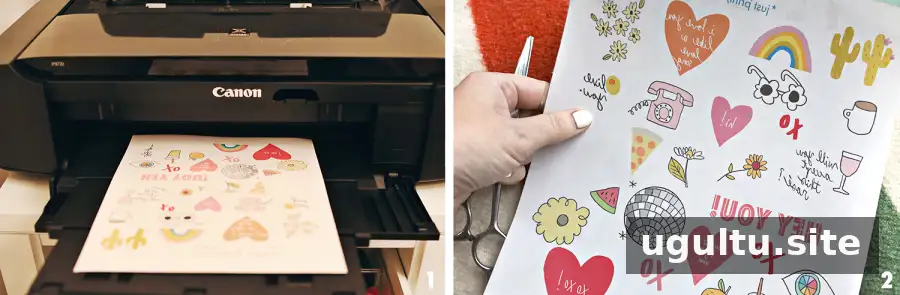
Print the design on the tattoo paper, following the package directions. If the paper calls for a separate clear film or adhesive layer, apply it as instructed. Allow the printed sheet to dry for the time specified by the manufacturer before handling it.
2. Cut out the tattoo
Carefully cut around the design, leaving a small border if the paper instructions recommend one. Rounded edges can make the transfer easier to position. Keep the backing in place until you are ready to apply the tattoo.
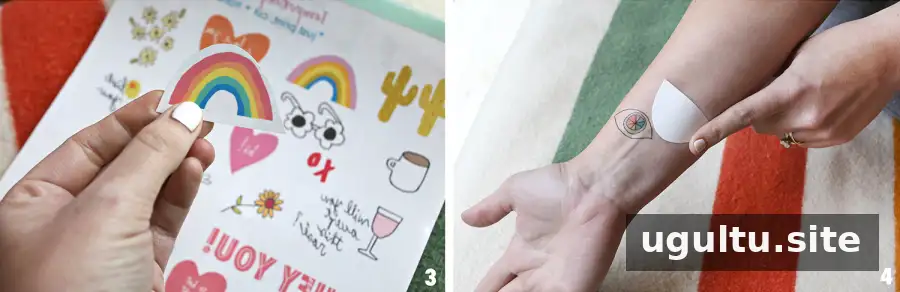
When you are ready, remove the clear film if required by the product instructions, then place the design against clean, dry skin with the printed side facing down.
3. Apply with water
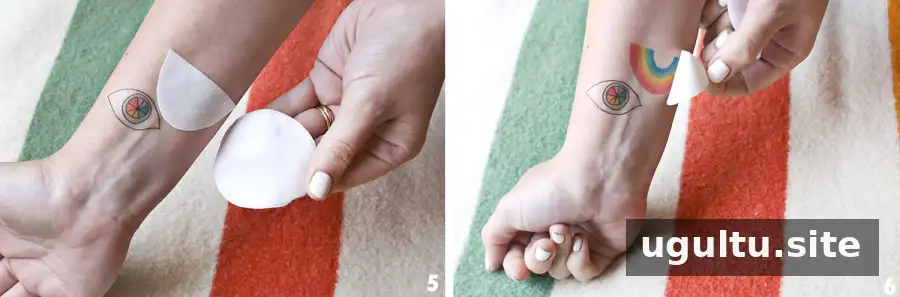
Press a wet cloth or sponge against the back of the paper until it is thoroughly damp. Hold it in place for the duration specified on the package, then gently peel away the backing. Avoid rubbing the design while it is transferring. Let the tattoo dry before touching or covering it.
Repeat the process for any additional designs. You can arrange several small tattoos together or apply them separately, leaving enough space between designs to make each one easy to position.
Temporary Tattoo Tips and Safety
- Use only tattoo paper intended for application to skin, and follow its directions closely.
- Apply tattoos to clean, unbroken skin; avoid irritated areas and keep the paper away from eyes and mouth.
- For children, have an adult handle the cutting and application, and check the product’s age guidance and ingredient information.
- If you have sensitive skin or are unsure about an ingredient, test a small area first and stop using the product if irritation occurs.

A printed temporary tattoo can resemble real ink from a distance, but it is designed to be temporary. For the best result, use compatible materials, mirror the artwork before printing, and take your time during the water-transfer step. These basics make how to make temporary tattoos at home an easy craft to repeat with different designs.
By Elsie


