
 admin
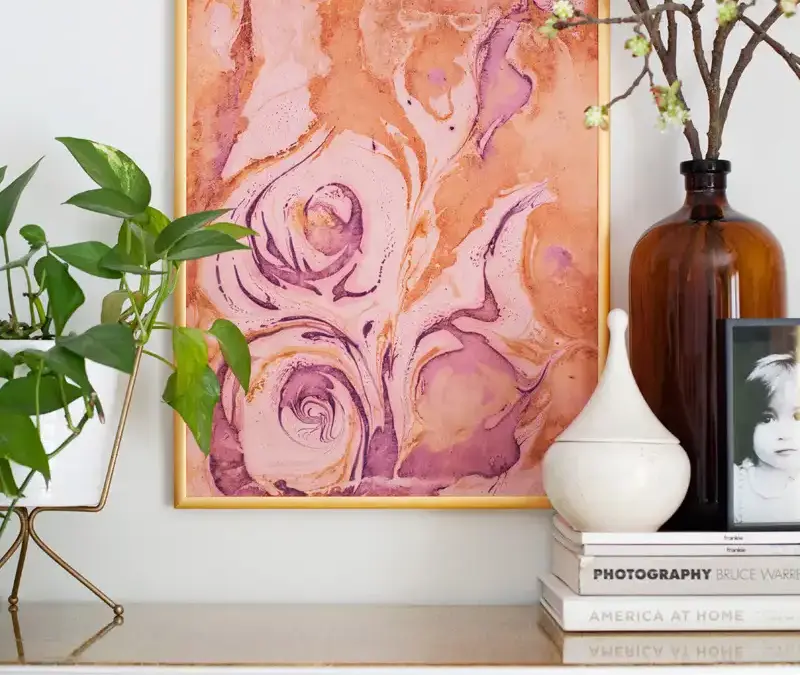
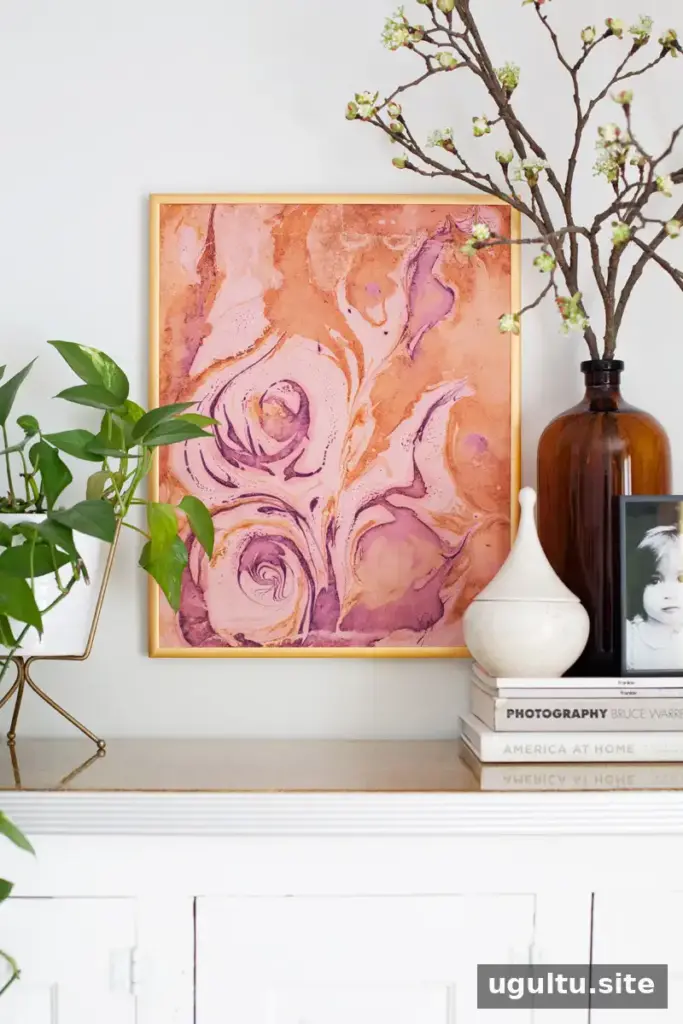
Marble patterns bring the irregular beauty of natural stone to stationery, wall art, greeting cards, and gift wrap. Learning how to marbleize paper takes a little preparation, but the process is approachable once you understand how paint, water, and paper work together. Several methods can create a pattern on the water; in these experiments, oil paint on thickened water produced the boldest, most controllable results.
If you want to get straight to the most successful approach, go to Attempt 4. The earlier tests are included to explain what can go wrong and how to avoid common problems.
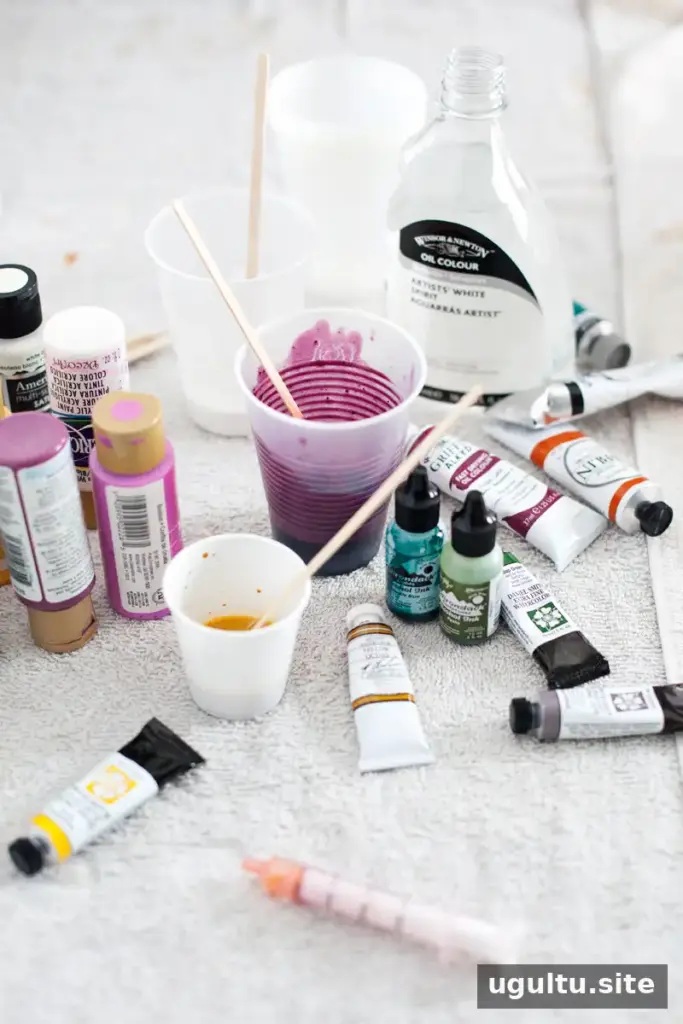
How to Marbleize Paper: Supplies and Key Principles
Paper marbling works by floating pigment on water and placing paper on the surface to pick up the design. The paint may sink, spread unpredictably, or transfer faintly if the water or paper is not prepared properly.
- Medium-weight, absorbent paper
- Oil paints and paint thinner
- A shallow water tray or basin
- Methyl cellulose and alum
- A dropper or syringe
- A coffee stirrer or spoon handle
- A spray bottle, large brush, or sponge
Use paint thinner in a well-ventilated area, follow its product instructions, and keep it away from heat or open flames. Prepare a few extra sheets so you can test paint consistency and your paper-laying technique without using your preferred paper first.
How to keep the paint on the surface
Methyl cellulose thickens the water and helps control how the paint moves. Oil paint also floats on water, making it a better choice for this process than the ink and gouache tested here. Thickened water combined with oil paint gave the most reliable balance of movement and control.
How to get a clean transfer
Alum helps the design adhere to the paper, so it can be rinsed after printing. Use paper that is flat and pliable rather than stiff or wrinkled. Lower it carefully across the water; wrinkles or raised areas can disturb the pattern or prevent an even transfer.
Prepare the Water and Paper
A shallow tray works for small sheets. A baking sheet with raised sides, such as a jelly roll pan, can be filled with about an inch of water. Larger sheets need a wider, shallow basin. The amount of water depends on the tray: the small pan used in these experiments needed about 1 quart, while a larger under-bed storage drawer needed about 3–4 quarts. Keeping extra thickened water on hand can help if the surface needs refreshing between prints.
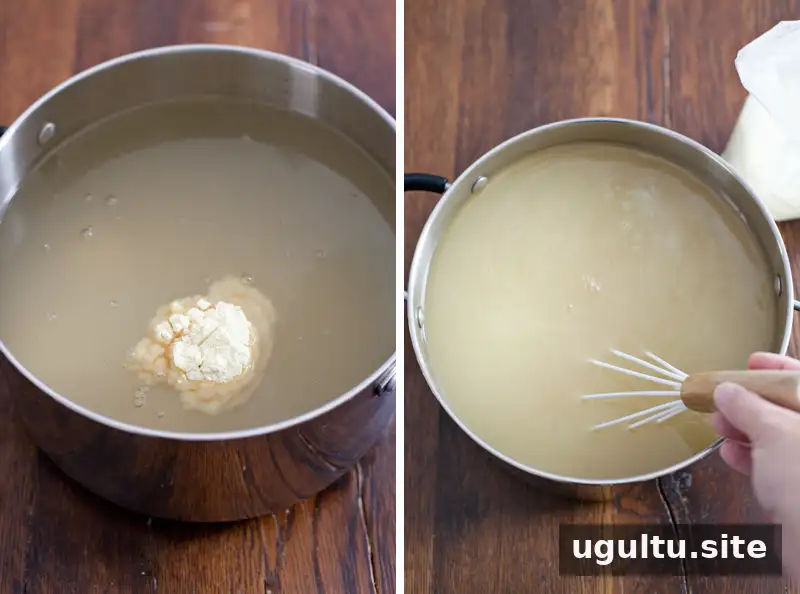
Thicken the water
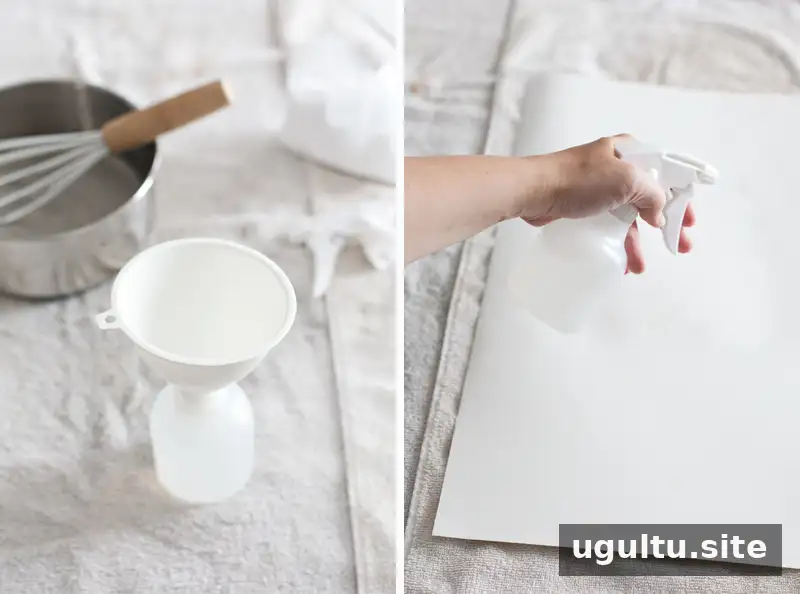
Whisk 1/4 cup of methyl cellulose into 2 quarts of water. Let the mixture stand for one hour so it can thicken to a consistency similar to thin gelatin. Whisk it thoroughly about every ten minutes during that time to prevent clumps from settling at the bottom. Then pour it into the marbling tray.
Prepare the paper with alum
Mix 1 tablespoon of alum powder with 1 cup of water. Apply the mixture across the paper using a brush, sponge, or spray bottle, making sure the surface is thoroughly wet. Lay the paper flat or hang it to dry. Once dry, usually after about an hour, iron it flat. If needed, ironing while the paper is slightly damp may help reduce wrinkles.
Three Methods That Were Less Successful
Attempt 1: Ink on thickened water
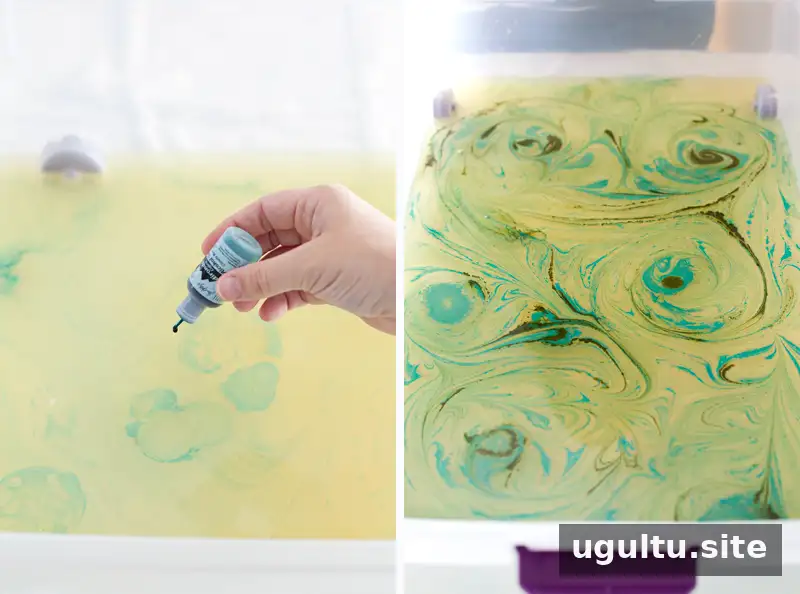
Ink was dropped onto about two inches of thickened water, then turquoise blue and olive green colors were gently swirled with a spoon handle. Alum-treated paper was placed on the surface, lifted, and rinsed. The result was faint: the ink sat below the water’s surface and did not transfer with enough strength for a crisp design.
Attempt 2: Gouache on thickened water
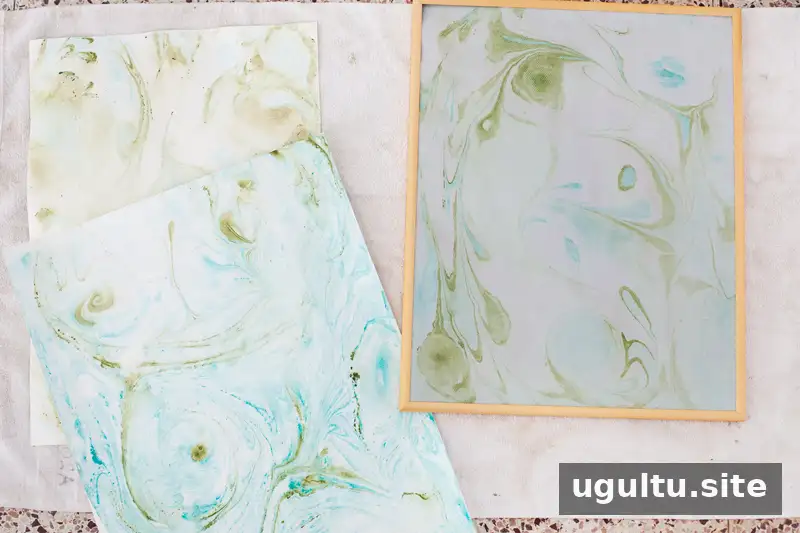
Gouache diluted to roughly the consistency of cream produced a similar problem. Its pigments did not remain at the surface reliably, and the resulting design was too soft. These tests suggest that pigment type matters as much as water preparation.
Attempt 3: Oil paint on unthickened water
Oil paint floated on plain water and created a bolder pattern than ink or gouache. However, the paint moved quickly and was difficult to control while swirling and placing the paper. Thickening the water can help slow that movement.
Attempt 4: Oil Paint on Thickened Water
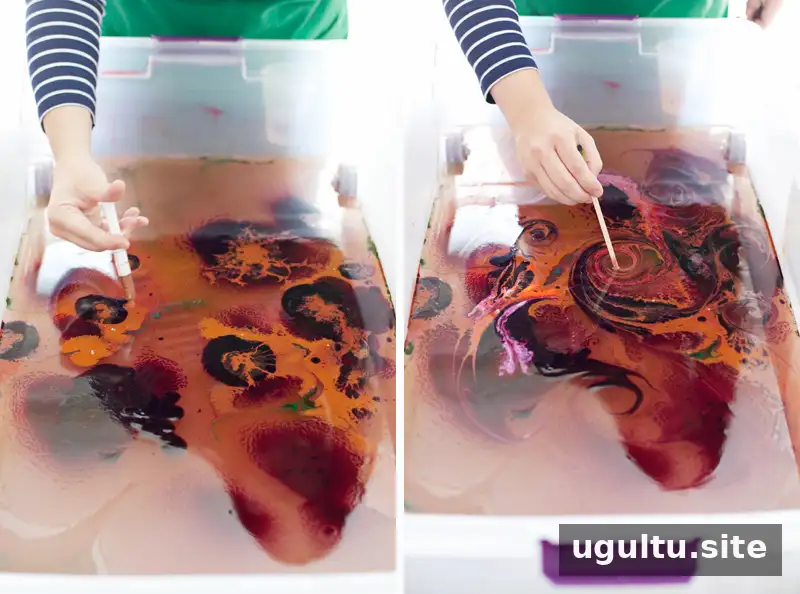
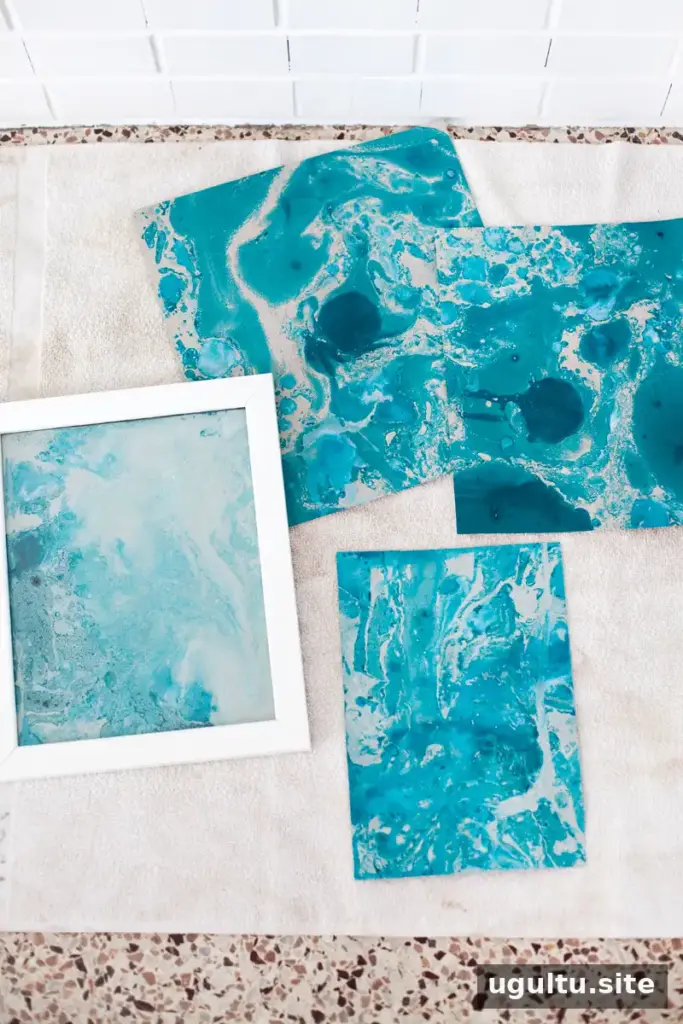
This combination provided the strongest and most controlled results. Fill the basin with about two inches of prepared thickened water. Dilute oil paints with paint thinner until they are about the consistency of heavy cream, then use a dropper or syringe to add the colors to the water. Swirl them gently with a coffee stirrer to create a pattern.
Carefully lower alum-prepared paper onto the surface. Press lightly along the back so the whole sheet makes contact with the water, then let it rest for several seconds. Lift it gently and rinse away excess paint and thickened water. Hang the sheet to dry; when it is slightly damp, iron it flat if needed.
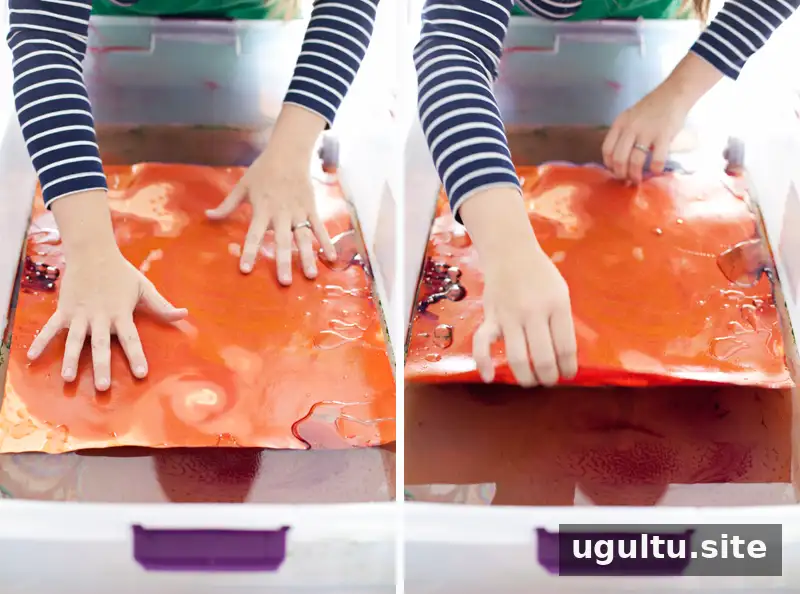
The oil paint and thickened water combination produced the boldest designs in these trials. Between prints, remove leftover paint from the surface before adding a new sheet. Newspaper can be used to draw excess paint from the water. Test your approach on spare paper first, since paint consistency and transfer technique affect the final pattern.
Tips for Better Marbleized Paper
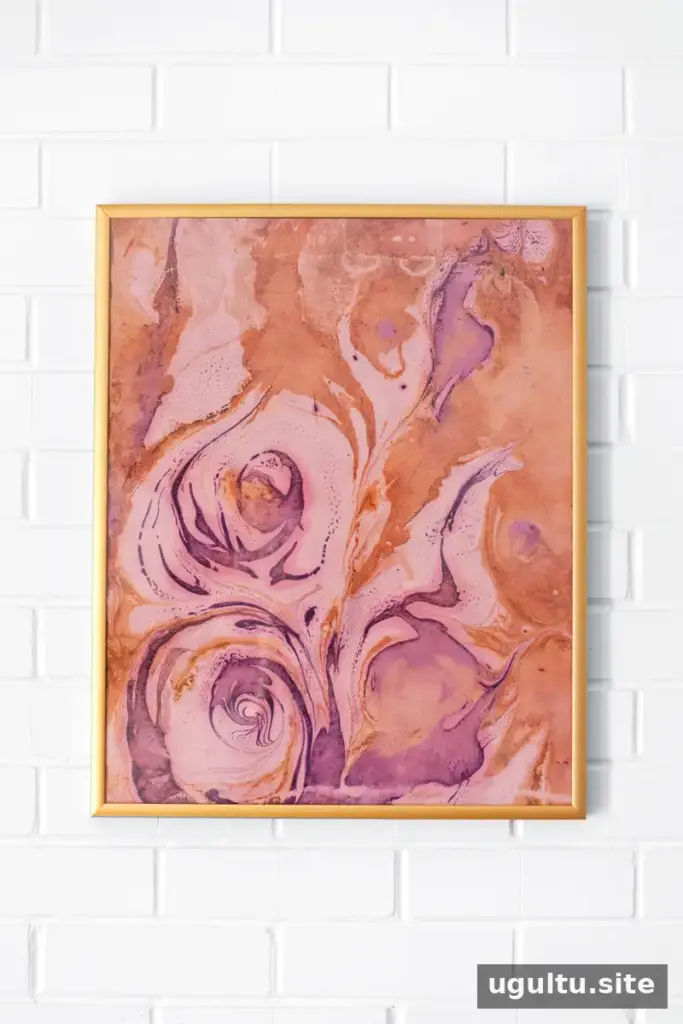
- Choose flexible, moderately thick paper. Paper that is too thick can become stiff and wrinkled after alum treatment, making smooth contact with the water difficult. Subtly textured art paper and colored paper are useful options to test.
- Prepare extra sheets in advance. It may take several tries to find the right paint consistency and lifting technique. Having dry, alum-treated paper ready prevents delays between experiments.
- Lower the sheet slowly. Keep the paper as flat as possible and avoid pushing water across the surface, which can shift the floating design.
- Clear the tray between prints. Remove excess paint before starting the next sheet to help keep later patterns distinct.
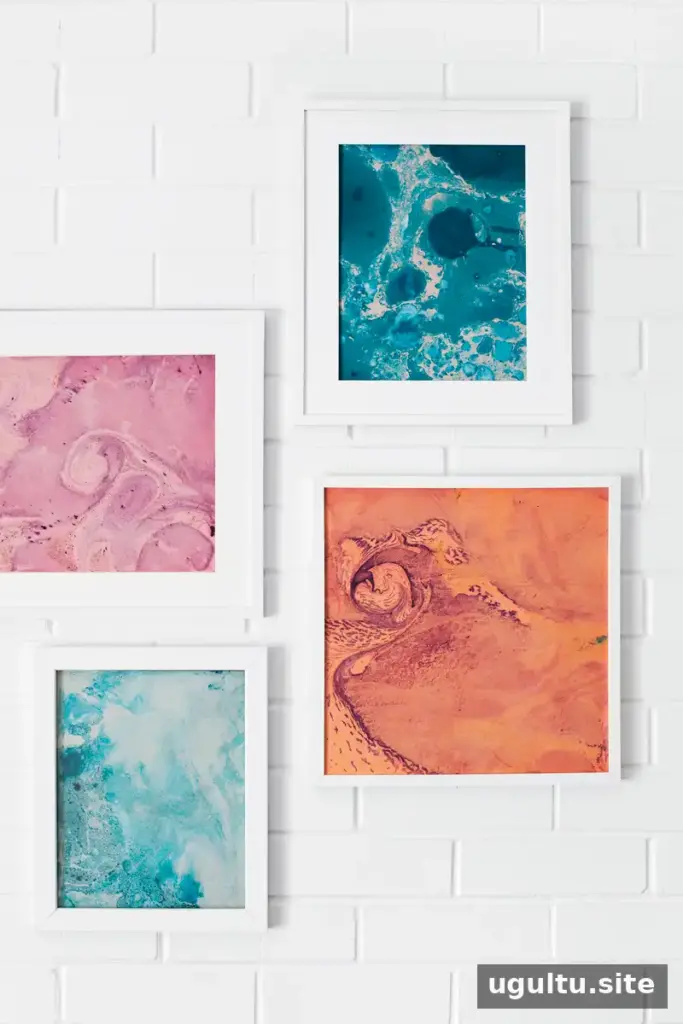
Marbleizing paper is a flexible way to make abstract, one-of-a-kind designs for framed art, cards, or gift wrap. For the most consistent results, use alum-prepared paper, oil paint, and properly thickened water. With a few test sheets and a careful touch, learning how to marbleize paper can become a repeatable craft process. –Mandi


