admin
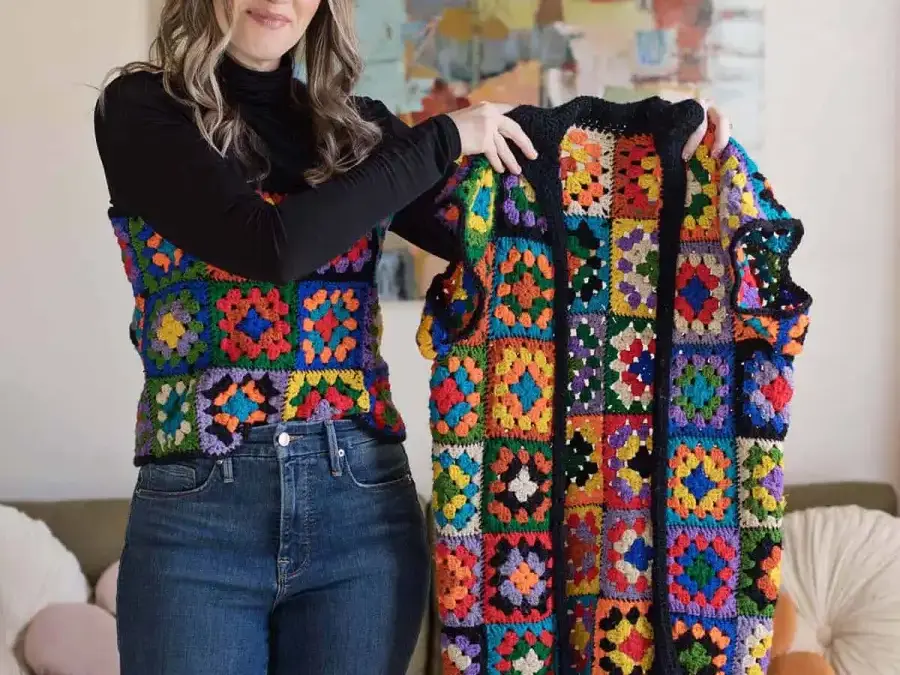
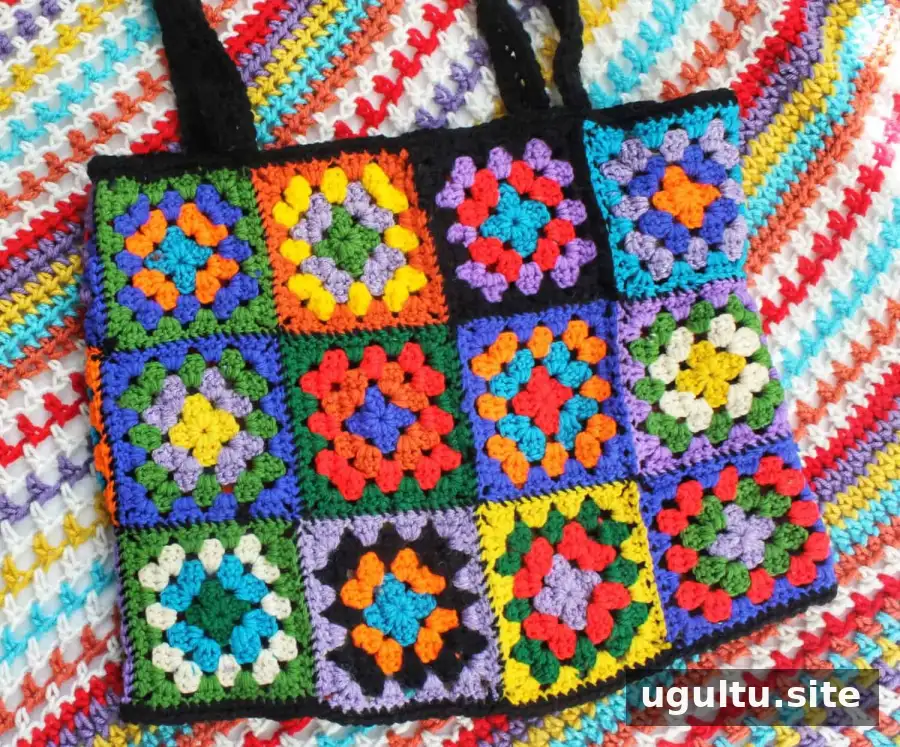
Learning how to modify a crochet cardigan can give a handmade garment a fresh purpose while preserving its original details. In this project, a vintage granny-square cardigan is reshaped into a cropped tank top, and the removed squares are used to make a matching hat. Crochet artist Ashlee Elle shares the process below.
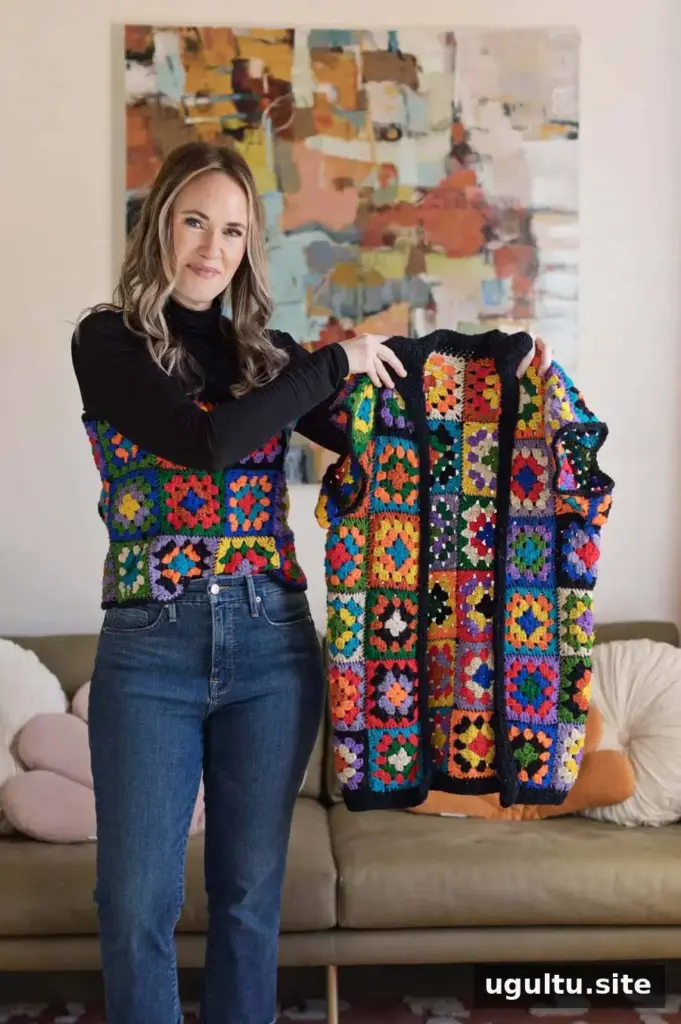
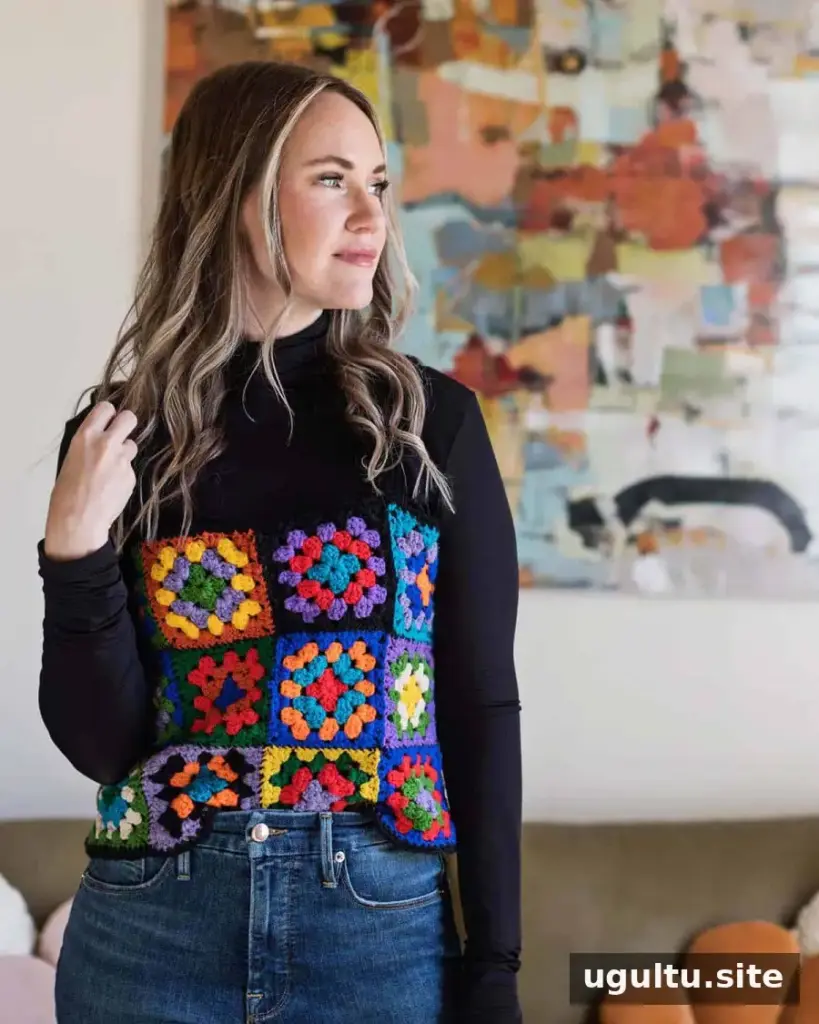
Ashlee Elle is a crocheter and maker who enjoys creating new designs and reusing yarn and completed projects. For this makeover, the goal was to keep the cardigan’s granny-square character while creating two wearable pieces.
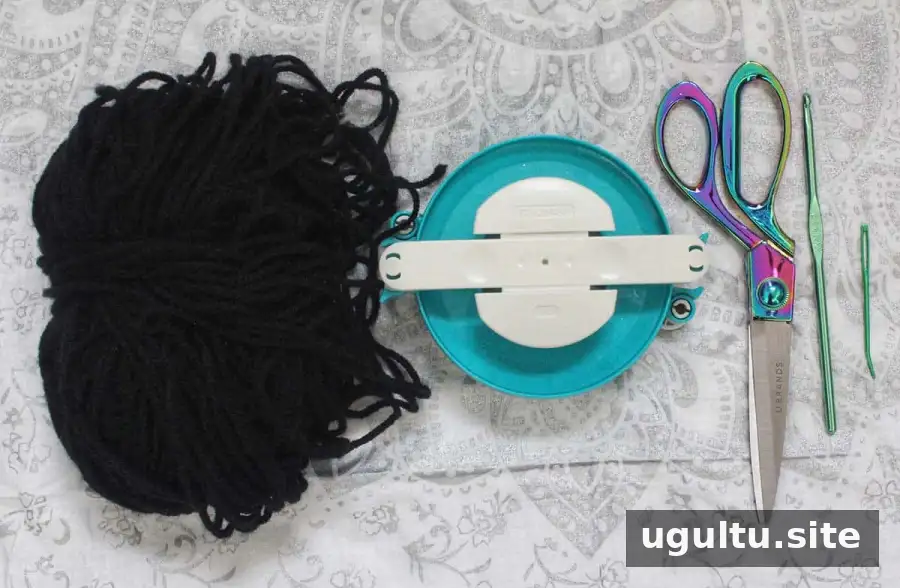
Supplies to Modify a Crochet Cardigan
- 4.5 mm crochet hook
- Craft scissors or a seam ripper
- Yarn needle
- Half a skein of black medium-weight (4) yarn
Before cutting, lay the cardigan flat and identify the seams and squares you plan to reuse. If the garment is delicate or especially valuable, a seam ripper can help you work carefully. Keep removed pieces together so they are easy to arrange and sew later.
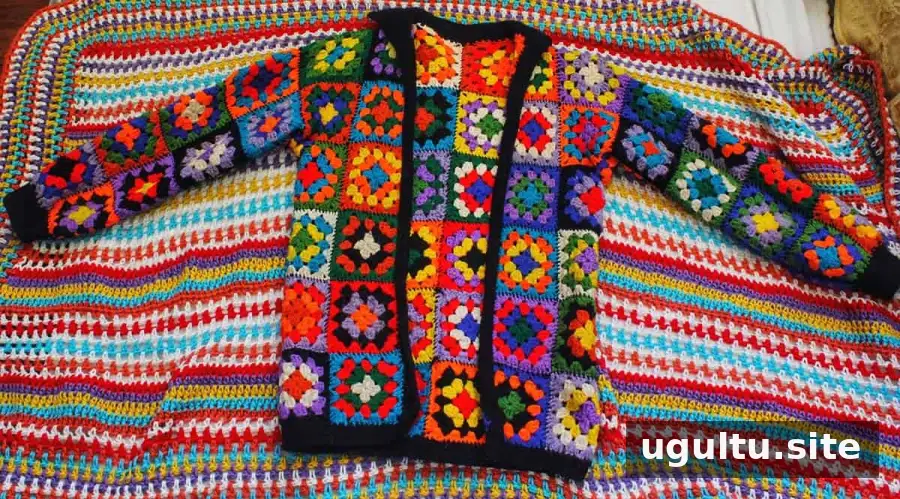
How to Turn the Cardigan into a Cropped Top
1. Separate the sleeves
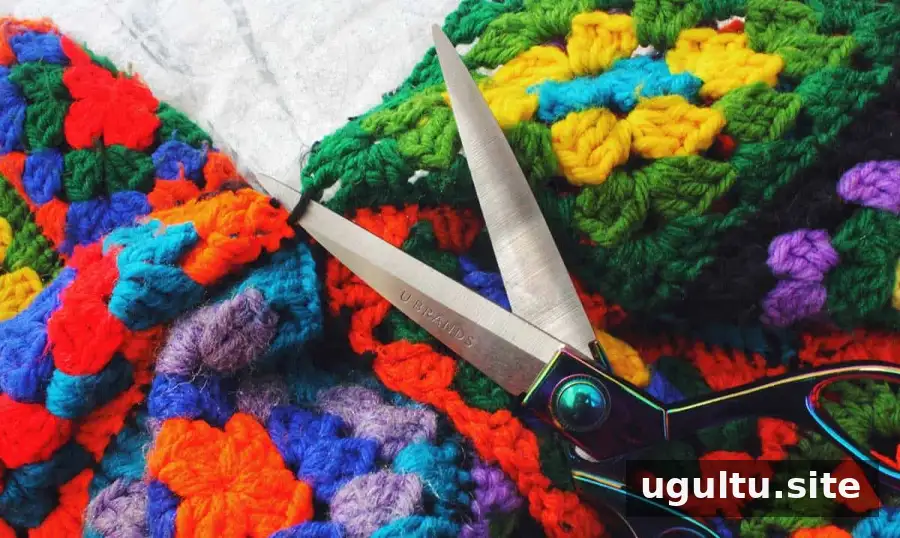
Lay the cardigan flat and cut along the seams around the armholes to detach both sleeves. The squares from the sleeves are intended for the sides of the new top. Work slowly and cut the joining yarn rather than the crochet fabric wherever possible to help avoid damaging the squares.
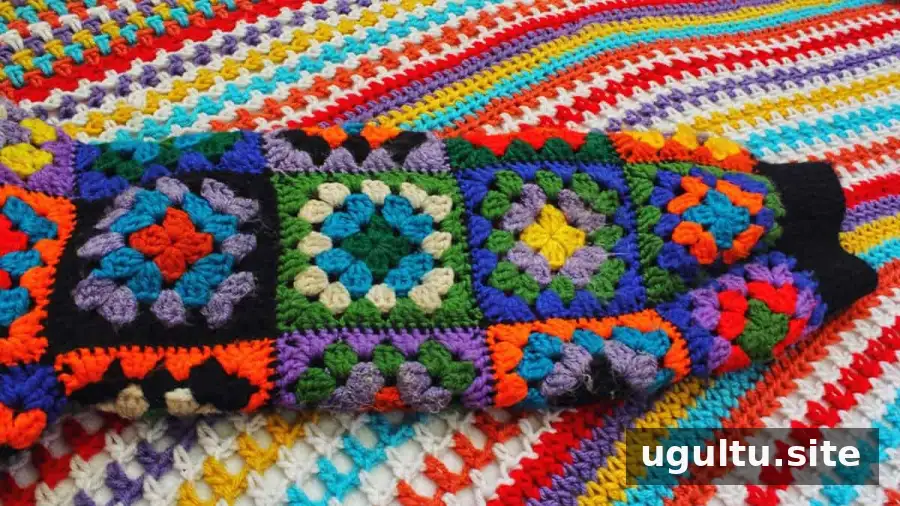
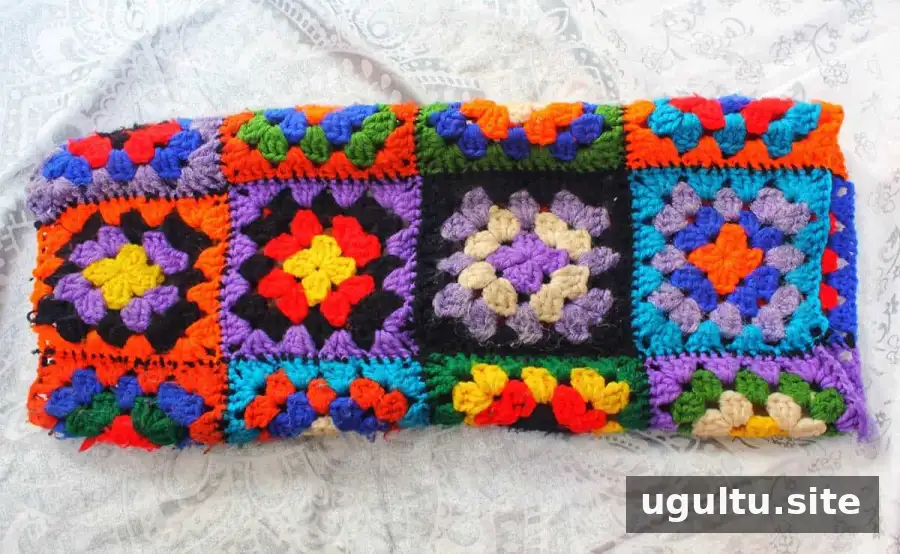
2. Open the sleeve sections and shorten the body
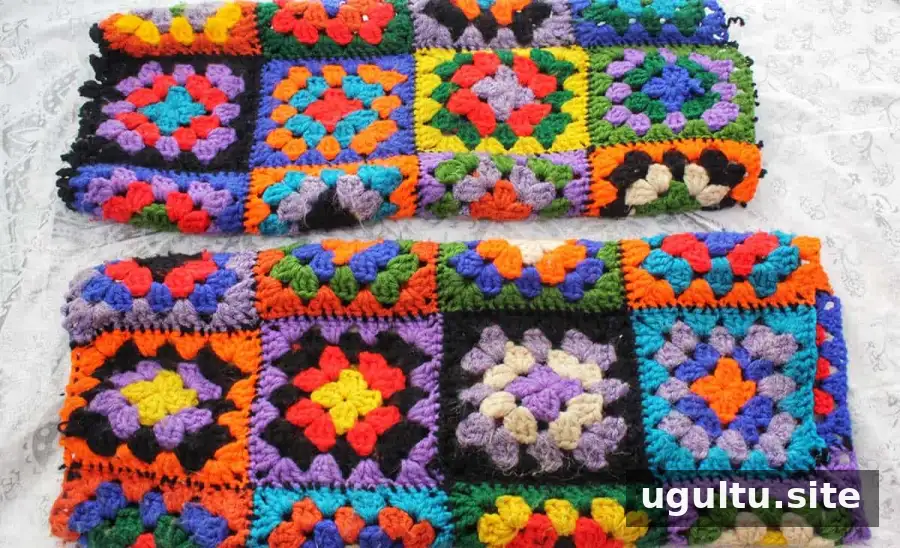
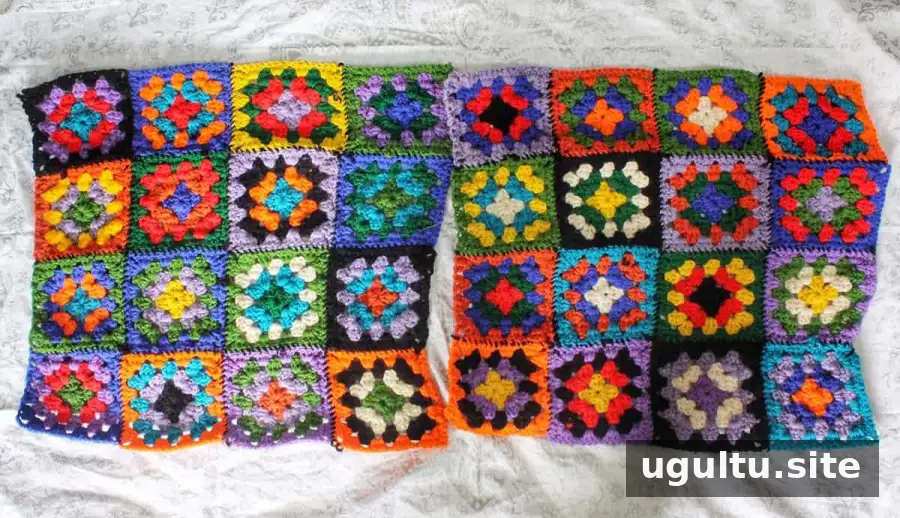
Cut vertically through one set of squares to open the sleeve sections and create two connected panels of squares. Remove the bottom row of squares from the cardigan to make the finished piece more cropped. Set that extra row aside for the matching hat.
3. Join the squares into a circle
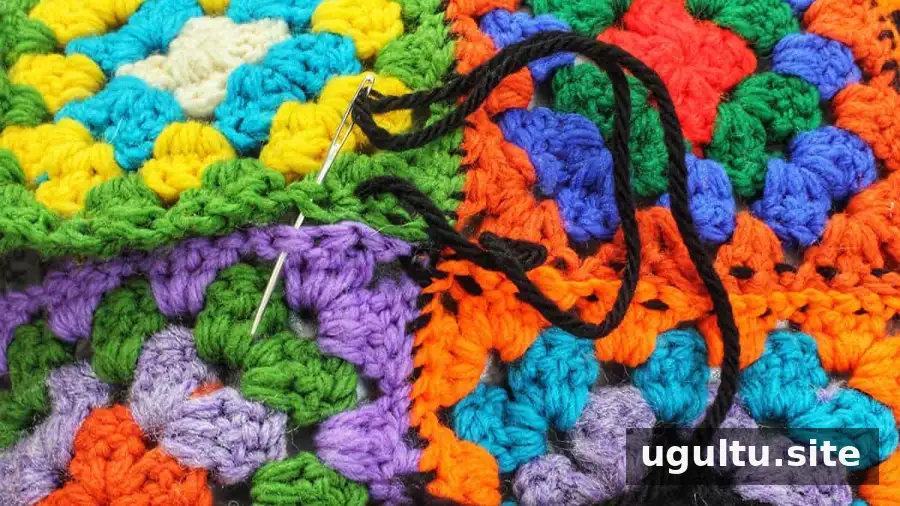
Thread a strand of yarn onto a yarn needle and sew the edges of the two square sections together to form a continuous circle. Check that the squares sit evenly before securing the seam. This joined section forms the main body of the top.
4. Finish the top and bottom edges
Using the 4.5 mm hook and black medium-weight (4) yarn, insert the hook into the side of the top and work one round of single crochet. Fasten off and weave in the ends with the yarn needle. Repeat along the bottom edge for a neat, consistent finish.
Try the piece on or check its measurements before adding straps. This is a useful point to confirm the fit and make sure the top sits at the intended length.
5. Crochet the straps
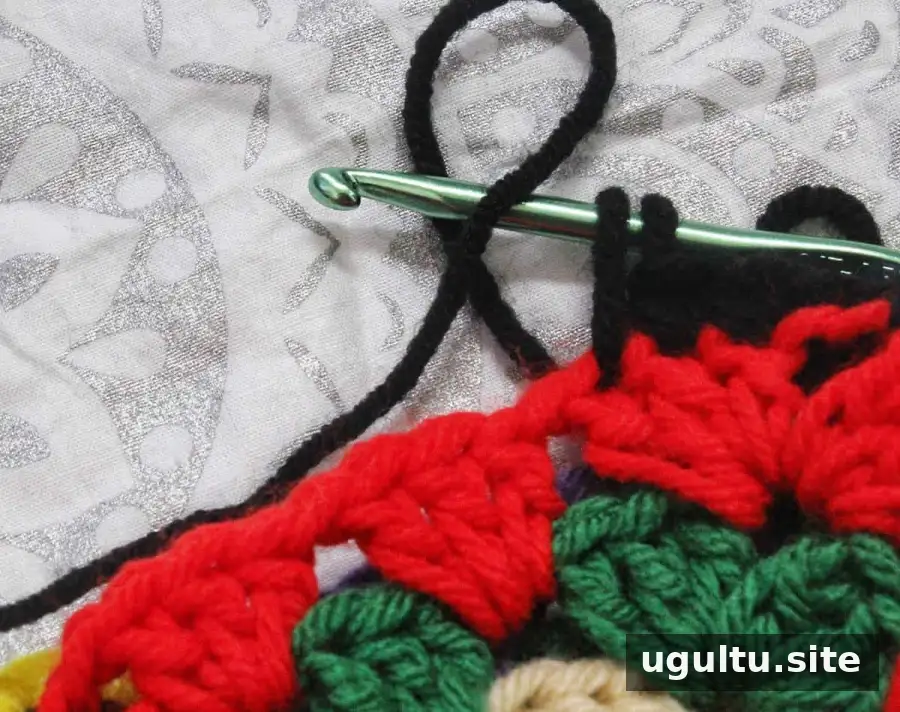
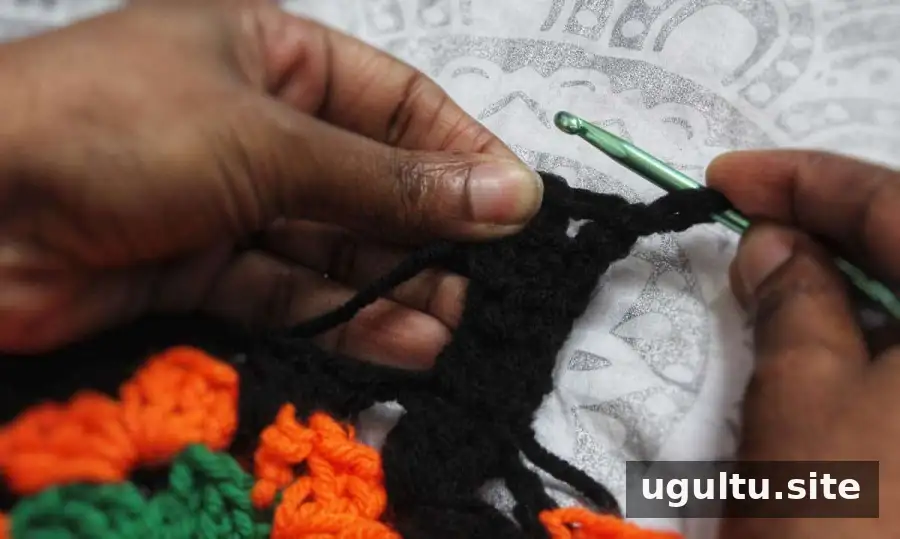
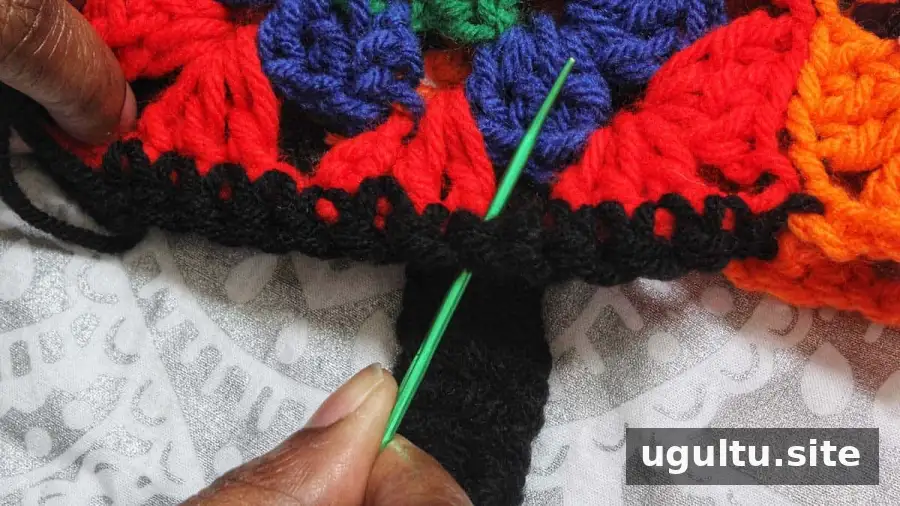
Insert the hook into the top round at the front, above the squares. Chain 30 stitches to reach the back of the top, then slip stitch into the same top round to join. Turn the work and half double crochet back toward the front to form the strap. Slip stitch to secure, fasten off, and weave in the ends.
Skip 22 stitches, rejoin the yarn, and repeat the same process to make the second strap. Check that both straps are attached at corresponding points so the top hangs evenly.
Make a Matching Granny-Square Hat
The remaining row of squares can be turned into a coordinating hat, making use of the extra material from the cardigan alteration.
Hat supplies
- 4.5 mm crochet hook
- Craft scissors
- Yarn needle
- Half a skein of black medium-weight (4) yarn
- Extra-large pom-pom maker
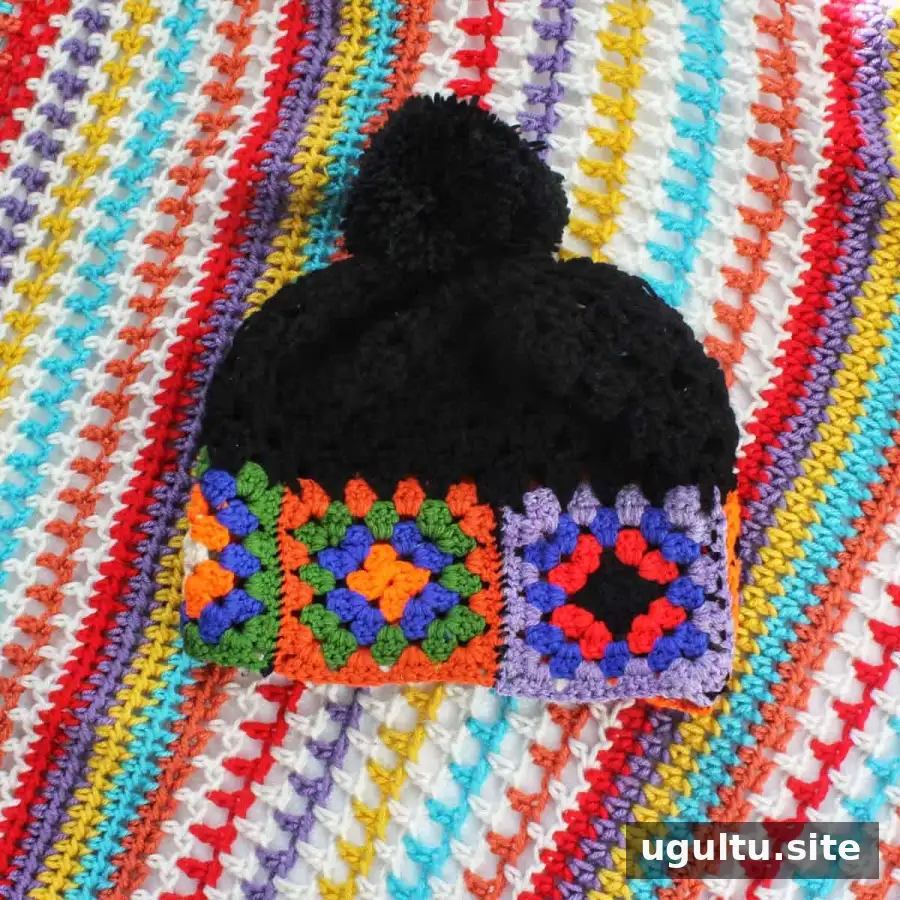
1. Join the squares
Use a yarn needle and a strand of yarn to sew the two end squares together at their edges, forming a circle. Make sure the join is secure before crocheting around the squares.
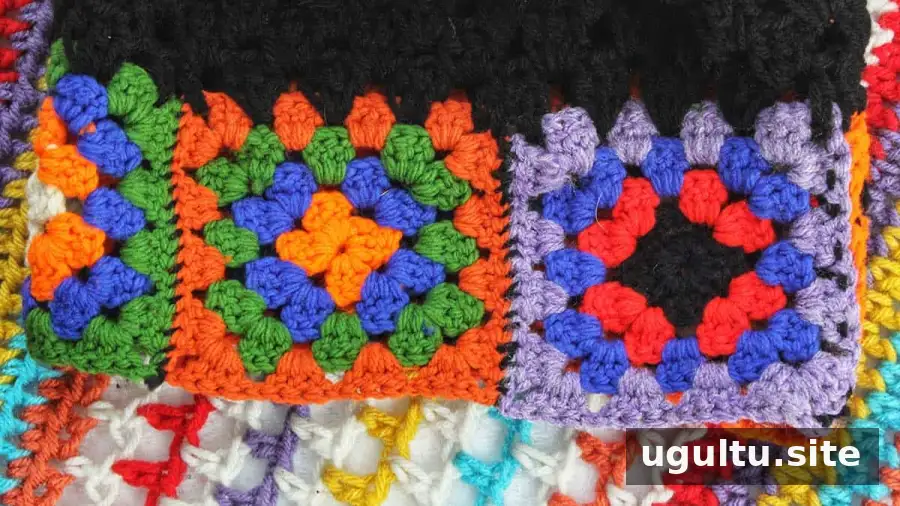
2. Crochet the crown
Insert the 4.5 mm hook into the top of the joined granny squares and single crochet around them. To echo the granny-square pattern, continue with the following rounds:
- Round 1: Chain 3 (this does not count as a stitch), chain 1, skip 3 stitches, then work 3 double crochet stitches into every third stitch after the skipped stitches. At the end of the round, slip stitch to the top of the starting chain to join.
- Rounds 2–5: Chain 3 (not counted as a stitch), chain 1, then work 3 double crochet stitches into each open chain-1 space from the previous round. Slip stitch to the top of the starting chain at the end of each round.
- Round 6: Chain 3 (not counted as a stitch), then work 2 double crochet stitches into each open space between the groups of 3 double crochet stitches from the previous round. Slip stitch to join.
- Round 7: Chain 2 (not counted as a stitch), then work 1 half double crochet into each open space between the 2-double-crochet groups from the previous round. Slip stitch to join.
- Round 8: Chain 2 (not counted as a stitch), then work a half-double-crochet-two-together decrease across the stitches for the round. Slip stitch to join, fasten off, and weave in the yarn to close the top of the hat.
Keep your tension consistent as you work so the crown takes shape evenly. The instructions describe the final decrease round as Round 8; check the crown as you go to ensure it closes neatly.
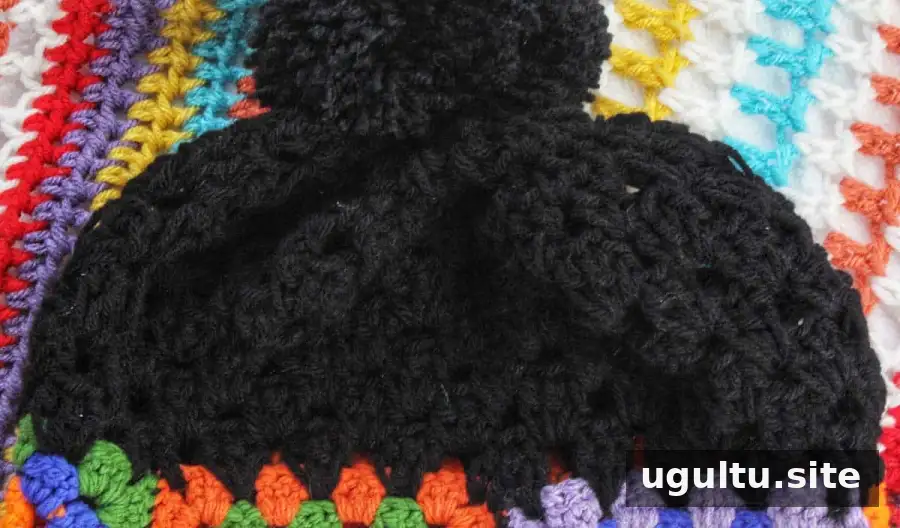
3. Add the pom-pom
Wrap yarn around both sides of the extra-large pom-pom maker, then cut the yarn to form the pom-pom. Trim any uneven strands if needed, taking care not to cut the ties that hold it together.
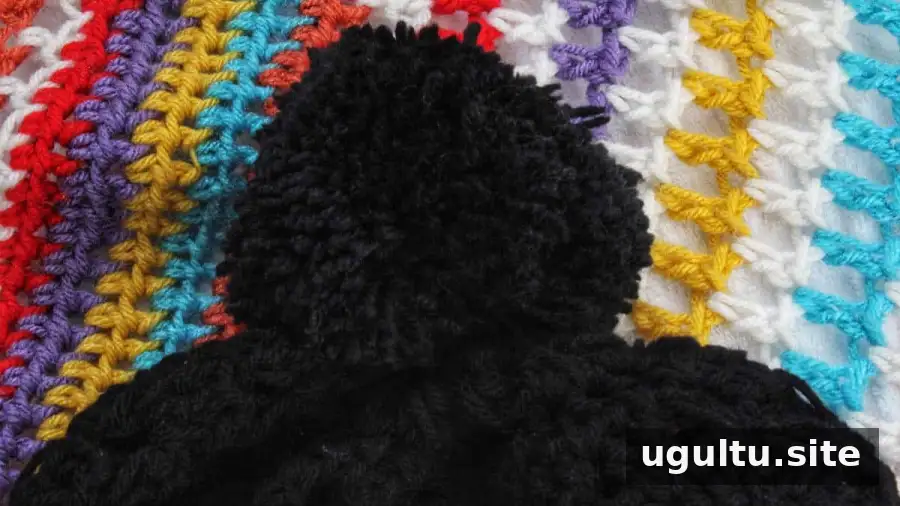
Thread a strand of yarn onto the needle and knot the end. Pass it from inside the hat through the top and through the pom-pom. The original instructions refer to round 80 for this placement; use the top-center position on the finished hat as your guide. Sew back through the pom-pom and hat to secure it, then fasten the yarn inside.
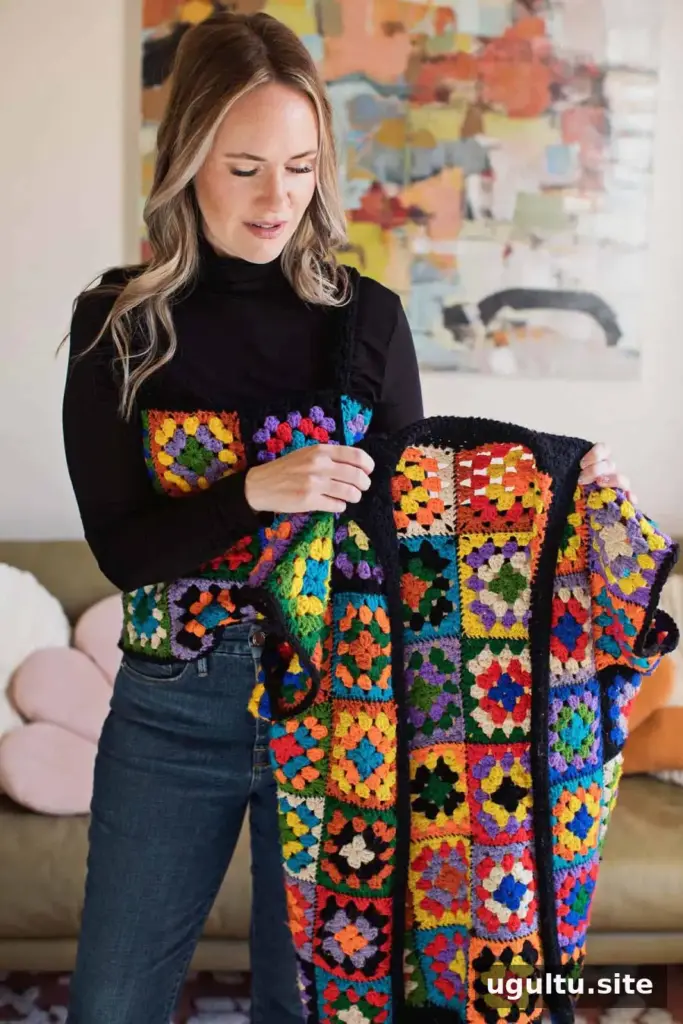

Final Tips for Modifying a Crochet Cardigan
This project shows how to modify a crochet cardigan into a cropped top while reusing the removed squares for an additional accessory. Before wearing the finished top, check that seams and straps are secure, and weave in all loose ends. The top can be layered over another garment or worn on its own when the weather suits. Adjust the placement or length of the straps to suit the fit, while keeping the original granny-square design visible.