
 admin
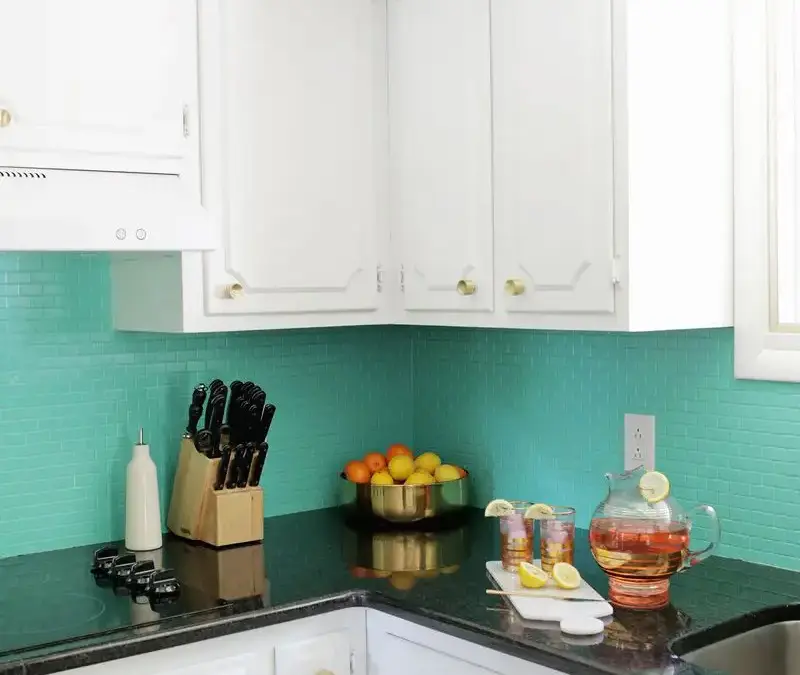
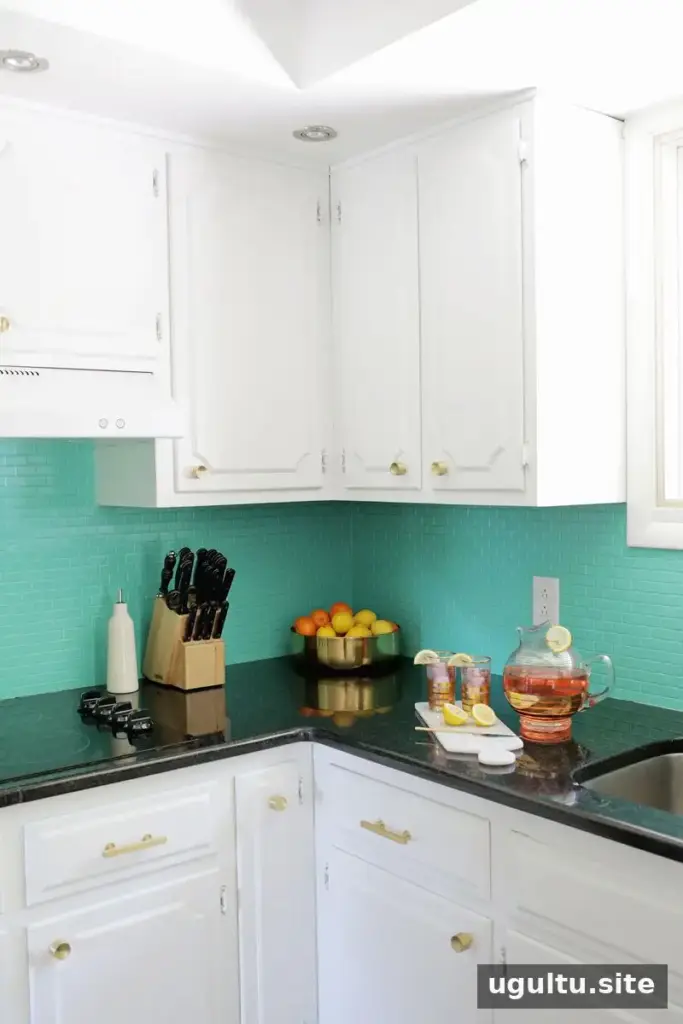
Updating a kitchen can quickly become expensive, especially when one improvement makes nearby finishes look tired. If replacing a backsplash is not in the budget, painting may offer a simpler way to refresh the room. This guide explains how to paint a tile backsplash using the products and steps described below, along with important preparation and safety considerations.
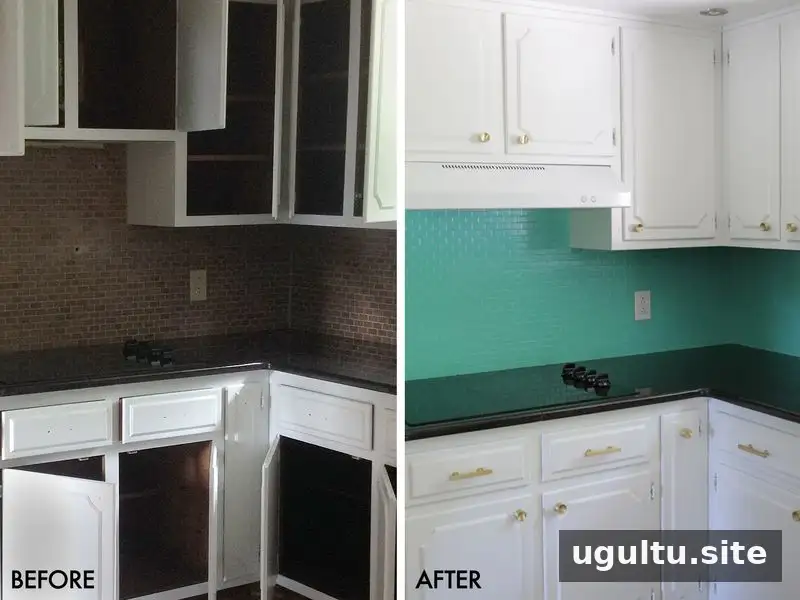
After dark wood cabinets were painted bright white, the brown backsplash looked faded by comparison. Rather than take on the cost and work of replacing the tile, painting it was chosen as a budget-conscious makeover.
Supplies for painting a tile backsplash
Gather the materials before starting so you can work in small sections without having to pause while paint is setting. The products used for this project were:
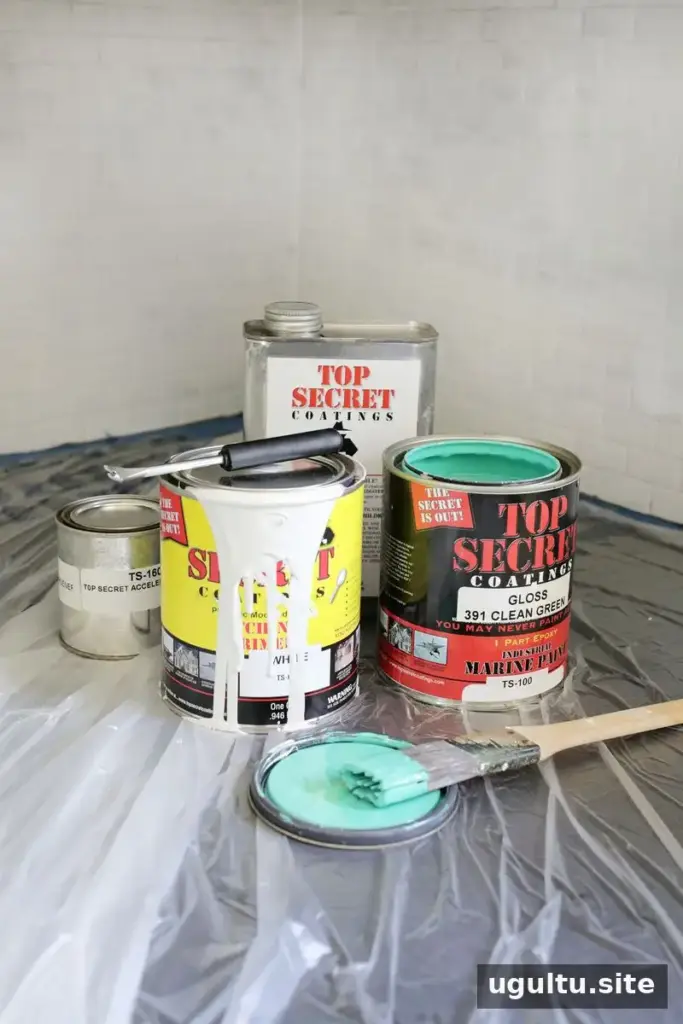
- Silicon epoxy paint (one quart of Clean Green shade)
- Etching primer
- Etching cleaner
- Leveling thinner
- Respirator, goggles, and rubber gloves
- 1/4-inch nap paint rollers and brushes; a natural-hair brush is suggested for the primer
- Sandpaper
- Drop-cloth plastic and painter’s tape
- Paint accelerator or hardener (optional)
Check the labels and manufacturer’s directions for the specific products you buy. Use the recommended protective equipment and confirm that the coating system is suitable for your tile and backsplash location before beginning.
Prepare the tile and protect the area
Cover nearby surfaces with drop-cloth plastic and secure the edges with painter’s tape. Lightly sand the tile with medium-grade sandpaper to remove loose grout or buildup. Avoid sanding more than needed; the goal is to prepare the surface, not to damage the tile.
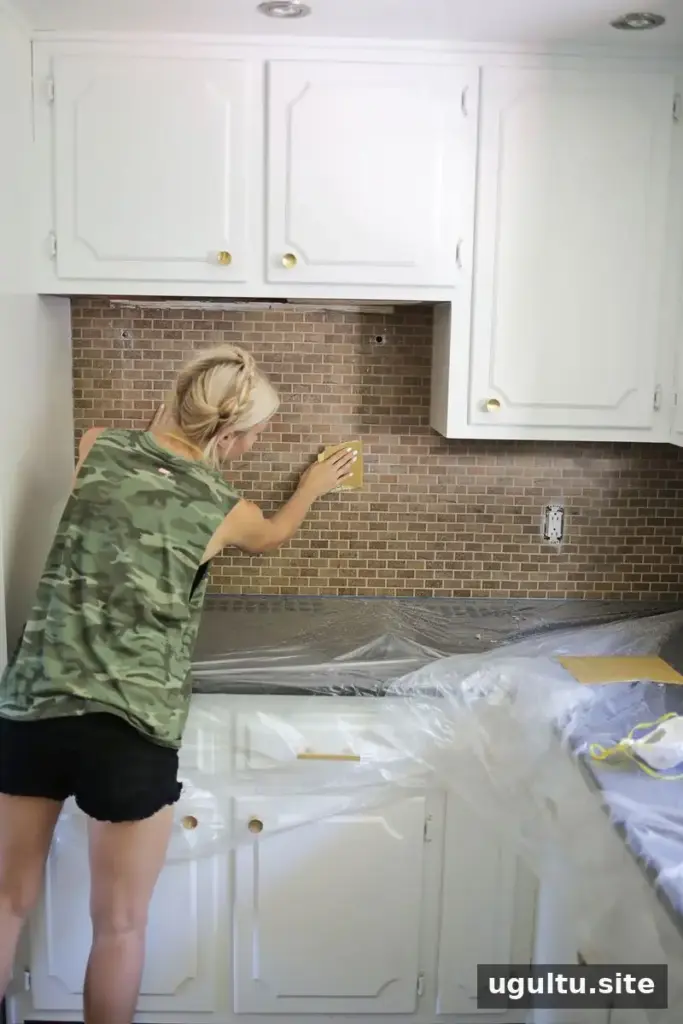
Wearing gloves, goggles, a respirator, and long sleeves, apply a thin coat of etching cleaner to the tiles. Scrub it into the surface with a scrubbing pad for about 10 minutes. The project directions called for rinsing with water; on a vertical backsplash, the surface was instead wiped with very wet paper towels. Follow the cleaner’s label for the correct method for your product.
Let the tile dry completely before priming. The project allowed at least 24 hours for drying. Good ventilation and a properly fitted respirator are important because the products can produce strong fumes; a simple disposable painting mask may not provide adequate protection.
Apply etching primer in thin coats
Once the tile is fully dry, use a brush to reach the edges and a 1/4-inch nap roller for the main tiled area. Work in small sections: brush the edges, roll the area between them, then move on. This helps keep a steady pace while the primer is workable.
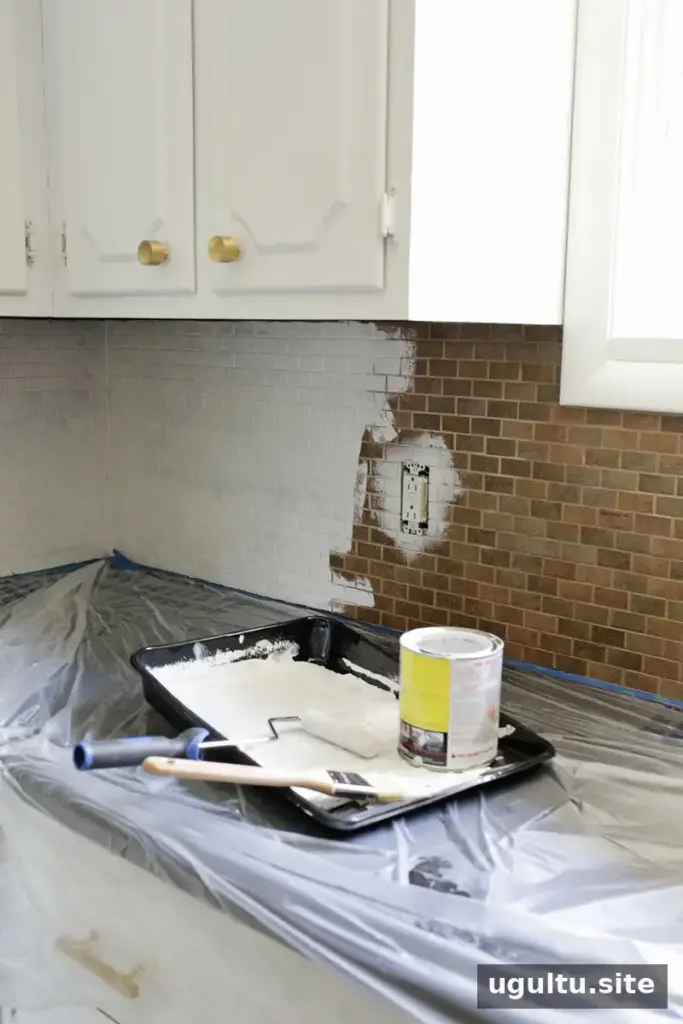
The primer can become tacky quickly. Avoid rolling back over areas that have started to dry, since doing so may lift or disturb the coating. The working window in this project was roughly 3–5 minutes for smoothing or correcting a drip. Keep coats thin, and, if appropriate for the product, a thinner-to-paint ratio of 1:10 was suggested to help the primer roll on smoothly.
Add the color and finish the backsplash
When the primer is completely dry, mix the topcoat with thinner at a ratio of 1 part thinner to 10 parts paint. A paint hardener is optional. The amounts specified for this project were 3 ounces of hardener per quart of paint or 8 ounces per gallon.
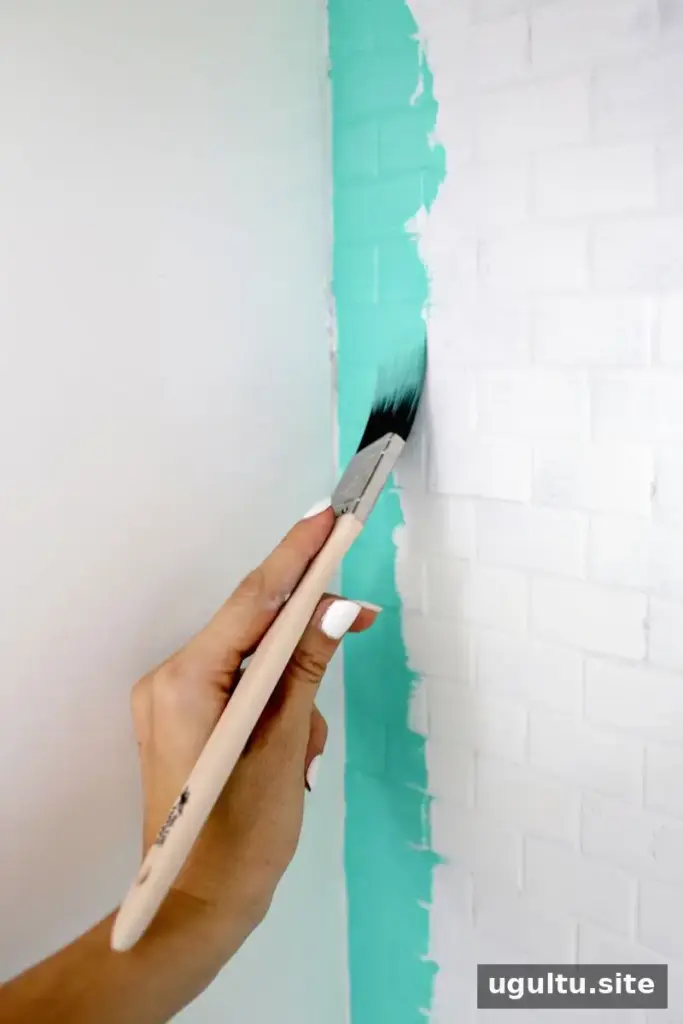
Hardener can shorten drying time and make the dried coating harder, but it also reduces the available painting time. With hardener, the working time was about 30 minutes. If the backsplash will take longer to coat, mix smaller batches as needed, following the product label.
Use a small trim brush around the edges and a clean 1/4-inch nap roller for the tile. As with the primer, work promptly and do not roll back over paint that has begun to dry. Once the first topcoat is dry, apply a second topcoat.
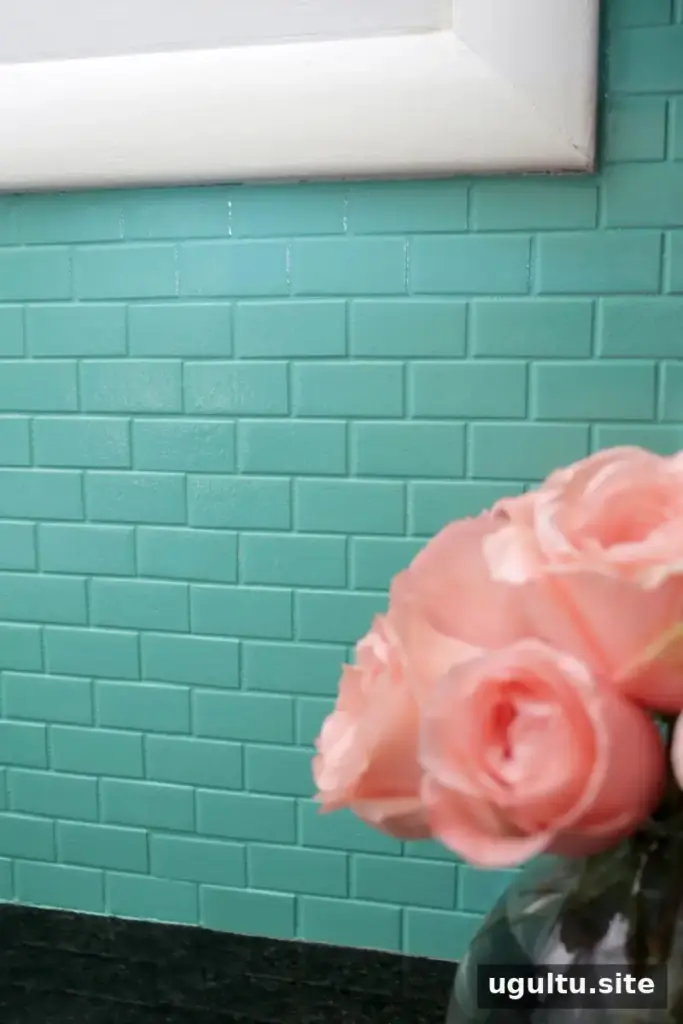
What to expect from a painted tile backsplash
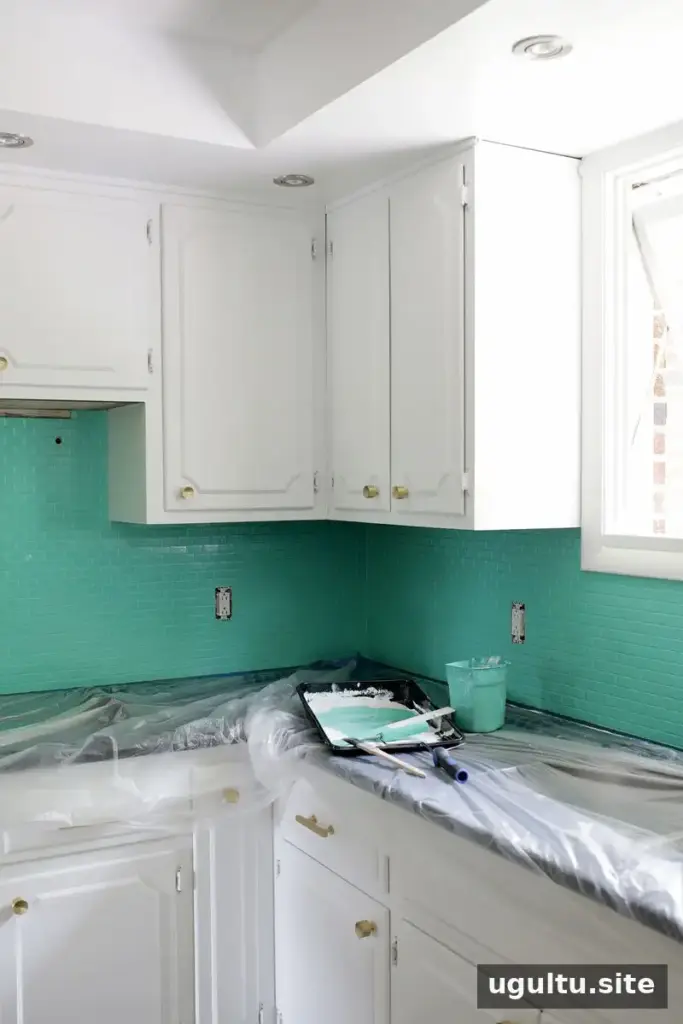
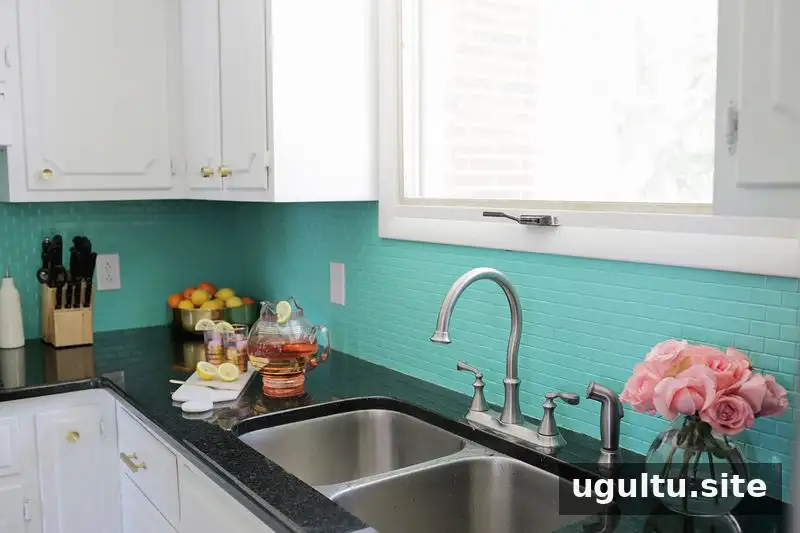
A fresh coat of glossy color can give a kitchen a cleaner, brighter look without the expense of removing and replacing the backsplash. In this project, the green shade added contrast to a mostly neutral room, and the high-gloss finish made the tile look more polished.
Allow the coating to dry and cure according to the manufacturer’s instructions before cleaning or using the surface. Careful preparation, thin coats, appropriate ventilation, and patience between steps are key when you paint a tile backsplash. The makeover refreshed the kitchen while leaving more of the renovation budget available for other projects.
Author: Laura


