admin
Learning how to paint tile floors can help refresh dated ceramic flooring without the cost and disruption of removing and replacing it. With thorough cleaning, a floor-specific coating, and enough time for the finish to cure, painting can be a practical update for a sound floor in a bathroom, laundry room, or other lower-traffic space.
This guide covers the materials, preparation, painting, stenciling, and care involved. Painted tile is not a substitute for repairing loose or damaged flooring, and it may need more care than a new tile installation.
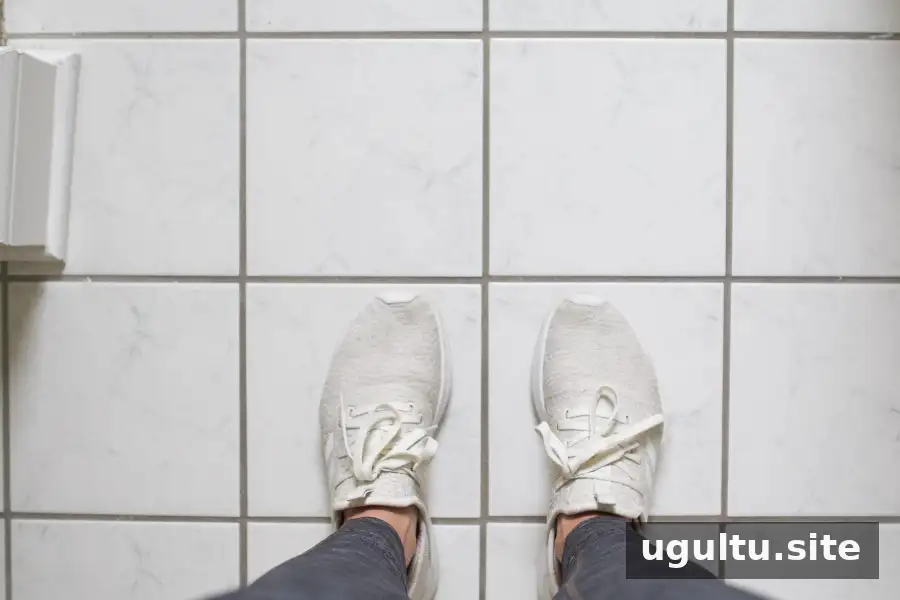
Ceramic tile before painting
What to Know Before Painting Tile Floors
Painting may be worth considering when the existing tile is firmly attached and you want a lower-cost change while postponing a larger renovation. It is less suitable for cracked, lifting, or heavily damaged tile, or for a floor that must withstand intense use with very little maintenance.
Painted tile floors can hold up when they are properly prepared and treated gently during curing, but results depend on the floor, the coating system, and how it is used. Check the product label to confirm that it is suitable for your tile and location. Floor paint is not automatically suitable for shower surfaces or other areas that remain wet.
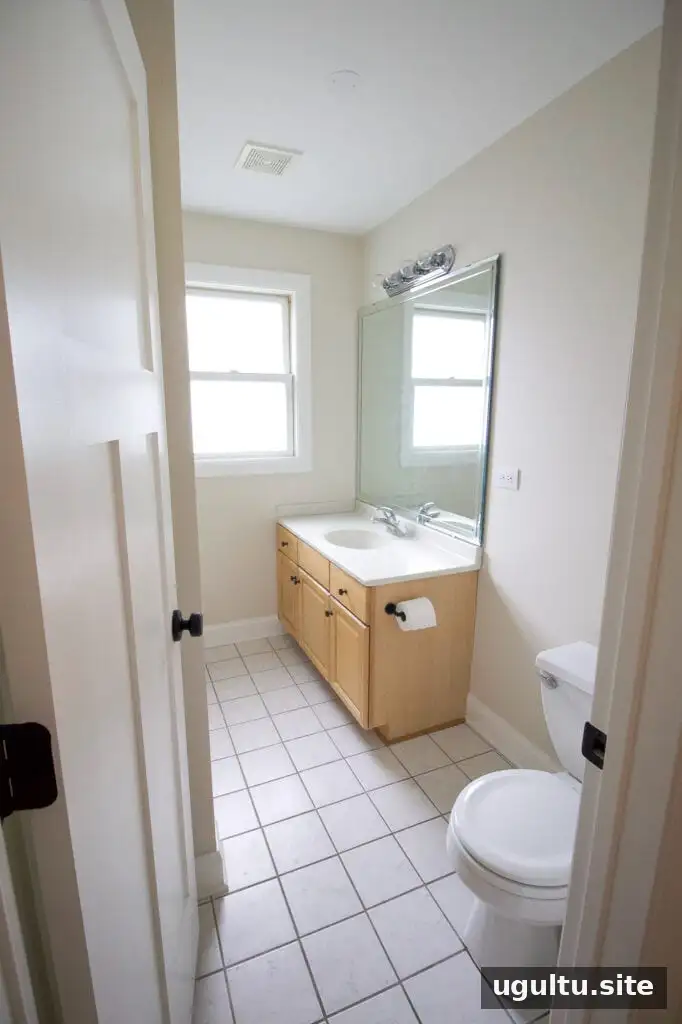
Before: A Worn Ceramic Tile Floor
The bathroom floor had original ceramic tile from a late-1990s addition, with stained grout and visible wear. Since replacing the tile was not part of the budget, painting offered a way to change the room’s appearance without removing the existing floor.
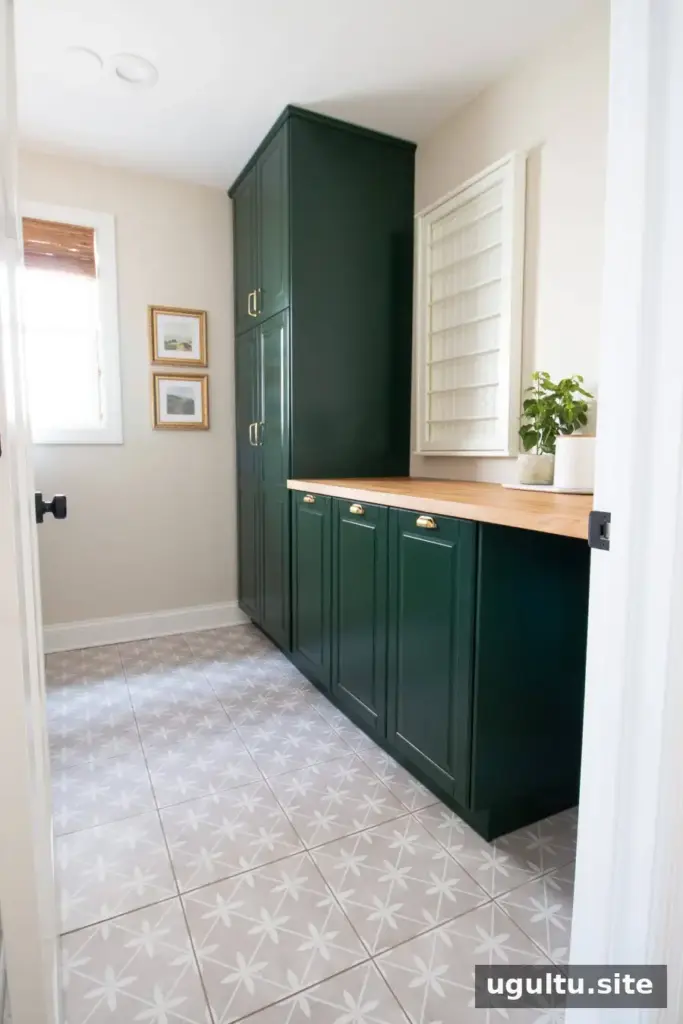
A patterned floor in the nearby laundry room provided a design reference. Coordinating the bathroom pattern with the adjoining space helped the two rooms feel connected.
How to Paint Tile Floors: Supplies and Tools
Set aside a weekend for the work, including preparation and drying time. The actual schedule depends on the coating instructions and conditions in the room.
- Coating: Rust-Oleum HOME Base Coat in Coastal Fog and Steam Gray, and Rust-Oleum HOME Top Coat in Matte
- Cleaner: Krud Kutter
- Design materials: Stencil
- Tools: Scrub brush, rags or microfiber cloths, painter’s tape, paint tray, roller, 3/8-inch and 1/4-inch nap roller covers, paint brush, stencil brush, and small artist paint brushes
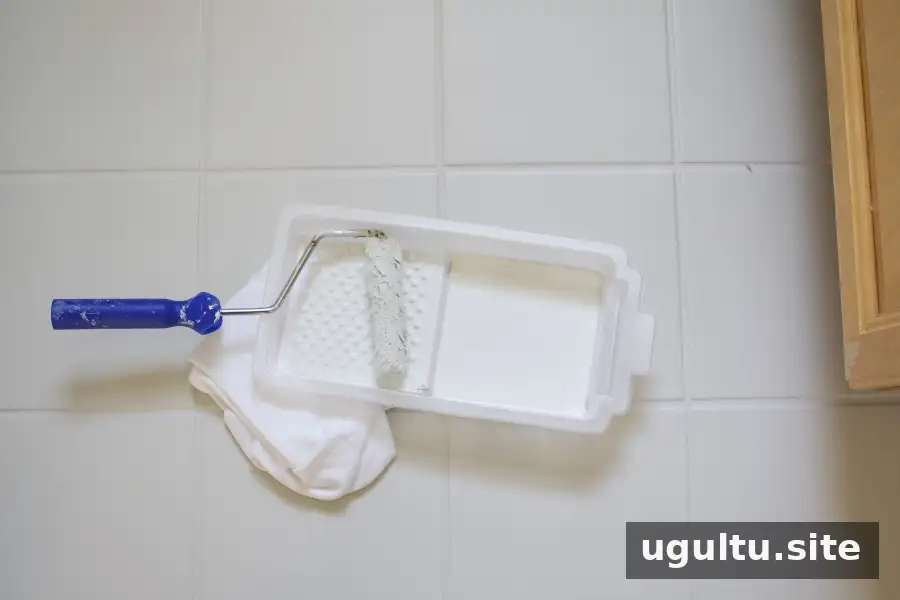
Choose a Coating Made for Floors
Use a floor coating designed for the surface rather than ordinary wall paint. Basic latex wall paint is not formulated for regular foot traffic and can wear quickly. Rust-Oleum HOME Floor Coating is made for floors and is listed for surfaces including wood, tile, vinyl, laminate, concrete, and linoleum. Always confirm that the specific product is appropriate for your flooring and follow its current instructions.
Epoxy coatings are another option, but they can be more involved to apply. For this project, the selected colors were Coastal Fog for the base and Steam Gray for the stencil pattern. The top coat is a separate, essential layer in this coating system; it is available in matte or semi-gloss finishes.
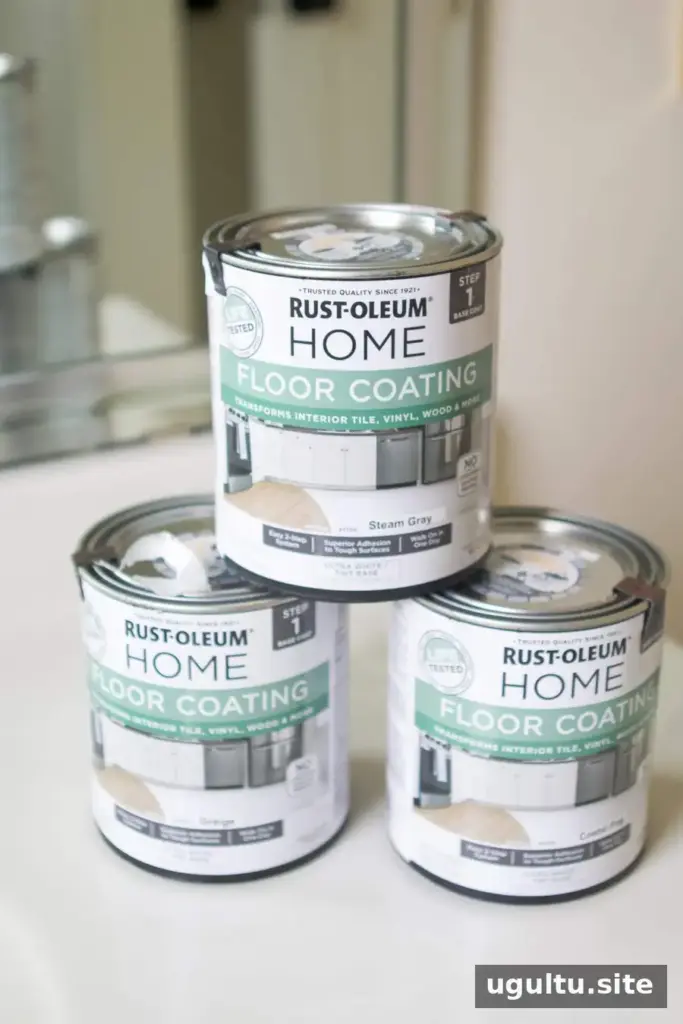
Three shades were considered before settling on the final combination.
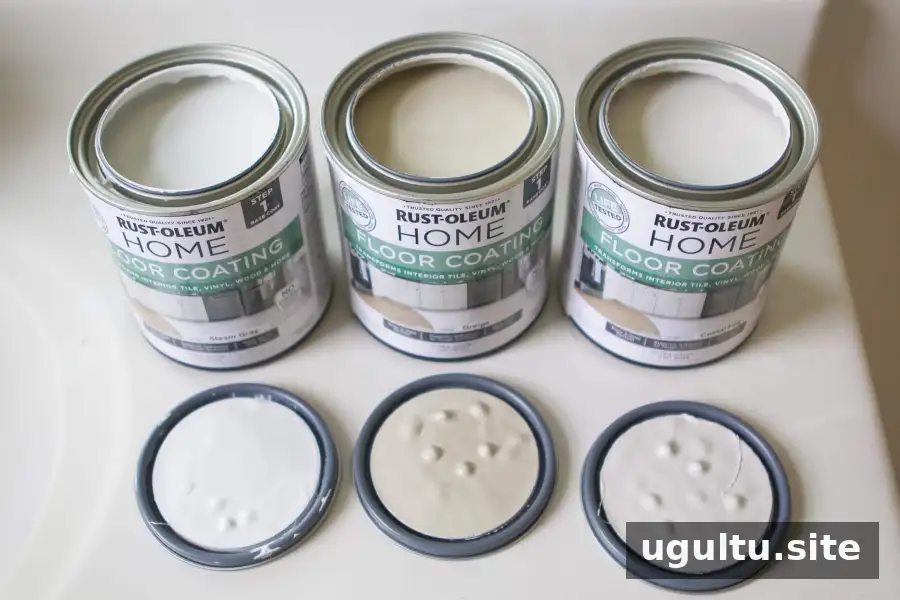
From left to right: Steam Gray, Greige, and Coastal Fog. The floor used Coastal Fog as the base color and Steam Gray for the stencil.
How Much Floor Paint Do You Need?
Estimate the amount based on the floor’s square footage and how absorbent the tile and grout are. Plan for two base coats if needed for even coverage, the stencil color, and the clear top coat. Check the manufacturer’s coverage guidance and consider having a small amount extra so you do not run short partway through.
Step 1: Clean and Prepare the Floor
Good adhesion starts with a clean surface. Vacuum the floor first, then clean the tile and grout with Krud Kutter according to the label directions. Use a scrub brush to reach grout lines and edges.
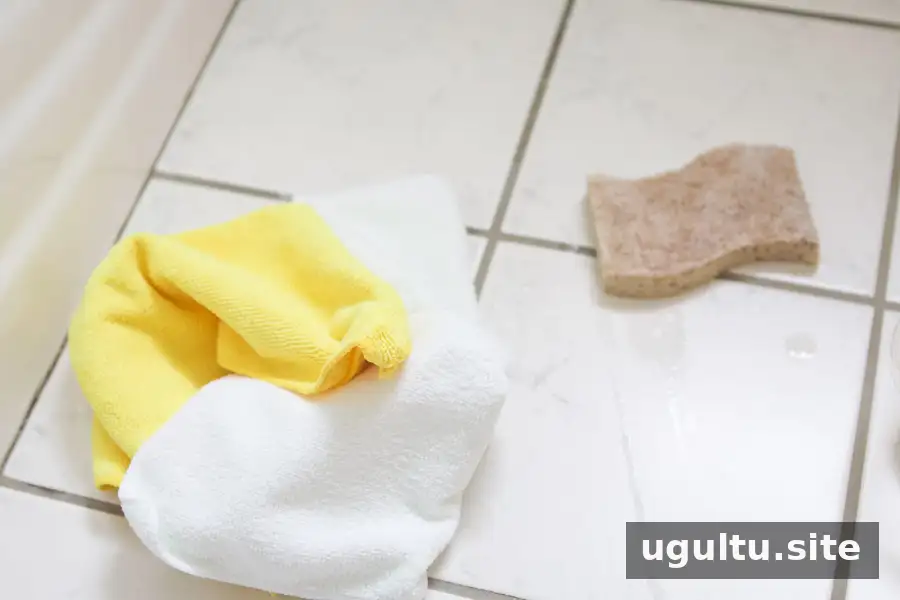
Wipe the floor again with clean water and a mild soap solution if appropriate for the cleaner, using a clean cloth or soft sponge to remove residue. Avoid leaving cleaning product behind, as residue can interfere with adhesion. Let the floor dry completely before painting.
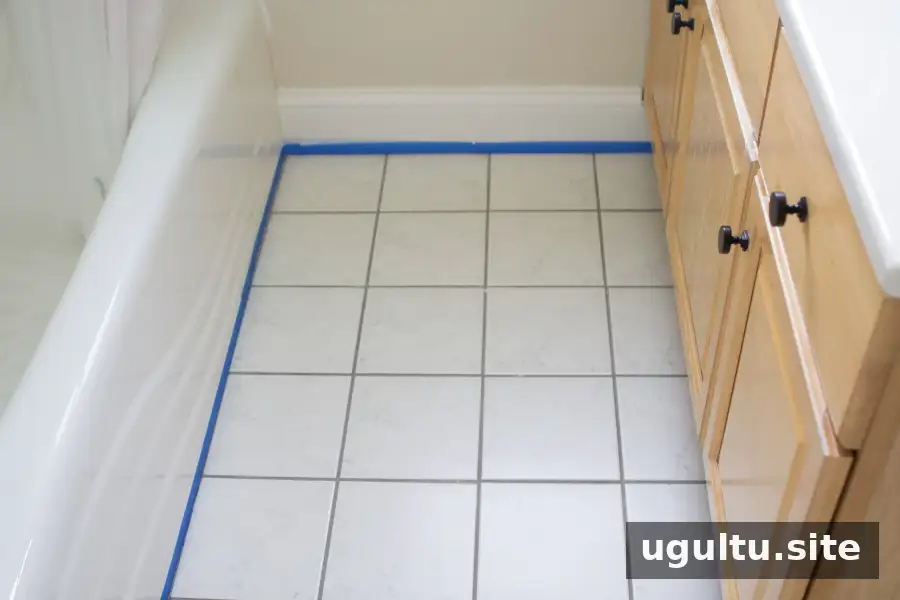
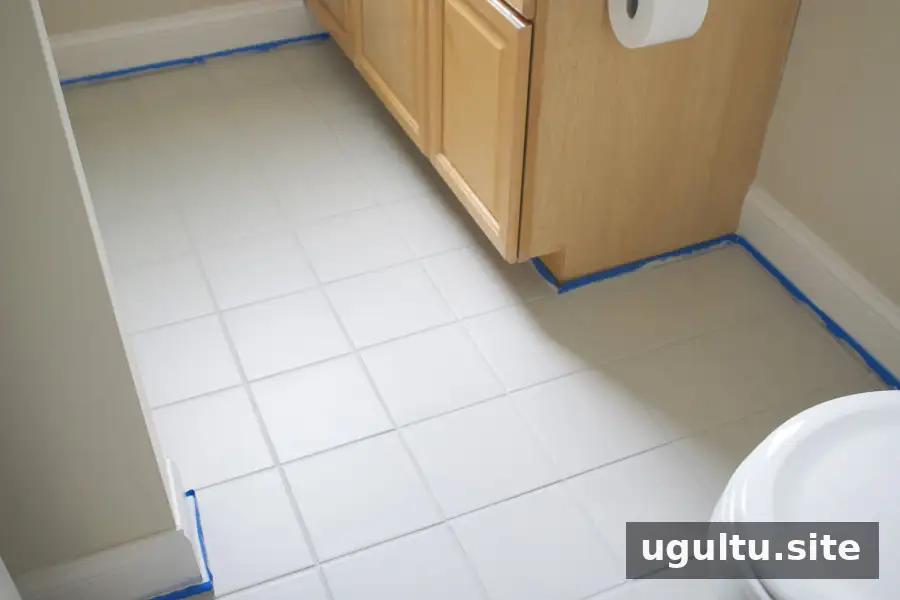
Apply painter’s tape along baseboards, the vanity, toilet, and other surfaces that should not be painted. If there are gaps at the baseboards, a thin bead of paintable caulk can create a neater edge. Allow it to dry as directed before applying the floor coating.
Step 2: Apply the Base Coat
Work in small sections so you can maintain a wet edge and keep track of the areas already covered. Brush the edges and use a 3/8-inch nap roller on the main floor. Apply an even layer without allowing paint to puddle.
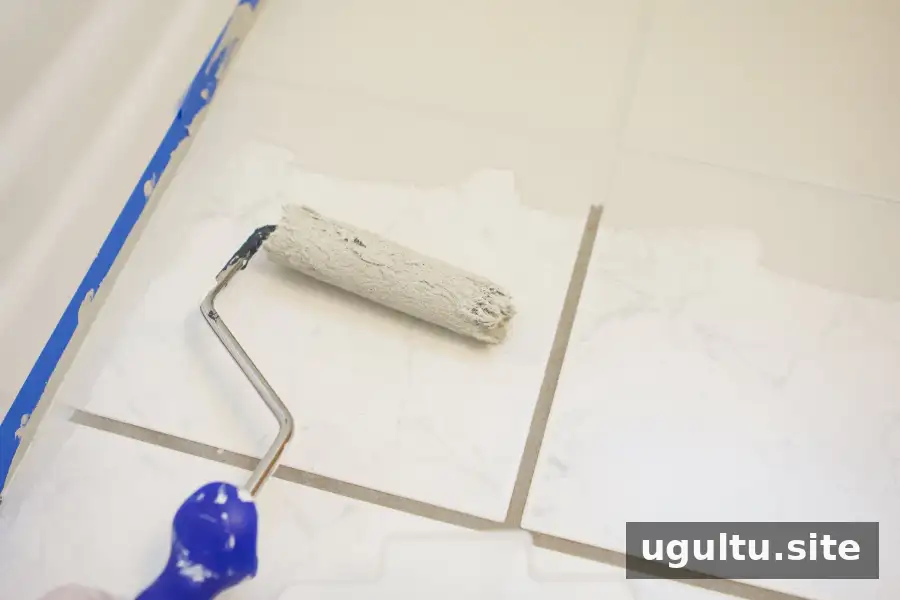
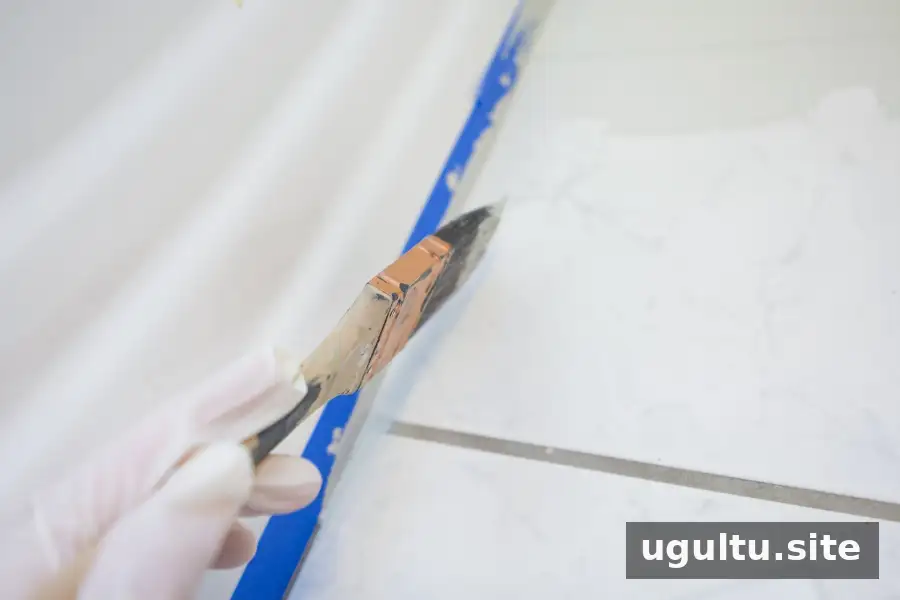
Starting at the far wall and working toward the exit can help avoid stepping on freshly painted areas. Knee pads or a folded towel can make working close to the floor more comfortable.
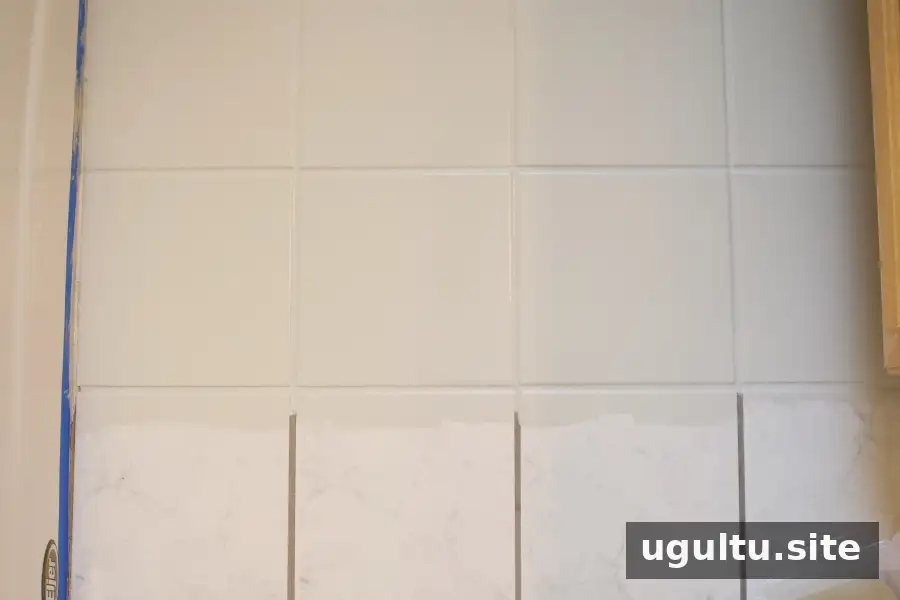
One coat may be recommended by the product directions, but a second coat can help where coverage looks uneven. In this project, the second coat was applied after waiting six hours, then left to dry overnight. Follow the exact recoat interval on your product label; do not assume every coating has the same timing.
Step 3: Stencil the Tile
Wait until the base coat is dry enough for stenciling according to the coating instructions. A stencil can add a patterned-tile effect, but test the placement and paint amount on a spare surface first if possible.
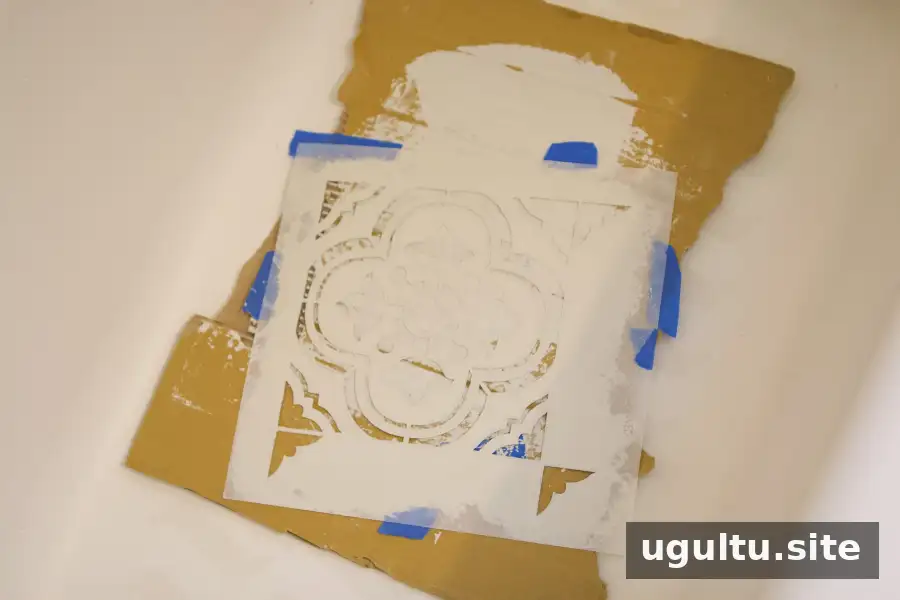
Keep scrap cardboard nearby as a clean resting place for the stencil between tiles. It can also help protect the floor and provide a surface for wiping excess paint from the stencil. Having a second stencil available can be useful if one becomes heavily coated or needs cleaning before the work is finished.
Use a Small Amount of Paint
Load the roller lightly. Too much paint can seep beneath the stencil and blur the pattern. A small amount may cover several tiles before the roller needs more paint, so check the stencil frequently rather than reloading automatically.
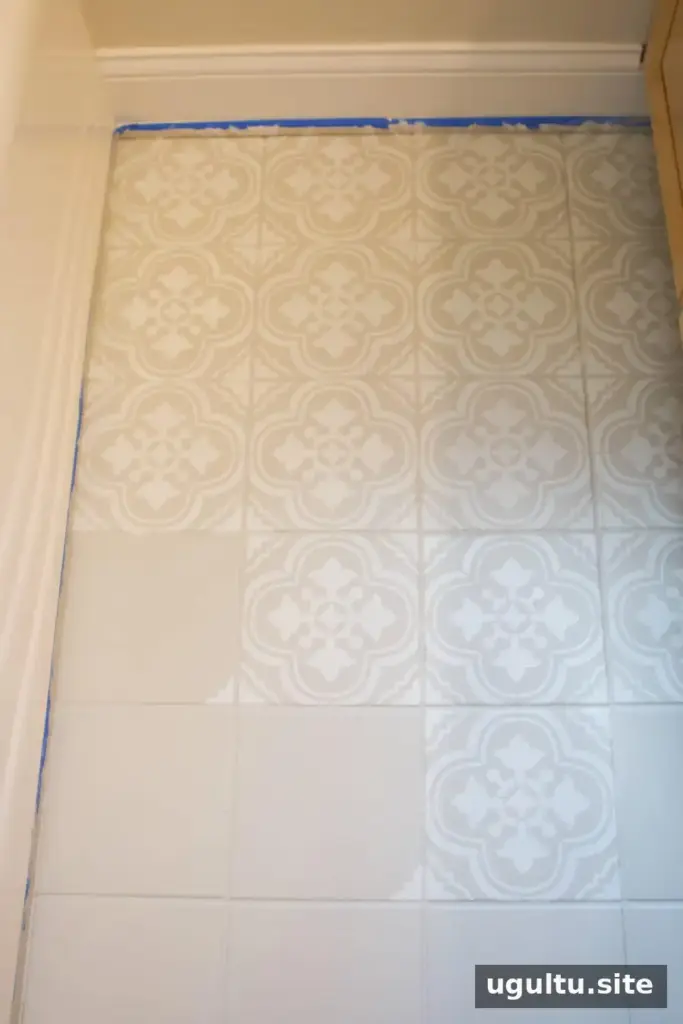
Stencil Edges and Corners
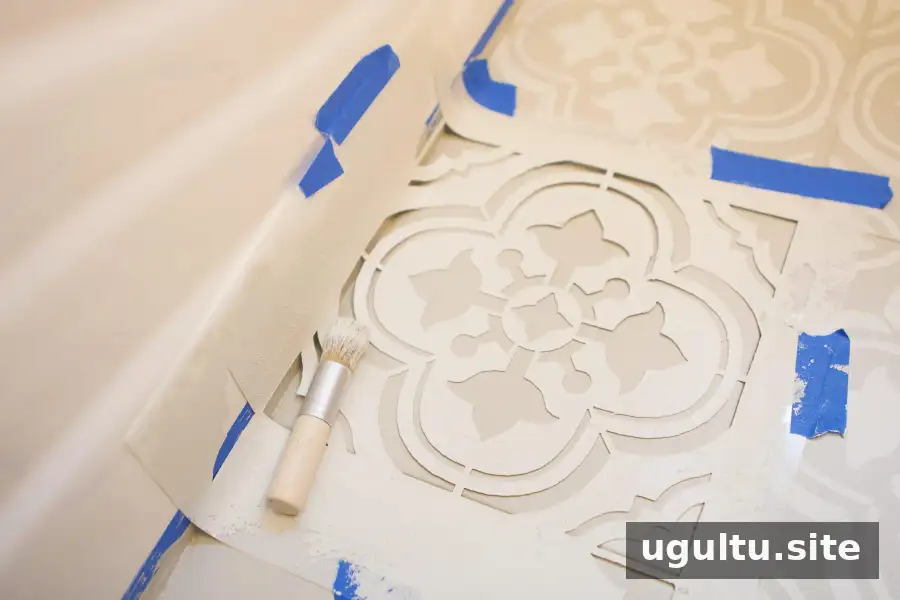
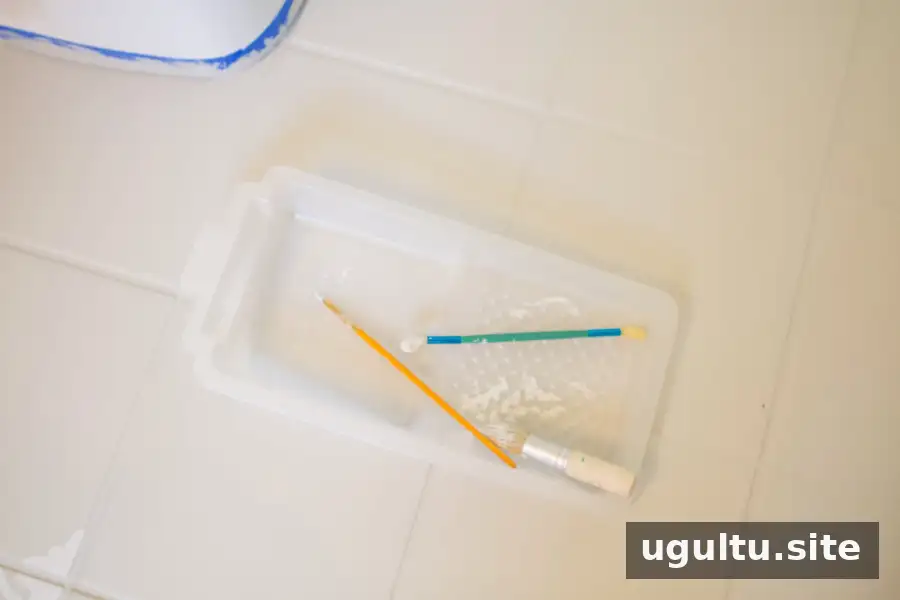
Edges and corners can be difficult to reach with a roller. Secure the stencil as well as possible, then use a stencil brush to dab paint carefully into the pattern. Small artist brushes can help refine minor imperfections.
Touch Up Mistakes Promptly
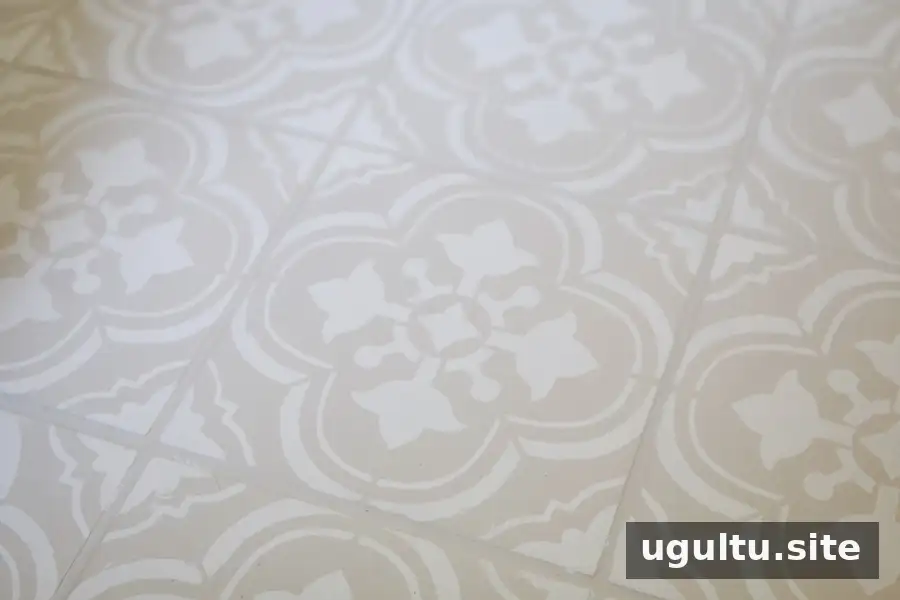
Inspect each section as you work, since it can be difficult to reach an earlier area after moving across the room. Remove misplaced wet paint with a damp cloth as soon as possible, provided the product instructions allow it. Let the completed stencil layer dry before applying the top coat.
Step 4: Apply the Protective Top Coat
The clear top coat protects the painted surface and helps make routine cleaning easier. The stenciled floor was left to dry overnight before this layer was applied. Follow the product’s specified drying time before coating.
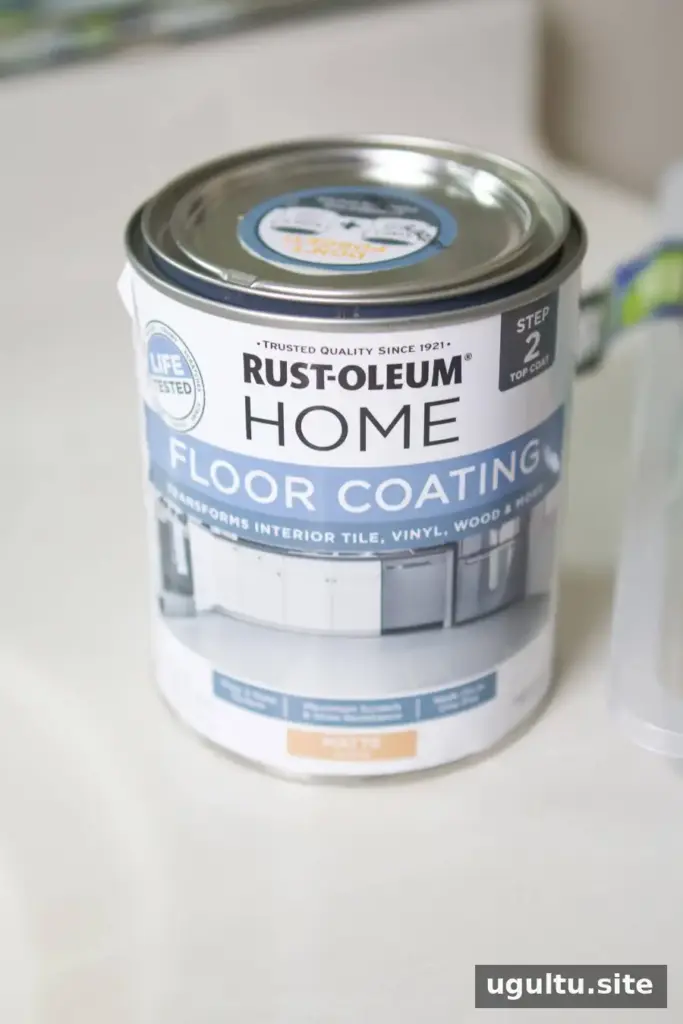
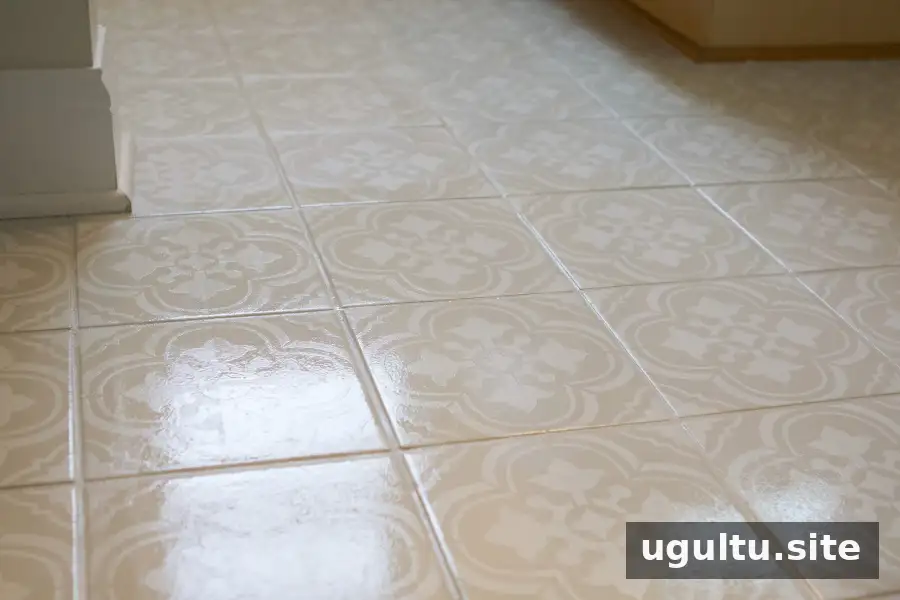
Use a 1/4-inch nap roller for the open floor and a brush along the edges. Work in manageable sections and avoid letting the coating pool. A wet appearance while applying the clear coat can be normal; the finish may look different once dry.
Allow the Floor to Cure
Dry to the touch does not mean fully cured. Give the coating several days before heavy use if possible, and treat the floor gently during the first week. Avoid dragging baskets or furniture across it, and do not place rugs with grippy backing on the surface during the early curing period. Use the product label’s cure time as your guide.
The Finished Bathroom Floor
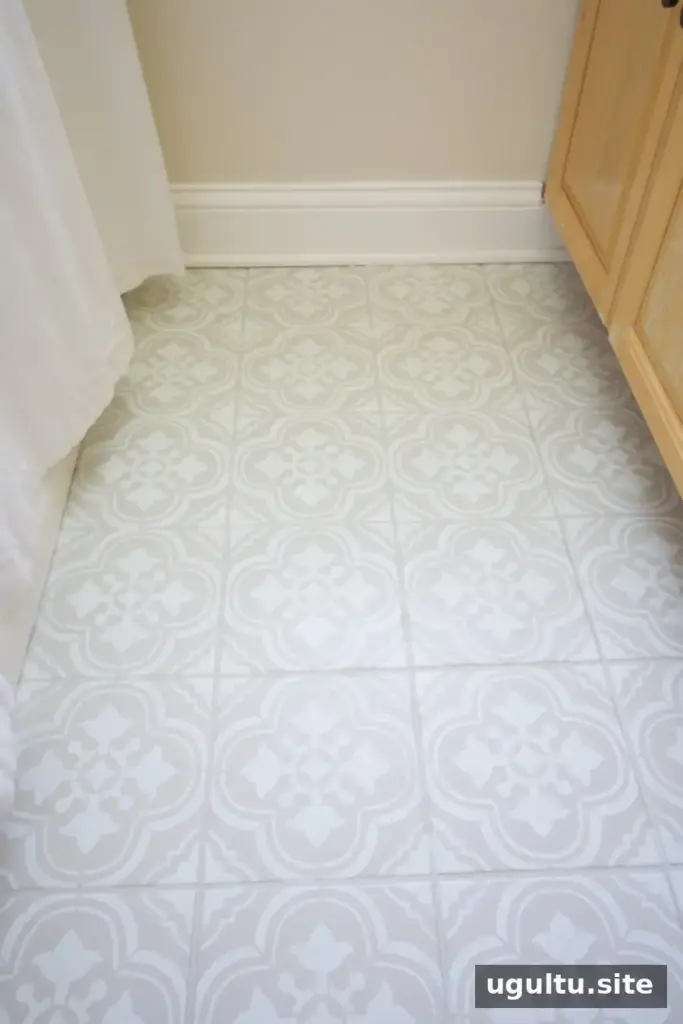
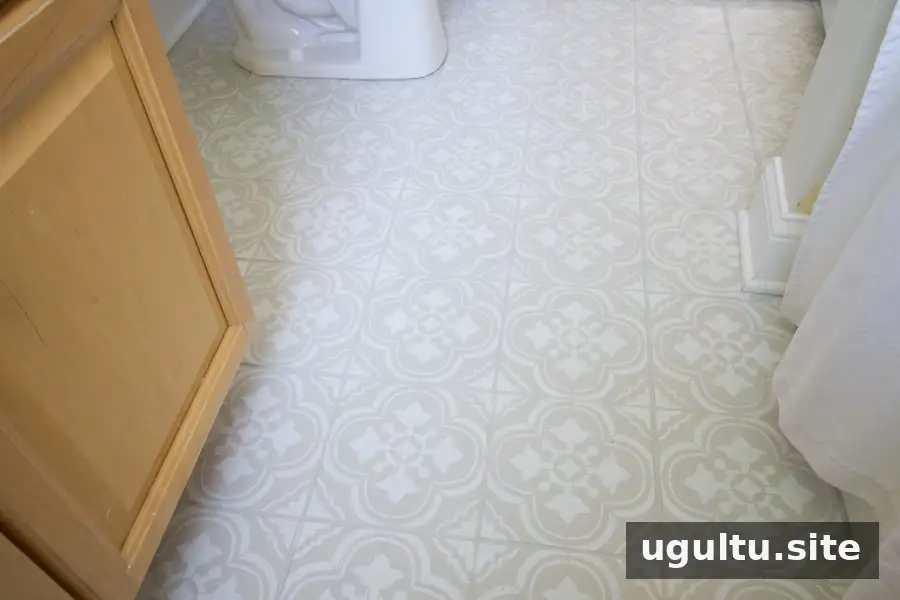
The finished floor has a patterned look that updates the bathroom without replacing the ceramic tile.
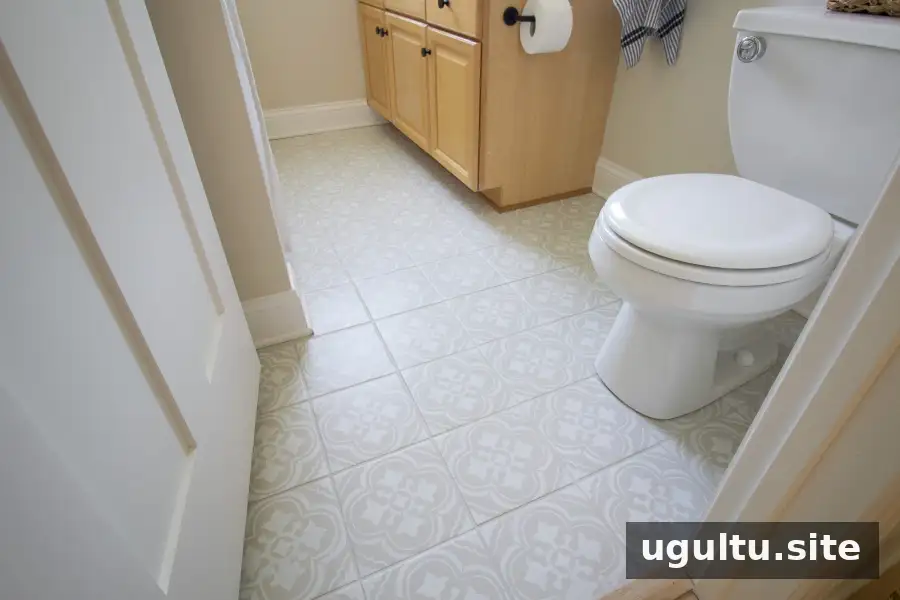
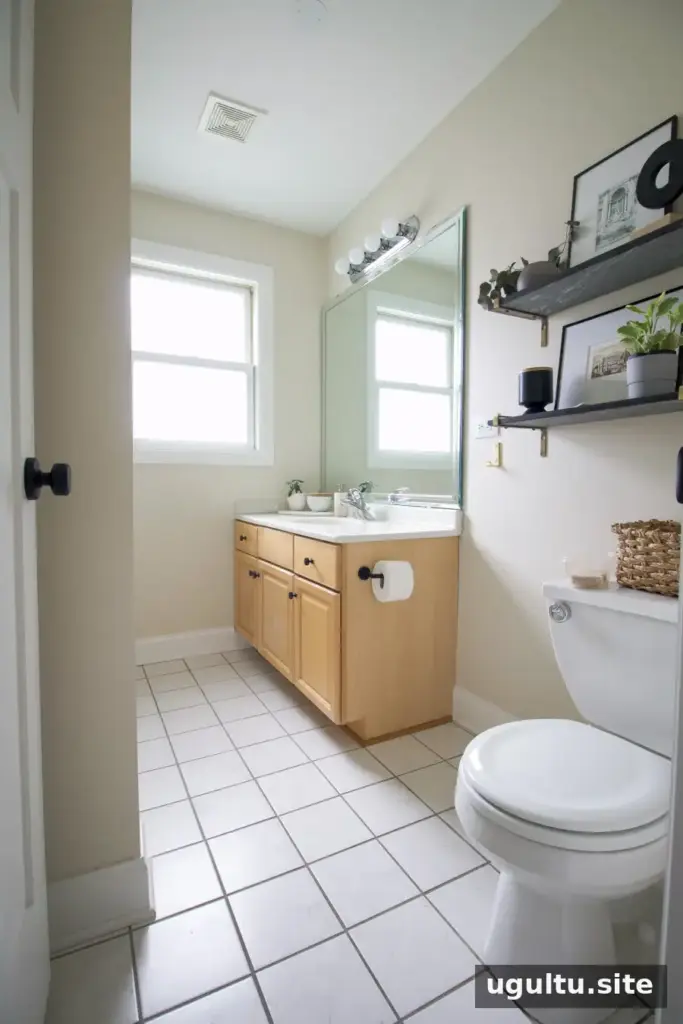
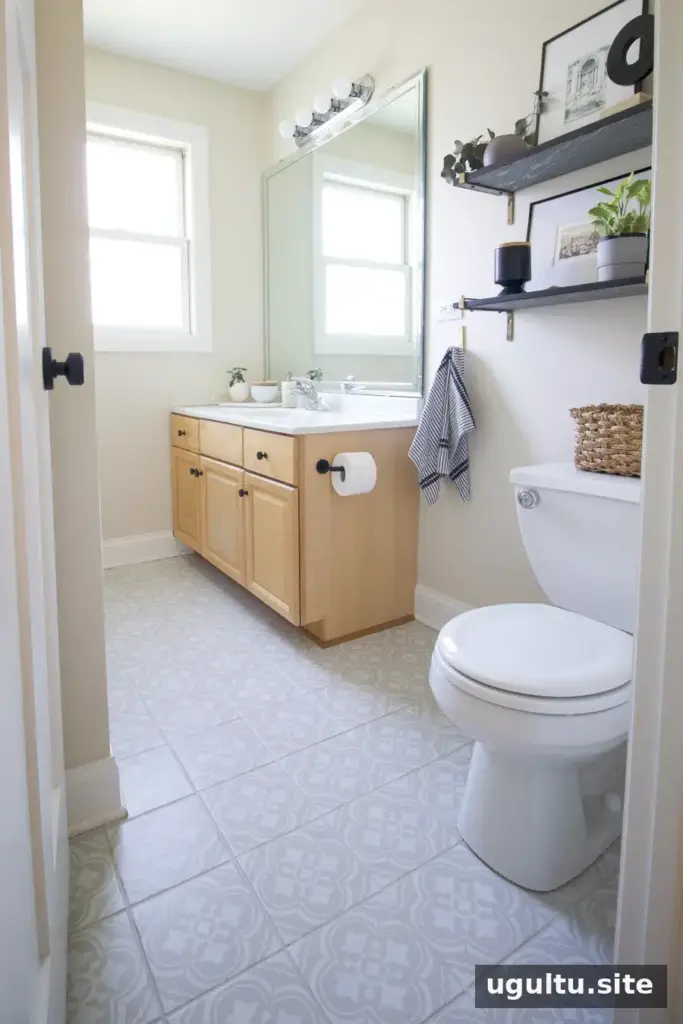
Before and After
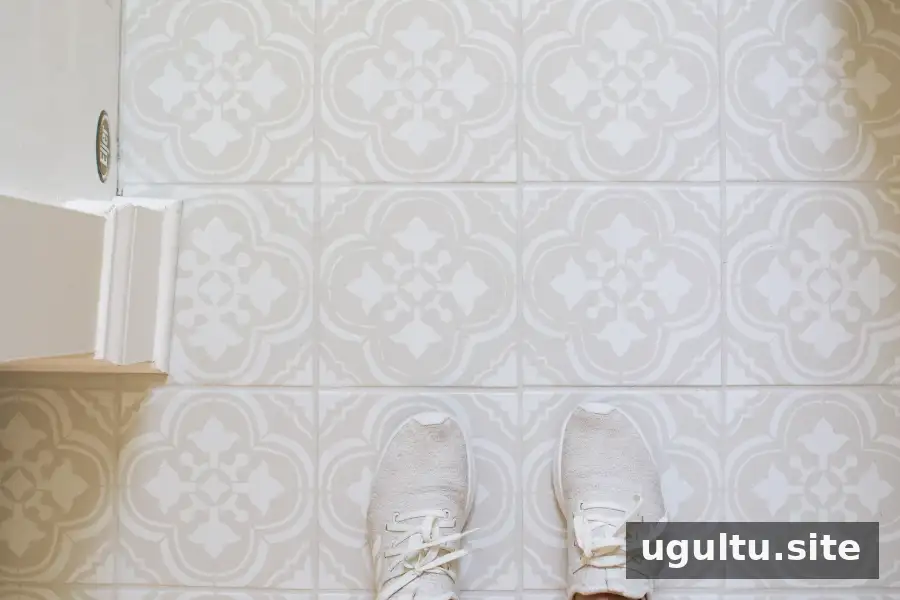
A fresh coating and stencil pattern can change the feel of a room while leaving the original tile in place. For best results, plan carefully, prepare thoroughly, and allow enough time for drying and curing.
How to Care for a Painted Tile Floor
Gentle cleaning and avoiding scratches can help protect the finish. Keep these care tips in mind:
- Clean with mild soap and water; avoid abrasive cleaners and scrubbing tools.
- Avoid steam mops during the first couple of weeks.
- Add felt pads to furniture or other items that could scrape the floor.
- If the coating chips, touch up the base color, restore the stencil if needed, and reapply the compatible top coat according to product directions.
For a sound floor that needs a budget-conscious refresh, learning how to paint tile floors can provide a patterned, updated look without a full tear-out. Check that the coating is suitable for the space, follow the manufacturer’s preparation and recoat instructions, and protect the finish while it cures.
By Casey
More in the Budget Bathroom Project
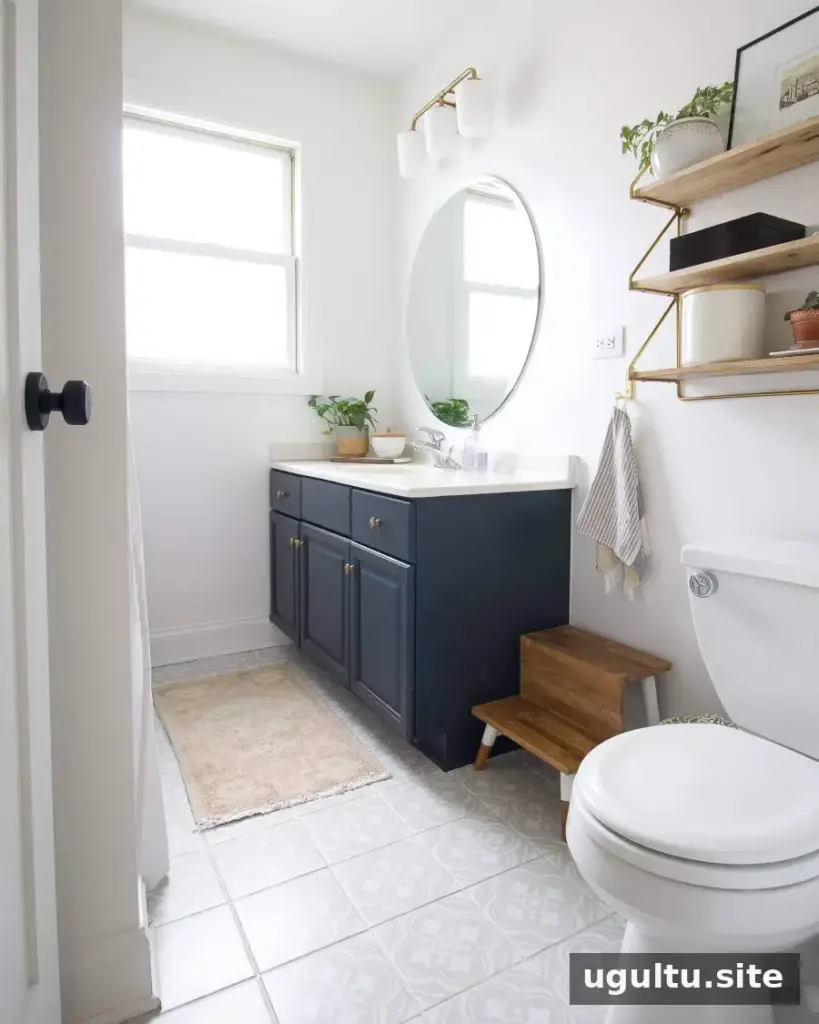
- Before and design plan
- Painting tile floors
- How to paint a vanity
- The budget bathroom reveal