admin
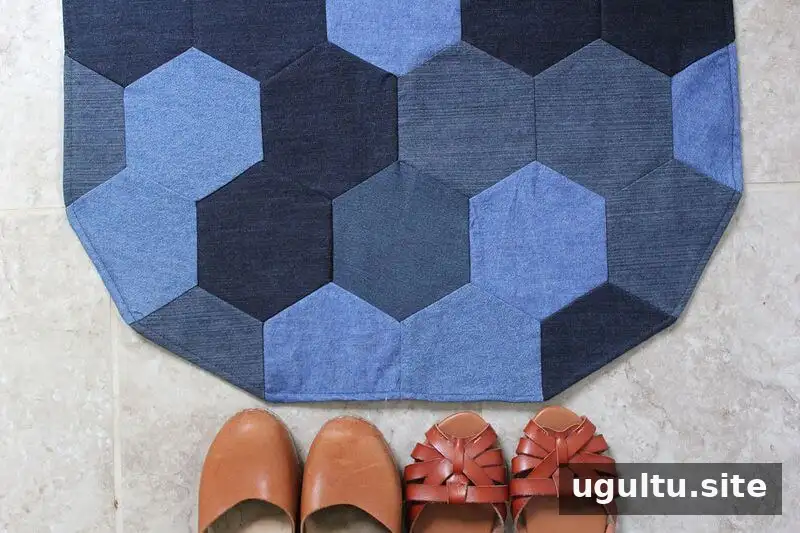
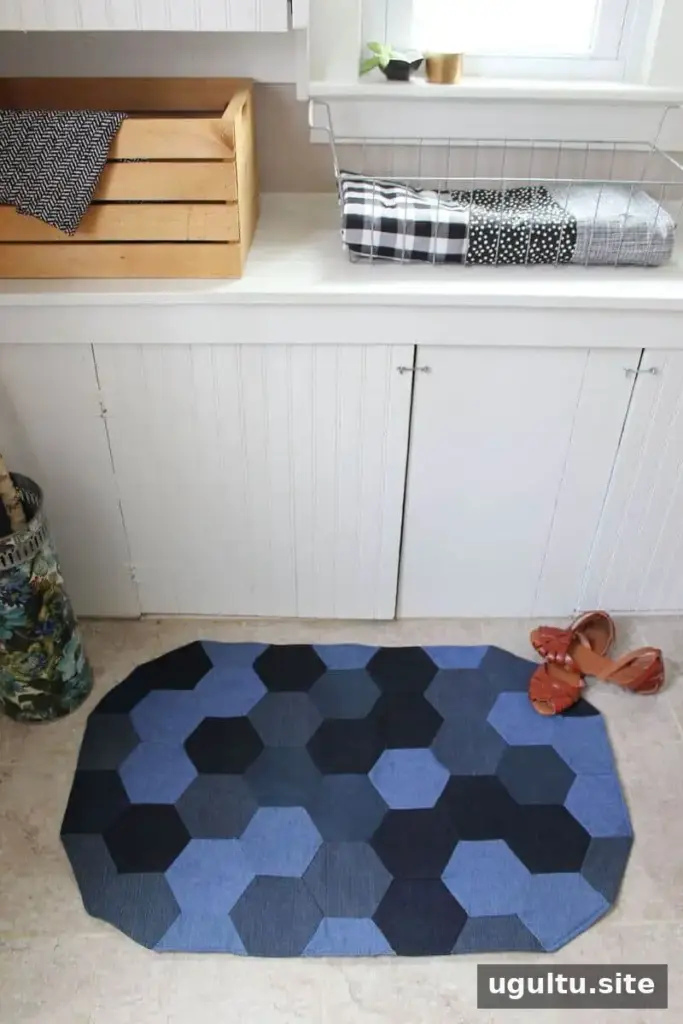
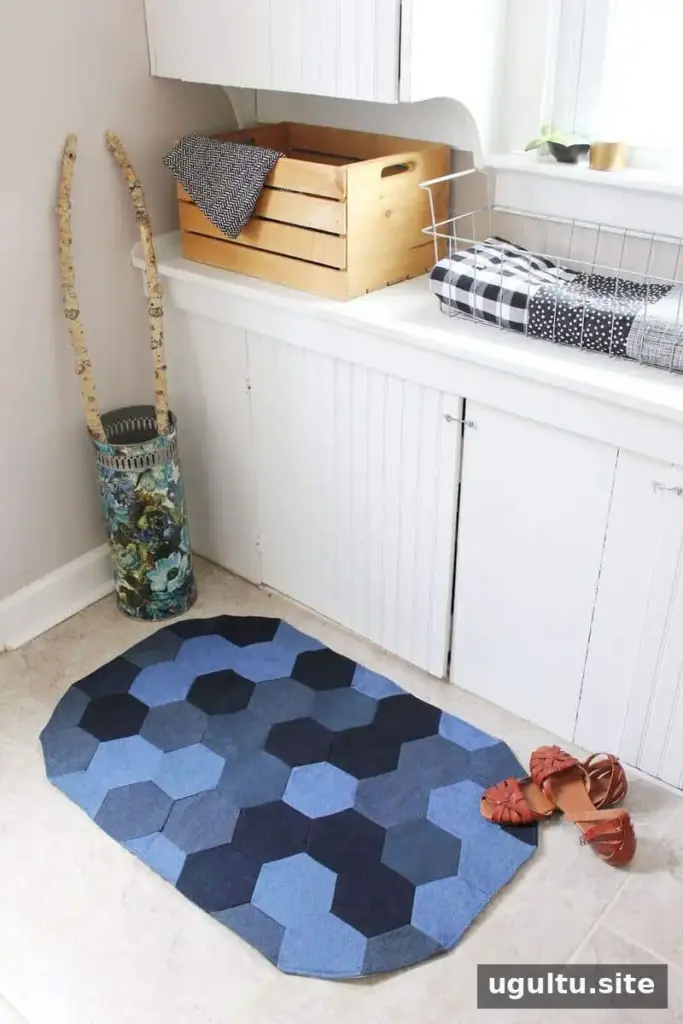
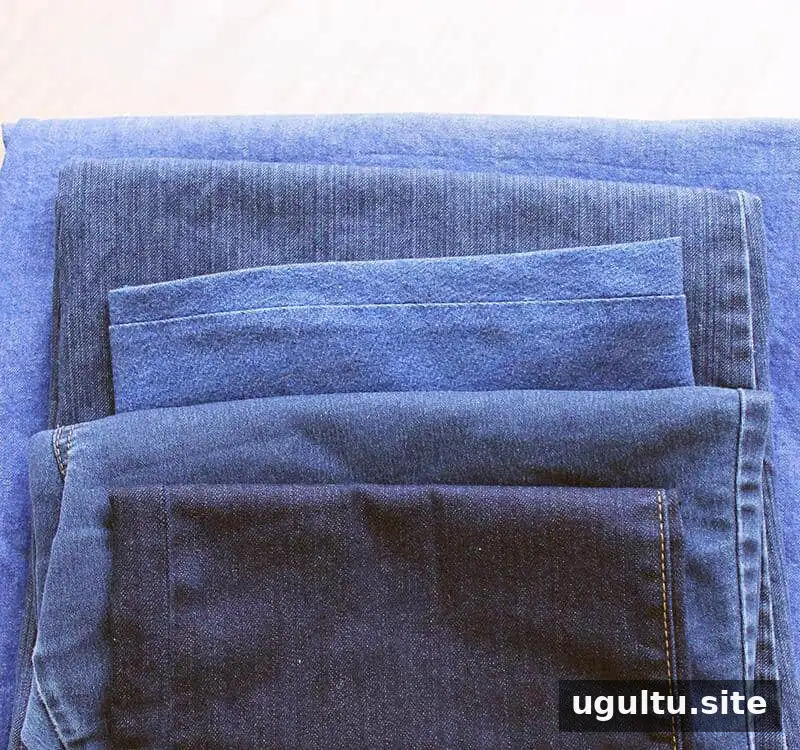
Learning how to sew a denim rug is a practical way to turn worn jeans or other denim garments into a durable floor mat. This project uses a patchwork of blue denim hexagons, batting, and non-slip fabric. Reusing denim can keep material costs low, while buying fabric in different shades is another option if you do not have suitable garments on hand.
Like a small quilt, the mat is assembled from fabric pieces and finished with a backing. Careful pinning and leaving a little room at the hexagon corners will help the patchwork lie flat.
How to Sew a Denim Rug: Supplies
Gather the materials and tools before you begin. Using a few shades of denim creates a varied patchwork; choose clean, sturdy fabric without thin or badly worn areas.
- Denim in 5–7 different shades of blue, from old jeans, shirts, dresses, or new fabric.
- One yard of cotton batting. You can use two layers for a softer mat.
- One yard of grip-tight cloth for the backing.
- One skein of embroidery thread.
- A hexagon template sized for your desired rug.
- Straight pins.
- A self-healing cutting mat, acrylic ruler, and rotary cutter for cutting the denim.
- An iron and sewing machine or other suitable sewing setup.
Before cutting, check that the denim is clean and free from weak spots. If you are using recycled garments, remove bulky seams and plan your template placement to make efficient use of the fabric.
Cut and Arrange the Denim Hexagons
Steps 1–3: Make the pieces
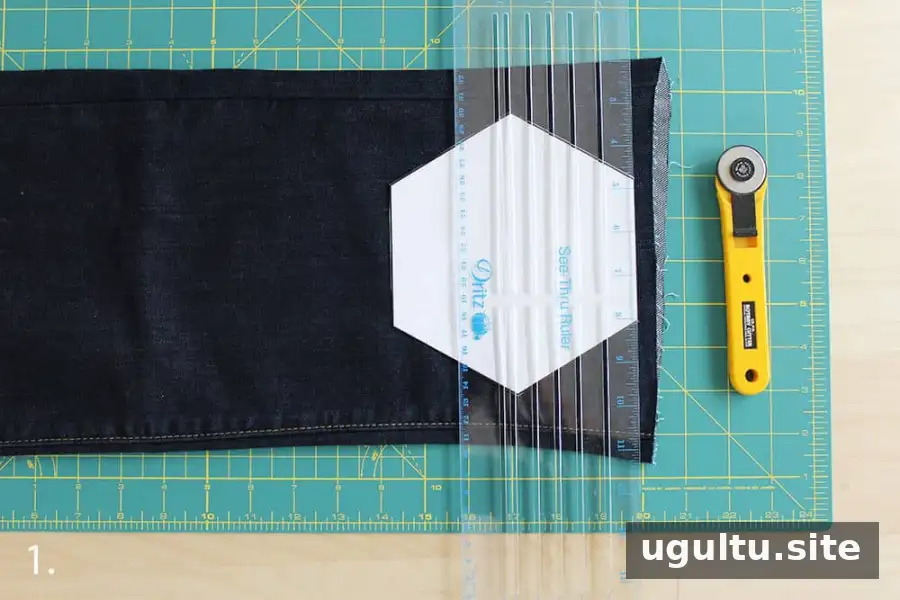
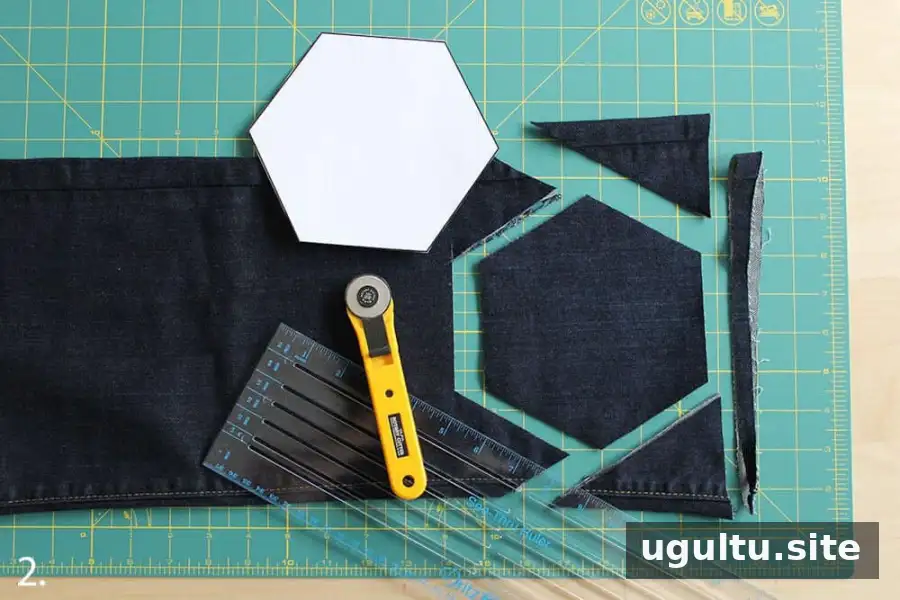
- Prepare the template. Print and cut out your hexagon template. Place the denim on a self-healing mat and use an acrylic ruler and rotary cutter to cut through at least two layers at a time. Keep your fingers clear of the blade.
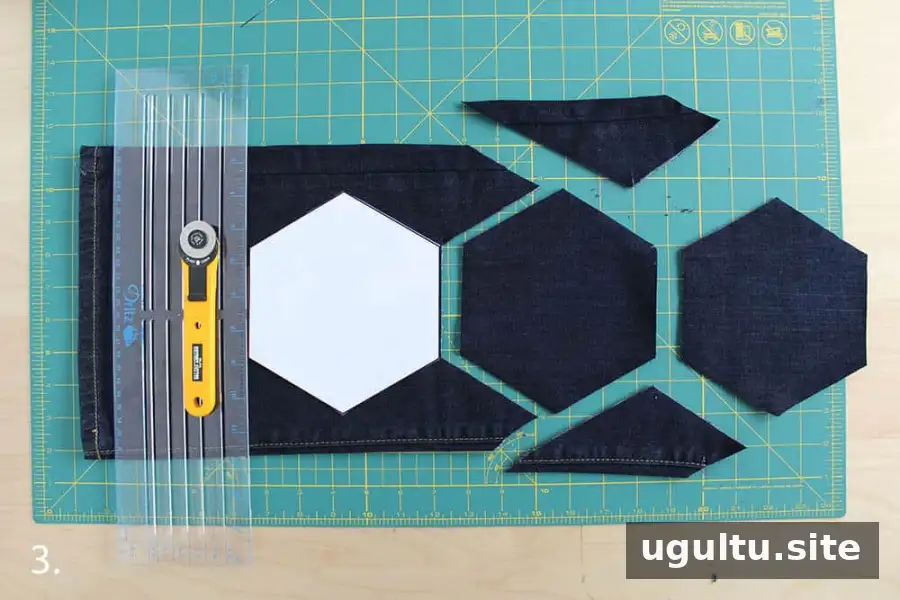
- Position the template efficiently. When cutting from jeans, use a hexagon shape with flat sides rather than points at the sides. This layout can help you fit more pieces on each pant leg.
- Cut about 50 hexagons. The finished project uses 46 pieces, but cutting a few extra gives you options when arranging the shades.
Steps 4–5: Plan the layout
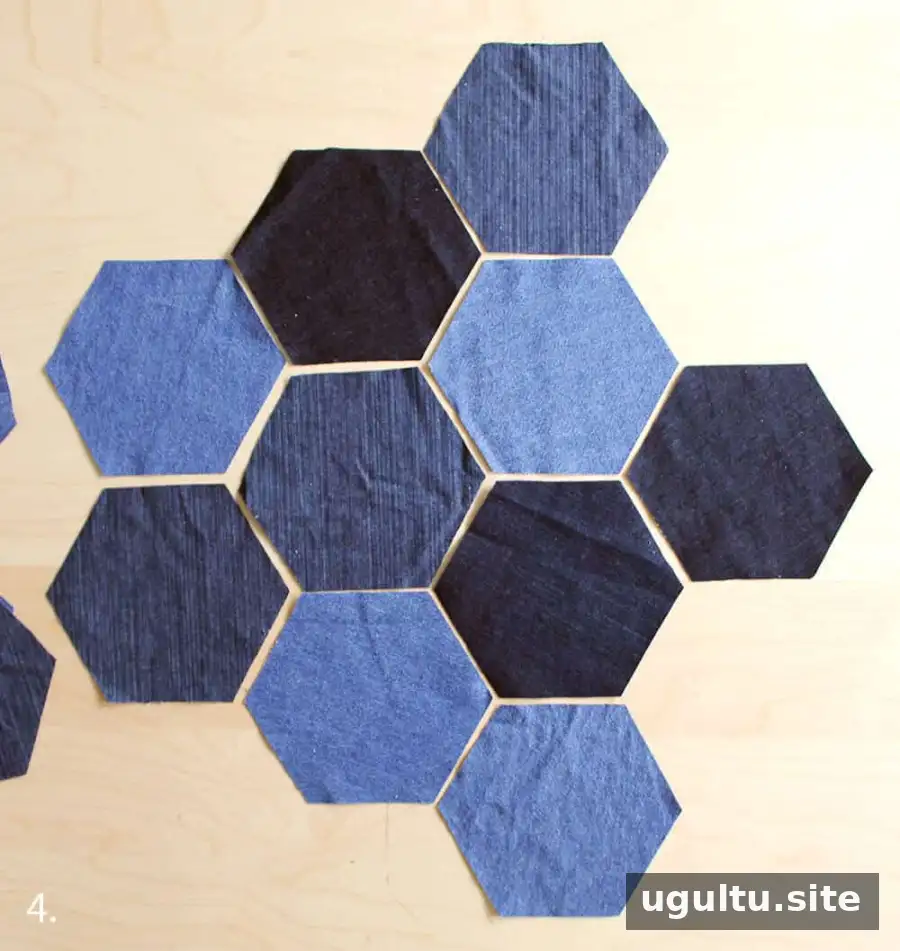
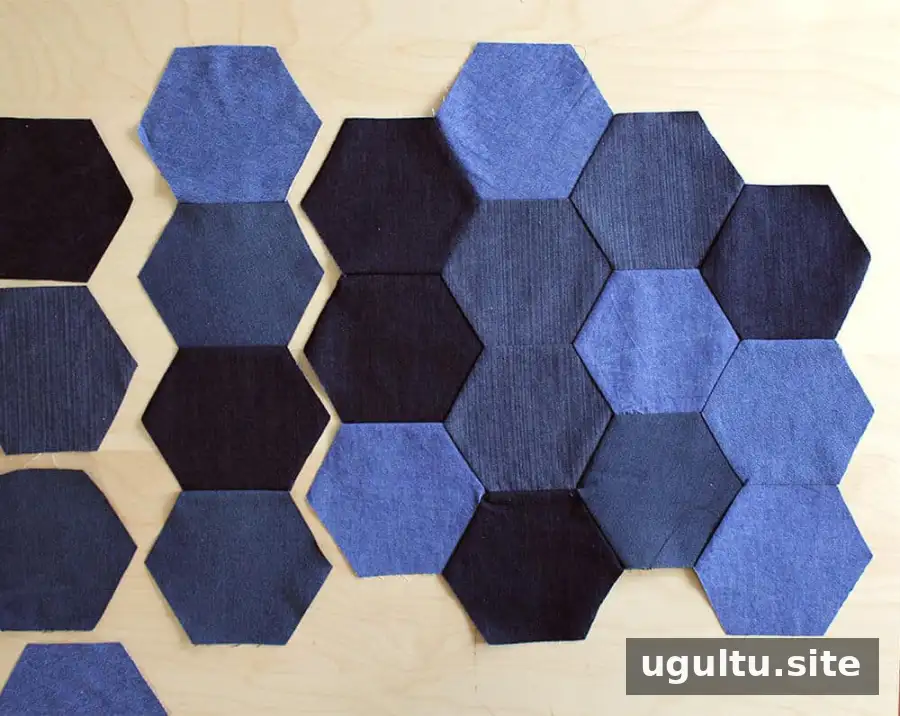
- Arrange the pieces. Make nine rows, alternating rows of five hexagons with rows of six. The extra edges will be trimmed later to create a smooth outline.
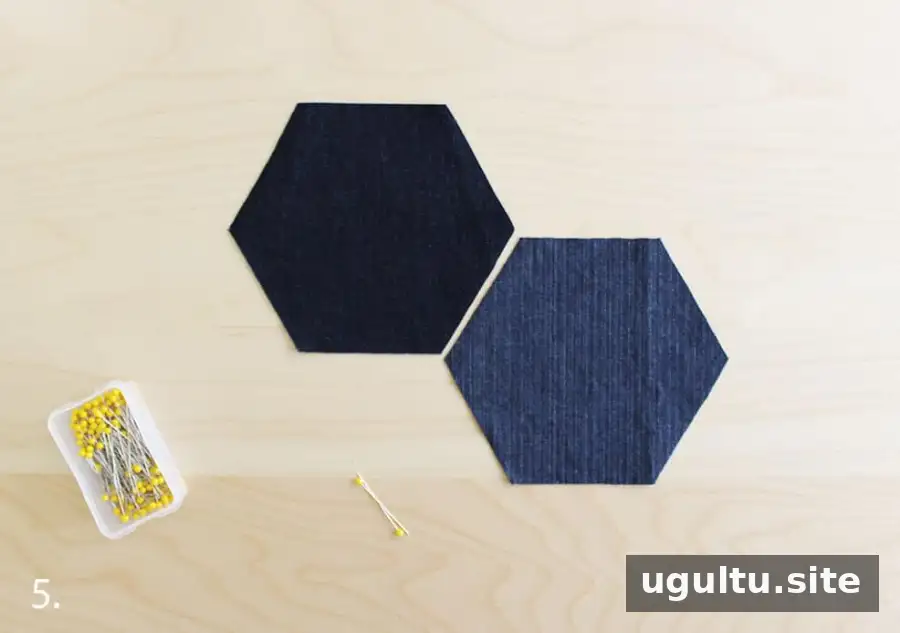
- Choose an edge to join. Line up one pair of hexagon edges. If the denim grain is visible, orient the pieces consistently for a more uniform look.
Sew the Hexagons Together
Steps 6–8: Join the first pieces
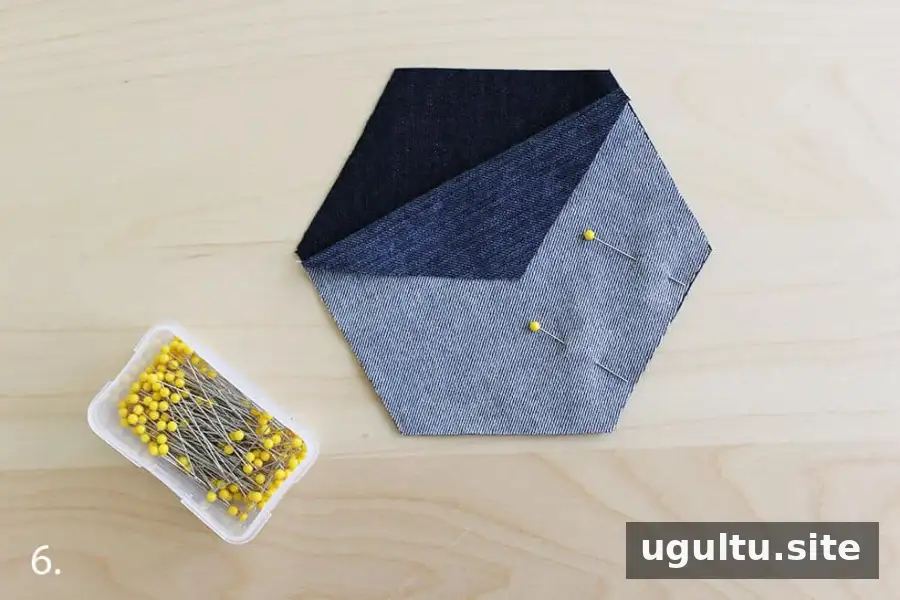
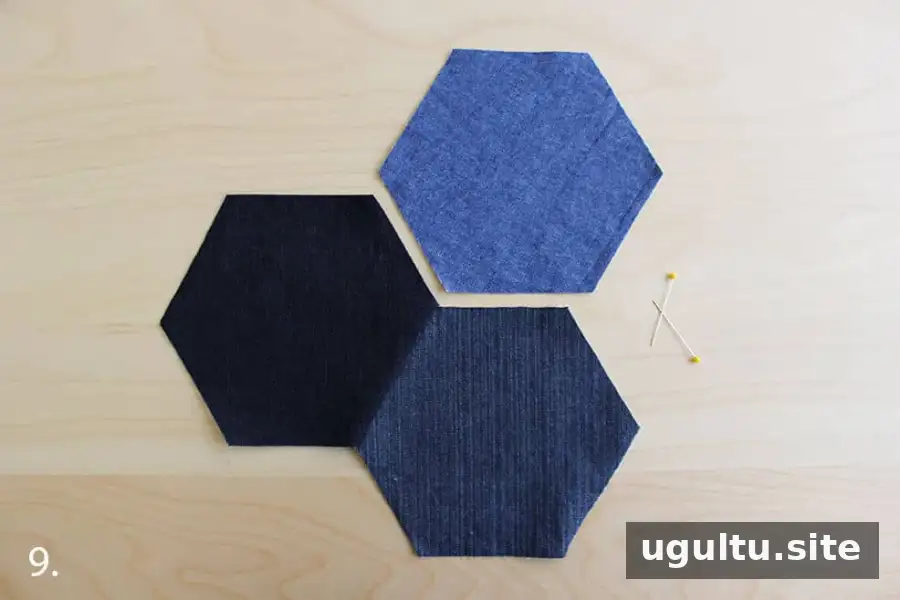
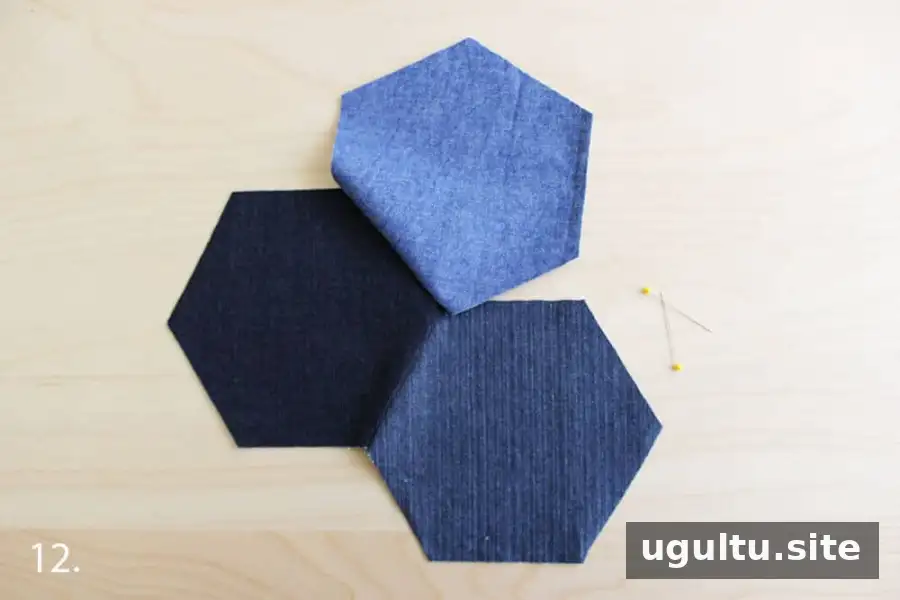
- Place the two hexagons with their right sides facing each other. Fold one piece over the other, align the edges, and pin them together.
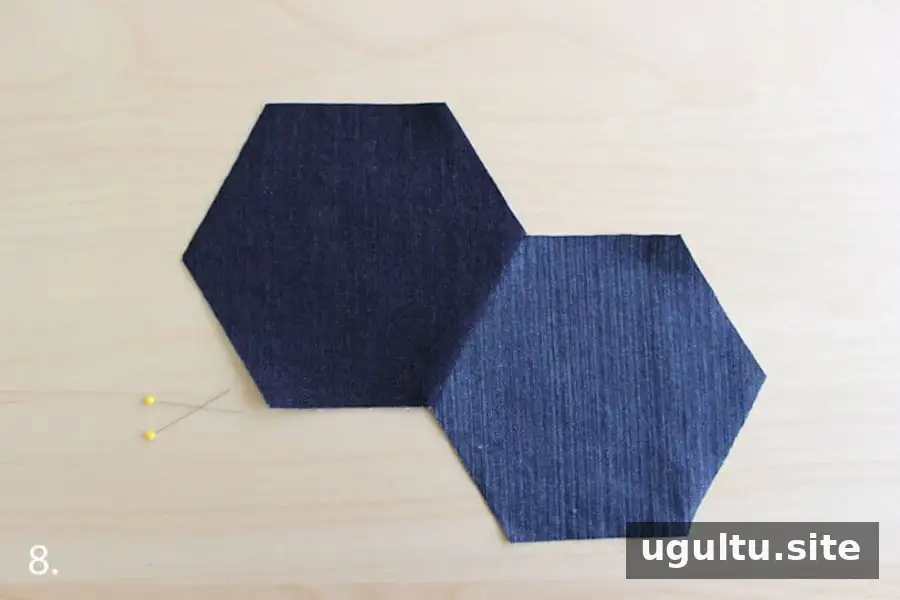
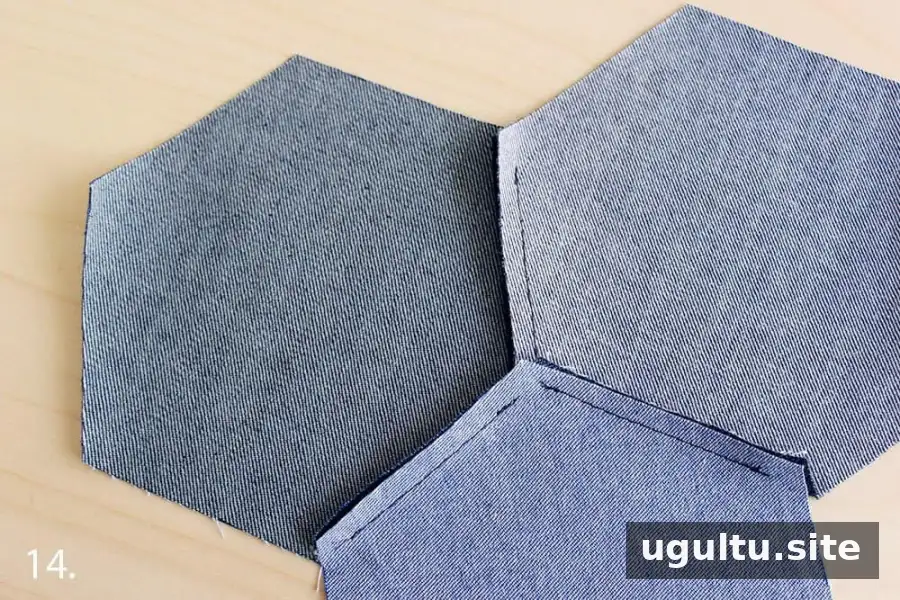
- Sew along the pinned edge, beginning about 1/4″ after the left angle and stopping about 1/4″ before the right angle. Backstitch at the beginning and end, but do not sew right into the corners. The unstitched space gives the fabric room to fold when adjoining pieces are joined.
- Open the seam and press the joined pieces flat. Pressing as you work helps keep the patchwork manageable.
Steps 9–15: Add more pieces and rows
- Continue by sewing hexagons into rows or add pieces one at a time. Work in a way that makes it easy to keep track of your planned layout.
- For the next join, place the pieces right sides together along the edge you want to sew and pin them in place.
- Sew the edge, leaving space at the angles as before.
- Remove the pins and open the joined pieces flat.
- Position another hexagon against the piece below it, right sides together. Match the angles as closely as possible, pin the edges, and stitch.
- Open the fabric and press it flat. The small gaps at the corners are intentional; sewing into the angles can make the fabric pull or pucker when pressed.
- Press the seams as you go. If you are working in rows, fold, pin, and sew the pieces together row by row.
Shape the Rug and Add the Backing
Steps 16–17: Trim the patchwork
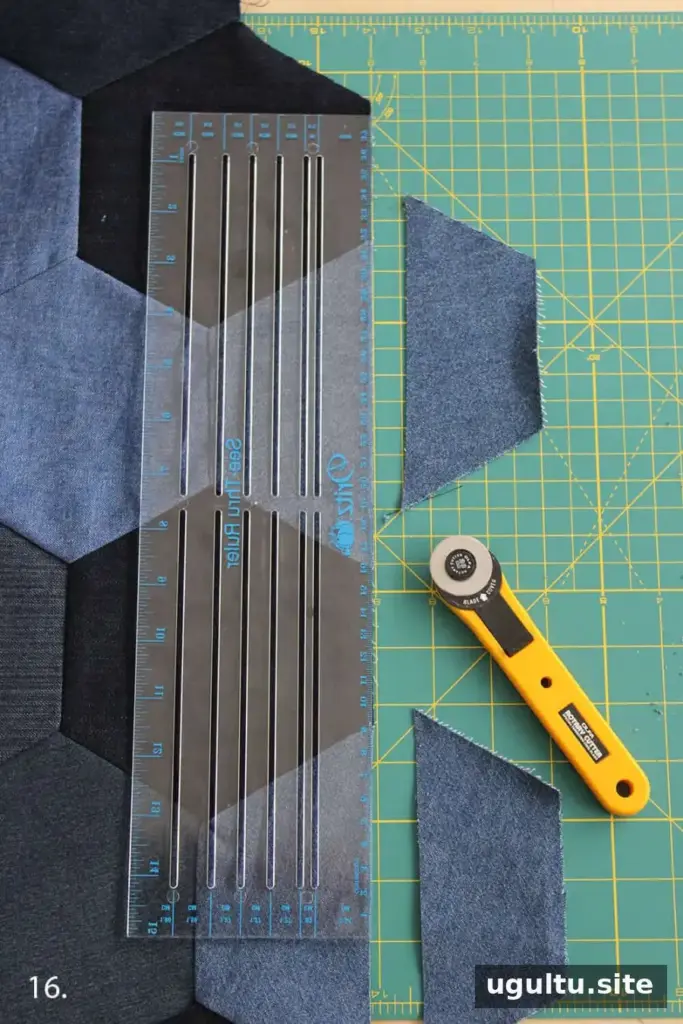
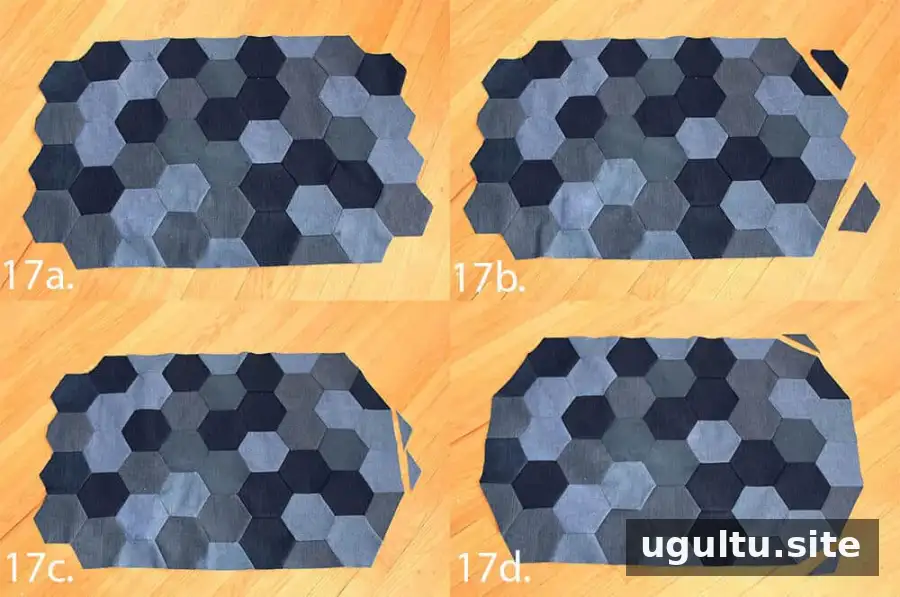
- After joining the rows, use the ruler and rotary cutter to remove the excess half-hexagons from the top and bottom, making those edges straight.
- Trim the remaining flaps along the top and bottom. Cut off the final two angles on the right side to straighten that edge, then trim the top and bottom angles as shown. Repeat on the opposite side to create an oval-shaped mat.
Steps 18–21: Layer, sew, and turn
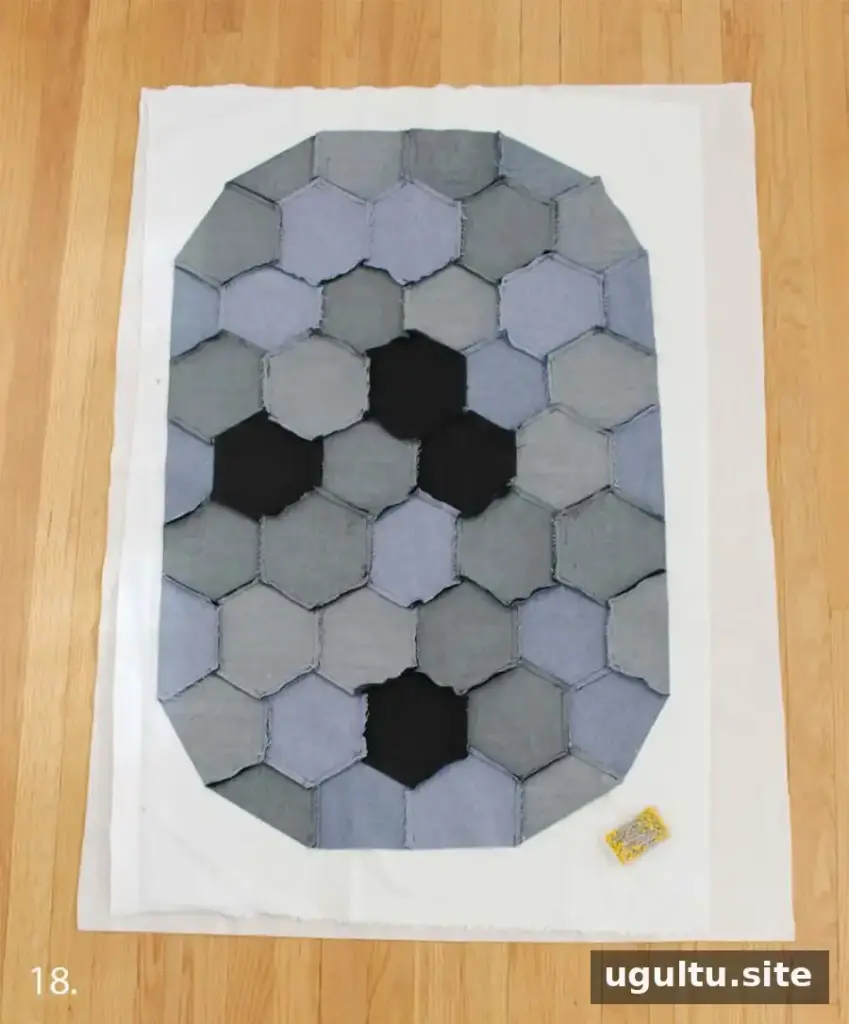
- Lay the batting on the floor or another large work surface. Center the grip-tight cloth on top with its right side facing up. Place the patchwork mat over it with the right side facing down. Pin through all three layers around the perimeter and in the middle.
- Sew around the perimeter, leaving an opening of about 6″ so you can turn the mat right side out.
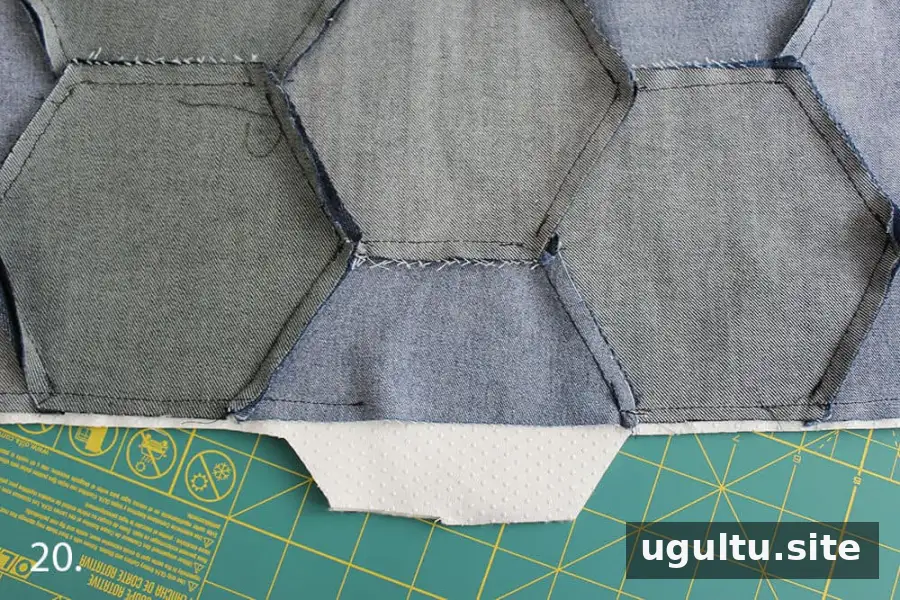
- Trim excess fabric around the edge, taking care to leave the fabric near the opening. Remove the pins.
- Turn the mat right side out and smooth the edges. Tuck the fabric at the opening inside, then press on a low setting to avoid damaging or melting the backing material. Pin the opening closed and stitch around the perimeter with about a 1/4″ seam allowance. This closes the opening and helps the mat hold its shape.
Care and Use
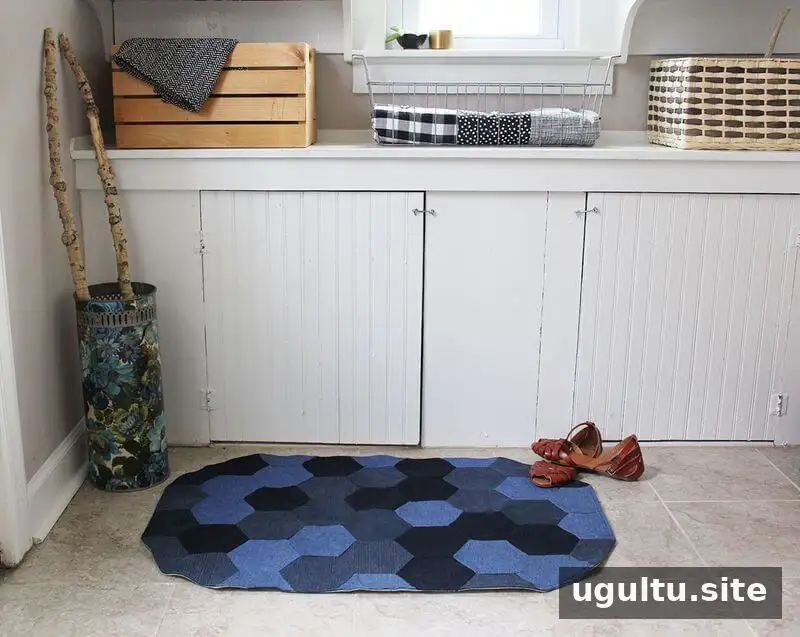
The finished denim rug can be used in a high-traffic spot such as a back door, bathroom, kitchen sink, or laundry area. The project instructions allow washing and line drying, or tumble drying on low heat. Check the care guidance for your backing fabric before washing, and use a non-slip surface under the mat if it moves on your floor.
With the pieces securely sewn and the edges finished, this denim rug is ready for everyday use. Following the steps for how to sew a denim rug—from leaving space at the hexagon corners to pressing the seams as you work—helps create a sturdy, neatly shaped mat from repurposed fabric.