
 admin
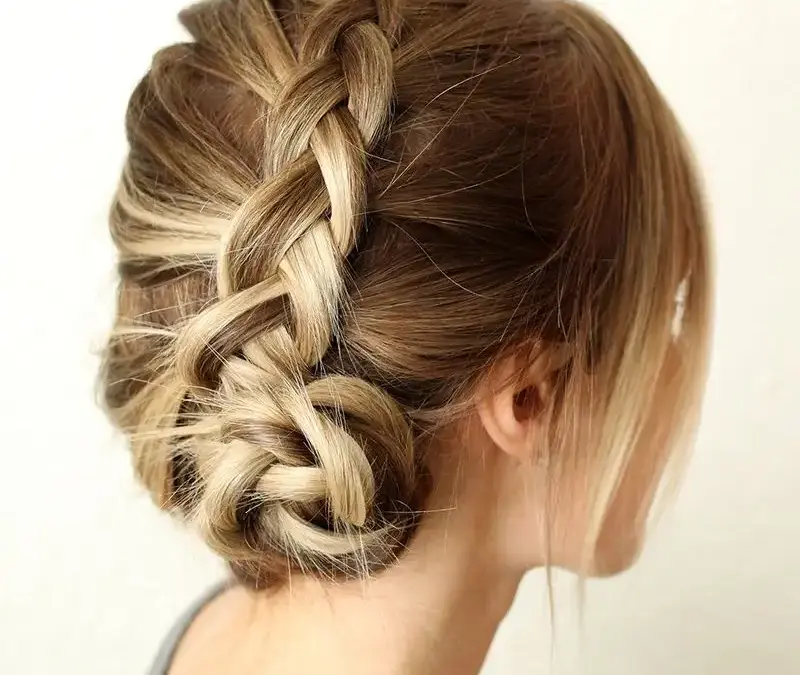
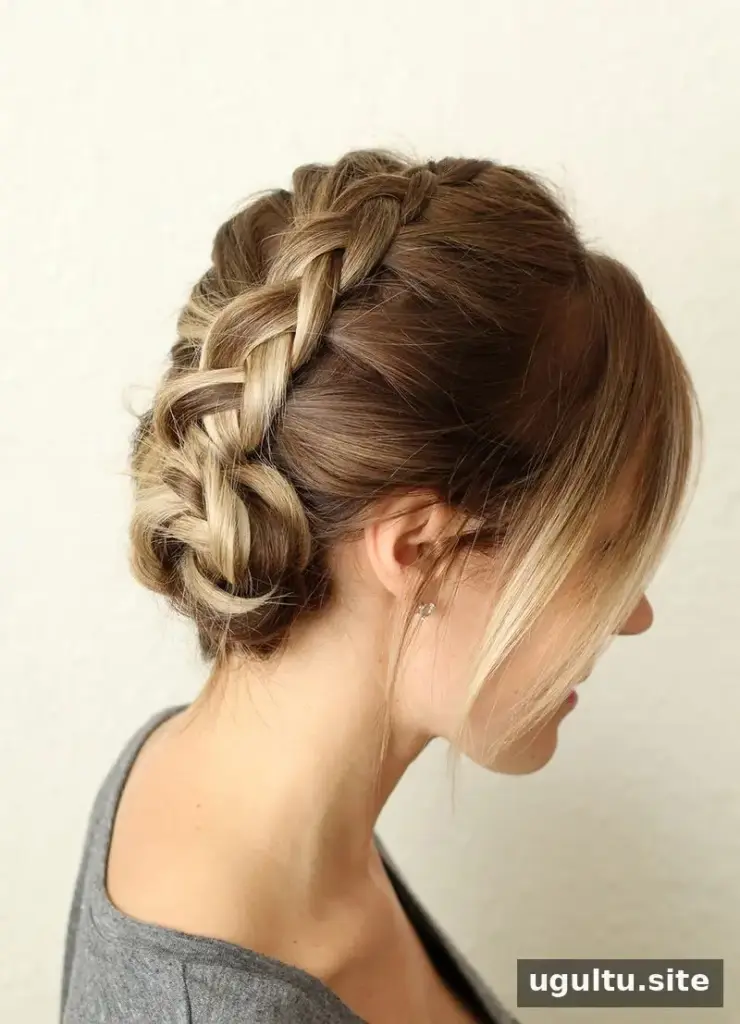
A Dutch braid is a simple, versatile hairstyle created by weaving strands under one another rather than over, as you would in a French braid. The technique may feel unfamiliar at first, but once you get used to the direction of each crossover, it becomes easier to create a neat braid that stands out from the hair.
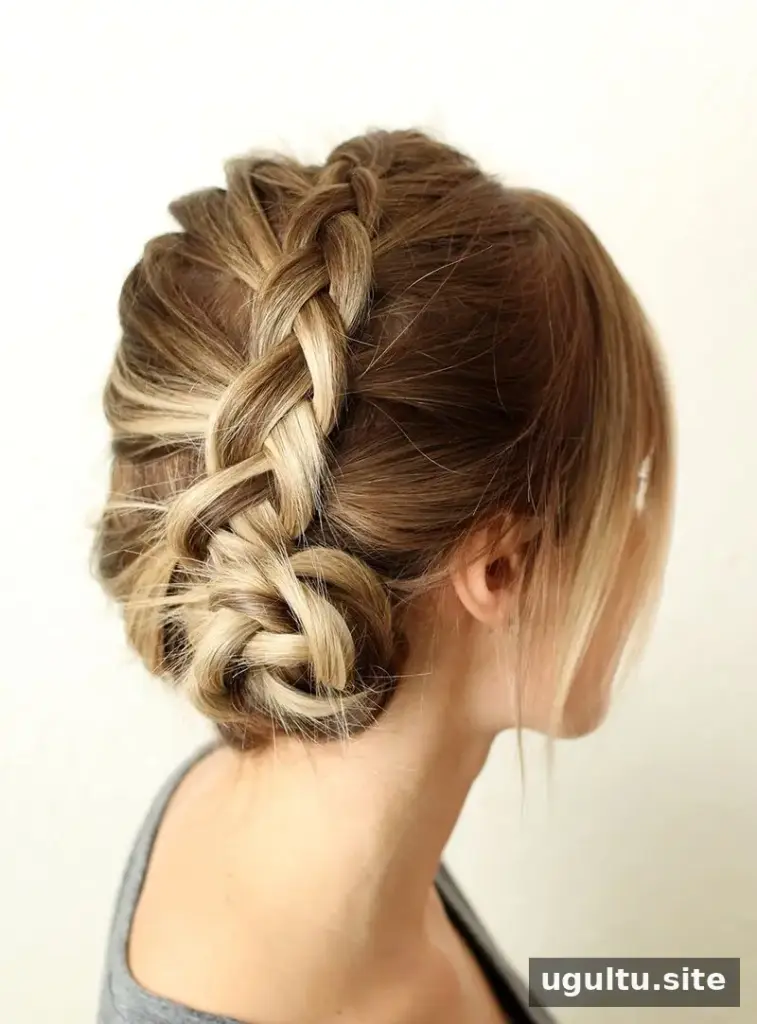
If you already know how to French braid, think of a Dutch braid as a reversed version of the same basic process. Work with even sections and keep the strands crossing under the center piece each time. If you are new to braiding, take your time and follow the steps below.
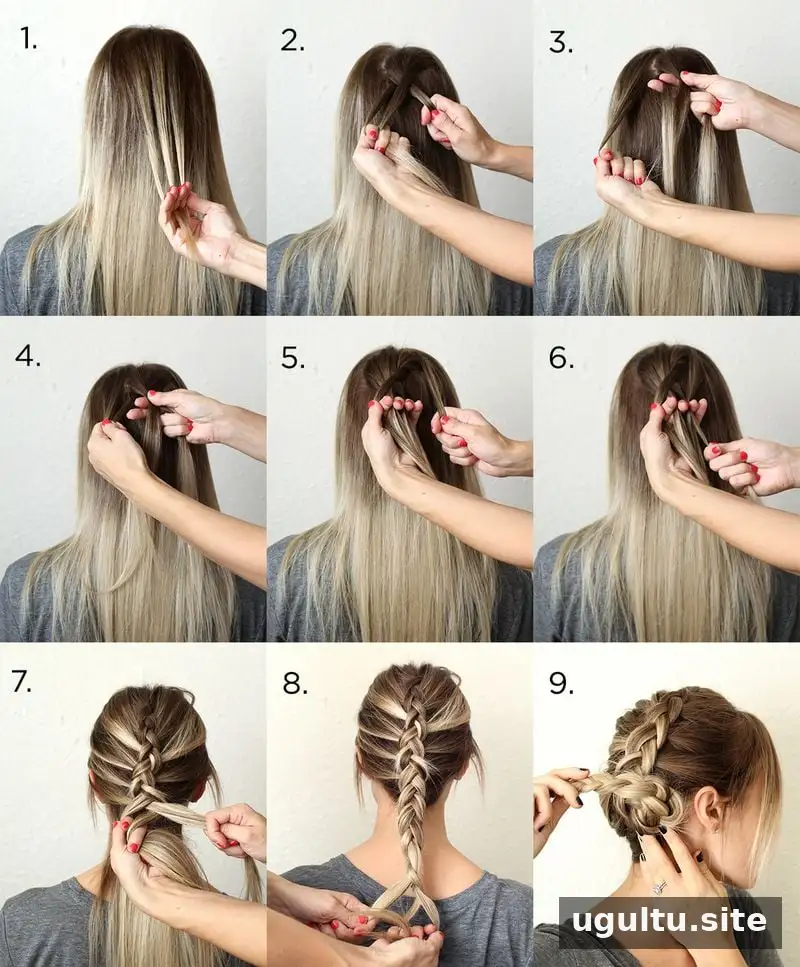
How to make a Dutch braid
- Separate the starting section. Gather the hair at the top of your head and divide it into three sections of roughly equal size.
- Begin the braid. Cross one outer strand under the middle strand, then cross the other outer strand under the new middle strand. Unlike a French braid, the strands pass underneath rather than over.
- Add hair on one side. Pick up a small section of loose hair beside the braid and combine it with the outer strand on that side. Cross the combined strand under the middle one.
- Repeat on the other side. Add a similar-sized section of loose hair to the opposite outer strand and cross it under the middle section.
- Continue down the head. Alternate sides, adding hair and crossing each outer strand under the center. Keeping the added sections similar in size helps the braid look balanced.
- Braid the remaining length. When you reach the nape of your neck and there is no more loose hair to add, continue with a regular three-strand braid, still crossing the outer strands under the middle.
- Secure the end. Tie off the braid with a hair elastic. For an optional bun, twist the loose braided length around itself and secure it with bobby pins.
Dutch braid tips for a neat finish
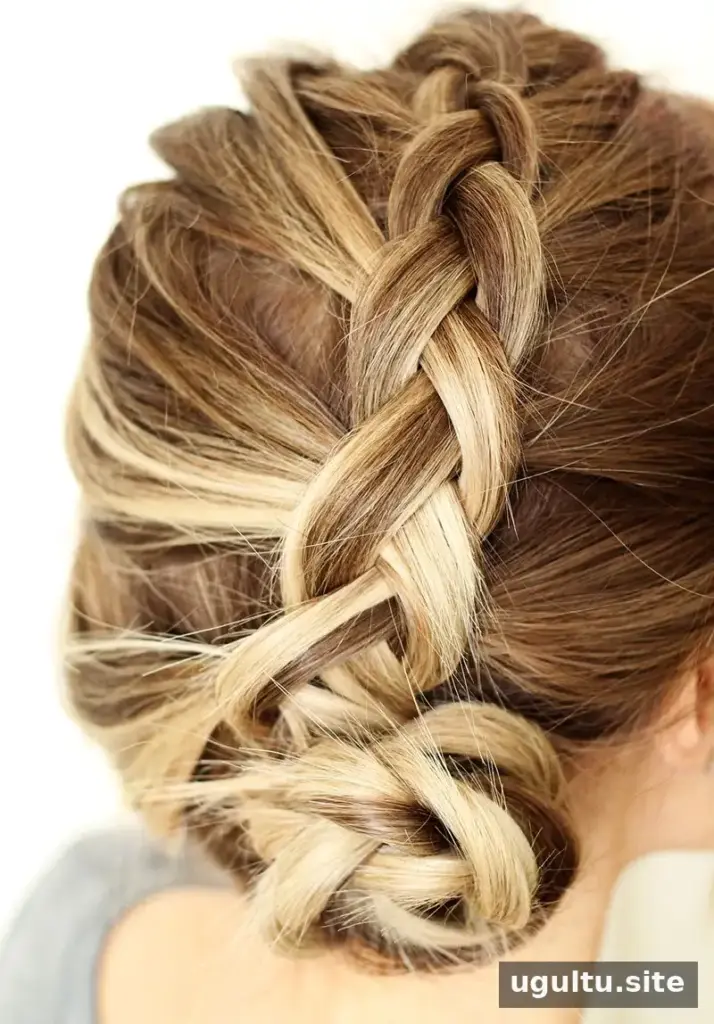
Keep your hands close to your head as you braid to help the style sit securely, but avoid pulling so tightly that it feels uncomfortable. If the sections become uneven, pause and adjust them before continuing. A mirror behind you or a handheld mirror can help you check the back of the braid.
For a softer look, gently loosen the braid after securing it by tugging lightly at the outer edges of each woven section. Work gradually so the braid does not come apart. If you prefer a more defined finish, leave the sections snug and smooth any loose hair with your fingers.
More braid styles to try
Once the basic technique feels comfortable, you can begin near one side of the head for a side braid or use the same underhand weaving method as part of another hairstyle. These related styles offer more ideas to practice:
- Easy maiden braids
- Top braided ponytail
- Easy faux fishtail braids
- Wraparound side braid
With consistent sections and underhand crossovers, a Dutch braid can be adapted to suit different looks. Start with the simple version, then try changing where the braid begins or finish it in a bun. Happy braiding!
By Katie


