admin
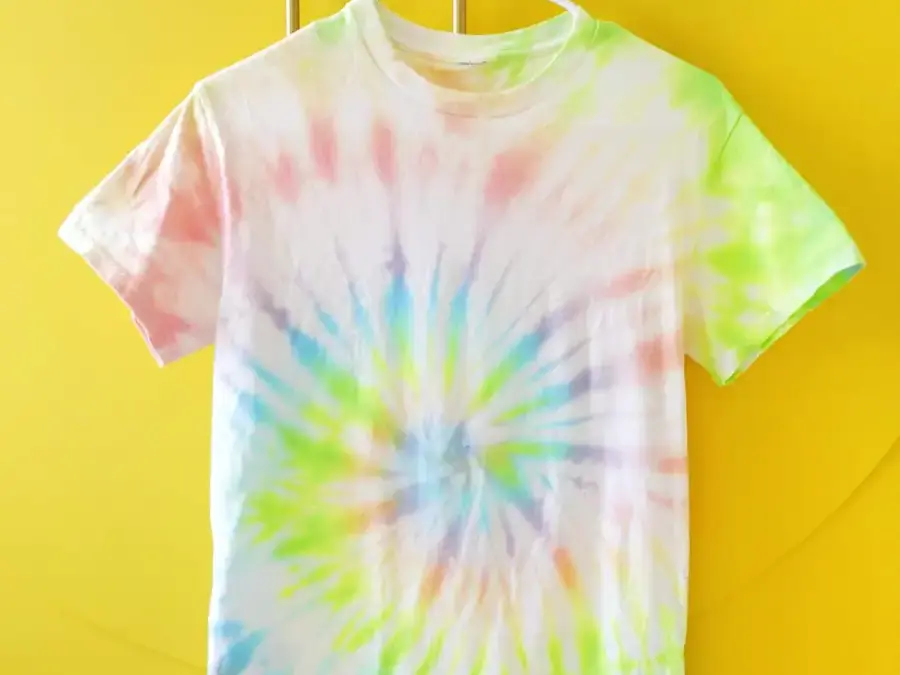
Learning how to tie-dye is a simple way to create colorful, one-of-a-kind clothing at home. With fabric dye, rubber bands, and a few basic folding techniques, beginners can make patterns ranging from bold spirals to soft, organic color blends. Use a white or light-colored cotton shirt for a first project, and protect your work area before you begin.
The steps below cover the supplies, garment preparation, dyeing process, and four classic patterns. Follow the dye package directions where they differ, since products can have different mixing and setting requirements.
Tie-Dye Basics
Tie-dye has a long history, with related resist-dyeing techniques used in cultures around the world for thousands of years. The colorful clothing style widely associated with modern tie-dye became popular in the United States during the 1960s.
In this craft, sections of fabric are folded, twisted, or scrunched and held in place with rubber bands. The bound areas resist some of the dye, creating lighter shapes and patterns. The result can vary depending on how tightly the fabric is tied, how much dye is applied, and how the colors spread.
For a first attempt, choose a simple pattern and use a small number of colors. This makes it easier to see how the folds and dye placement affect the finished design.
Tie-Dye Supplies
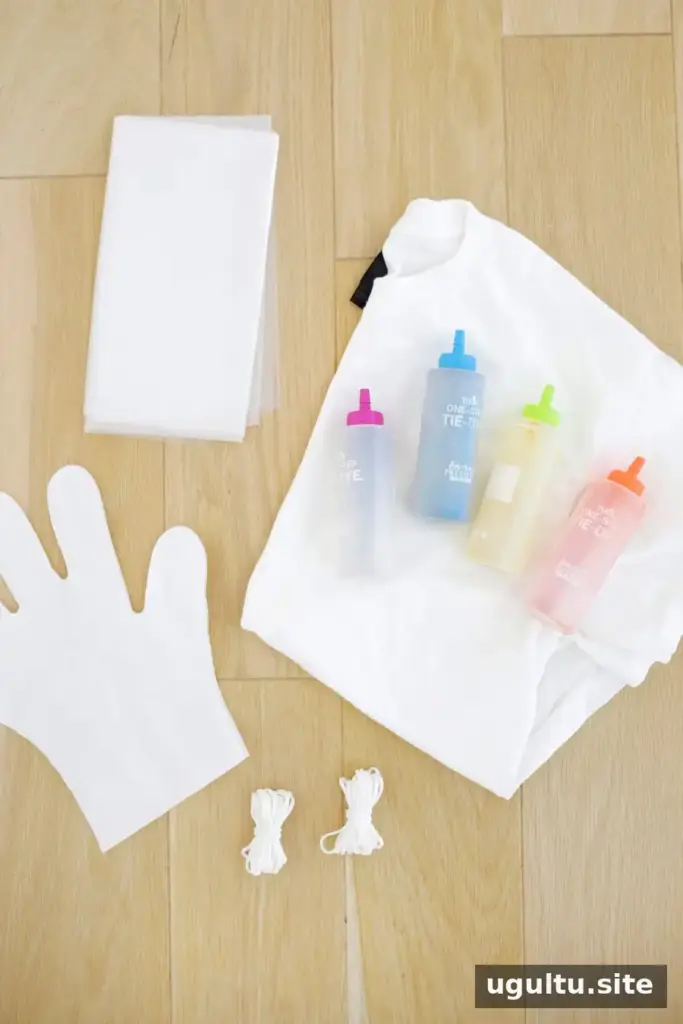
- Dye: Use a tie-dye kit or prepare dye in squeeze bottles according to the product directions.
- Rubber bands: These secure the fabric folds and help create resist areas.
- Gloves and a drop cloth: Wear gloves to protect your hands and cover the work surface to prevent stains.
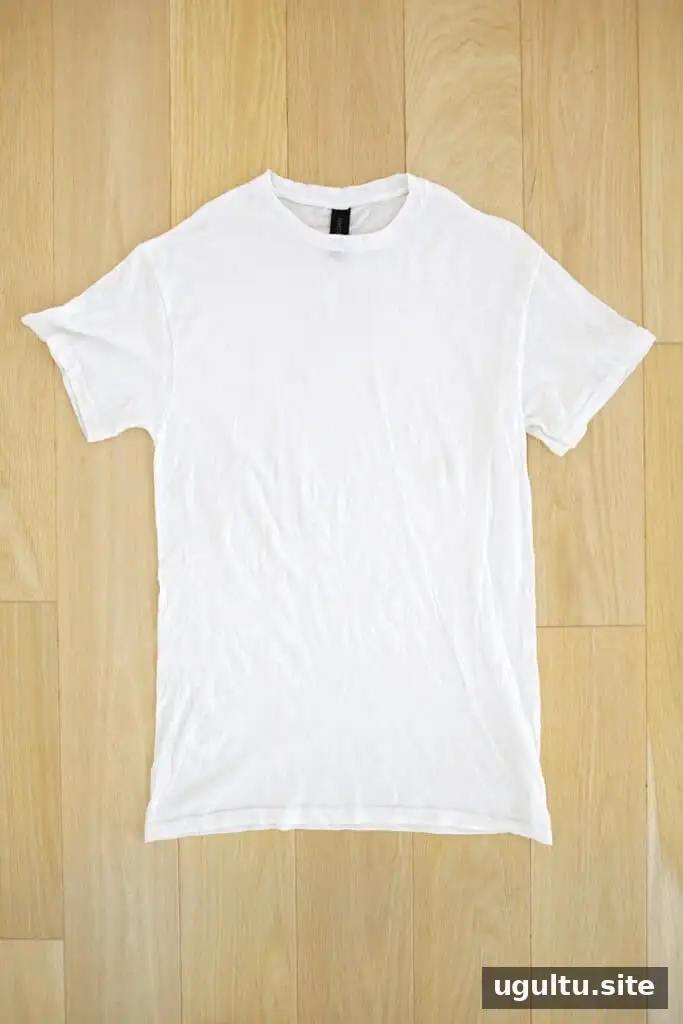
- Garment: White or light-colored cotton is a dependable choice. Rayon, silk, linen, and hemp can also be dyed, but check the dye instructions for fabric compatibility.
- Plastic bag: A sealable bag helps keep the dyed fabric from drying while the color sets.
- Drip pan (optional): Place one beneath the garment to catch excess dye.
You can dye shirts, sweatshirts, socks, bandanas, and other garments. Protect nearby surfaces and keep dye away from clothing you do not intend to color.
Do You Need a Pre-Made Dye Kit?
No. A kit can be convenient because it groups supplies together, but you can also mix dye concentrate with water in your own squeeze bottles. As a starting point, mix one tablespoon of liquid dye with one cup of warm water, then shake the bottle. Test the mixture on a fabric scrap and adjust the strength if needed, following the dye manufacturer’s instructions.
Prepare the Garment
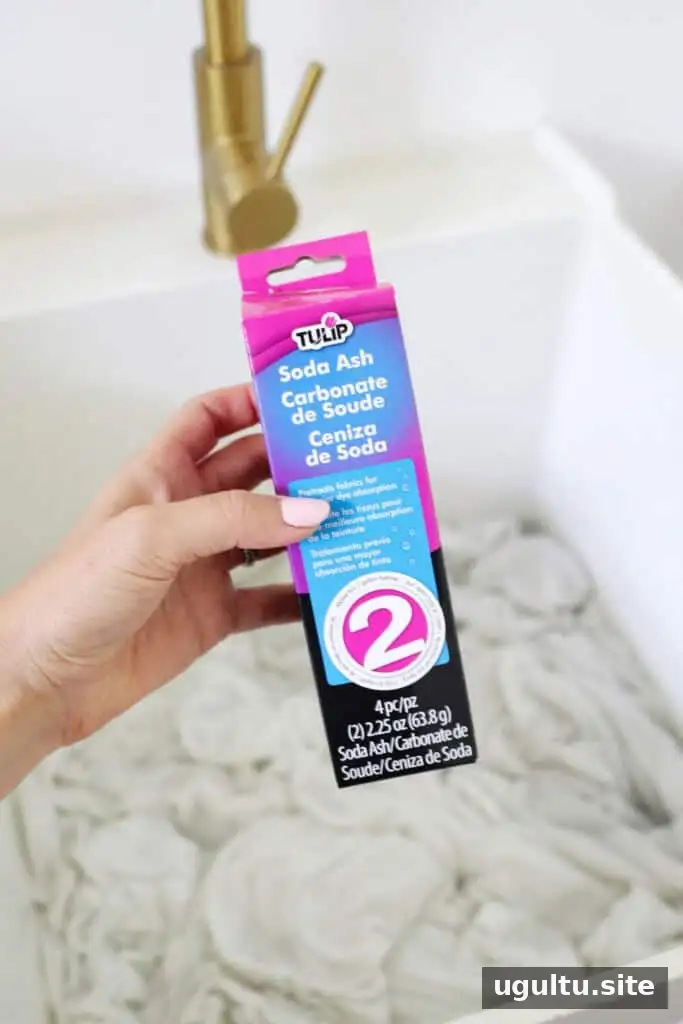
Wash new garments before dyeing to remove any manufacturing residue. Previously washed clothing generally does not need to be washed again just for this step. If you want to improve color adhesion, soak the fabric in soda ash mixed with water for 20 minutes before dyeing. This step is optional; follow the soda ash product directions and use gloves.
How to Tie-Dye
- Prepare your workspace: Cover the work surface with a drop cloth, set out a drip pan if available, and prepare the dye bottles. Put on gloves before handling dye.
- Dampen the garment: Wet the shirt, then wring it out so it is damp rather than dripping. Damp fabric usually lets dye spread more easily; dry fabric can produce brighter color and more distinct white areas.
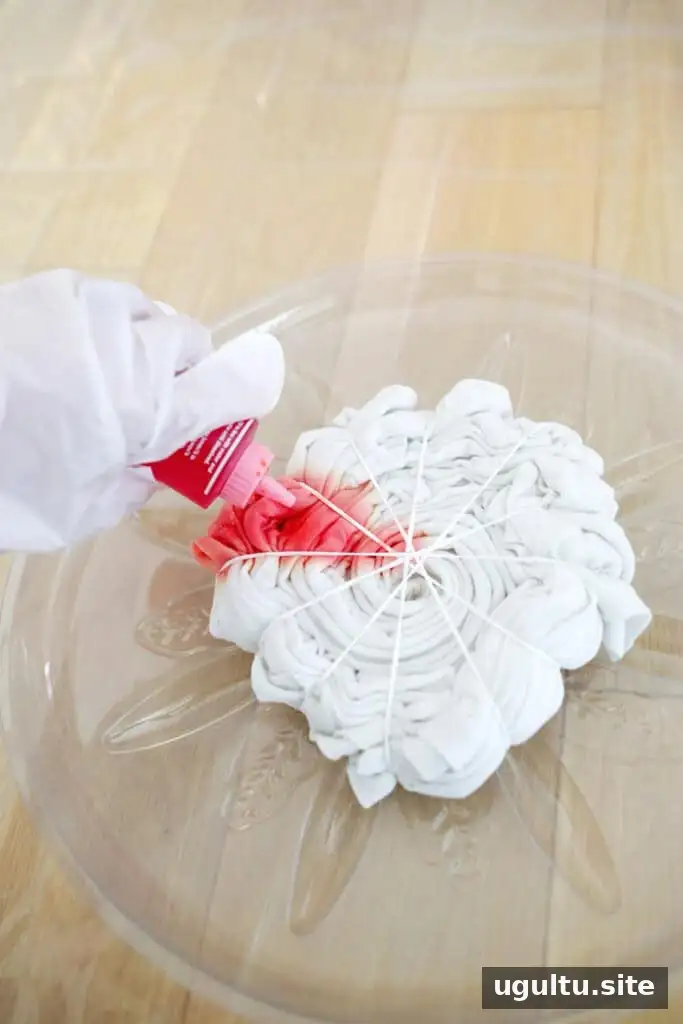
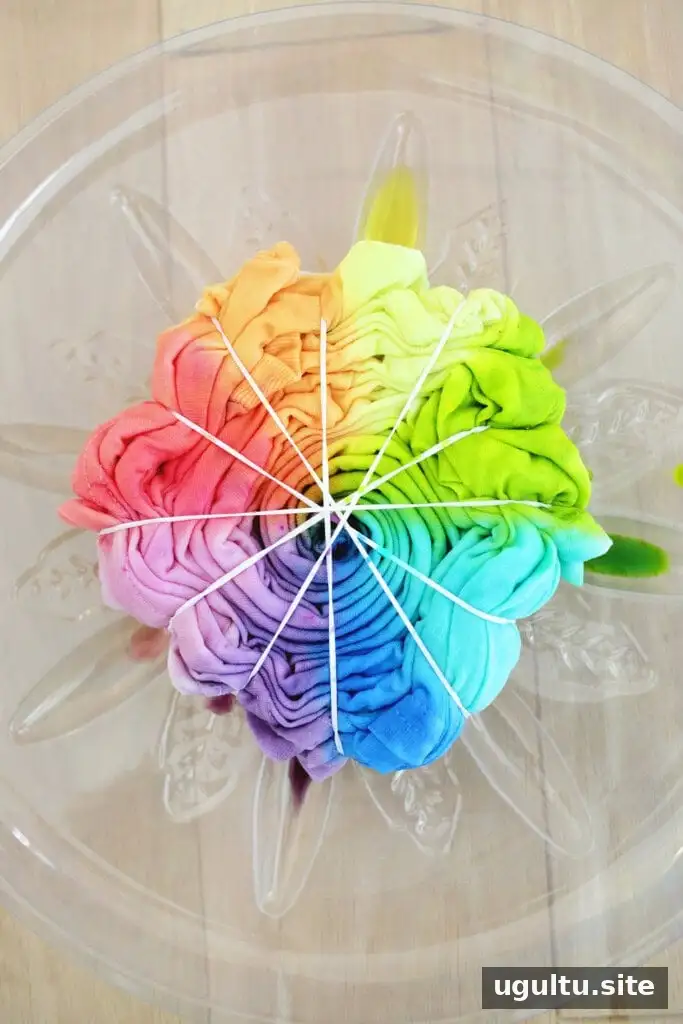
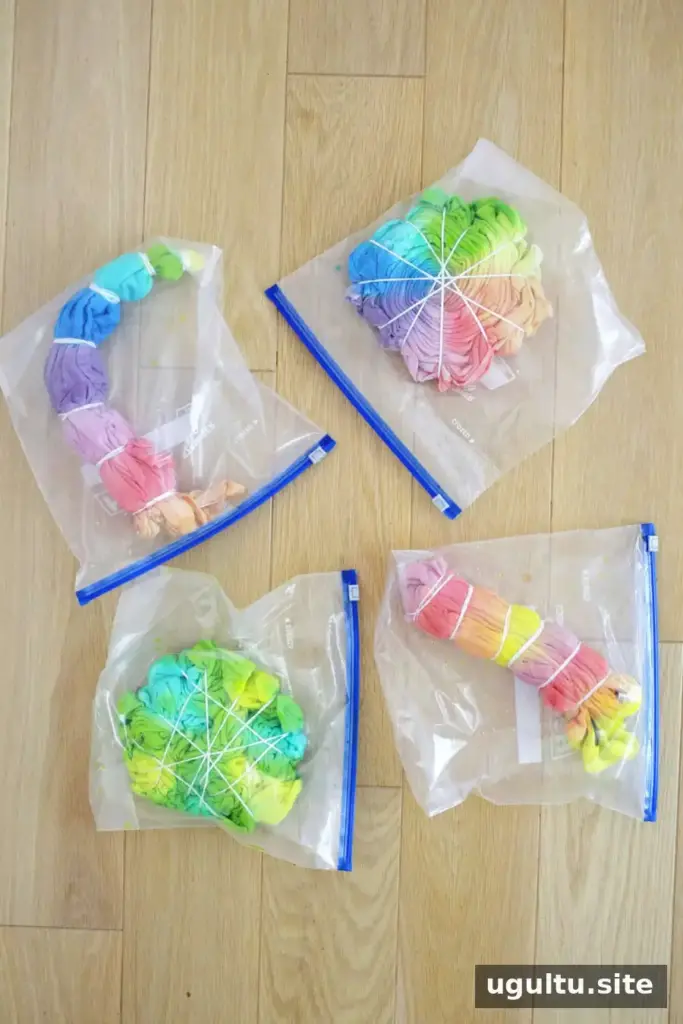
- Fold and secure: Shape the shirt using a pattern below, then wrap rubber bands around it to hold the folds in place.
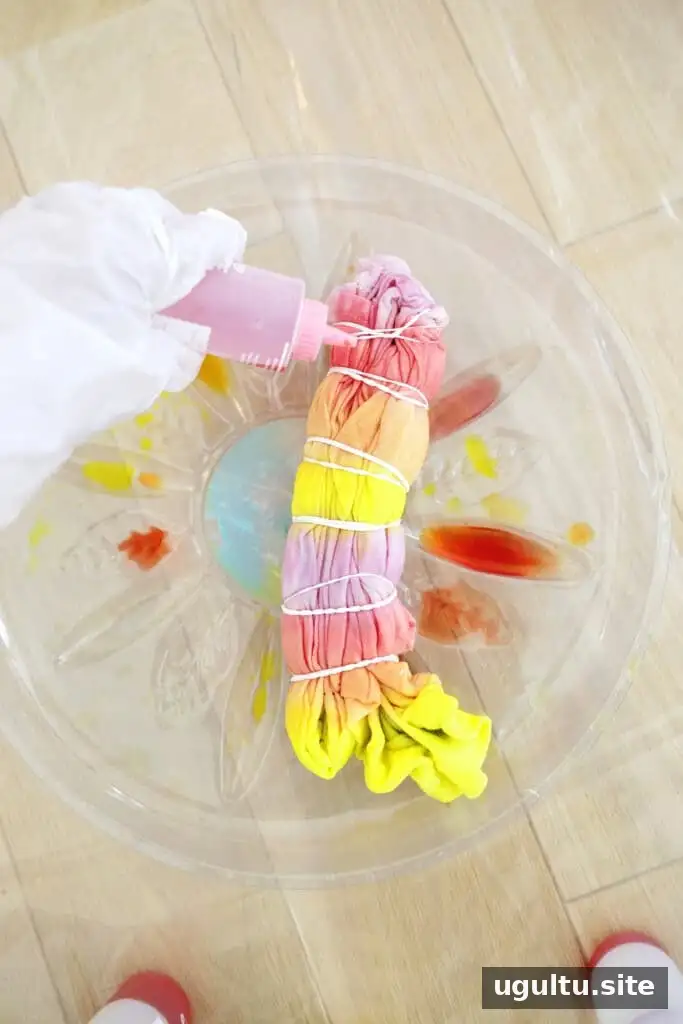
- Apply the dye: Add color to the exposed sections. Turn the garment over and apply dye to the other side, keeping the color placement similar where possible.
Color tip: When several colors overlap, they can blend into muddy or brown shades. Colors next to each other on the color wheel, such as blue and purple, generally blend more smoothly than combinations such as green and orange. Leave space between colors you do not want to mix.
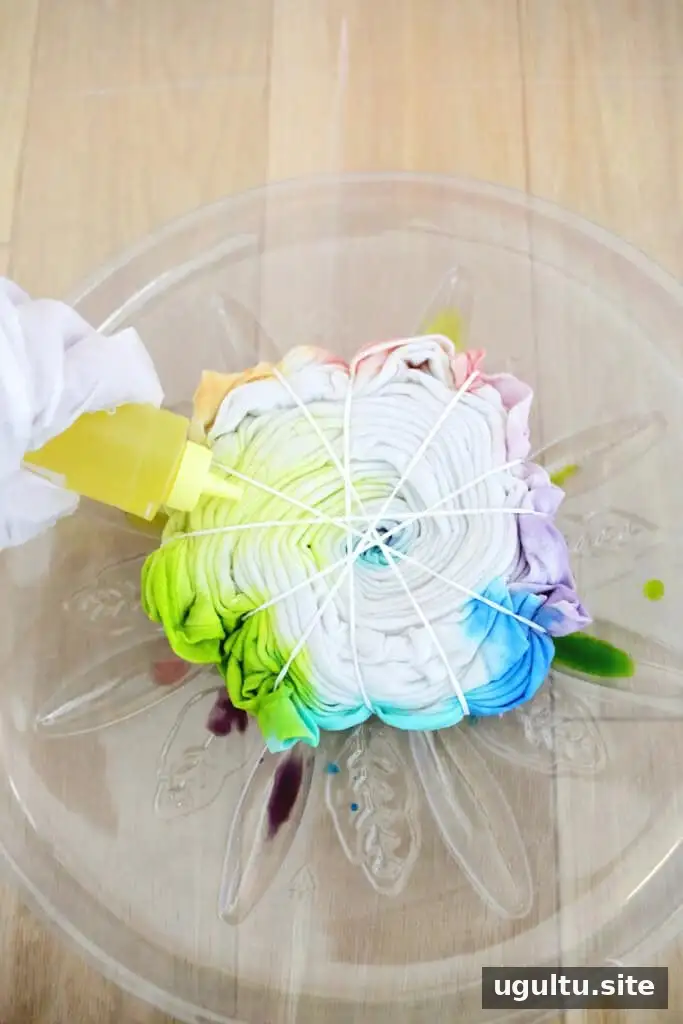
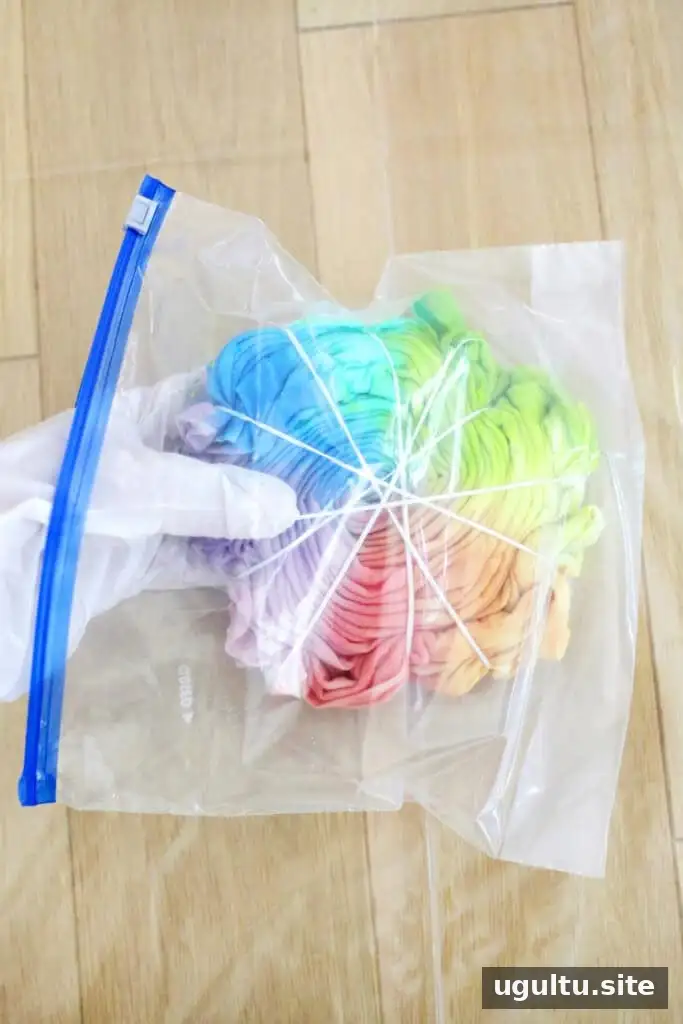
- Let the dye set: Place the garment in a sealed plastic bag so it does not dry out. Let it sit for 6 to 24 hours. About 6 hours is a common minimum, while a setting time closer to 24 hours can help produce more intense color.
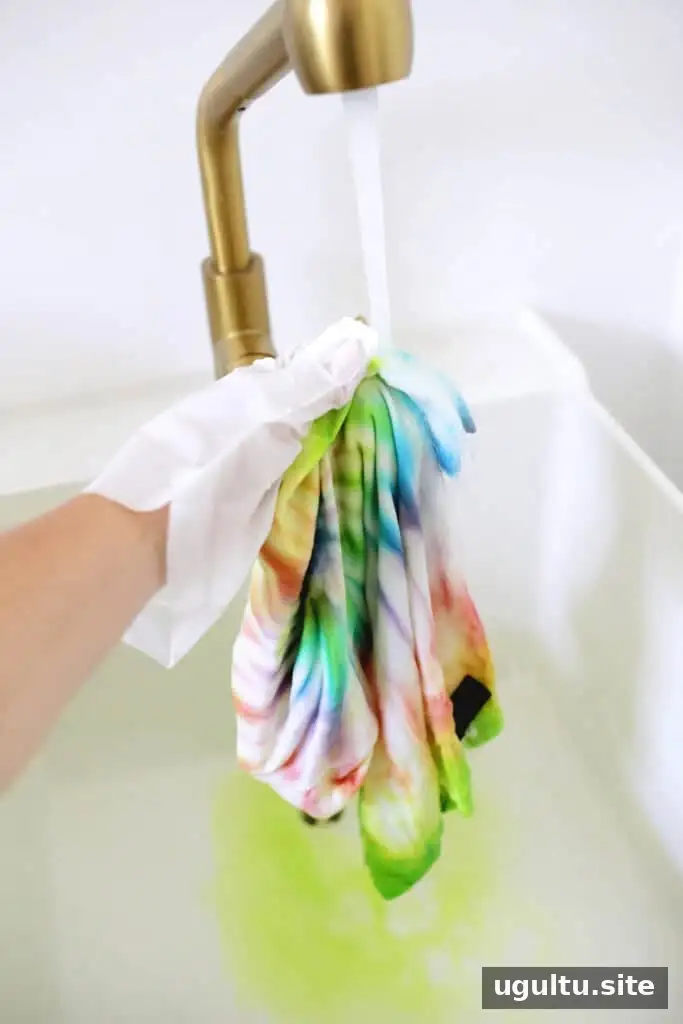
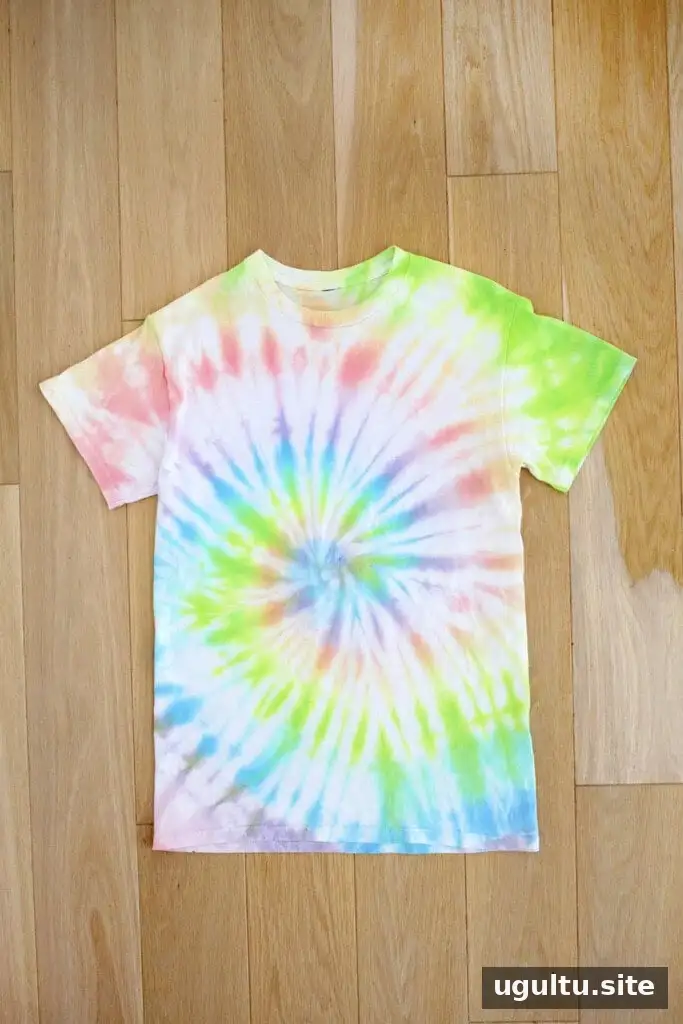
- Rinse and wash: Wearing gloves, remove the rubber bands and rinse the garment in a sink or tub with cold water until the water runs clear. Machine-wash it separately from other laundry in cold water with a small amount of detergent. Add an extra rinse cycle if your washer has that option, then dry the garment according to its care label.
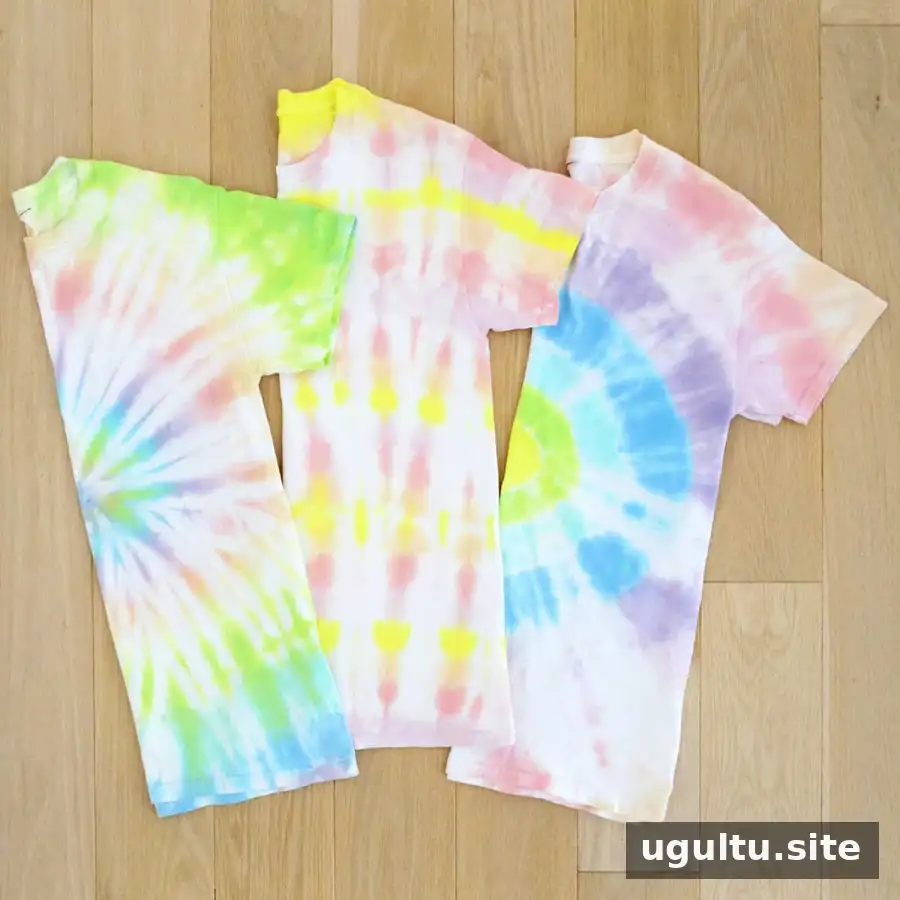
Four Tie-Dye Patterns for Beginners
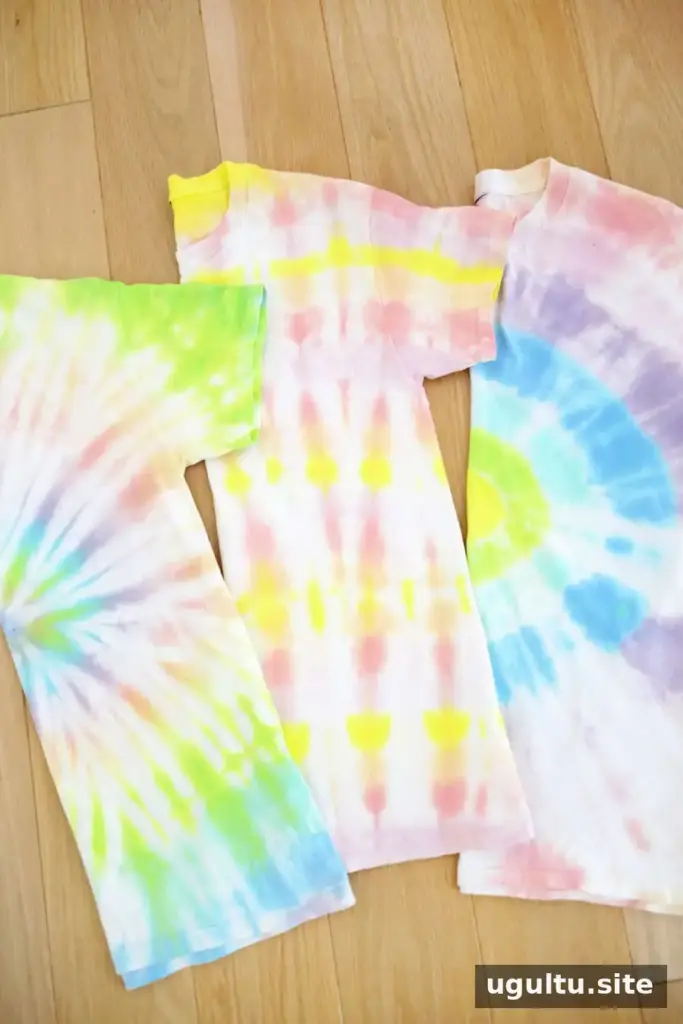
Small changes in how you fold or bind the fabric create noticeably different results. Try one pattern at a time, and keep the rubber bands snug enough to hold the shape without stretching or damaging the garment.
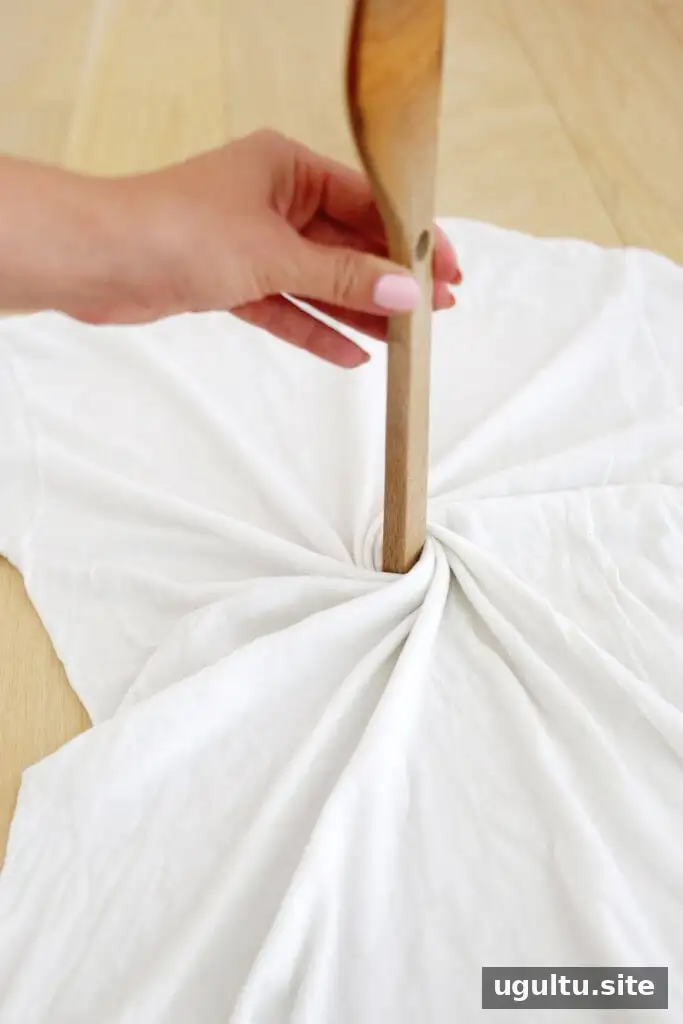
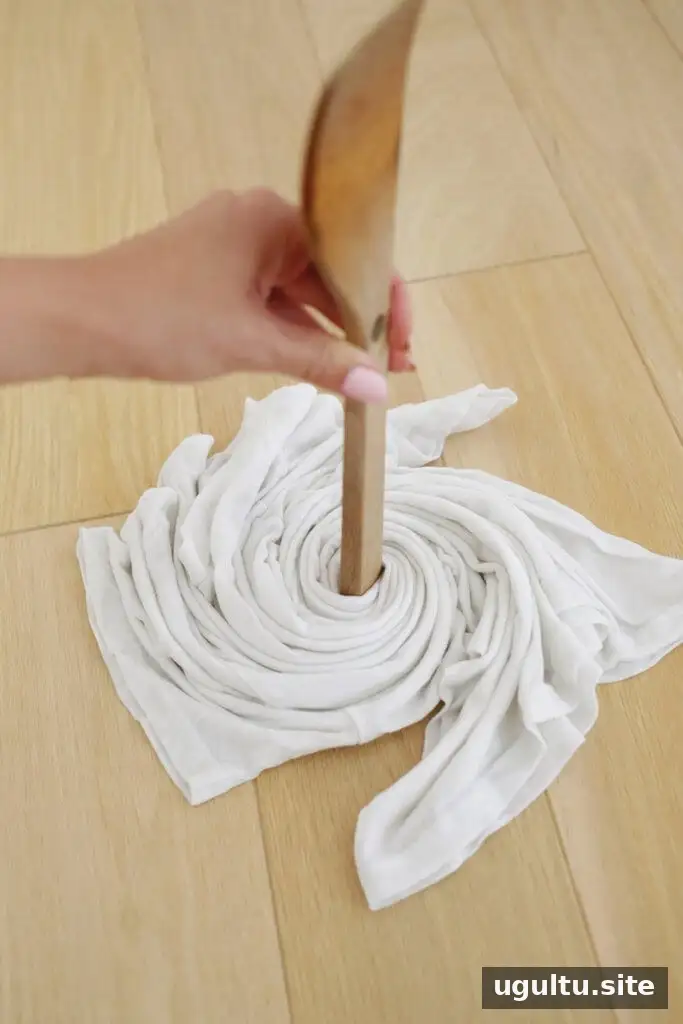
Spiral Tie-Dye
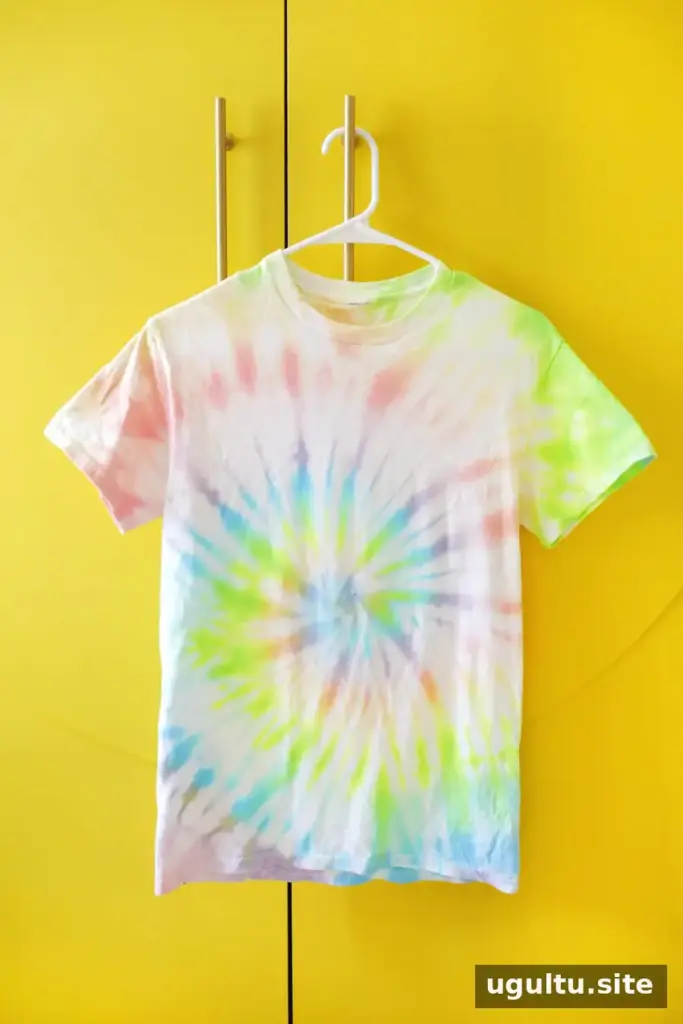
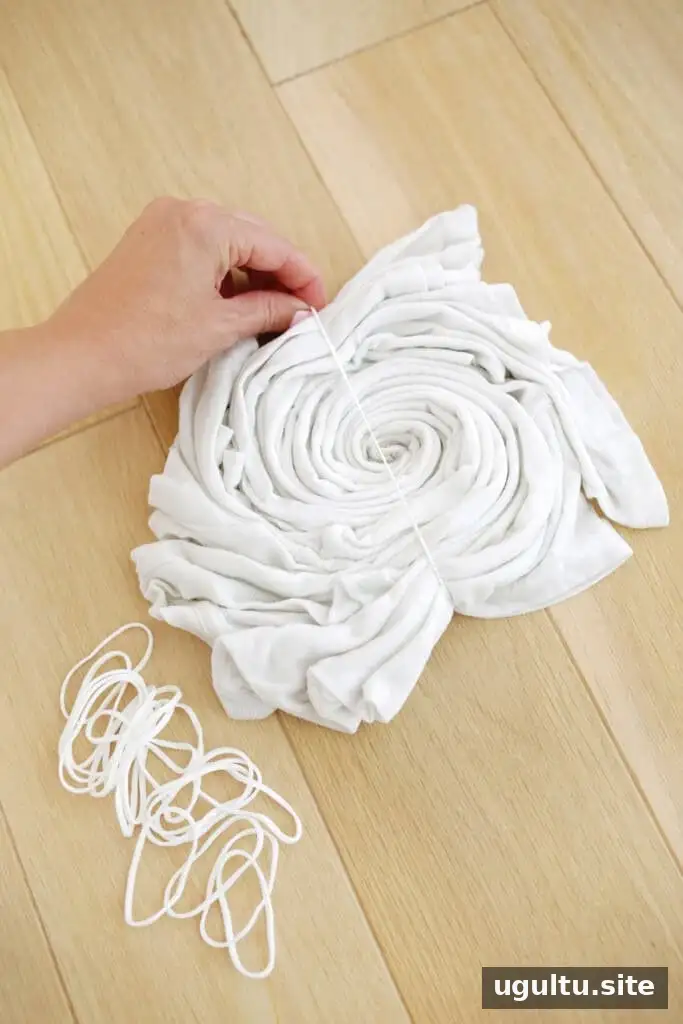
Lay the shirt flat and pinch a small area near the center. Twist the fabric around that point until the whole garment forms a compact disc, similar to a cinnamon roll. Secure it with at least four or five rubber bands crossing over the center. Apply different colors to the wedge-shaped sections on both sides. Tighter binding usually leaves more uncolored fabric.
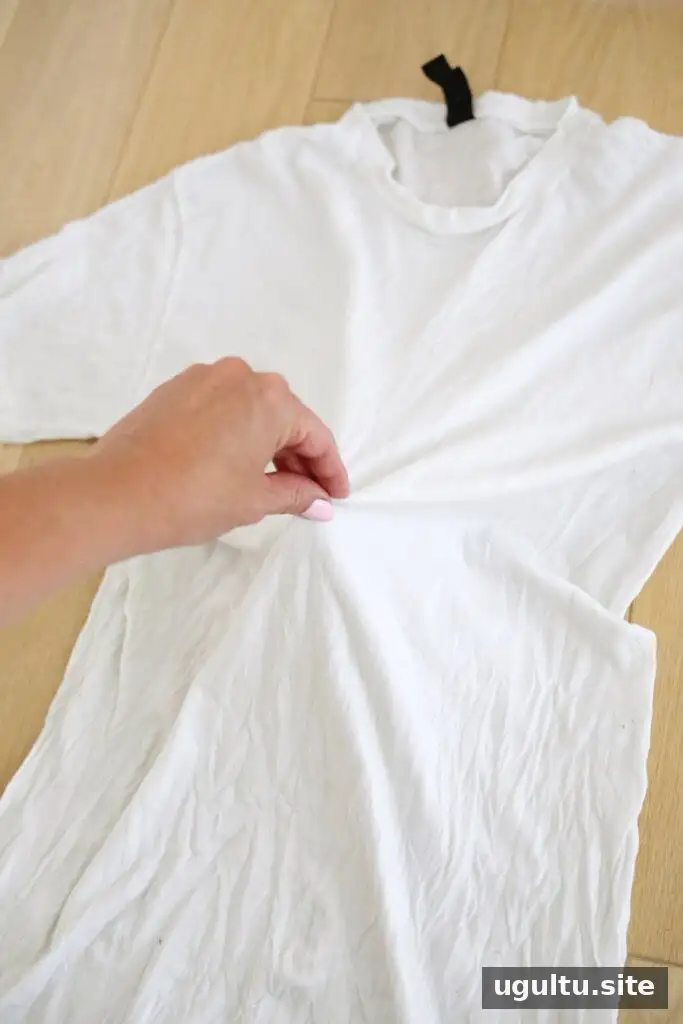
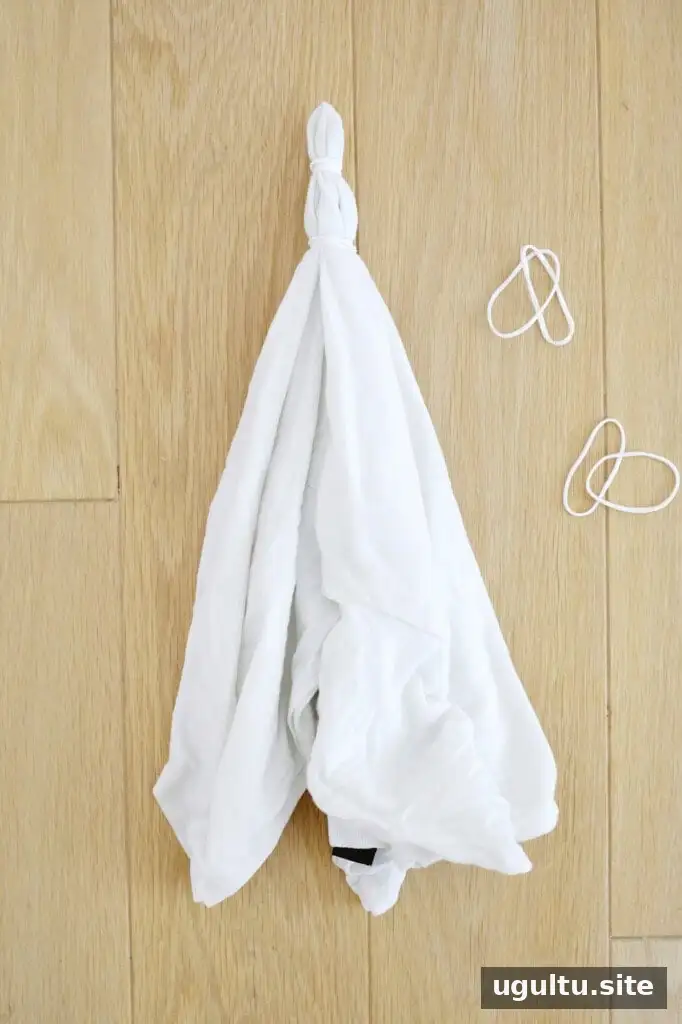
Bullseye Tie-Dye
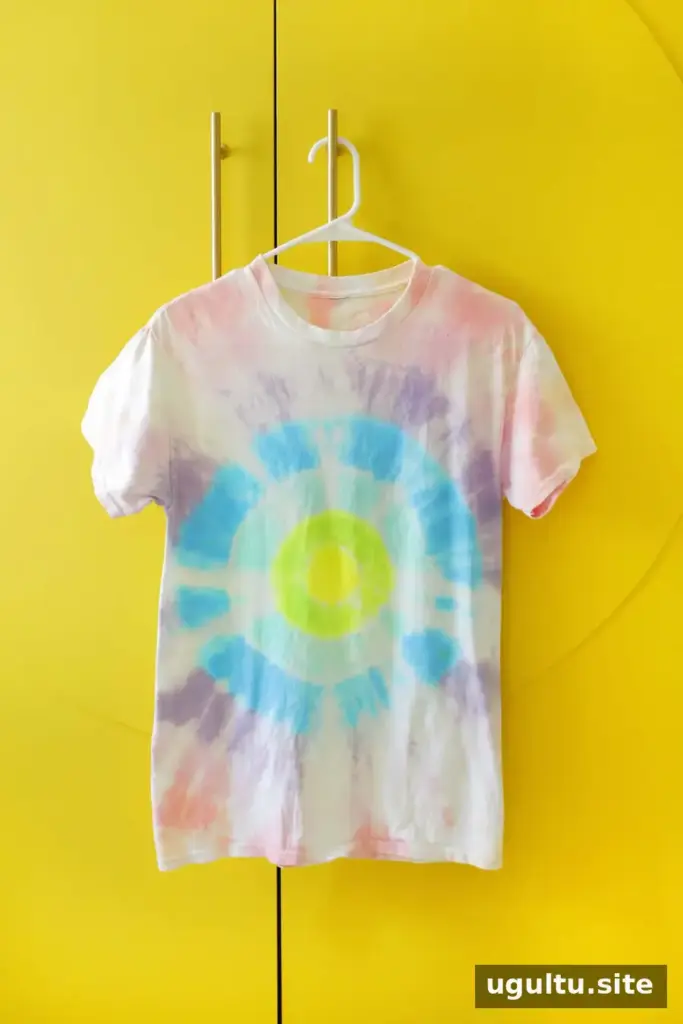
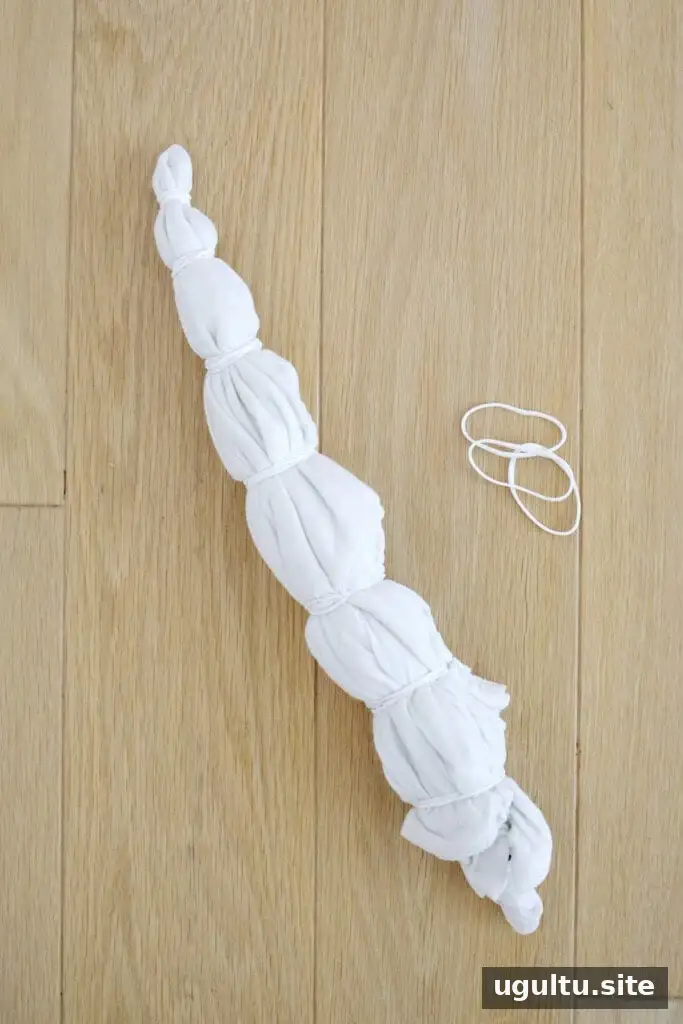
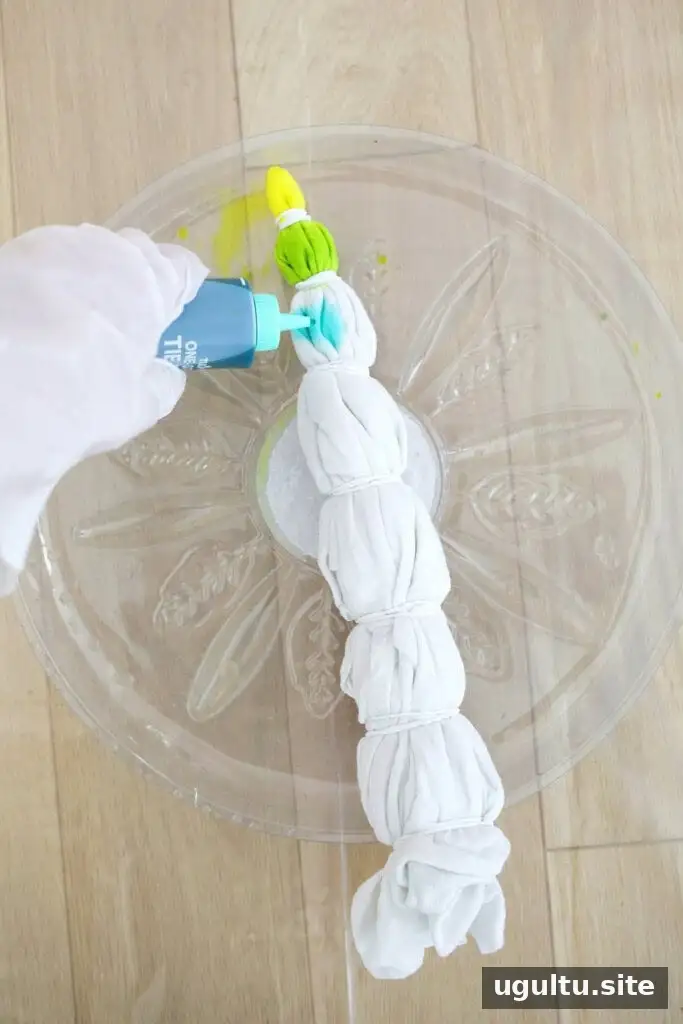
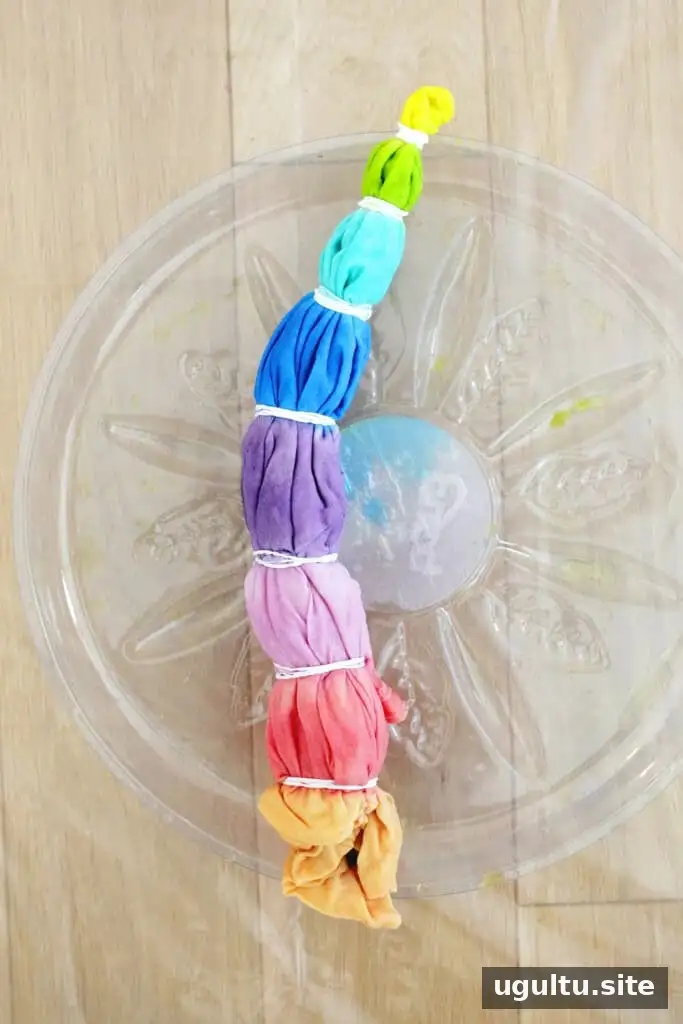
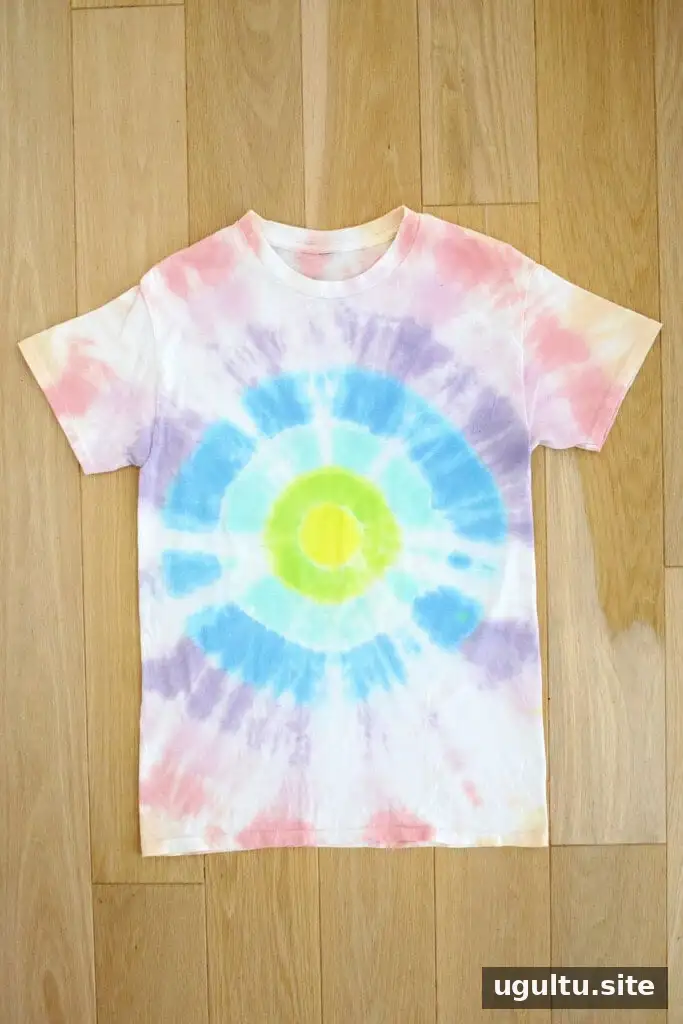
Pinch the fabric where you want the center of the design and pull it upward into a cone. Add rubber bands around the cone at the points where you want the color sections to change. Apply a different color between each pair of bands, then repeat on the other side. Adding more bands creates more defined rings.
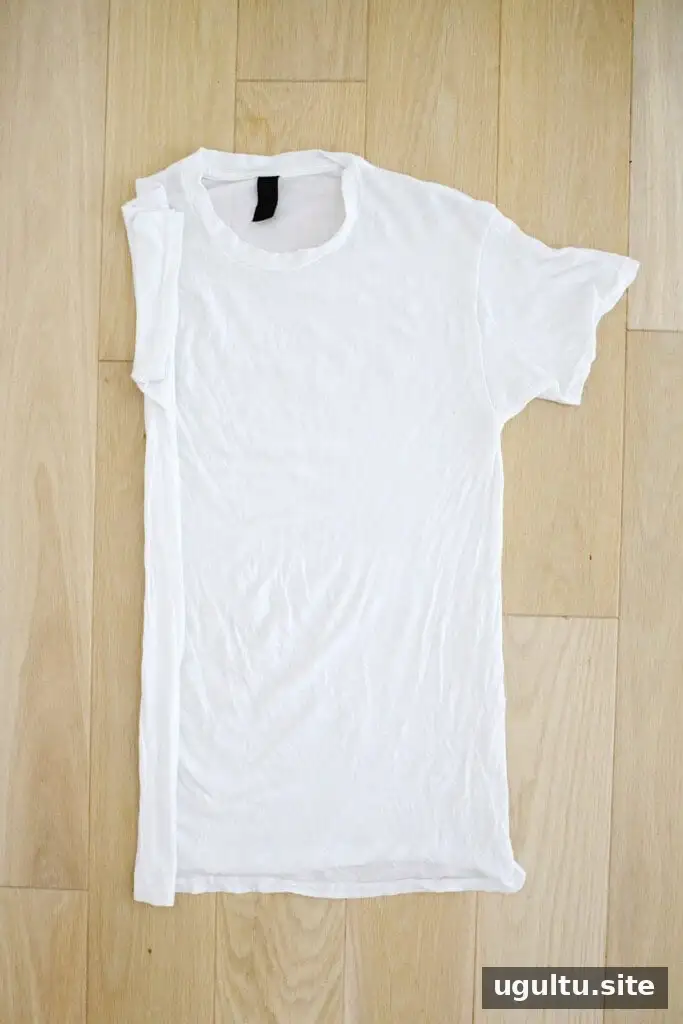
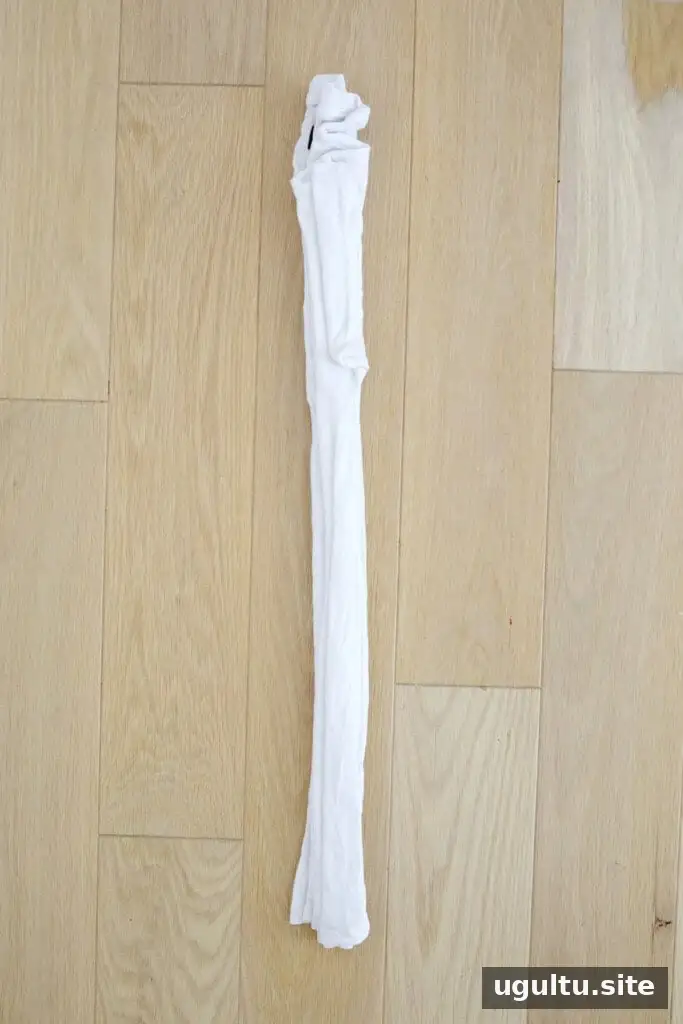
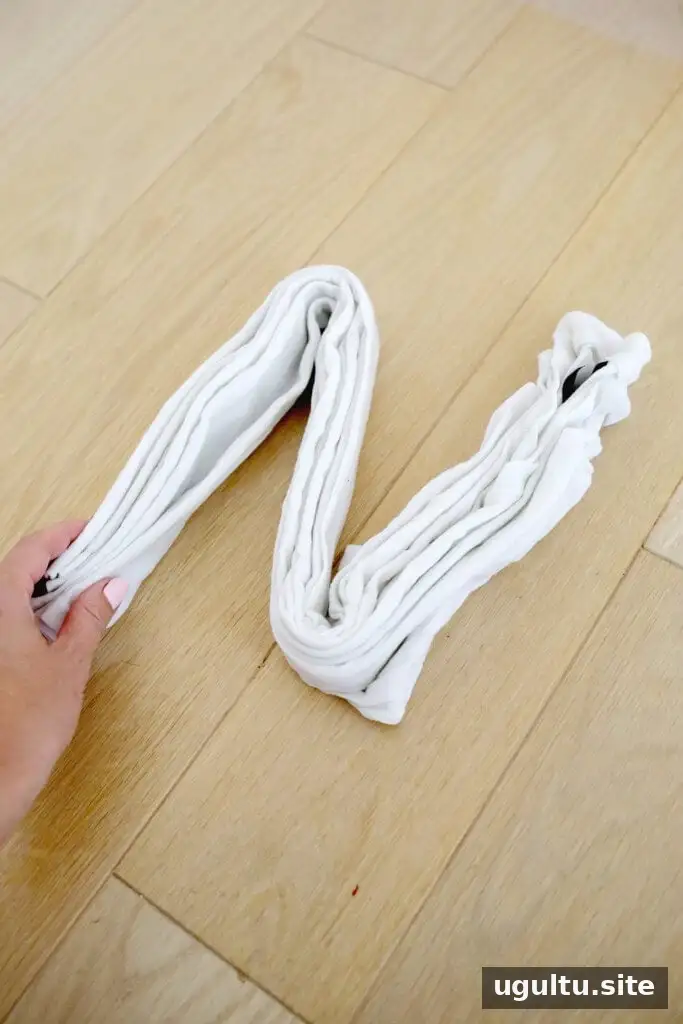
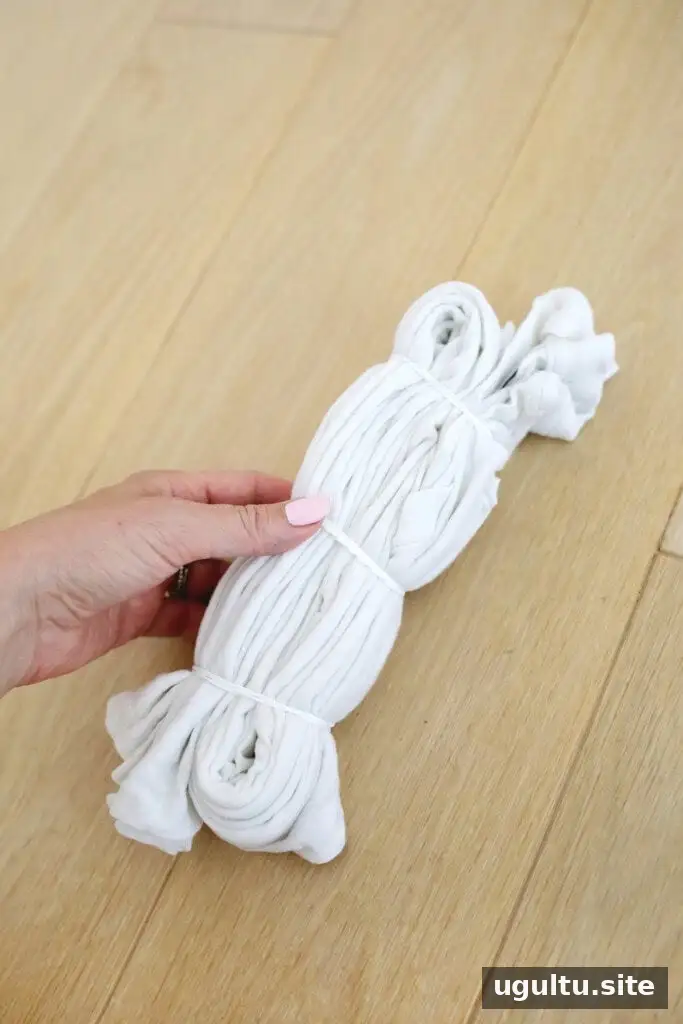
Stripe Tie-Dye
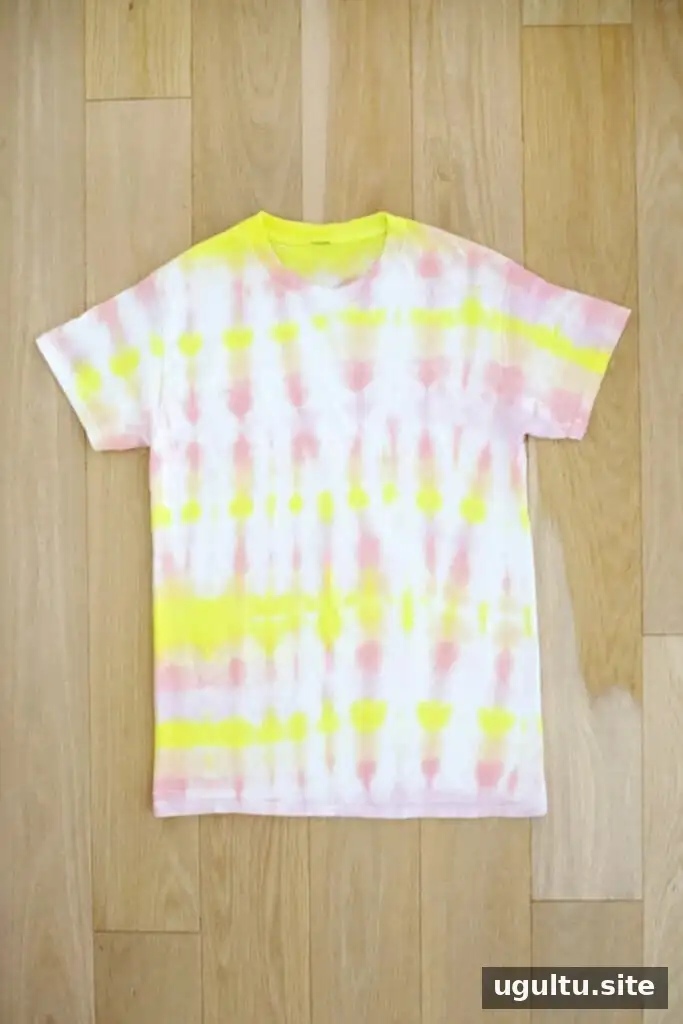
Lay the garment flat and fold it into small accordion-style pleats, beginning at the left side for vertical stripes or at the bottom for horizontal stripes. Arrange the folded fabric in a zigzag shape, then secure it with rubber bands. Apply dye to the sections between the bands and color the reverse side as well.
Scrunch Tie-Dye
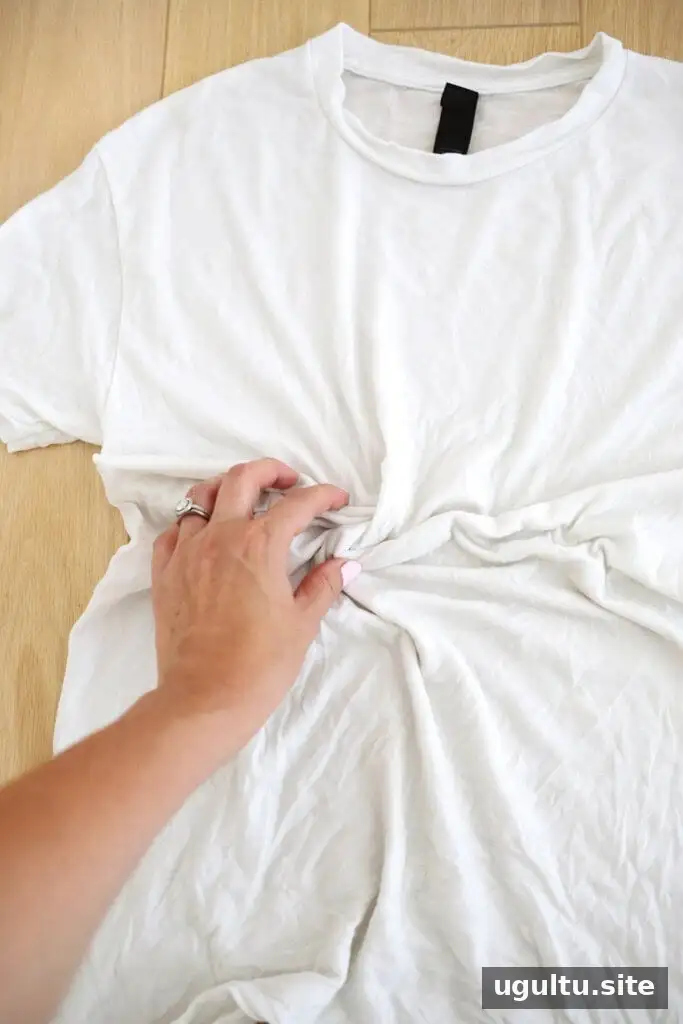
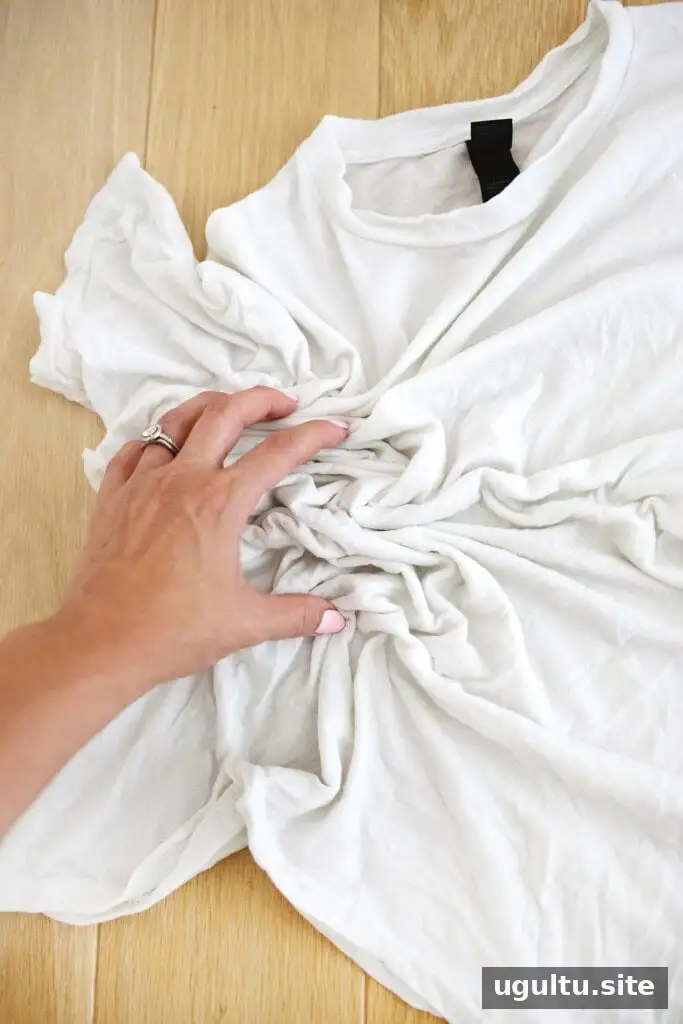
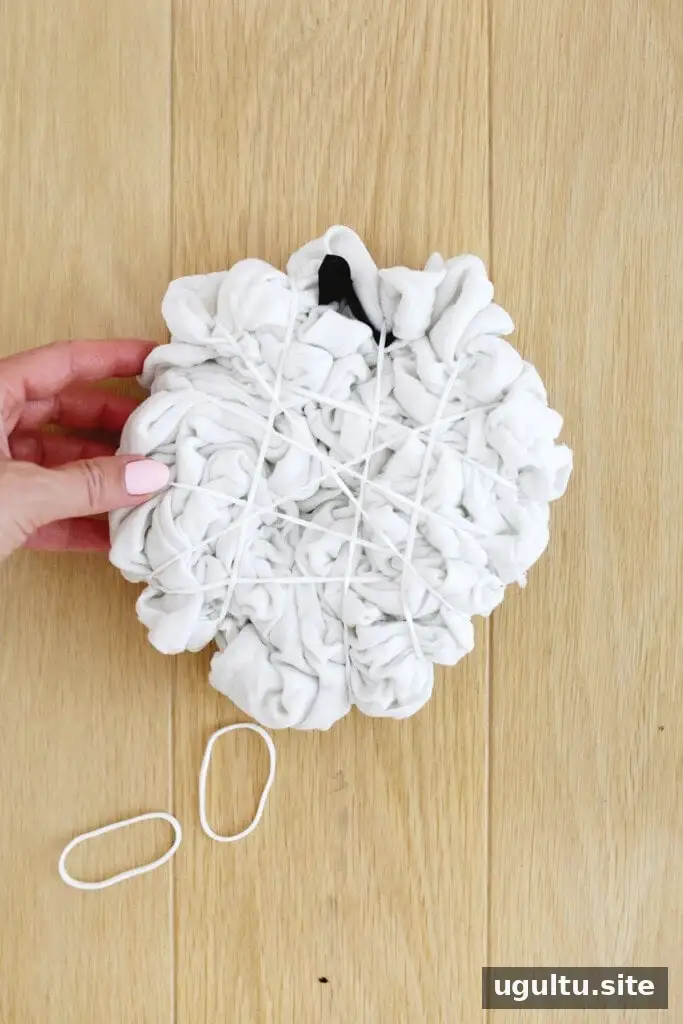
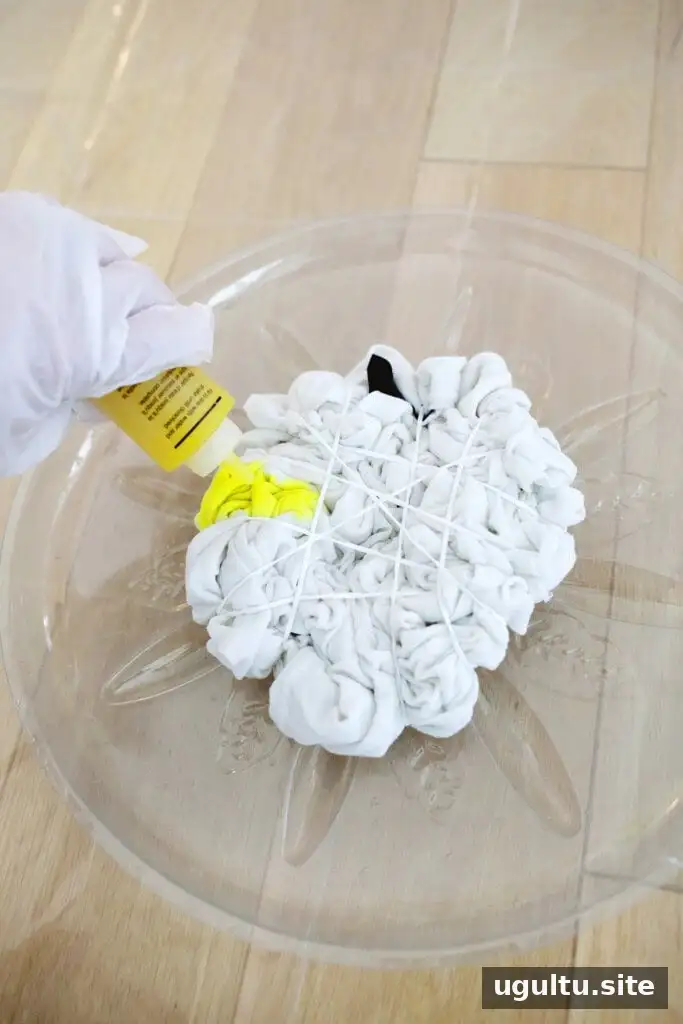
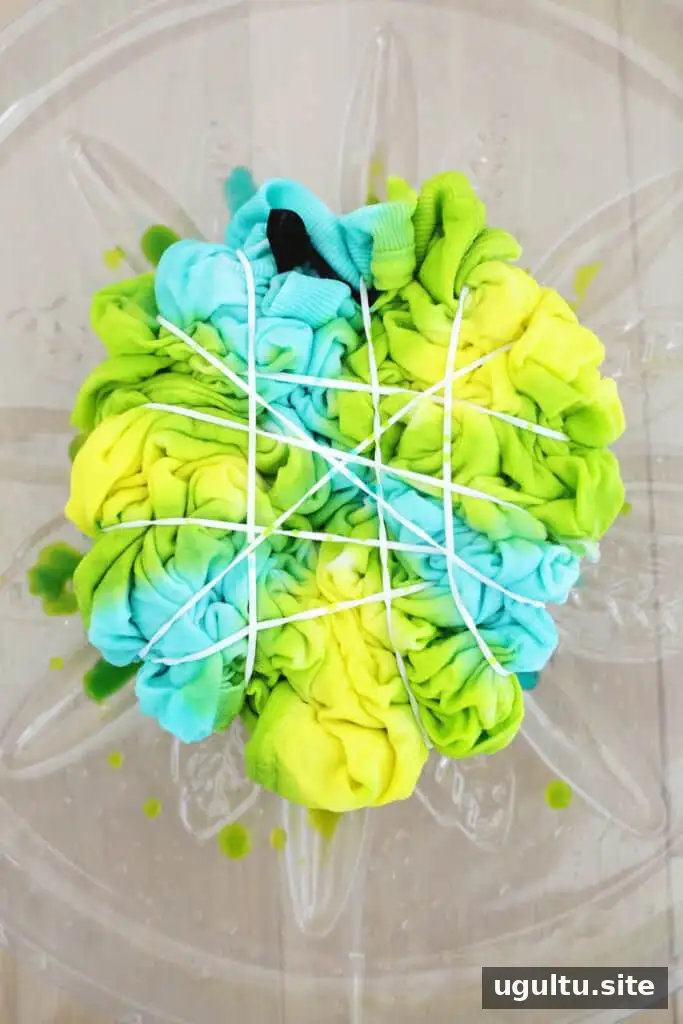
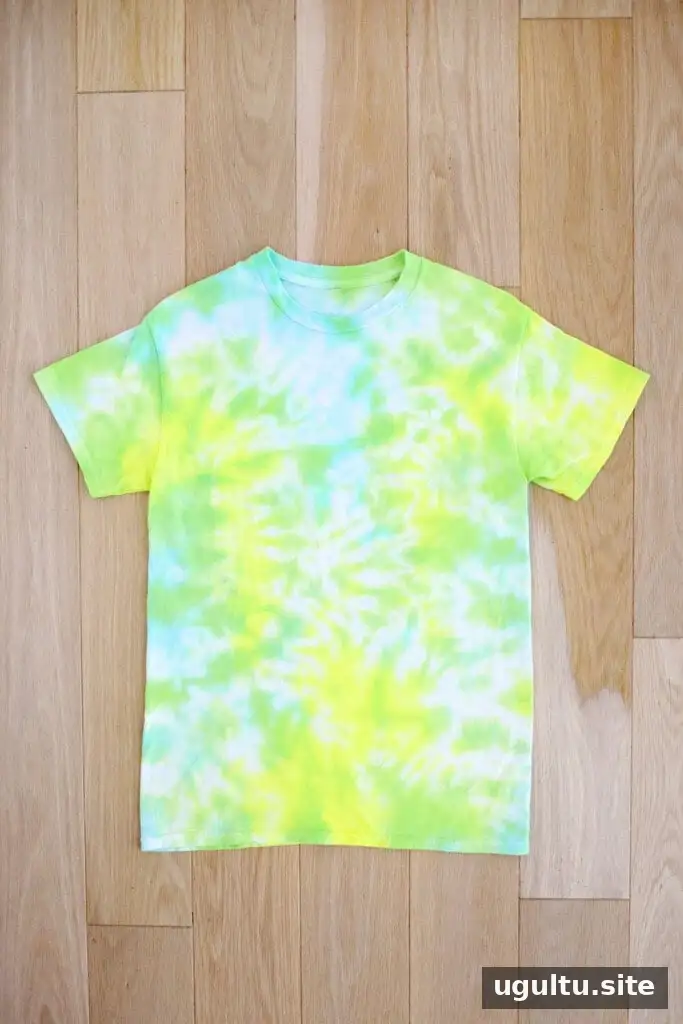
Pinch small sections of the flat garment and lift them slightly to form soft folds. Continue across the shirt until the fabric is gathered into an irregular shape, then secure it with overlapping rubber bands. Apply color to several areas, repeating the placement on the other side as closely as possible. This loose arrangement creates an organic, marbled effect.
Frequently Asked Questions About How to Tie-Dye
Should fabric be wet before tie-dyeing?
It does not have to be wet, but slightly damp fabric allows dye to spread more easily and can produce softer colors. Dyeing dry fabric often gives brighter color and more clearly defined white areas.
How long should tie-dye sit before rinsing?
Allow at least 6 hours for the dye to set, or leave the garment in a sealed bag for up to 24 hours for more intense color. Check the dye package for its recommended setting time.
What fabric works best for tie-dye?
White or light-colored 100% cotton is a popular beginner option. Rayon, silk, linen, and hemp may also be suitable depending on the dye. Polyester and cotton-polyester blends typically do not hold color as well as natural fabrics, so check the label and dye instructions before starting.
Conclusion
To learn how to tie-dye, start with a light-colored cotton garment, protect your work area, and choose a straightforward fold such as a spiral or bullseye. Secure the fabric, apply dye carefully, let it set for 6 to 24 hours, and rinse until the water runs clear. Following the dye instructions and washing the finished item separately for its first wash can help preserve your design.