
 admin
Tiling a kitchen backsplash can refresh the room and is a project a careful DIYer may be able to complete with the right preparation. This overview of how to tile a kitchen backsplash covers planning, installation, grouting, and sealing, along with practical lessons from a project using marble tiles with beveled edges.
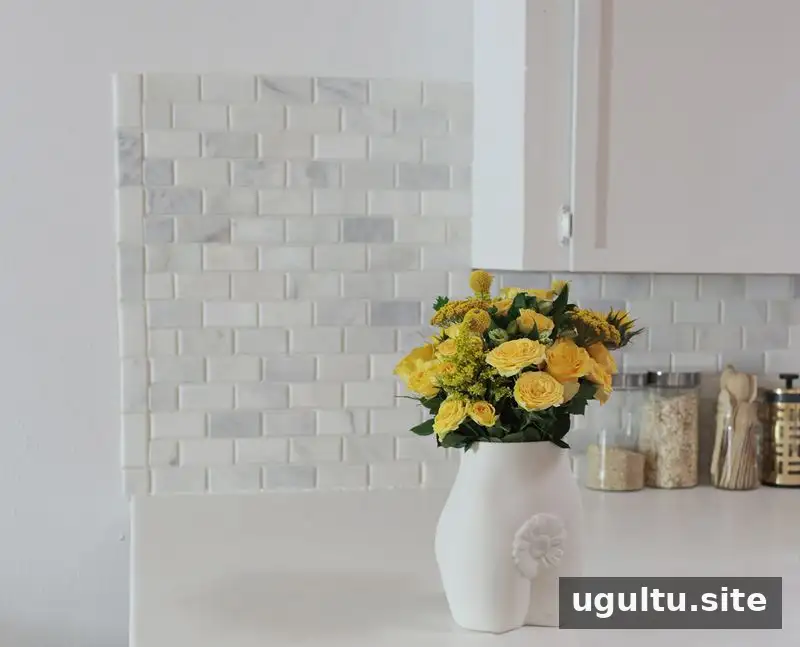
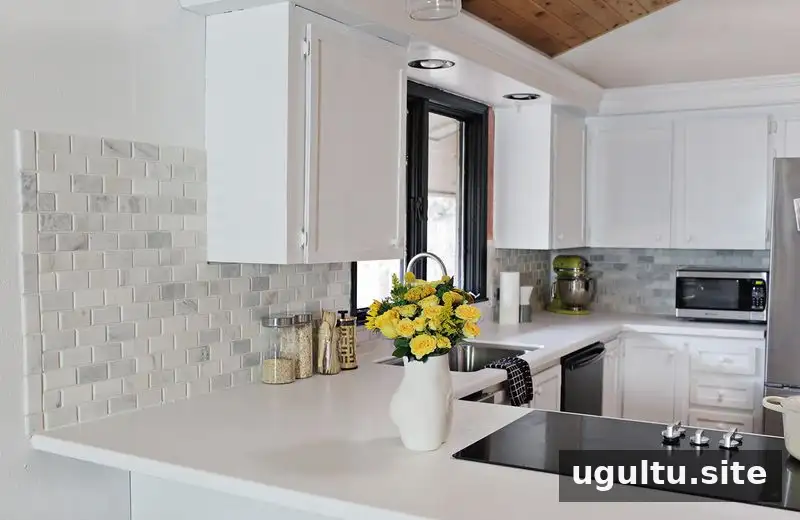
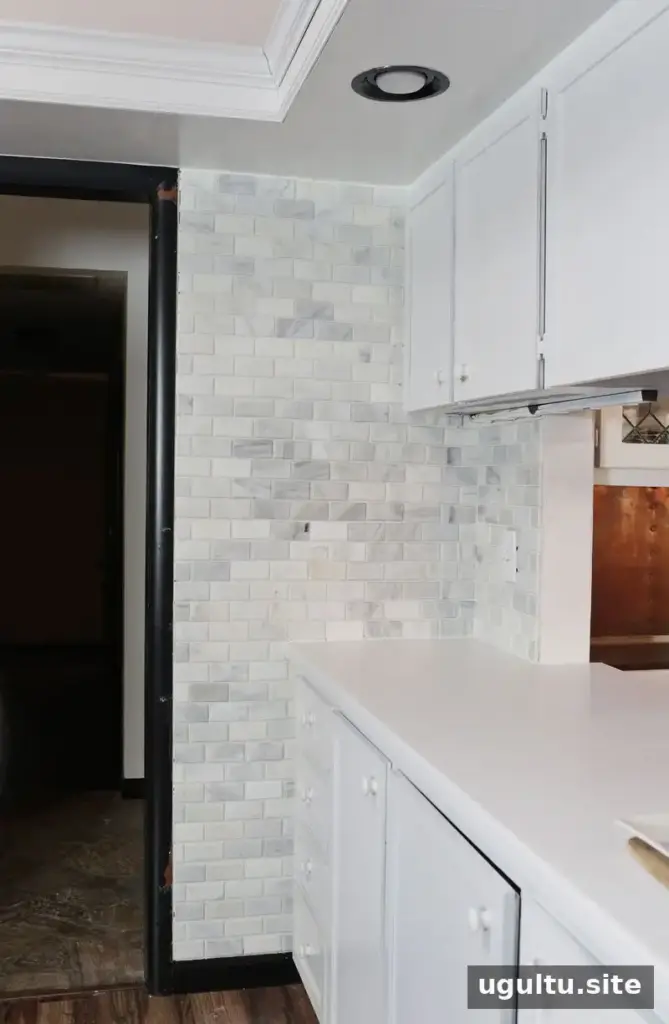
The project used marble tiles with beveled edges, chosen instead of the initially considered white subway tile. Natural stone can create a distinctive look, but it needs careful handling and appropriate sealing. Before selecting tile, consider the material, the amount of maintenance it may require, and how its shape and finish could affect installation and cleanup.
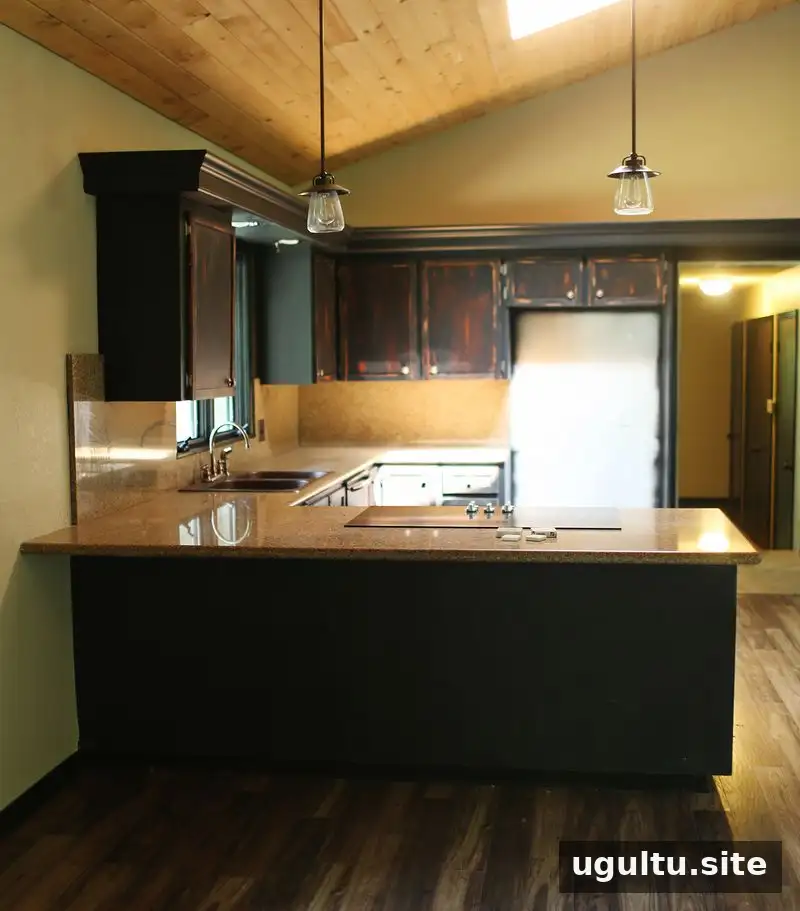
Before the backsplash work began, the countertops had been replaced with solid-surface material and the cabinets painted white. The existing backsplash had been removed, leaving damaged wall areas; the wall behind the sink needed new drywall.
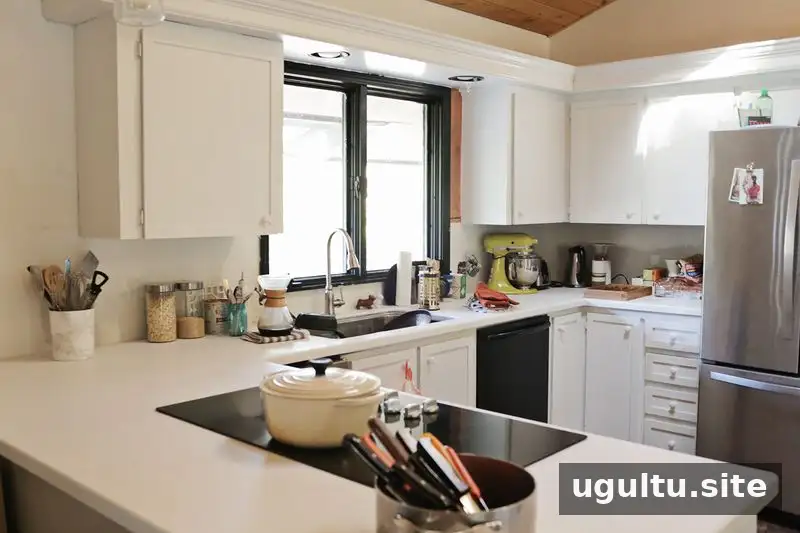
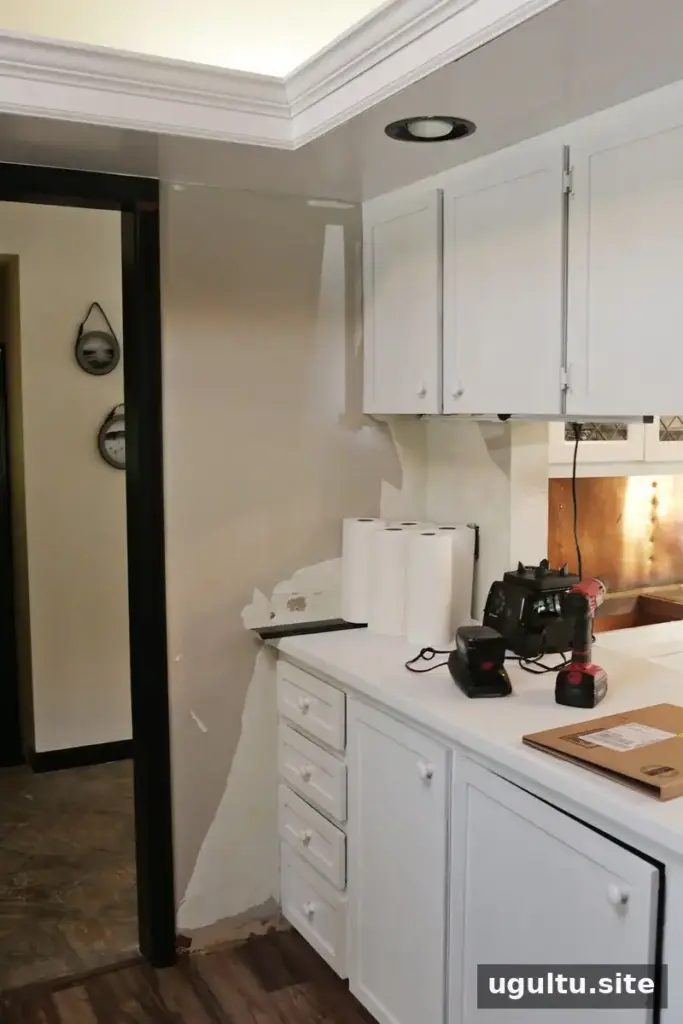
A sound, clean wall is an important starting point. Repair damaged sections and prepare the surface according to the instructions for the tile and setting material. For this project, the discolored wall was cleaned and primed before installation.
Plan how to tile a kitchen backsplash
Before beginning, review a detailed tile-installation guide and make sure you understand the tools and materials involved. Measure the area to determine how much tile to buy. The backsplash measured about 38.5 square feet, and 40 square feet of tile was purchased to allow for cutting mistakes and keep spare pieces for possible future repairs.
Draw light layout marks on the wall and decide how to divide the work into manageable sections. Protect cabinets, countertops, and nearby surfaces with painter’s tape and drop cloths. Renting a wet saw can help with tile cuts, but practice on spare pieces first if you are new to using one.
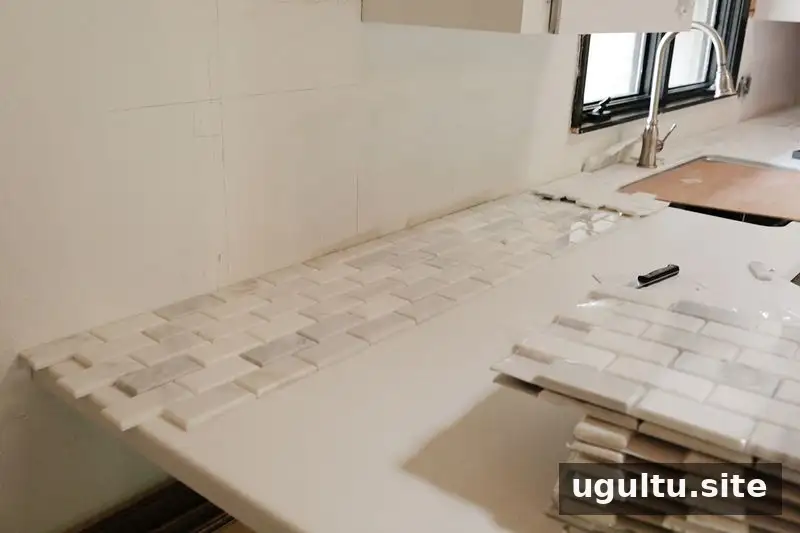
Prepare materials and set the tile
Some tiles come attached to mesh sheets, which can make handling and layout easier. Even with mesh-backed tile, check that the spacing between sheets is consistent and adjust individual tiles where needed. Spacers may still be useful depending on the tile, its edges, and the installation pattern.
The project used premixed mortar and grout, which avoided measuring and mixing. Product suitability varies, so confirm that the material is compatible with the tile, wall surface, and intended application, and follow its label for working and drying times.
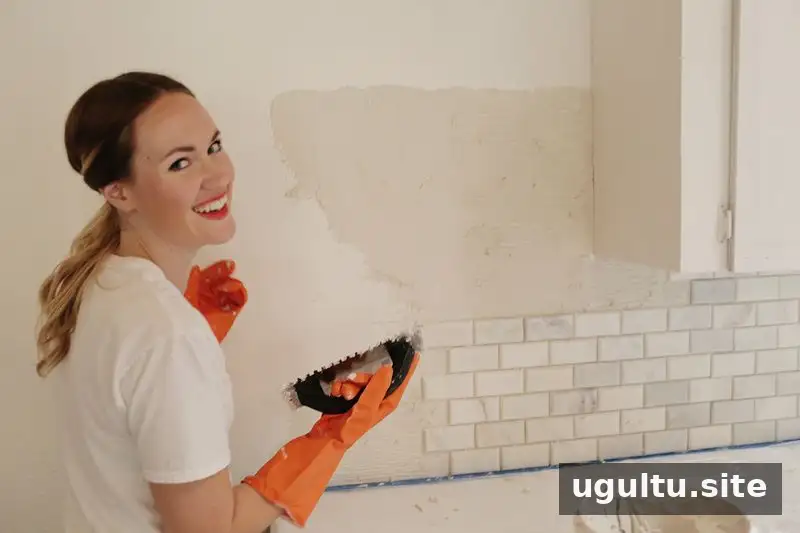
Apply mortar in manageable areas and press the tiles into place according to the product instructions. One person handled the mortar while another cut and placed the tiles. Working in sections helps prevent the mortar from drying before the tile is set. The installation took most of a Saturday, and the overall project took about three days when drying time was included.
Wear well-fitting gloves when handling mortar and grout. Gloves that are too large can make precise work harder. Keep a suitable sponge and clean water ready for cleanup, and follow the tile and mortar manufacturers’ guidance.
Grout, seal, and finish the backsplash
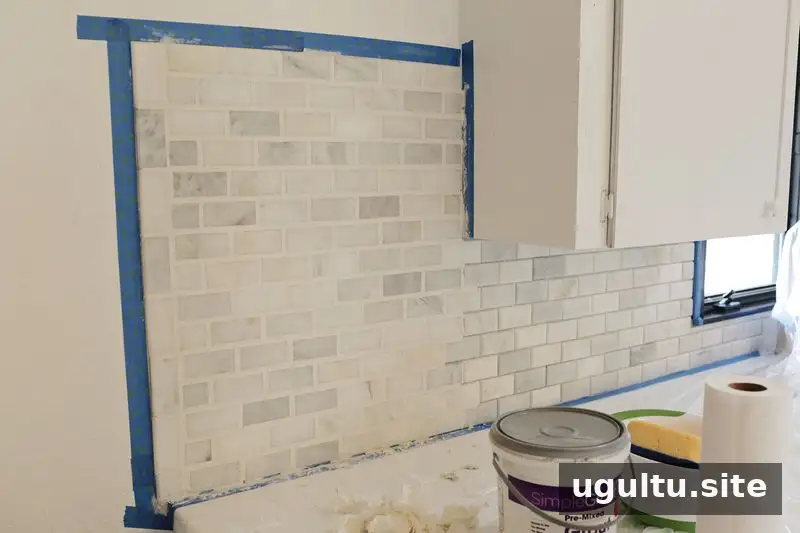
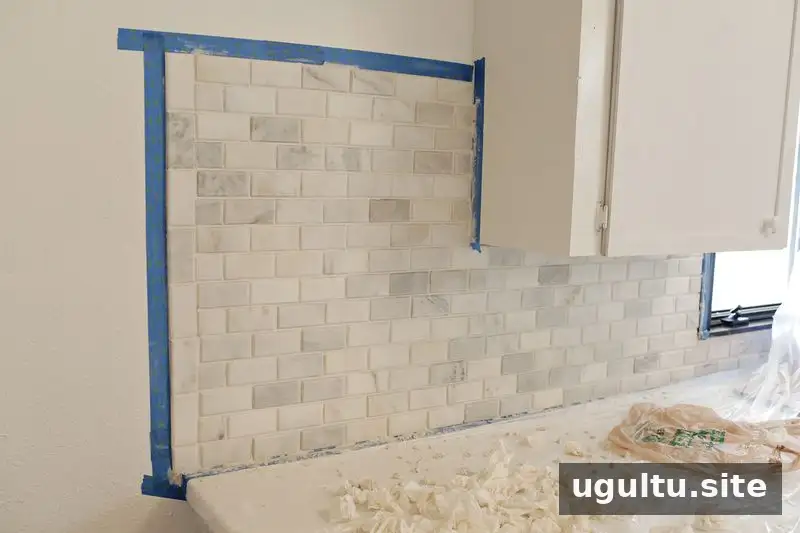
Grouting beveled tile can take extra care because grout collects in the grooves. Marble also needs careful cleanup: grout haze can be difficult to remove from natural stone, so avoid letting excess grout dry on the surface. Work in small areas and clean the tile as directed by the grout manufacturer. A grout bag may be worth considering for some projects, although its suitability depends on the tile and grout.
For this project, the stone sealer instructions called for sealing after the tile was installed and before grouting, then sealing again after the grout had dried. The grout and marble were sealed after approximately 24 hours. Sealer requirements differ, so always follow the instructions for the specific product and allow the stated drying time.
Apply caulk at appropriate seams and edges, such as changes of plane, using a product suitable for the location. Smooth the bead carefully and let it cure as directed before exposing it to water. Touch-up painting around trim or outlets may be needed after the tile work is complete.
Is tiling a kitchen backsplash worth doing yourself?
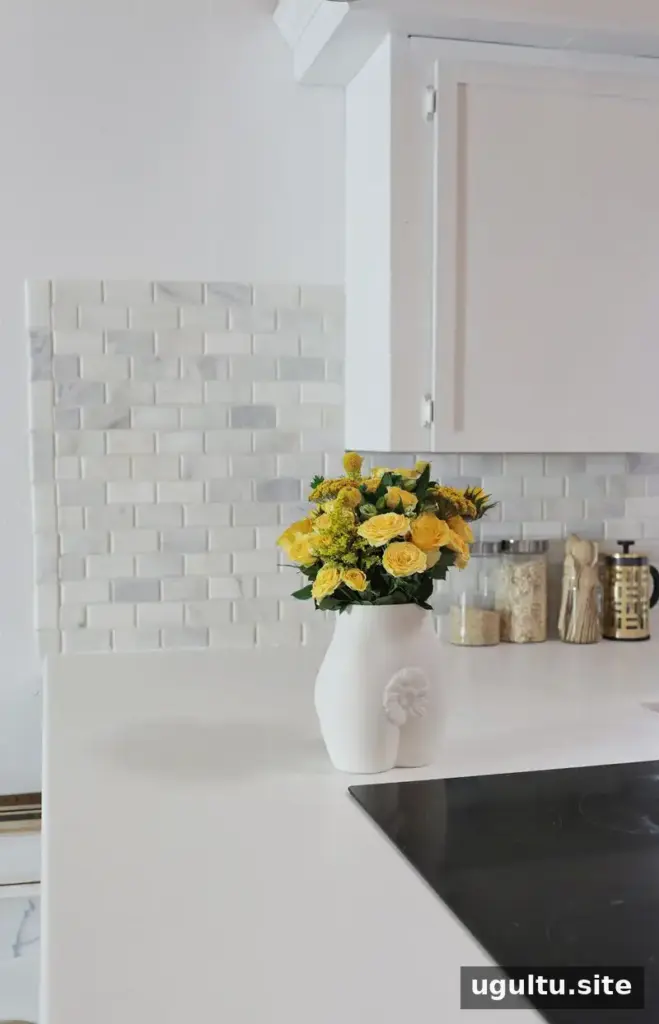
Whether DIY installation is worthwhile depends on your budget, available time, and comfort with detailed work. Installing a backsplash can be physically demanding and requires patience, especially when cutting tile or cleaning grout from textured edges. However, a homeowner with careful preparation and the right tools may be able to complete the work without hiring a contractor.
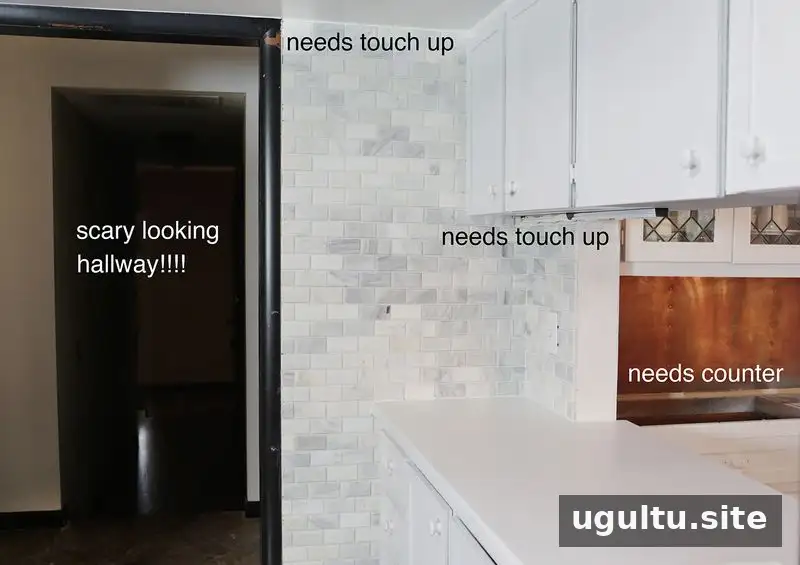
A final inspection can help identify areas that need paint touch-ups, caulk repairs, or other finishing work. Keep leftover tile in a safe place in case a piece needs replacing later. In this project, the backsplash made the kitchen feel more finished, even though other small updates around the room remained.
In short, how to tile a kitchen backsplash comes down to preparing the wall, planning the layout, setting the tile carefully, and allowing enough time for grout and sealer to cure. For marble or other natural stone, follow the product instructions closely and take extra care during cleanup. — Emma


