
 admin
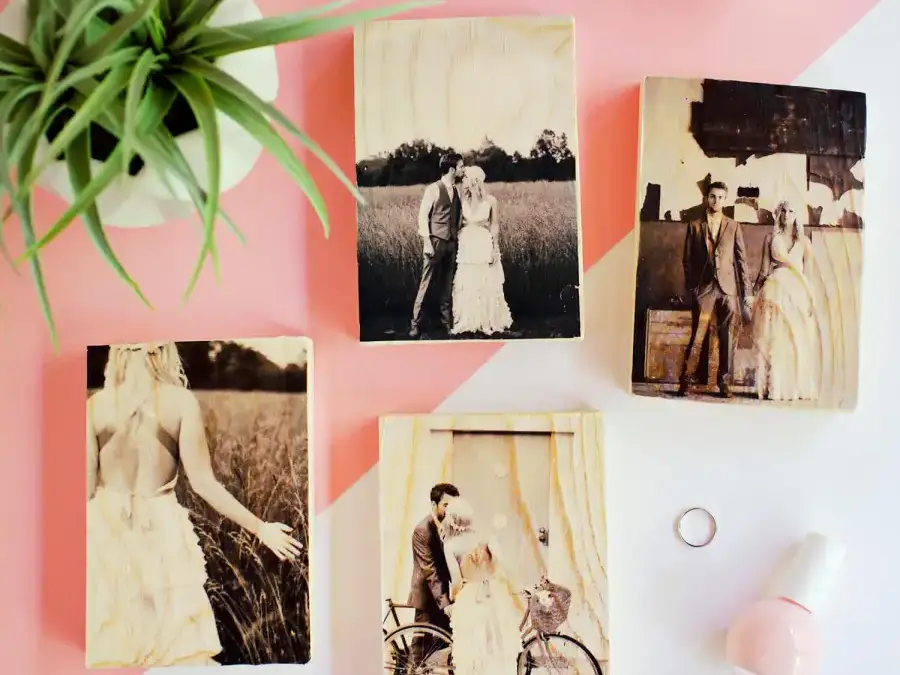
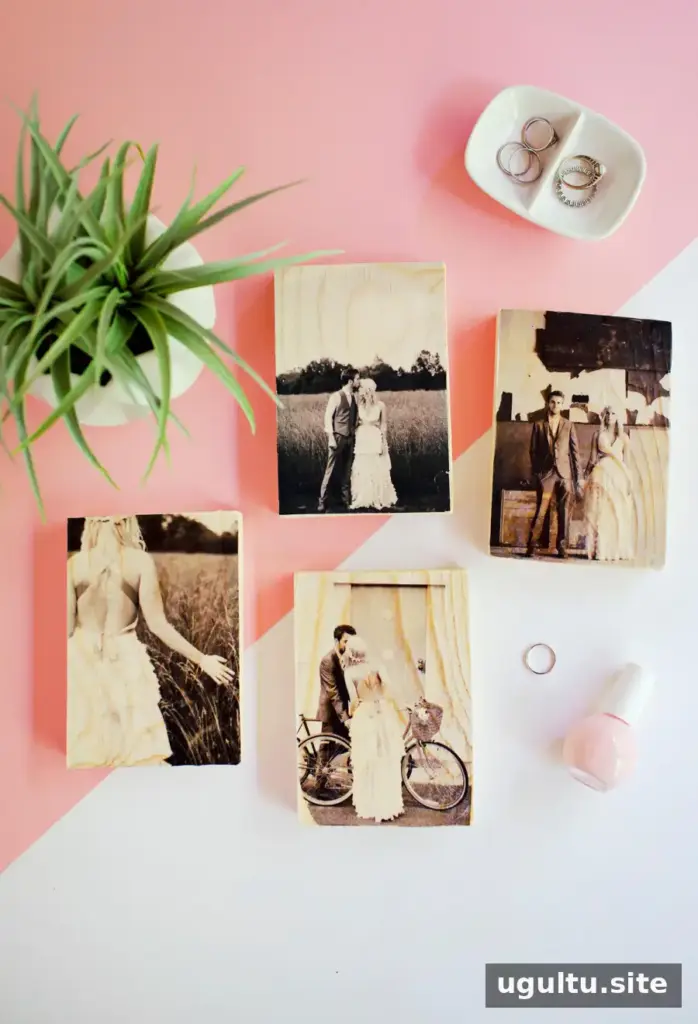
A photo transfer to wood can turn a favorite image into a rustic display piece. The project can be done with several materials, including water decal paper, temporary tattoo paper, or a gel medium and label backing paper. Each method has different handling requirements, so choose one that suits your supplies and take time to prepare the image and wood before you begin.
Photo transfer to wood: choose a method
Two options use specialty transfer papers and are generally straightforward to try: water decal paper and temporary tattoo paper. A third approach uses gel medium to transfer an inkjet print. The instructions below bring together tips for the newer methods and the original gel-medium process.
Before starting, check that your printer is compatible with the paper you plan to use. Use a light-colored, untreated piece of wood when possible, as the grain and color can affect how the finished image appears. Test your chosen method on a small piece first if you are unsure how the materials will behave.
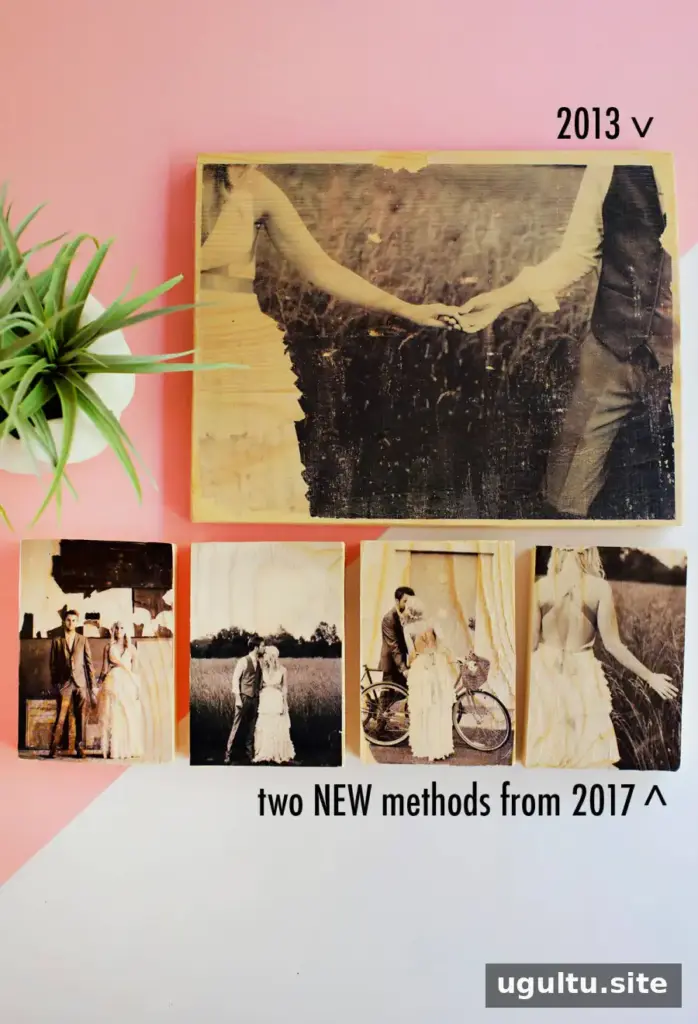
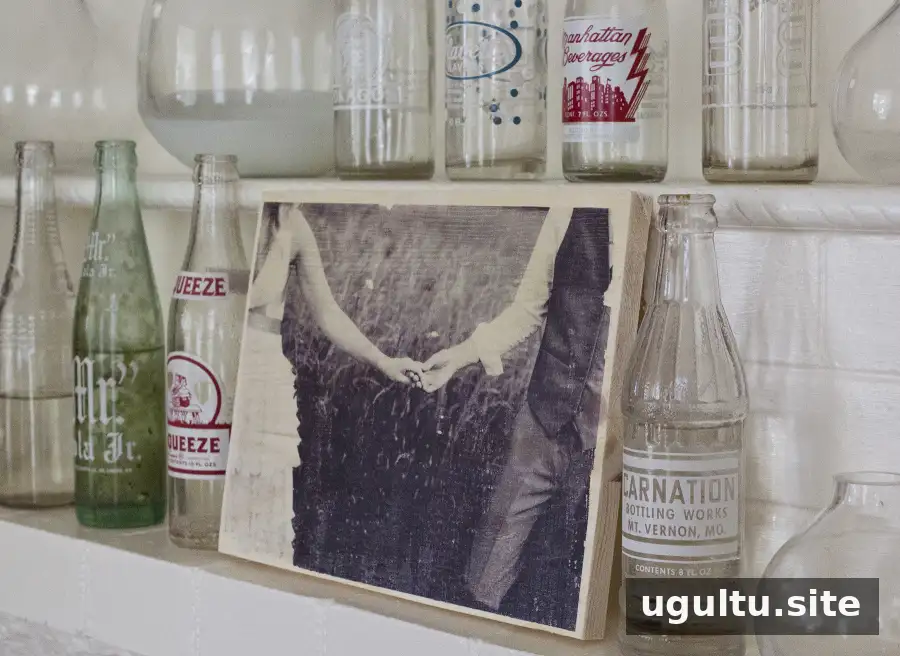
A finished transfer can remain on display for years, but the surface and finish may affect its durability. Keep the piece away from excessive moisture, and consider a compatible clear sealer if you want an additional protective layer.

Method 1: Water decal paper
Use water decal paper designed for inkjet printers and follow the paper manufacturer’s printing instructions. Once the printed decal has soaked and released from its backing, it is very thin—similar to tissue paper—so handle it gently. Practicing with a spare piece can help you get comfortable positioning it without tearing or folding.
Turpentine was used with this method in the demonstrated project. It has a strong odor, so work in a well-ventilated area and follow the product label’s safety directions. Keep it away from flames and store it safely after use.
Method 2: Temporary tattoo paper
Print the image on temporary tattoo paper made for inkjet printers, following its instructions. The transfer appears as a mirror image, so flip the design horizontally before printing if it contains text or other details that need to read in a particular direction.
After printing, apply the paper’s clear adhesive sheet over the design as directed. Aim for even adhesive coverage across the image. It does not need to be perfectly aligned, but gaps in the adhesive may affect how well parts of the design stick to the wood.
The finished transfer can be left unsealed or covered with a thin coat of craft sealer or water-based polyurethane. If using a sealant, test it on a small area first and allow it to dry fully before displaying the piece.
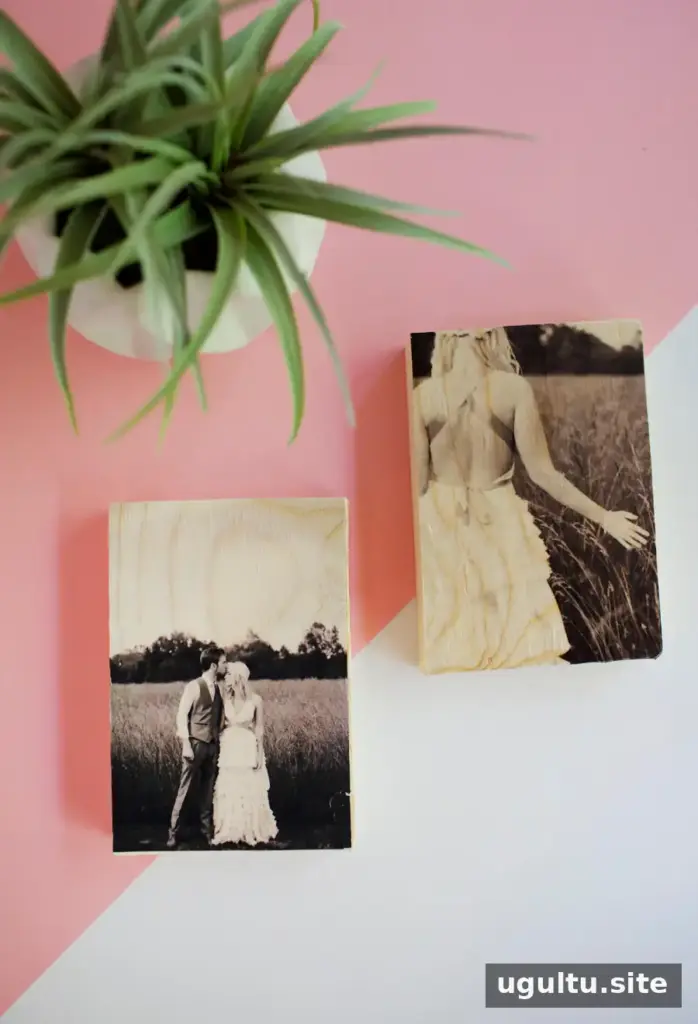
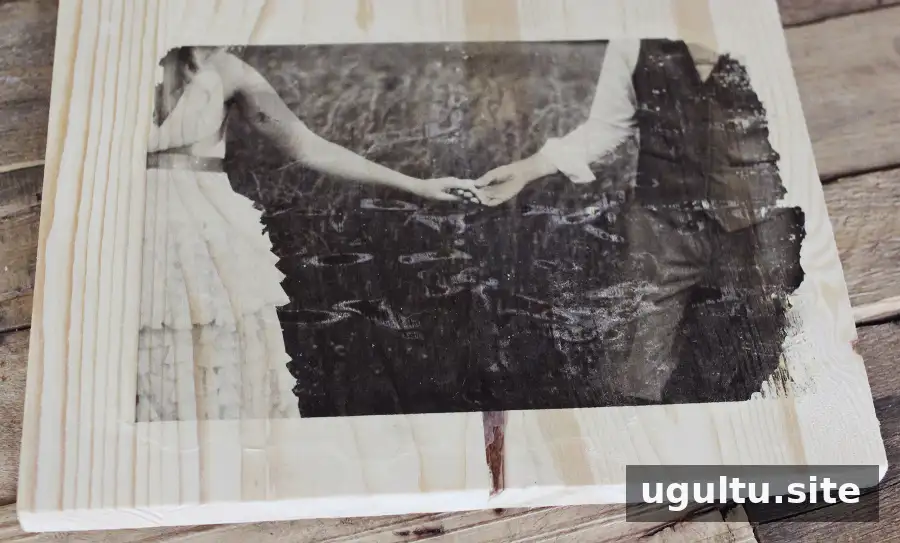
The example shown compares a transfer made with the water decal method and one made with temporary tattoo paper. Follow the instructions supplied with your chosen paper, since application and drying times can differ.
Method 3: Gel-medium transfer
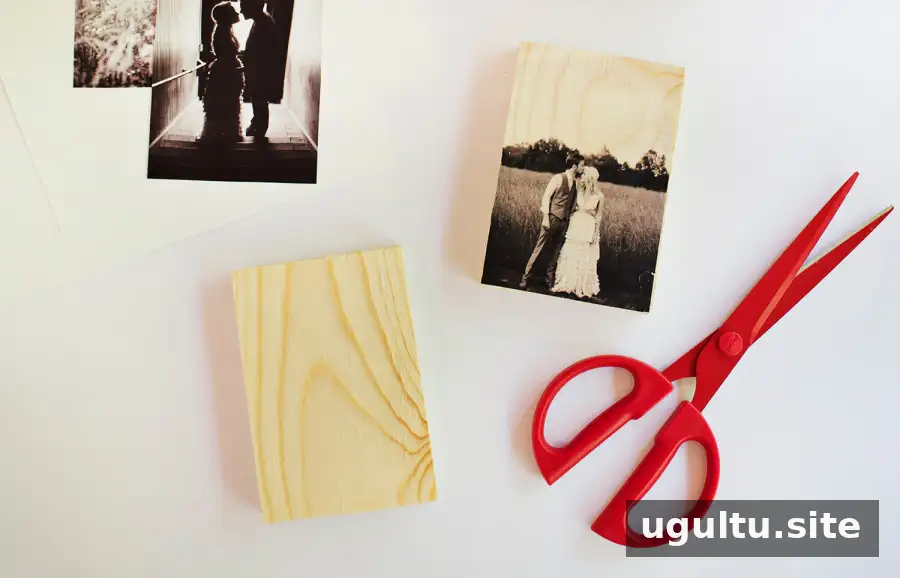
This approach uses an inkjet printer, the backing paper from shipping labels, clear sealer, white glue, matte gel medium, small sponges, and an 8 × 10-inch piece of untreated wood. A paint roller or rolling pin helps press the image flat. Lighter-colored wood is preferred because it allows the transferred image to show more clearly.
Use only a photo you own or have permission to reproduce. If the image belongs to a photographer, obtain permission before making a transfer.
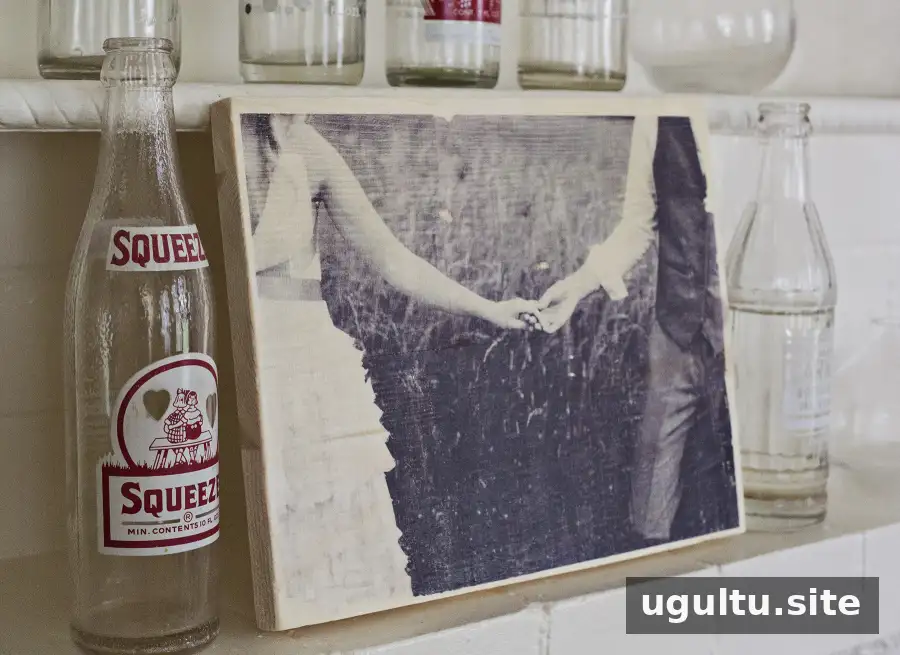
The earlier project used an MG6320 printer. Among the tutorials consulted during its development, one by C. Monck was noted as a helpful reference.
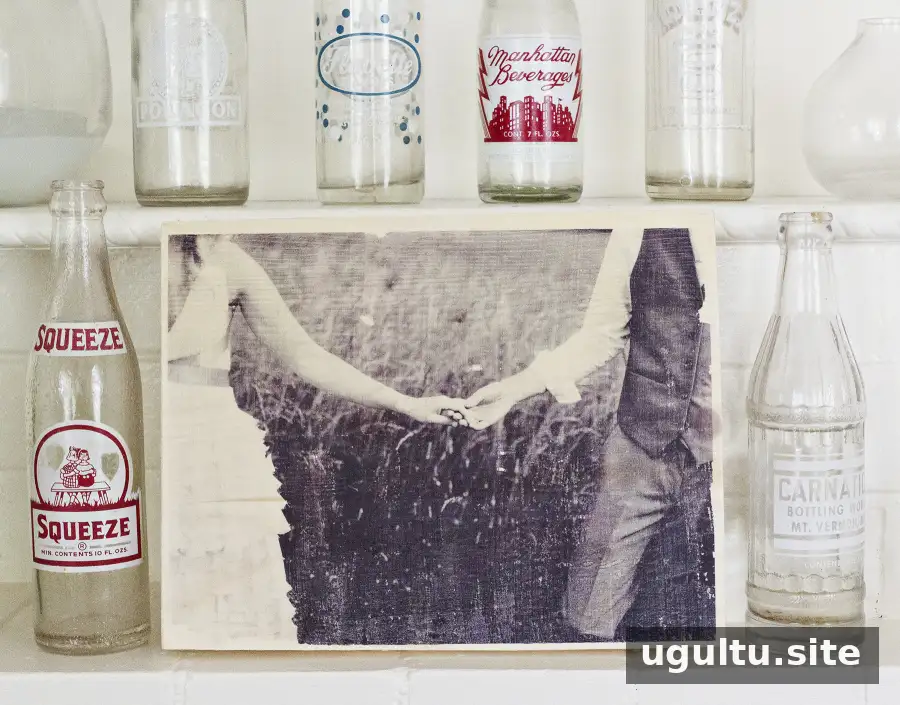
The following steps describe the gel-medium process. Work carefully and allow each layer to dry as specified; rushing the preparation can lead to smudging or an uneven transfer.
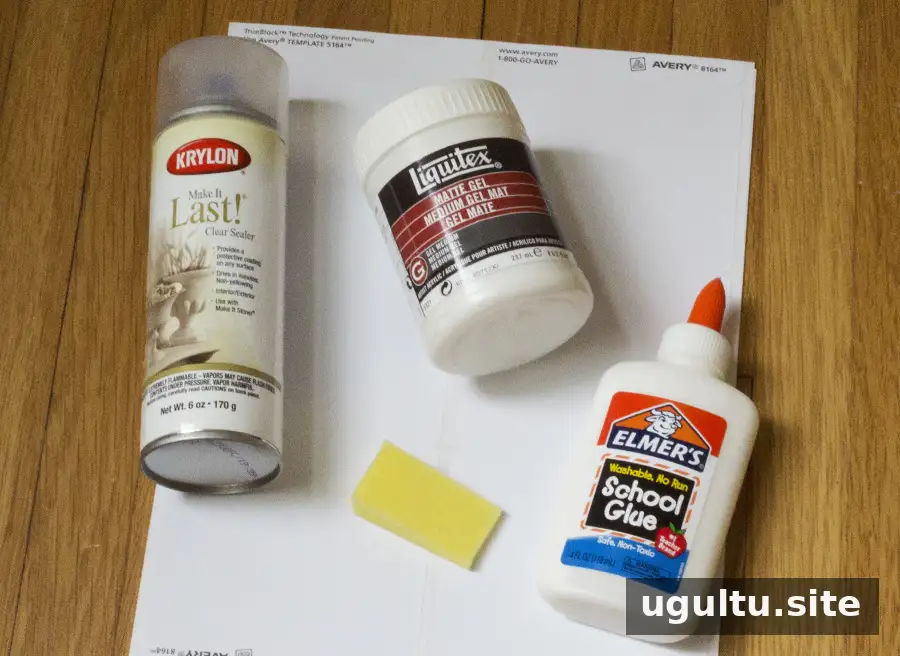
Supplies
- Shipping label sheets; use the backing paper after removing the labels
- Clear spray sealer
- White craft glue
- Matte gel medium
- Small sponges
- Inkjet printer
- Paint roller or rolling pin
- 8 × 10-inch piece of untreated, preferably light-colored wood
Step-by-step instructions
- Prepare the paper. Remove and discard the labels, keeping only the backing sheet.
- Seal the paper. Apply a thin coat of clear spray sealer and let it dry completely.
- Add glue. Use a small sponge to spread a thin, even layer of white craft glue over the paper. Allow it to dry fully.
- Print the image. Print onto the dried glue-coated side. Handle the sheet carefully after printing to avoid smearing the image.
- Apply the gel medium. Use a sponge to spread a thin coat of matte gel medium over the wood. While it is still wet, place the printed image face down on the surface.
- Press and dry. Roll over the paper to smooth it against the wood and remove air bubbles. Leave it to dry for one hour.
- Remove the paper and seal. Carefully peel back the paper. Once the transfer is exposed, apply a thin coat of clear sealer and let it dry. An additional compatible protective coat may be applied afterward.
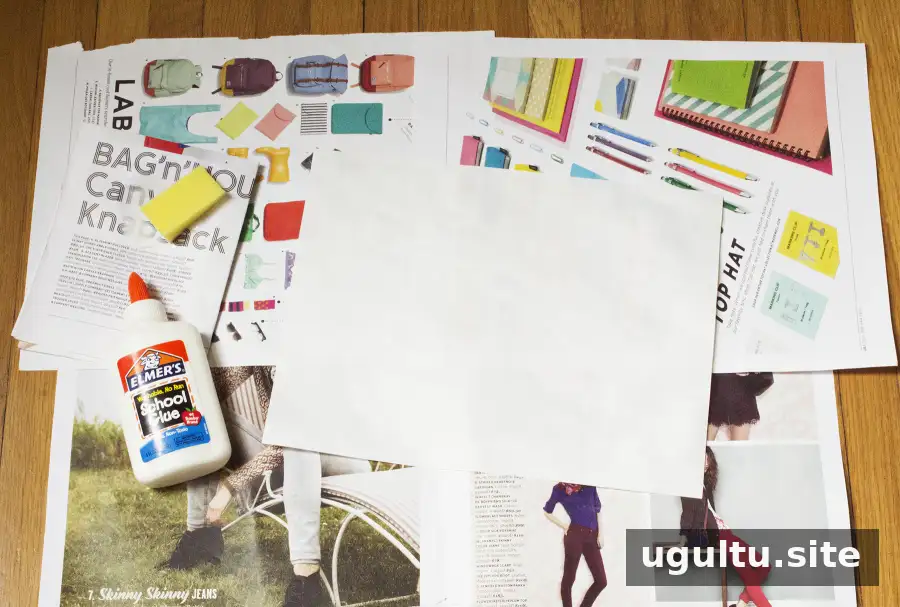
Removing the labels leaves the smooth backing sheet needed for printing. Check that the sheet feeds safely through your printer before printing the final image.
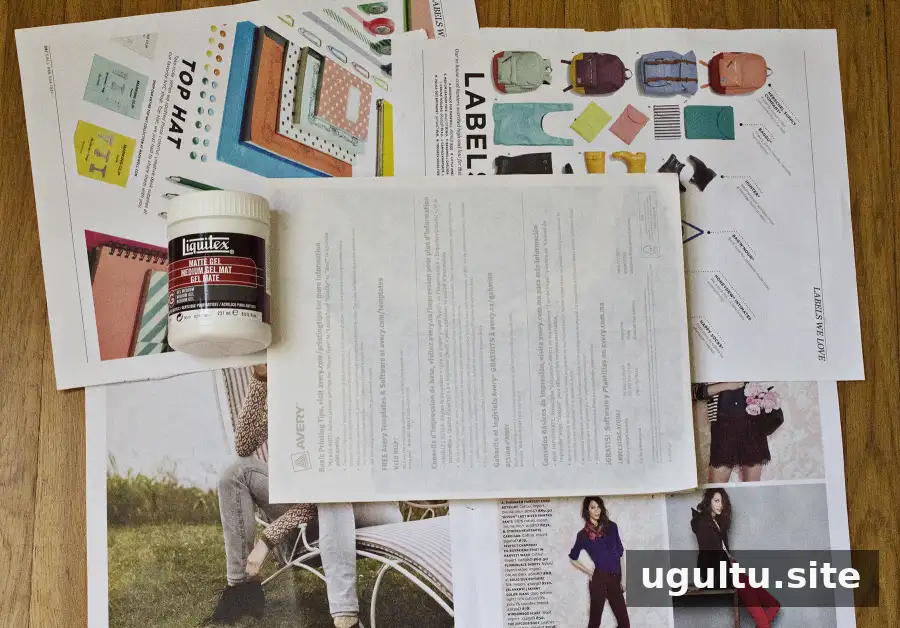
Thin, even layers are important throughout this process. Too much glue or gel medium can make the paper harder to handle, while insufficient coverage may produce faint or patchy areas.
Troubleshooting common transfer problems
A faint or messy image: In one test, a similar process without clear sealer and with a different craft finish produced a faint result and made paper removal difficult. Prepare a test piece first, and use the materials and sequence specified for the method you select.
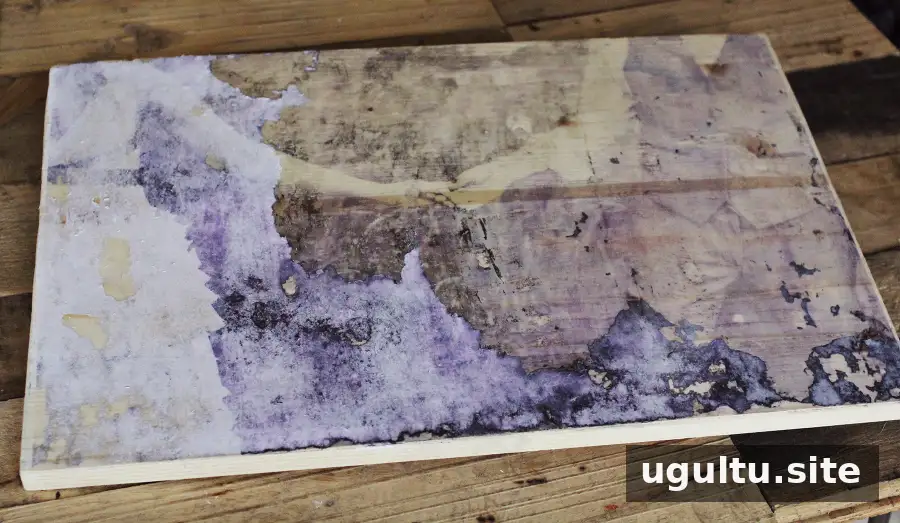
Streaks beneath the image: A paintbrush can leave uneven marks when spreading glue. A small sponge can help distribute the layer more consistently.
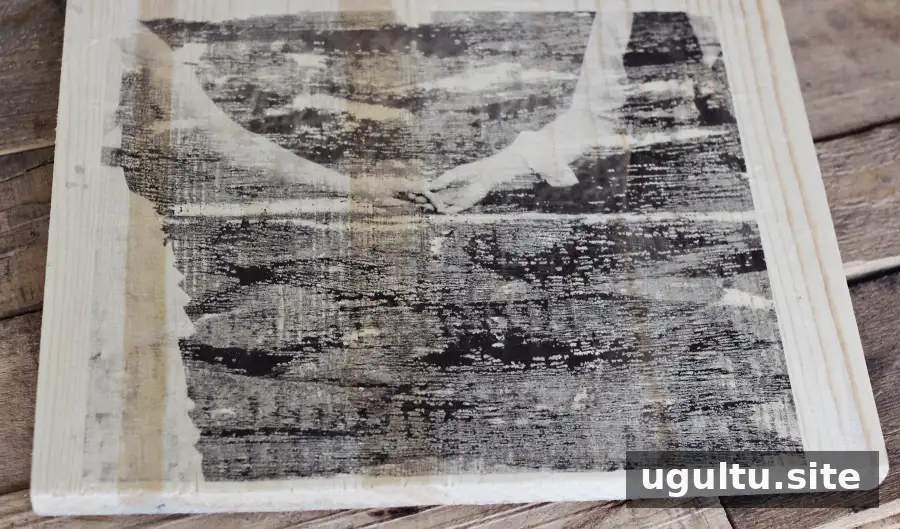
Bubbles or visible creases: Air pockets can show through the transferred image. Roll from the center outward with a small roller or rolling pin, applying steady, gentle pressure to flatten the paper.
Final tips for photo transfer to wood
For the best chance of a clean photo transfer to wood, use compatible paper and printer settings, apply thin and even layers, and avoid moving the image after it touches the surface. Remember to mirror text where required, ventilate the workspace when using products with strong fumes, and follow all material labels. With a little preparation and a test run, you can choose the transfer method that works best for your image and project.
—Emma


