
 admin
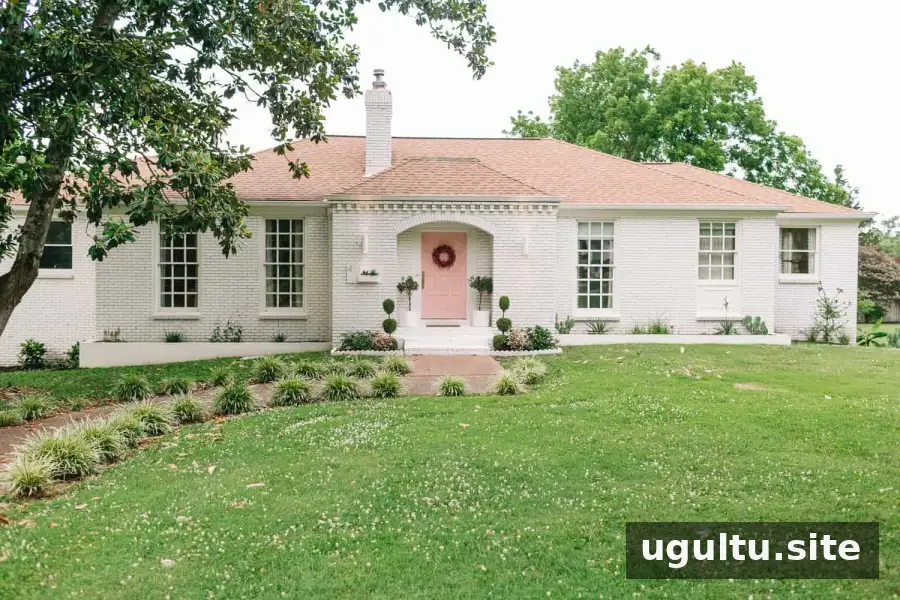
Home selling preparation can make a property feel more appealing and help buyers picture themselves living there. One Nashville home sale received multiple offers above asking price and sold quickly after a series of repairs, decluttering, staging, and timing decisions. Results vary by market, but thoughtful preparation can help a home make a stronger first impression.
The owners had previously experienced homes staying on the market for six months or longer, sometimes with multiple price reductions. For this sale, offers came from local Nashville families. The steps below are organized by timeline so sellers can focus on the most useful tasks first.

A useful starting point is to assess the home as a buyer might. Walk through each room and the exterior, make a written list of improvements, and prioritize work that is noticeable, practical, and within budget.
Home selling preparation: Three months to one year before listing
Beginning early gives you time to complete repairs and make considered design choices without rushing. A longer lead time is especially helpful if your home has several unfinished projects.
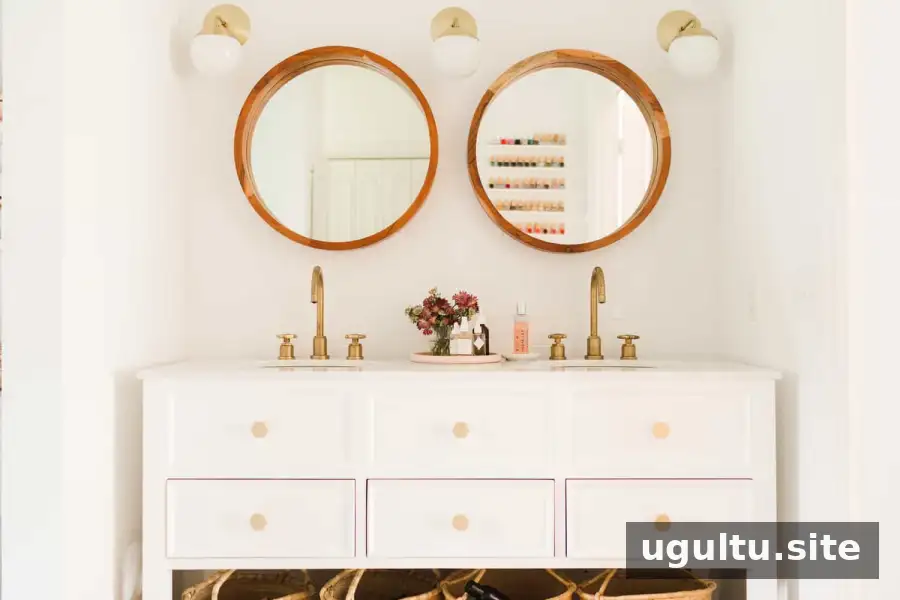
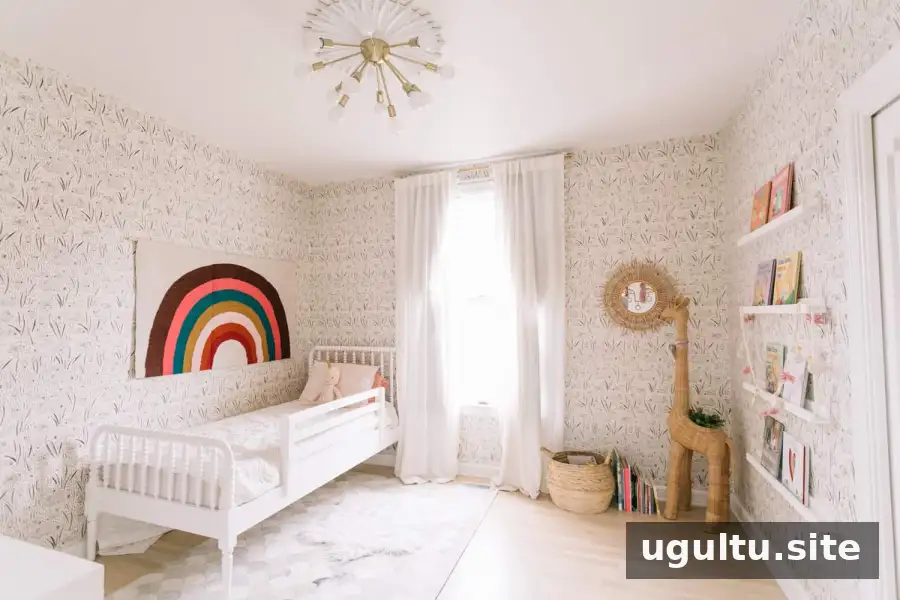
- Review distinctive colors and features. Decide which details add broad appeal and which reflect a very specific taste. In this home, the owners removed a turquoise floor and yellow guest-room wallpaper while keeping other colorful elements. Buyers can often more easily change smaller details, such as a painted door or vanity, than prominent finishes.
- Complete known repairs early. Fix damaged or unfinished areas and take care of small improvements that could affect how rooms show. Unexpected schedule changes can make last-minute work difficult, so plan ahead where possible.
- Reduce belongings before moving. Sell or donate items you do not plan to take, unless they are useful for staging. Removing excess furniture and personal items can make rooms and storage areas feel more open.
- Finish incomplete projects. Inspect the interior and exterior with a critical eye, then note straightforward tasks that will make the property look more cared for.

The guest room was updated with neutral wallpaper. The yellow version photographed well, while the neutral treatment created a calmer look in person. When choosing finishes, consider both how they appear in listing photos and how easily buyers can imagine changing them.
One month before listing
With the larger projects underway, turn to the details that can make rooms look cleaner and less crowded. If possible, schedule storage or a moving vehicle to temporarily hold excess belongings.
- Pack away clutter and extra furniture. The owners moved a small moving truck’s worth of belongings, including items they liked and used. The rooms, shelves, and closets felt lighter afterward, and photos focused more on the spaces than on possessions.
- Refresh surfaces. Clean doors and windows, use a suitable wall-cleaning method, touch up paint, recaulk worn areas, and repair baseboards. The kitchen-floor grout was also refreshed. Allow enough time for this work; the owners spent several full days on cleaning and touch-ups.
- Decide what stays with the home. If you plan to keep a light fixture, curtain, or mirror, replace it before listing if needed. The owners kept four fixtures that were expensive or no longer available and replaced them with similar styles and sizes.
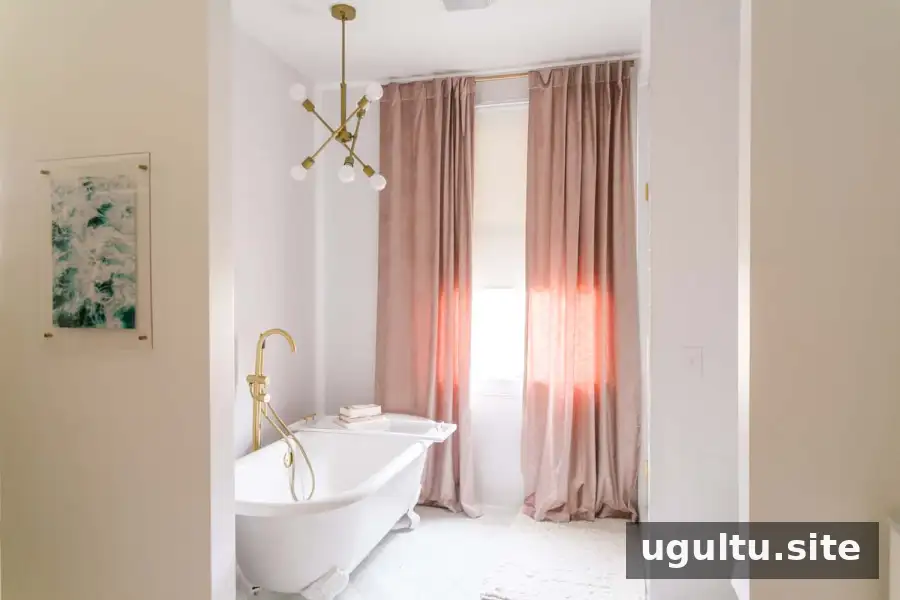
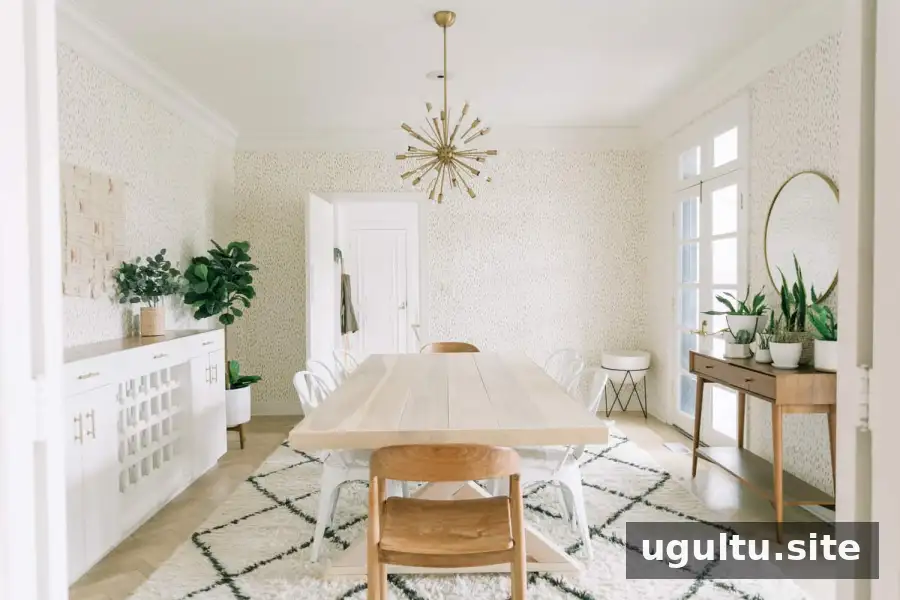
The final week is a good time to focus on cleanliness, curb appeal, and clear presentation. Use a checklist so small but visible details are less likely to be missed.
One week before listing: Cleaning and staging
- Deep-clean the entire home. Include less frequently cleaned areas such as vents, the refrigerator, and the inside and underside of the stove. Give kitchens and bathrooms extra attention, and check for dust, smudges, and spots after the first pass.
- Tidy the landscaping. Mow the lawn and trim shrubs, even if it is outside the regular landscaping season. Two new trees were added on either side of the doorway, which improved the home’s curb appeal for a few hundred dollars.
- Wash the exterior. Power washing can remove visible dirt from exterior surfaces. Use an appropriate method for the materials being cleaned.
- Point out useful features. Brief notes can explain features that might otherwise go unnoticed, such as a water filtration system, custom storage, removable wallpaper, or original details from the 1970s. Keep descriptions accurate and concise.
Stage rooms to show their size and purpose. The owners left the home furnished for viewings and were open to selling some furniture that might not suit their next home. The buyer ultimately purchased a substantial amount of it. If you are considering including furniture, agree on the items and terms separately and clearly.
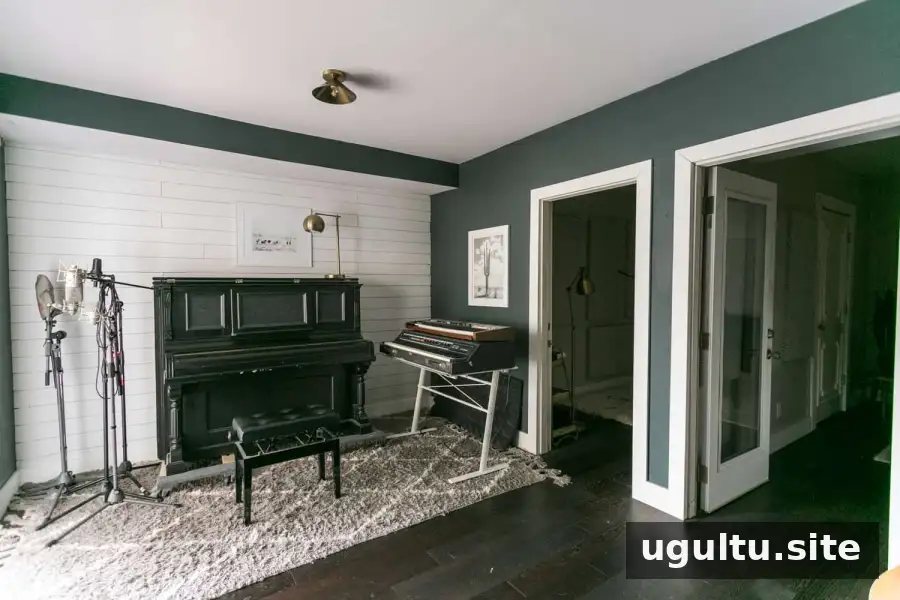
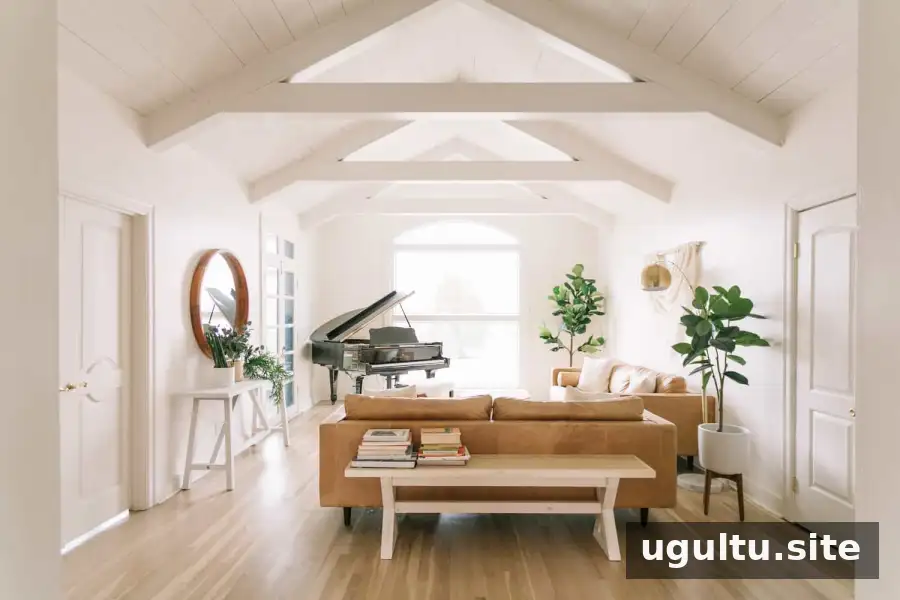
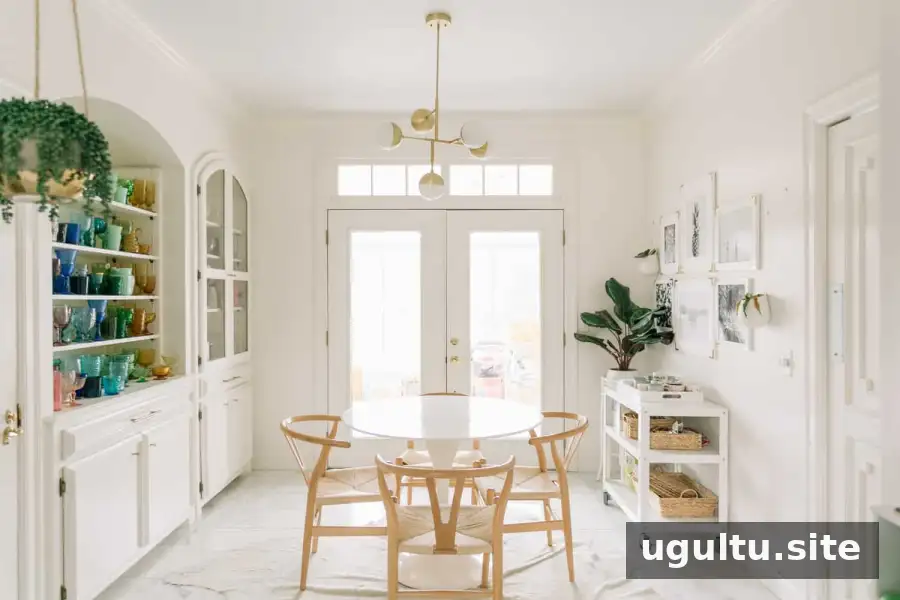
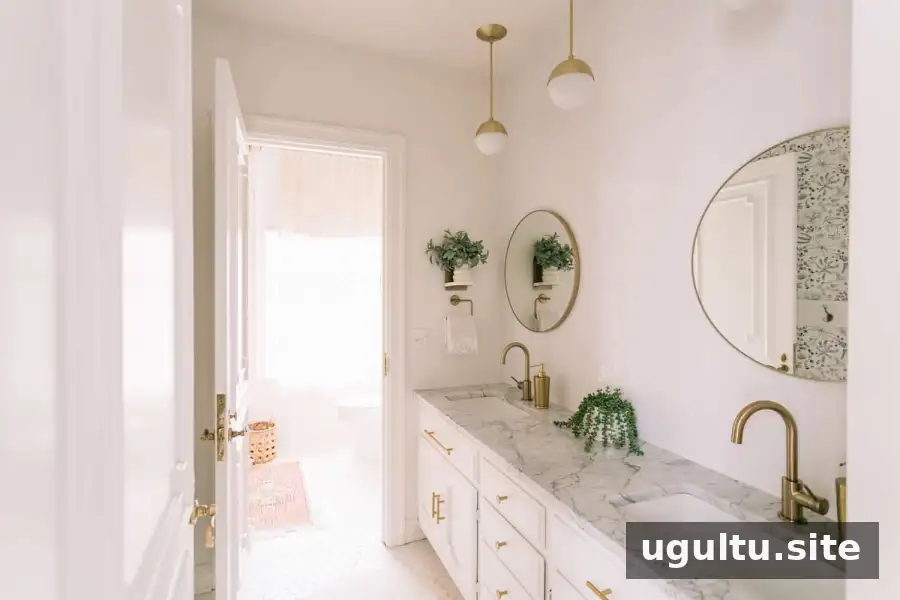

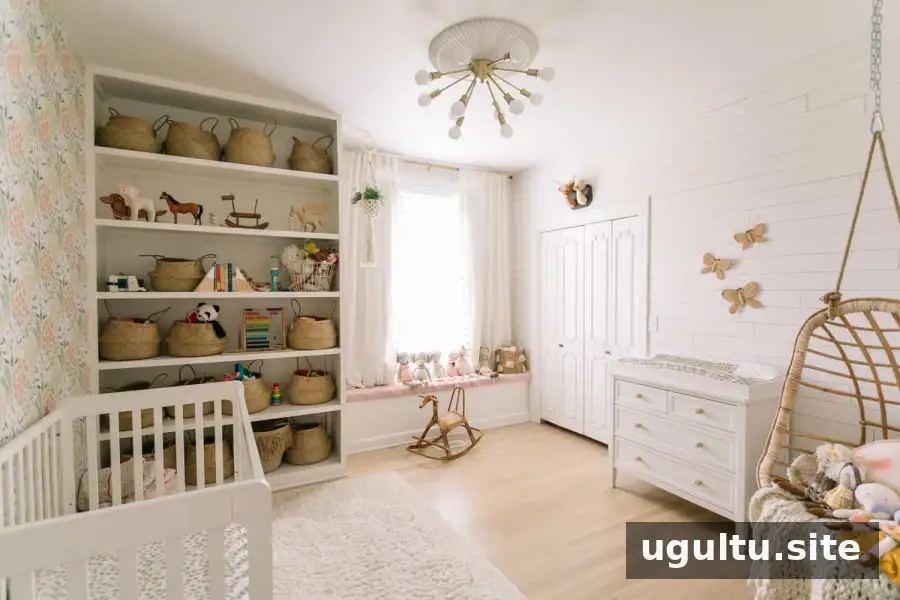
Use these practical staging checks before photography and showings:
- Remove as much clutter as possible. Edit closets, counters, shelves, and floors so buyers can see available space. Keep only a few details that give a room character.
- Let in light. Open blinds and shades, replace burned-out bulbs, and check how the home looks during daylight and with the lights on.
- Give each room a clear purpose. A few relevant items can make a space feel lived in, but avoid excess décor, photo frames, papers, and chargers.
- Check the home through a camera lens. Take phone photos of each room. A space may look different in a photo than it feels in person, so check for visual clutter and make sure the layout appears open.
When possible, keep the staging in place until an offer is under contract. In this case, the sellers moved out before listing and temporarily lived with air mattresses, a pack-and-play, and lawn chairs while the home remained furnished. This arrangement was inconvenient, especially with children and pets, so consider your household’s needs and whether temporary accommodation is realistic. They began moving beds and essential furniture after the home went under contract the following week.
Timing and sale strategy
Local market patterns can influence when to list. The owners waited for the selling season, which in their area began in March, rather than listing in December after closing on their new home. They paid two mortgages for several months, but believed the timing helped them reach more active buyers. Carrying costs and seasonal demand vary, so discuss the trade-offs with a local real estate professional before choosing a date.
They also followed advice from their real estate agent, Daniel, about repairs and pre-sale planning. A broker open house held two weeks before the public listing generated several offers and helped them decide to raise the asking price slightly. The amount and timing of any price adjustment should be based on local comparable sales and professional guidance.
For the listing weekend, the agent arranged open houses on both Saturday and Sunday. Buyers were told that offers had arrived and that the deadline to submit an offer was Monday evening. A clearly communicated deadline can make the process more organized, but sellers should consider local norms and review offer terms carefully rather than focusing on price alone.
Conclusion: Make home selling preparation manageable
Effective home selling preparation is a sequence of practical steps: handle repairs early, reduce clutter, clean thoroughly, improve curb appeal, and stage rooms so their size and purpose are easy to see. Start with the tasks that matter most in your market, set a realistic budget and timeline, and seek local professional advice on pricing and offer deadlines. The Nashville sellers’ preparation helped their home show well, but every property and market is different.
Written by Elsie.


