
 admin
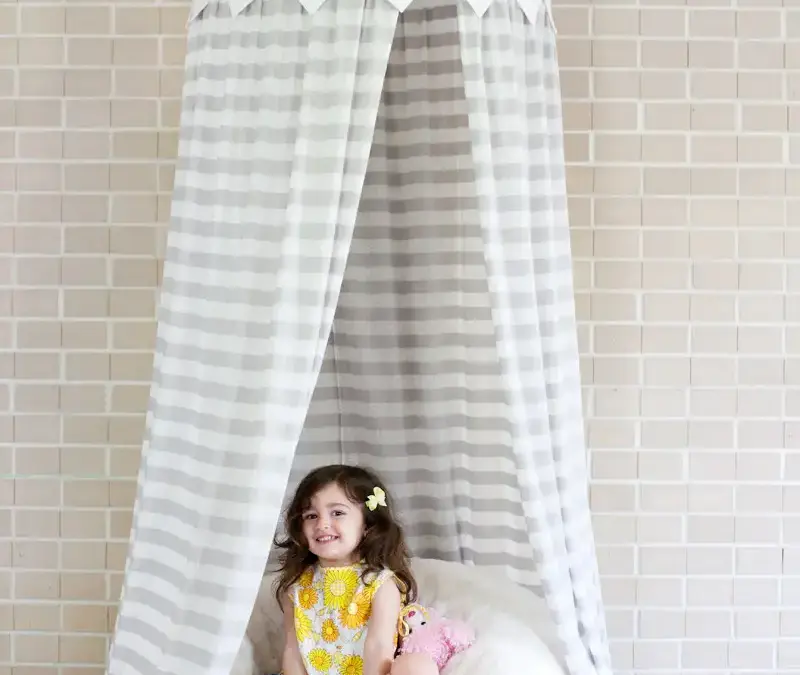
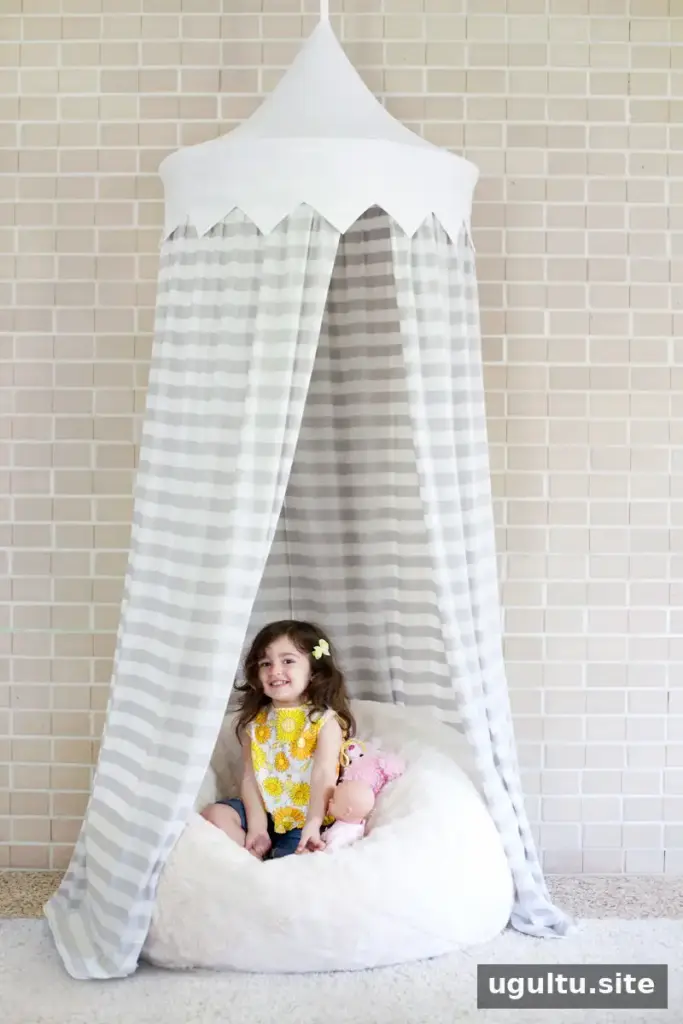
A hula hoop tent creates a cozy, covered play space for reading, imaginative play, or quiet time. This canopy-style project can be customized with different hoop sizes and fabrics, so it can suit a child’s room or living area. The instructions below explain how to sew the drapes, decorative border, and tent top, then attach them to the hoop.
Plan for a sewing project that takes time, especially when gathering and fitting the fabric. Before cutting, measure your hoop and check the formulas below; leaving a little extra fabric around the top can make assembly easier.
Materials and estimated cost
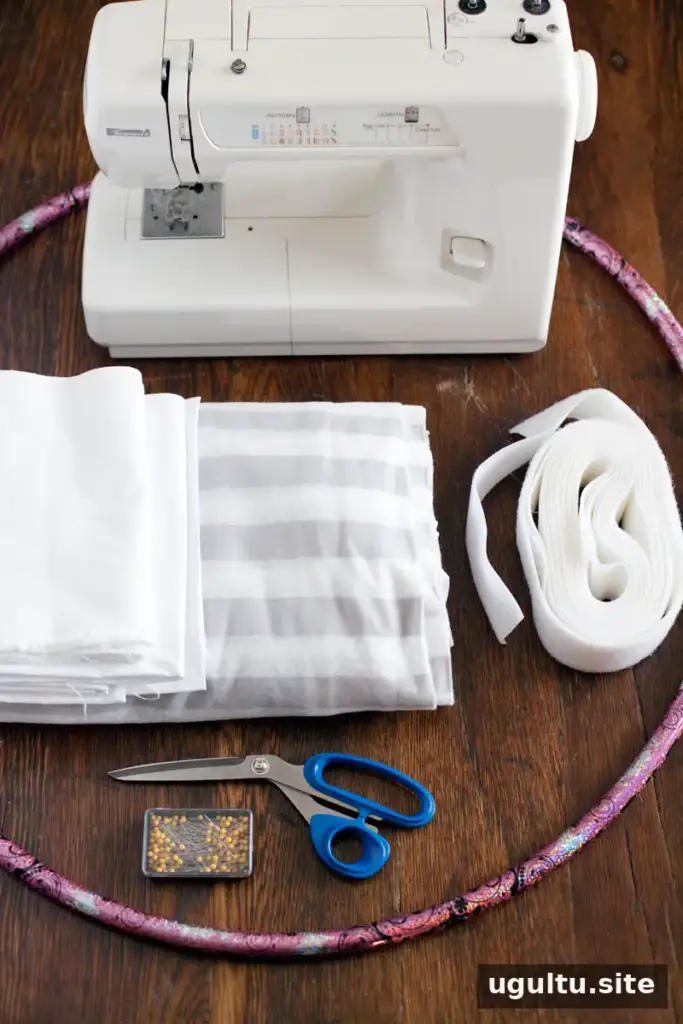
Gather these supplies before starting:
- Drapery fabric: 6 yards for a large hula hoop or 4 yards for a small one
- Fabric for the tent top: approximately 2 yards
- One hula hoop
- Heavy-duty, non-adhesive Velcro
- A ceiling hook suitable for the intended installation
- Straight pins, fabric scissors, and a fabric pencil (a regular pencil can also be used)
- A border template and a sewing machine
The original project cost about $60 when including white cotton and striped jersey-knit fabric. The final cost will vary with hoop size, fabric choice, and supplies already on hand. If piecing together fabric scraps, check that the seams will be strong enough for the finished canopy.
How to make a hula hoop tent
Prepare the drapes and decorative border
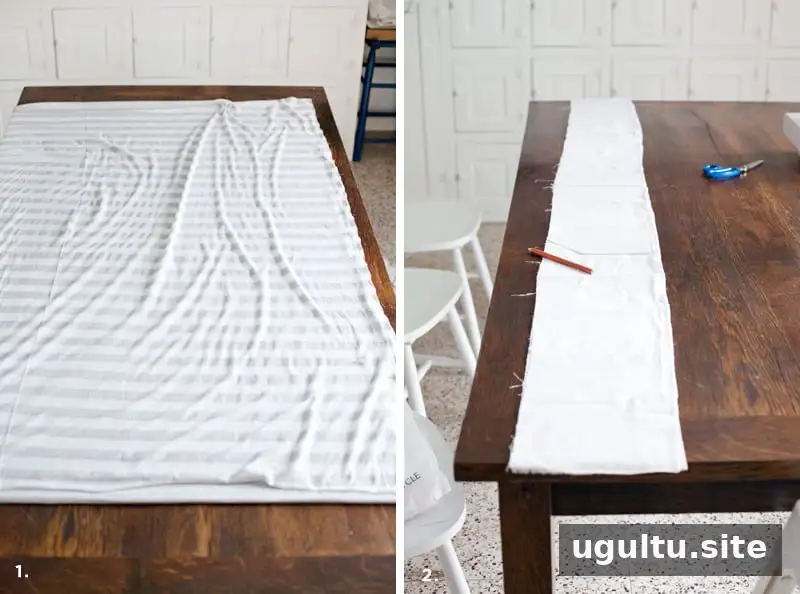
Step 1: Cut the drapery fabric into 2-yard sections. For a small hoop, join two sections with a center seam; for a large hoop, join three sections along their sides. Match any fabric pattern at the seams. Hem the bottom and sides of the joined fabric, leaving the top edge unfinished.
Step 2: Cut two fabric strips, each 8 inches wide and long enough to go around the hoop, plus 1 inch for the hem allowance. You can join shorter fabric pieces to make each strip, as long as the finished length is sufficient.
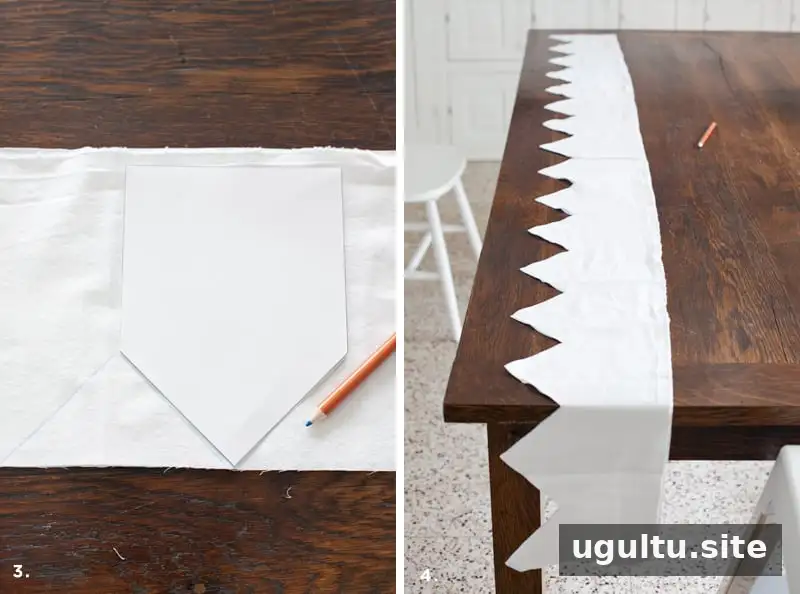
Step 3: Trace the border template along one strip. Adjust the spacing between traced shapes as needed to fit the strip; the number of repeats depends on the hoop’s circumference. Only one strip needs to be marked.
Step 4: Layer the two strips and cut out the marked zigzag shape through both layers.
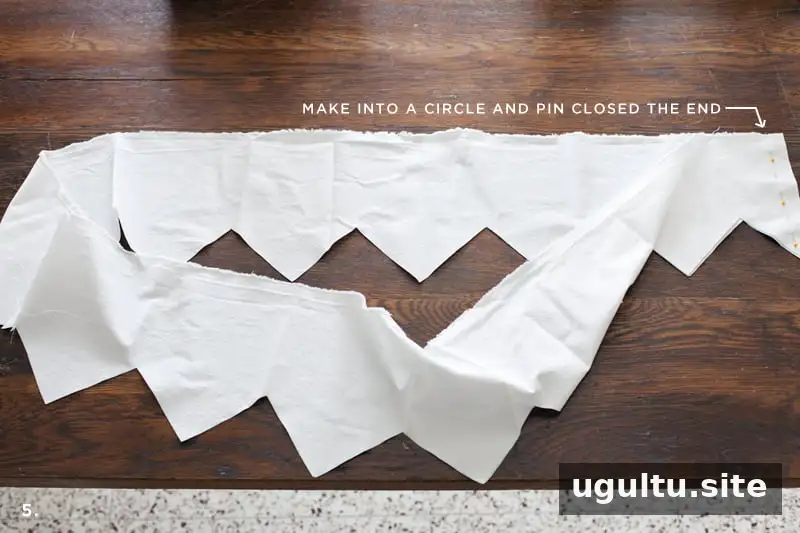
Step 5: Fold each zigzag strip and pin its short ends together. Sew the ends to form two circles of equal size. Check that both circles fit around the hoop before continuing.
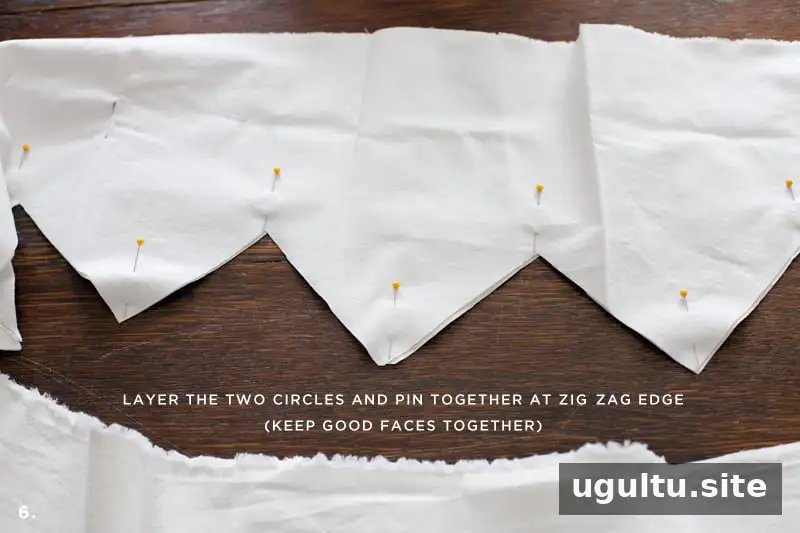
Step 6: Put the circles together with their right sides facing and pin along the zigzag edges.
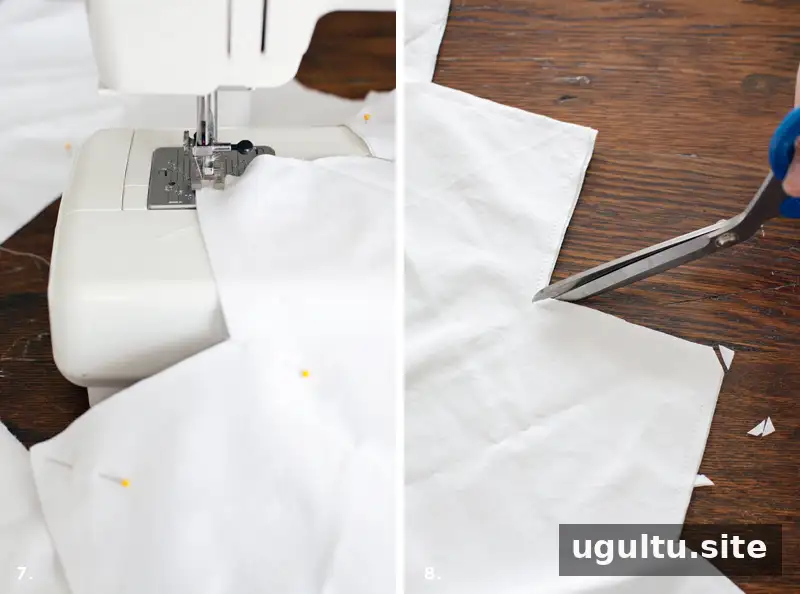
Step 7: Sew along the pinned zigzag edges, about 1/4 inch from the fabric edge.
Step 8: Trim the tips of the zigzags and snip small notches into the valleys, taking care not to cut the stitching. These clips help the fabric lie flat when turned.
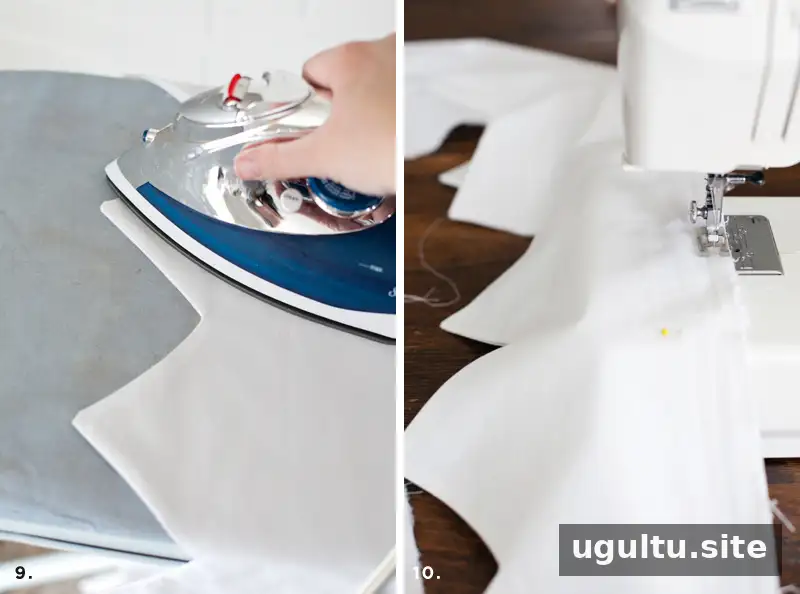
Step 9: Turn the joined border right-side out and press the zigzag edges flat. Use a blunt point to gently push out the tips before ironing.
Step 10: Sew along the open straight edge, about 1/4 inch from the edge, to hold the layers together for assembly.
Sew the tent top
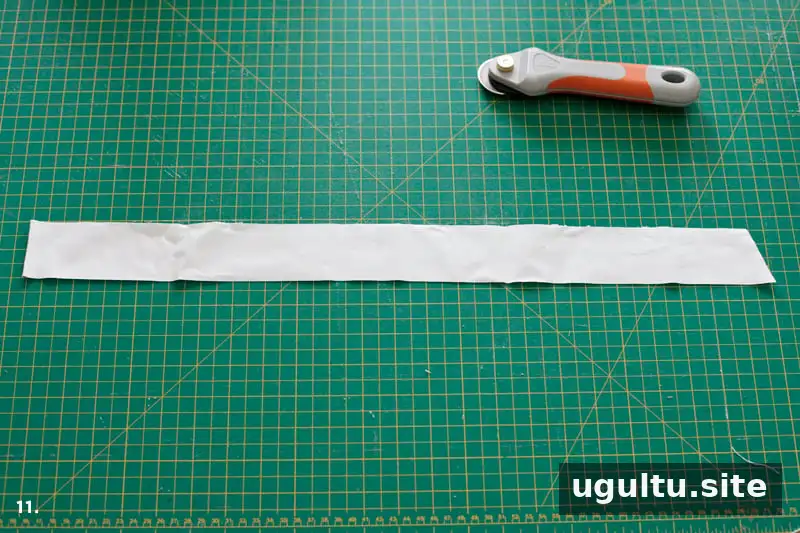
Step 11: From the tent-top fabric, cut a hanging loop strip. Its length depends on the ceiling height and hook; starting with extra length lets you shorten it later. The original strip measured about 24 inches long and 2 inches wide.
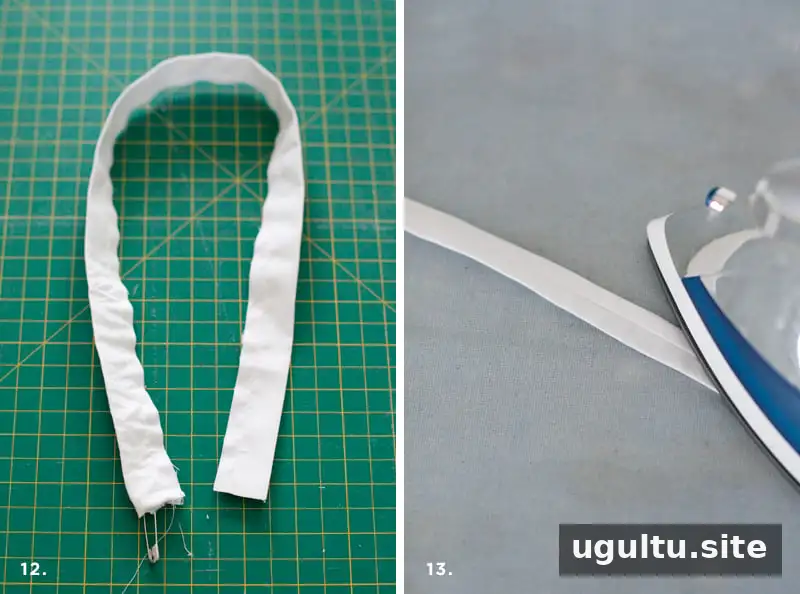
Step 12: Fold the strip in half lengthwise and sew along its raw edges about 1/4 inch from the edge to make a tube. Turn it right-side out by guiding a safety pin through the tube.
Step 13: Press the turned tube flat.
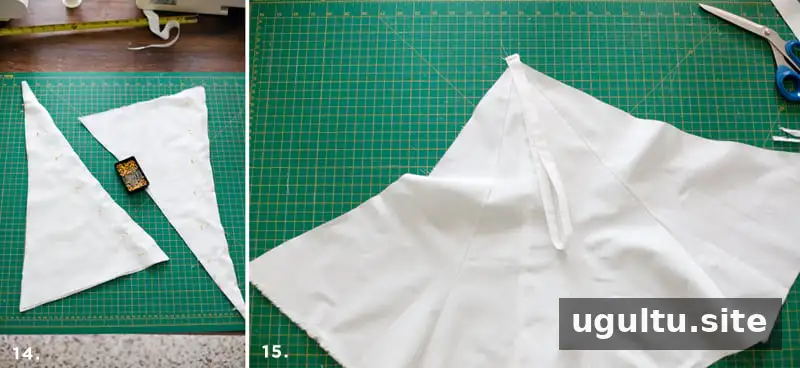
Step 14: Cut eight fabric triangles for the tent top. Determine each triangle’s dimensions using these measurements:
- Triangle base width: 1/8 of the hula hoop circumference plus 1.5 inches
- Triangle length: 3/4 of the hula hoop diameter
For a softly curved edge, fold one triangle in half, cut the curve symmetrically, and use it as a pattern for the other pieces.
Step 15: Sew four triangles together to make one half of the top, then sew the remaining four into the other half. Keep the seam about 1/4 inch from the edges. Before joining the halves, position the hanging loop at the peak and sew it securely in place.
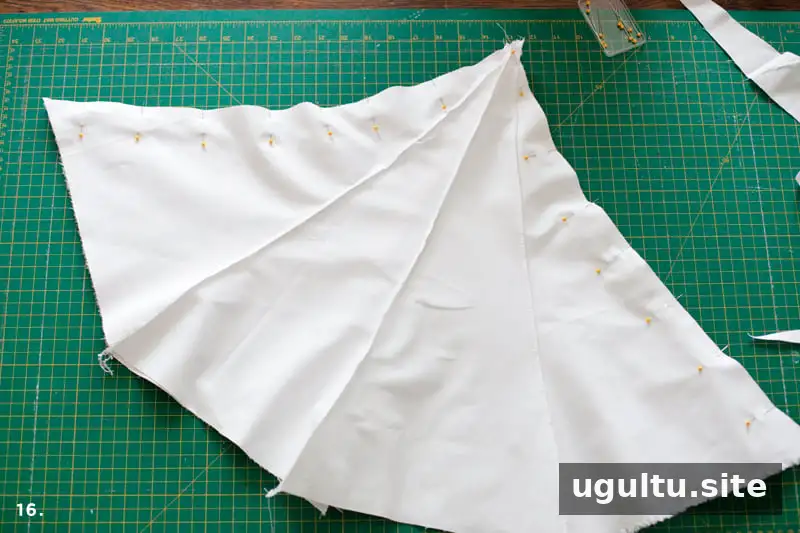
Step 16: Keep the hanging loop tucked inside. Pin the two top sections together and sew them, making a flat seam at the peak perpendicular to the center seam of each section.
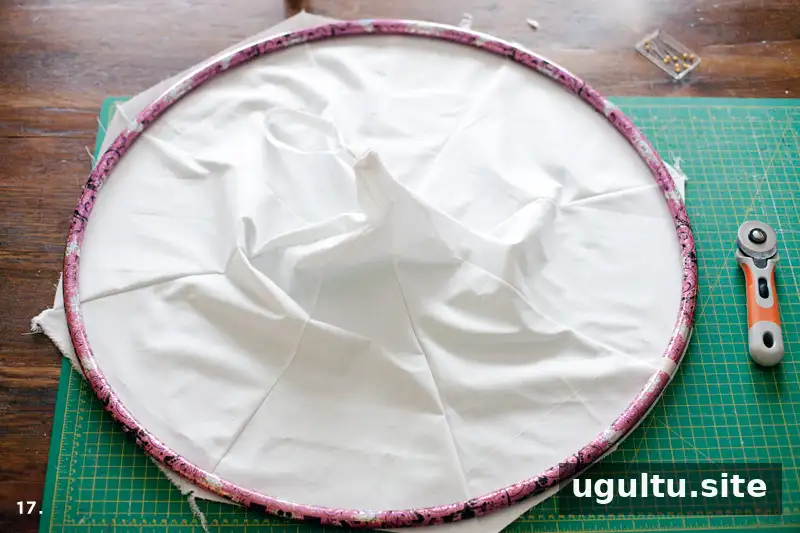
Step 17: Place the hoop over the tent top and trim the fabric into a circle, leaving it about 1 inch larger than the hoop when possible. This extra allowance provides room to join the top to the border.
Join the tent pieces and attach the hoop
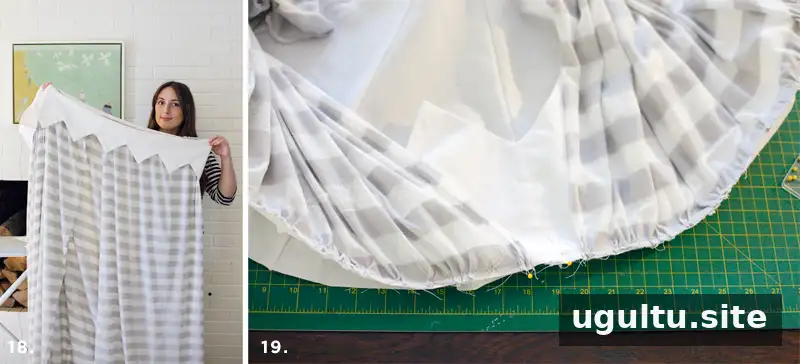
Step 18: Gather the unfinished top edge of the drapes with a loose hand stitch. Pull the thread until the fabric matches the circumference of the zigzag border, then pin the pieces together and sew them. Adjust the gathers evenly before stitching.
Step 19: Pin the right side of the tent top to the right side of the joined border and drapes, then sew the layers together. If the top is slightly larger, ease the border a little inside its edge while keeping the circular shape aligned.
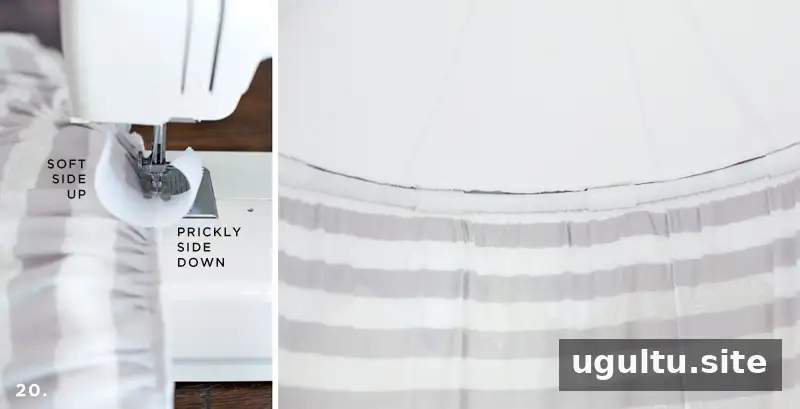
Step 20: Sew Velcro pieces to the inside seam where the top and border meet. Position the matching sides so they can fasten around the hoop. The original project used two pieces at each triangle base for additional support. Check that every fastener is securely stitched and aligned before hanging the tent.
The hoop can be wrapped in white tape if you want it to be less visible from inside. For hanging, choose a hook and ceiling attachment appropriate for the installation. Do not assume an adhesive hook is suitable for every ceiling or load; follow the hook manufacturer’s instructions and verify that the mounting point is secure before allowing a child to use the tent.
Fitting tips and final checks
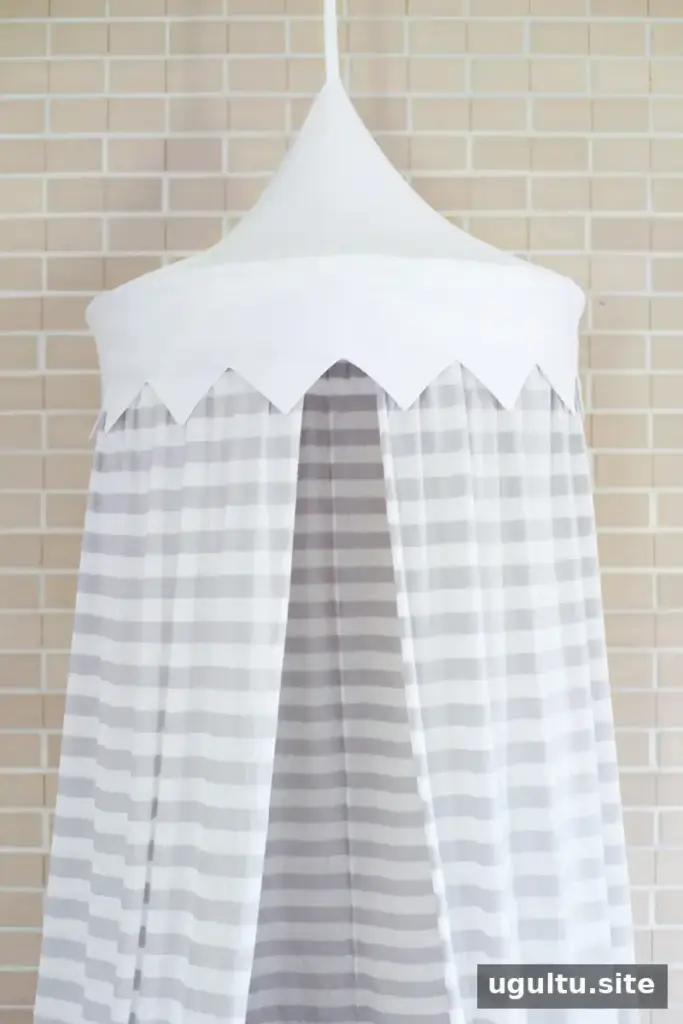
The tent top can be difficult to fit if the triangles are too short or the circle is cut too close to the hoop’s size. Using the triangle measurements and leaving about 1 inch of extra fabric around the top can provide useful adjustment room. Before final stitching, compare the border and top circumferences and distribute any excess fabric evenly.

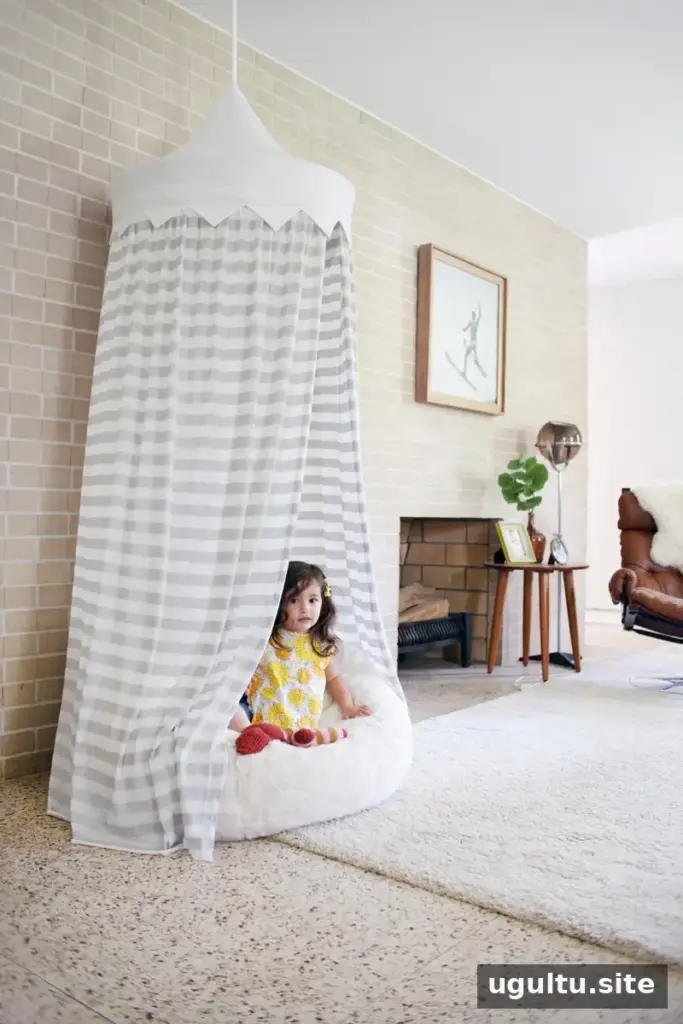
A sewn canopy takes patience, but dividing it into drapes, border, and top makes the construction easier to manage. Once assembled, inspect the seams, Velcro, hoop, and ceiling attachment regularly, and supervise children while they use the play tent. This hula hoop tent can be adapted with different fabrics and hoop sizes while keeping the same basic construction. –Mandi


