admin
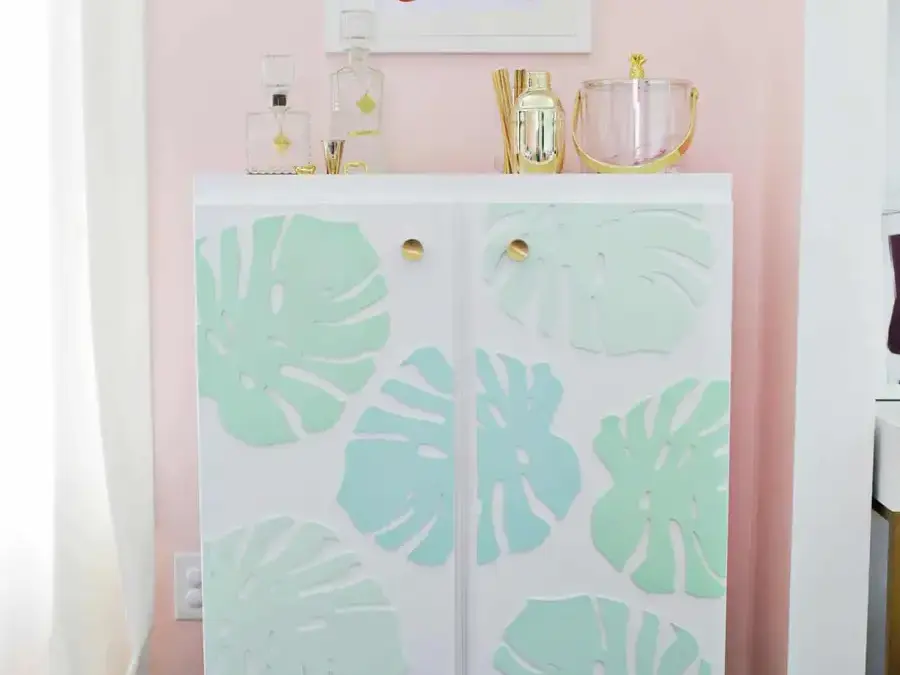
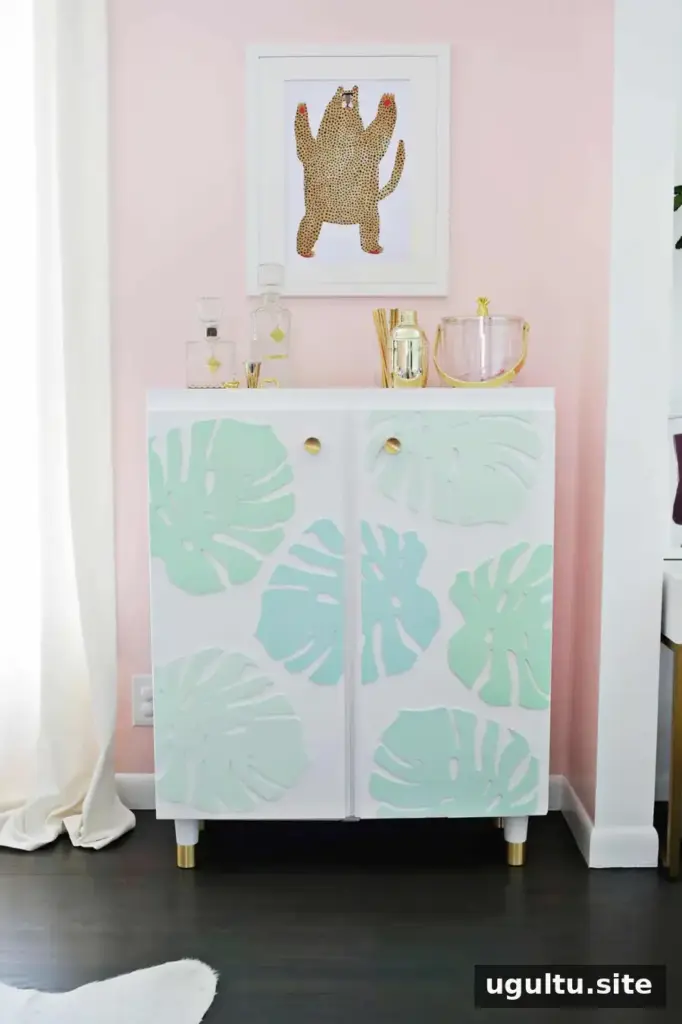
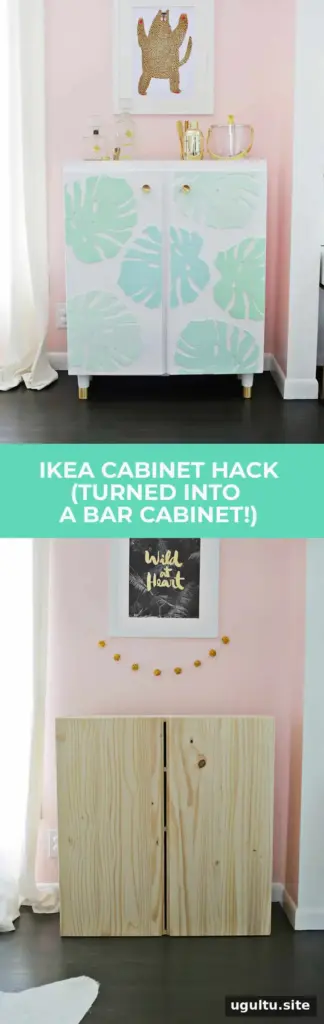
A bar cart can look stylish, but open shelves may not be practical in a home with a curious young child. This IKEA IVAR cabinet hack turns a simple cabinet into a closed, freestanding bar cabinet with a raised top edge, colorful decorative details, and optional magnetic locks. The project also offers useful storage while keeping bottles and glassware behind doors.
IKEA IVAR Cabinet Hack: Materials and Preparation
Start by assembling the cabinet according to its instructions. Before adding custom details, check that you have enough room for the cabinet, its legs, and the items you plan to display on top.
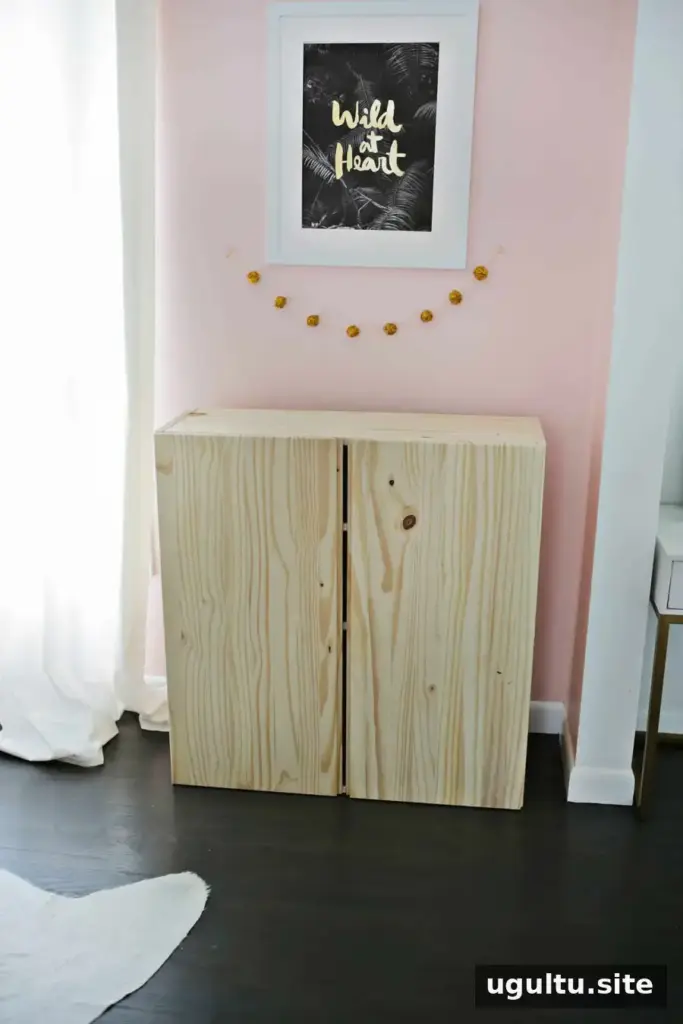
- IKEA IVAR cabinet, in the smaller 30′ x 12′ x 33″ size
- Furniture legs and mounting plates
- White semi-gloss paint
- 1 1/2″ boards for the top tray
- 3/32″ x 2″ x 36″ basswood sheet to cover the door gap
- Wood glue and clamps
- Craft knife
- Cabinet pulls
- Wooden monstera leaves
- Miter saw or jigsaw
- Optional: magnetic cabinet locks, wood filler, nails or screws
Assemble the Cabinet and Add Legs
Put the cabinet together following the manufacturer’s instructions.
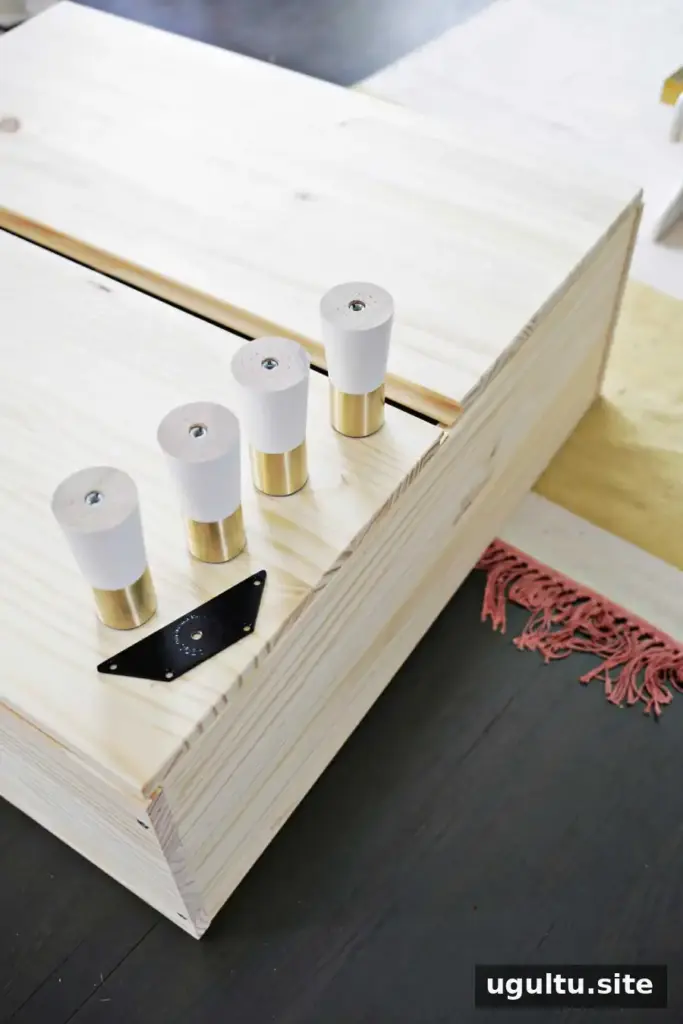
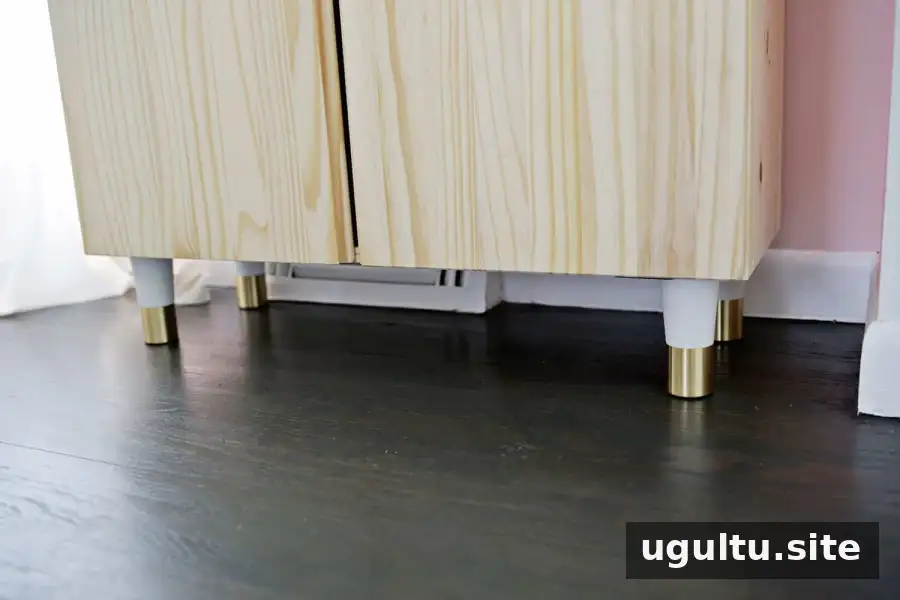
Once assembled, attach the legs to the underside. Legs supplied with mounting plates can provide a stable connection; follow the leg hardware instructions and check that all fixings are secure before moving the cabinet.
Build a Raised Tray Around the Top
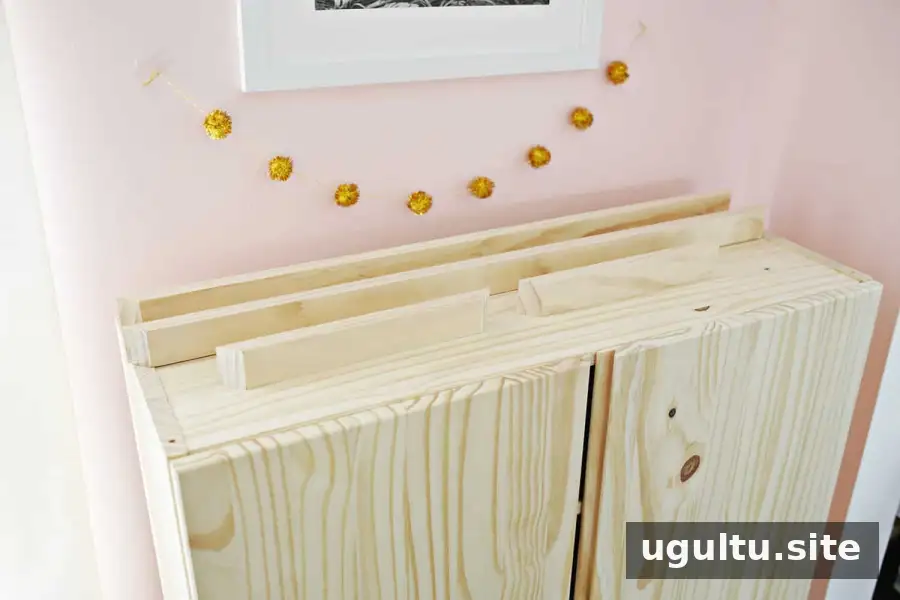
A low border helps keep bar accessories from sliding off the top. Cut the 1 1/2″ boards into four pieces to form a rectangular frame. For angled corners, cut two pieces 31 1/2″ long and two pieces 11″ long, with 45-degree angles at the joins. A miter saw can make these cuts.
If you do not have a miter saw, use square ends instead: cut two 31 1/2″ pieces for the front and back, then two 9 1/4″ pieces to fit between them for the sides. A hardware store may be able to cut the boards to size. Join the frame with wood glue and nails or screws, then glue it to the cabinet top. Allow the adhesive to dry as directed before placing anything on the tray.
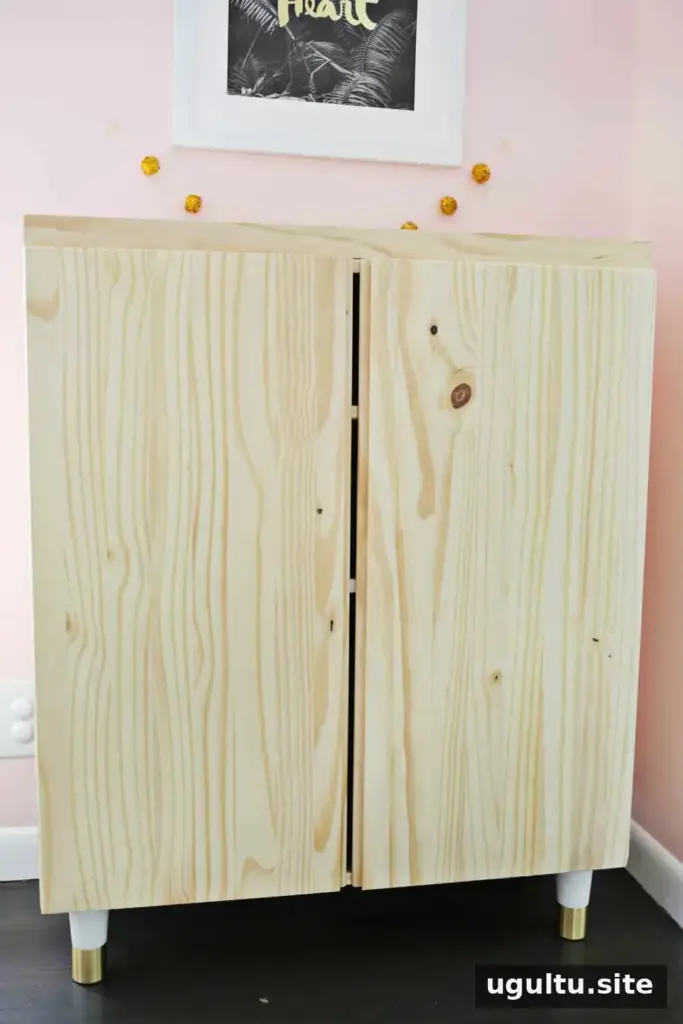
Close the Gap Between the Doors
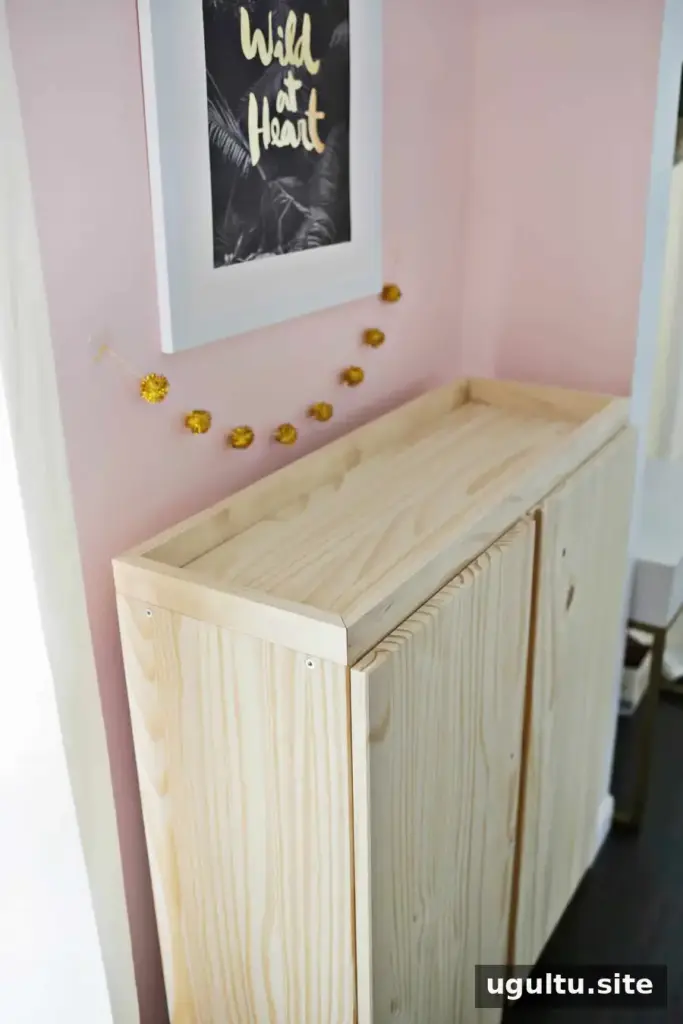
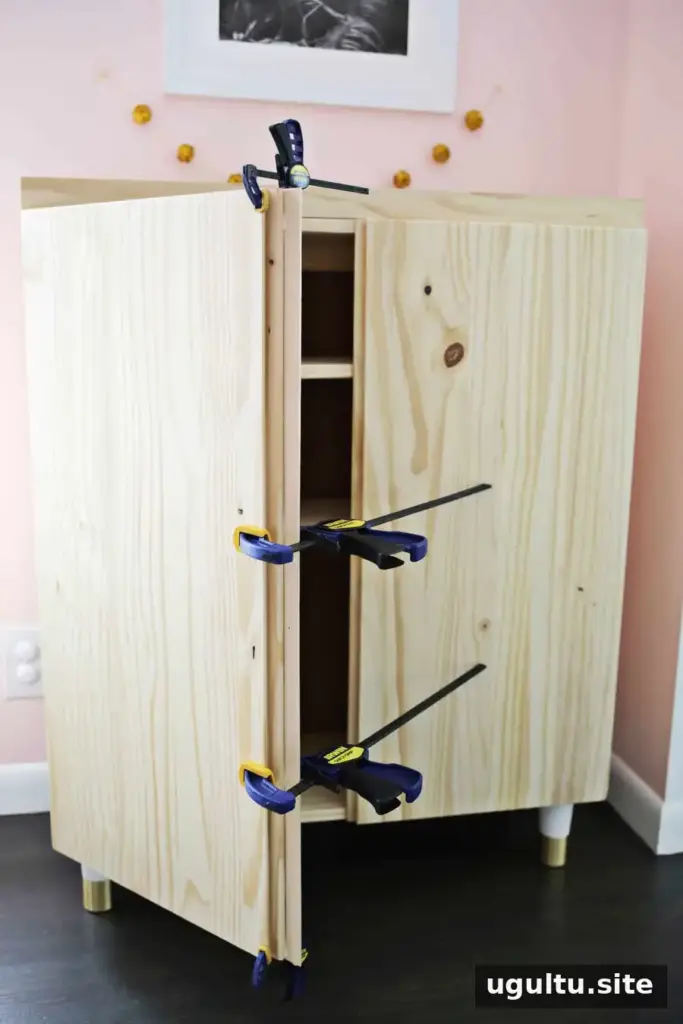
The cabinet doors may leave a gap of about 1/2″ in the middle, even after adjustment. A narrow strip of basswood can cover the opening. Cut the 3/32″-thick sheet to the required length with a craft knife, apply wood glue, and clamp it onto one door while the glue dries. Position the strip so it covers the gap without preventing the doors from opening or closing.
Paint and Add the Decorative Leaf Pattern
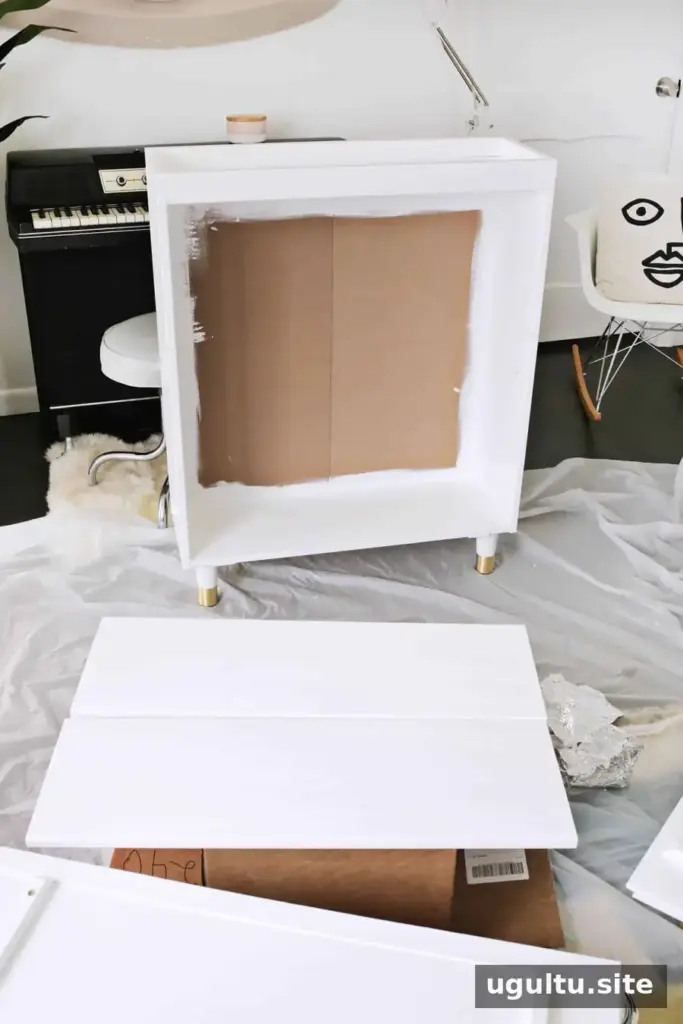
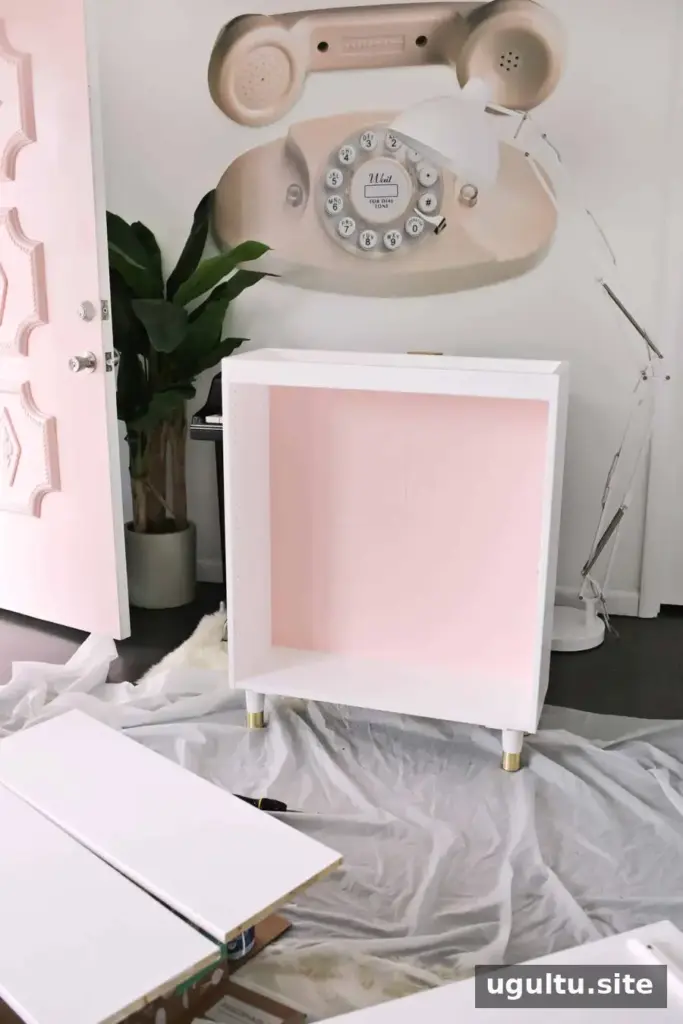
Paint the cabinet white with semi-gloss paint. For a contrasting detail inside, paint the backboard a separate color; the example uses Hello Dolly by Valspar. Follow the paint label for preparation and drying times before continuing.
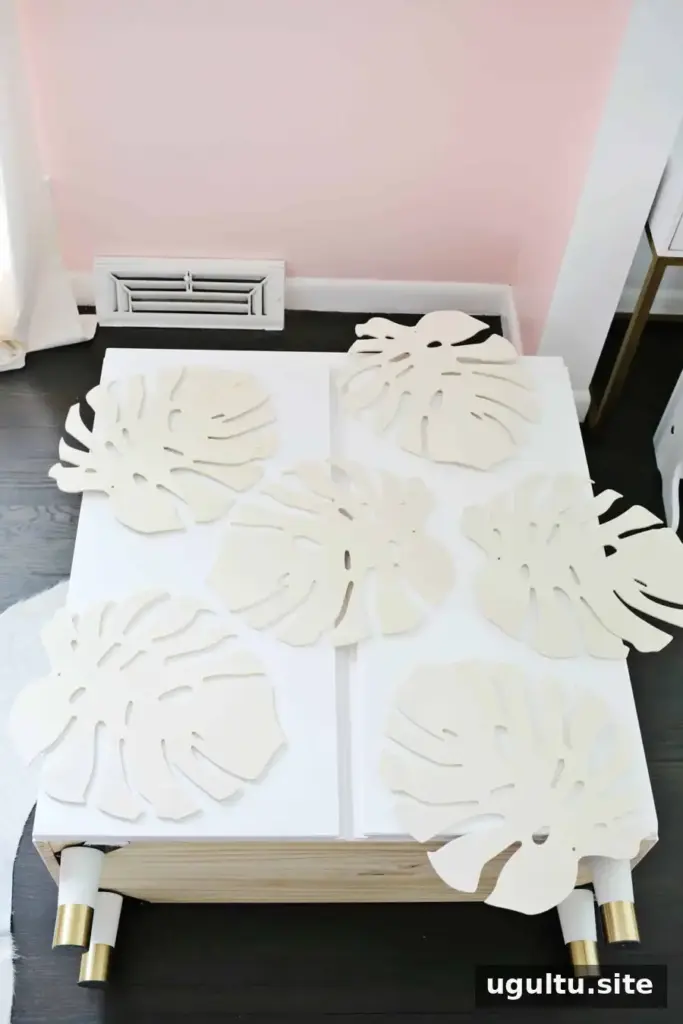
Arrange the wooden monstera leaves on the top until you are happy with the layout. If leaves extend beyond the cabinet edge, mark the cut line and trim them with a miter saw or jigsaw. Alternatively, arrange them without any overhang so no trimming is needed.
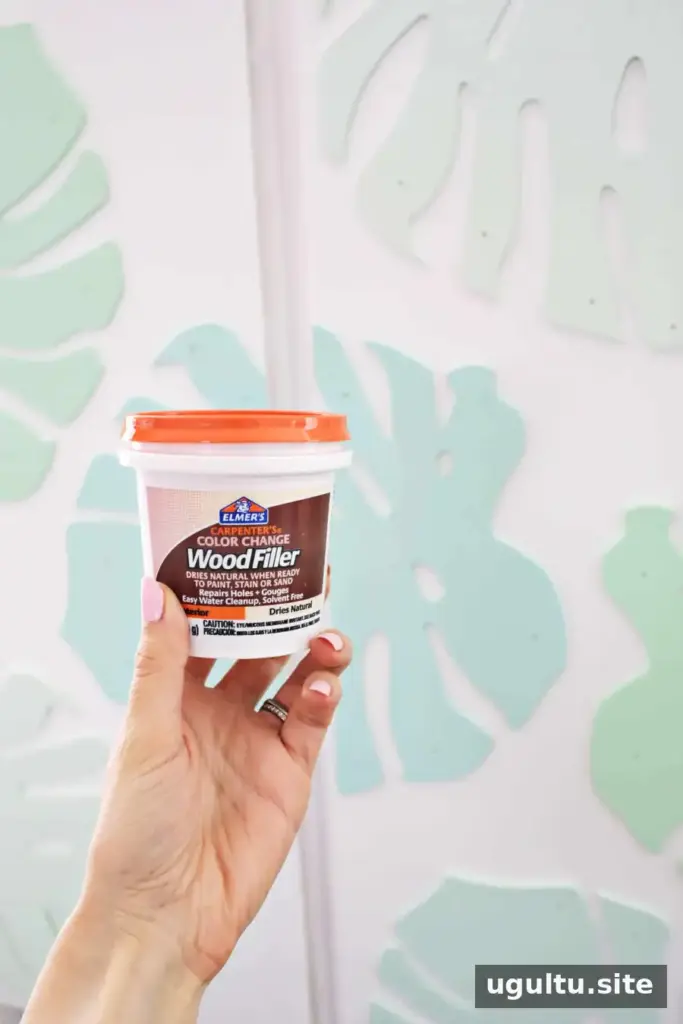
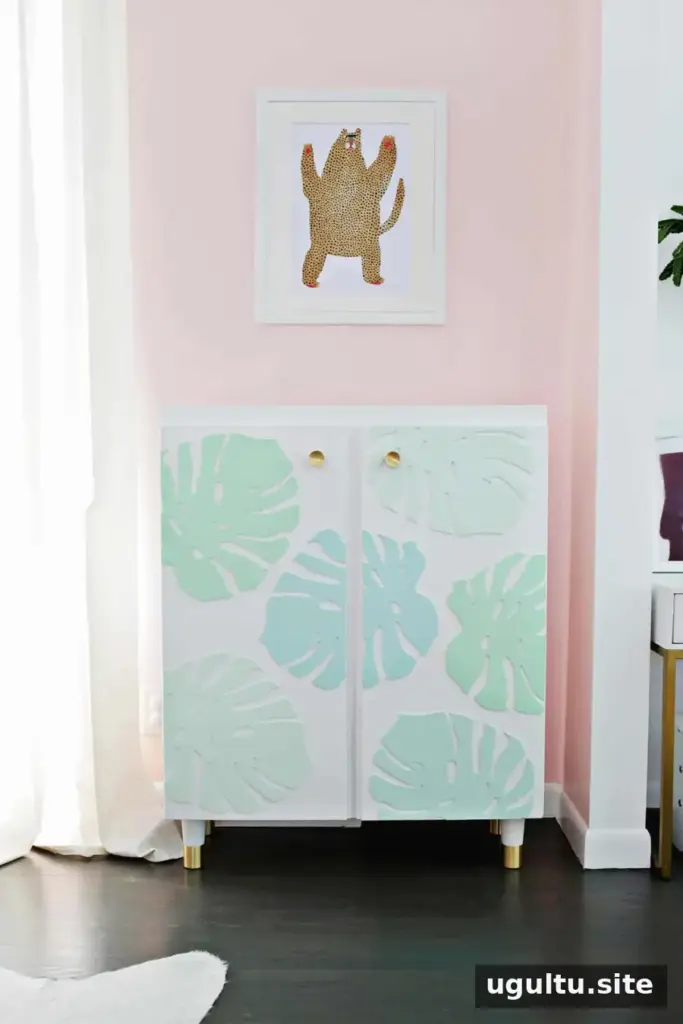
Paint the leaves in four colors: Summer Sigh (top left and middle right), Meadow Mist (middle), Ultra Green (bottom right), and Mint Hint (bottom left and top right). Glue and nail the leaves in place. When the wood filler used over nail holes is dry, sand those spots lightly and touch up the paint.
Fit the Handles and Make the Cabinet Safer
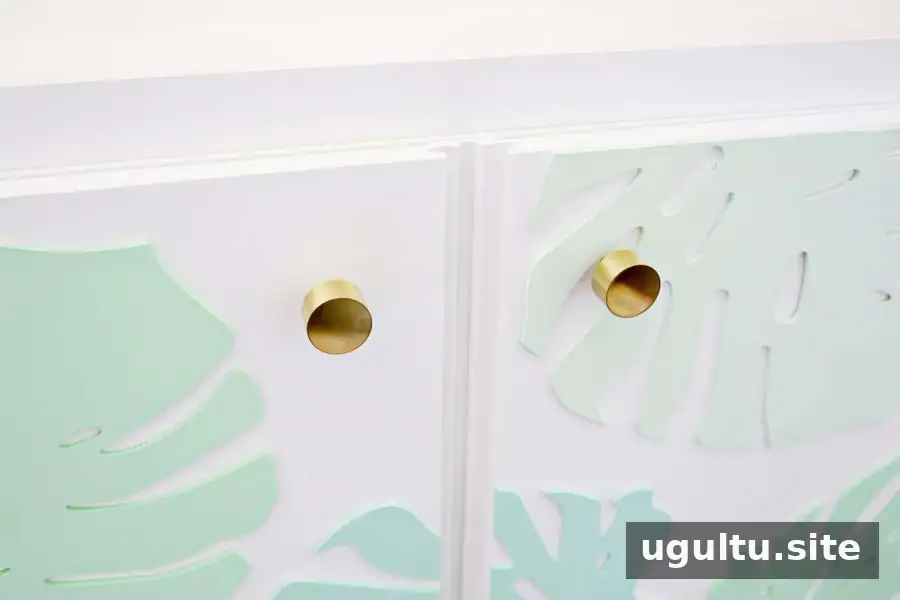
Attach the cabinet pulls, then add magnetic locks if young children may be able to reach the doors. Secure the finished cabinet to the wall to reduce the risk of it tipping. Use suitable wall-fixing hardware for the wall type, and follow the hardware instructions.
Style and Use Your Finished Bar Cabinet
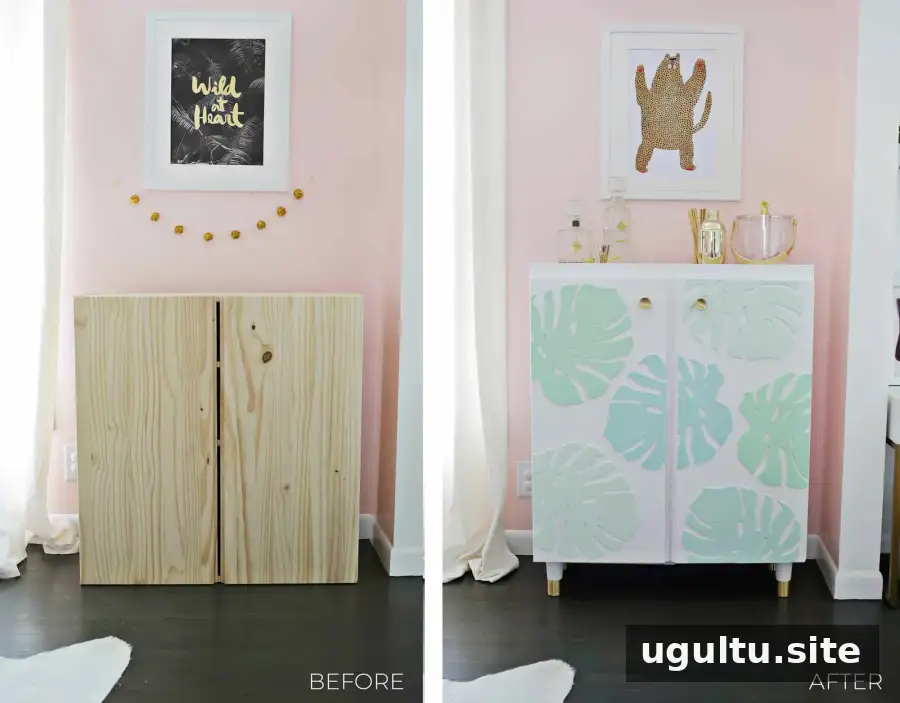
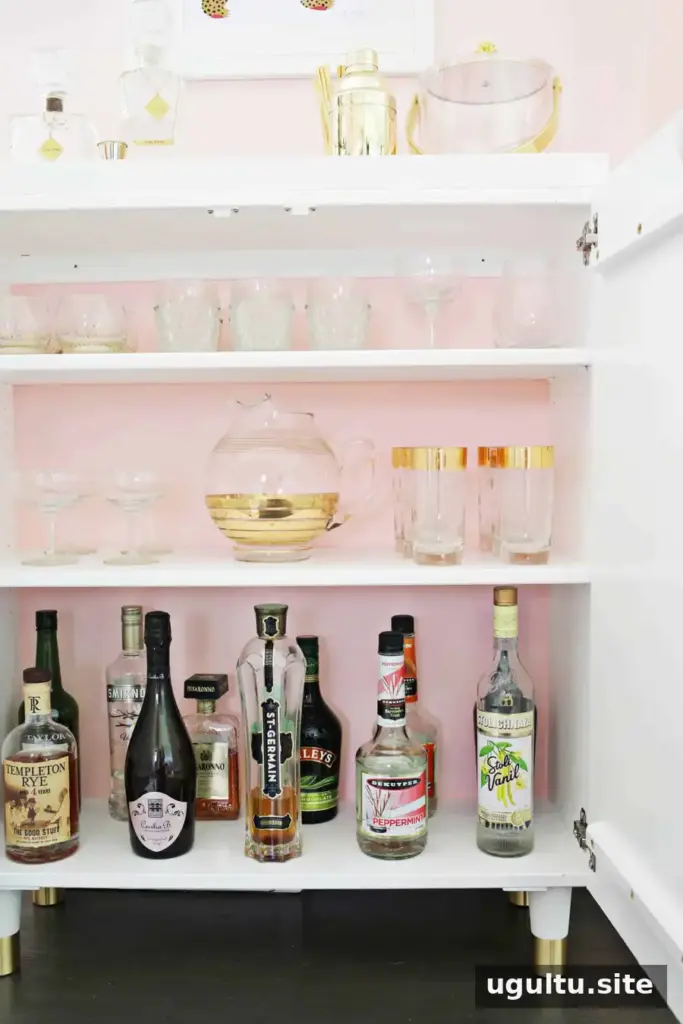
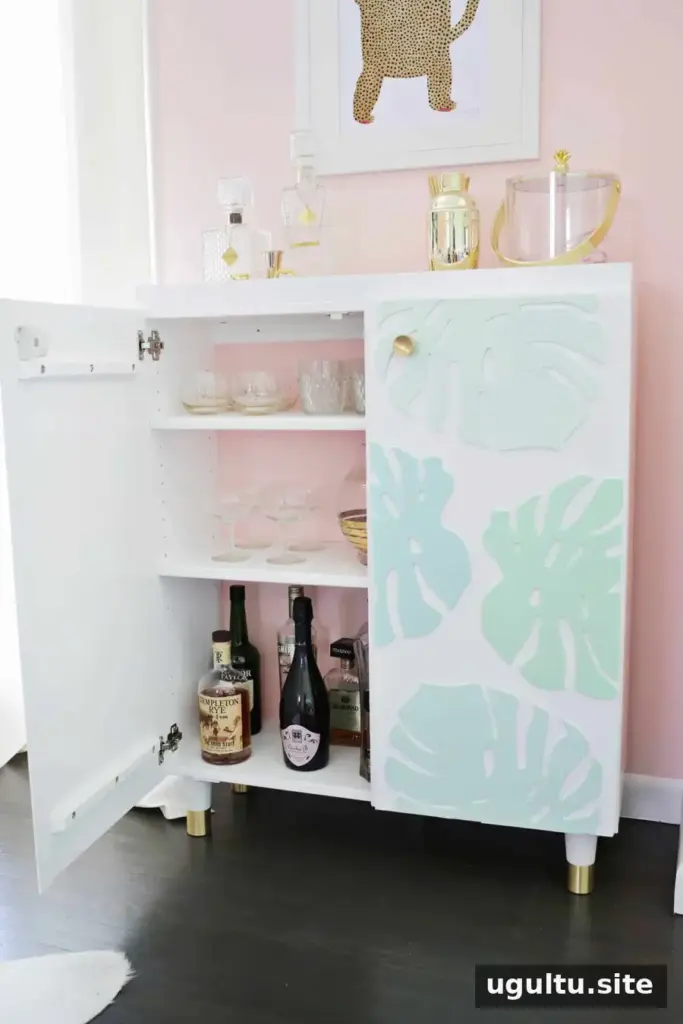
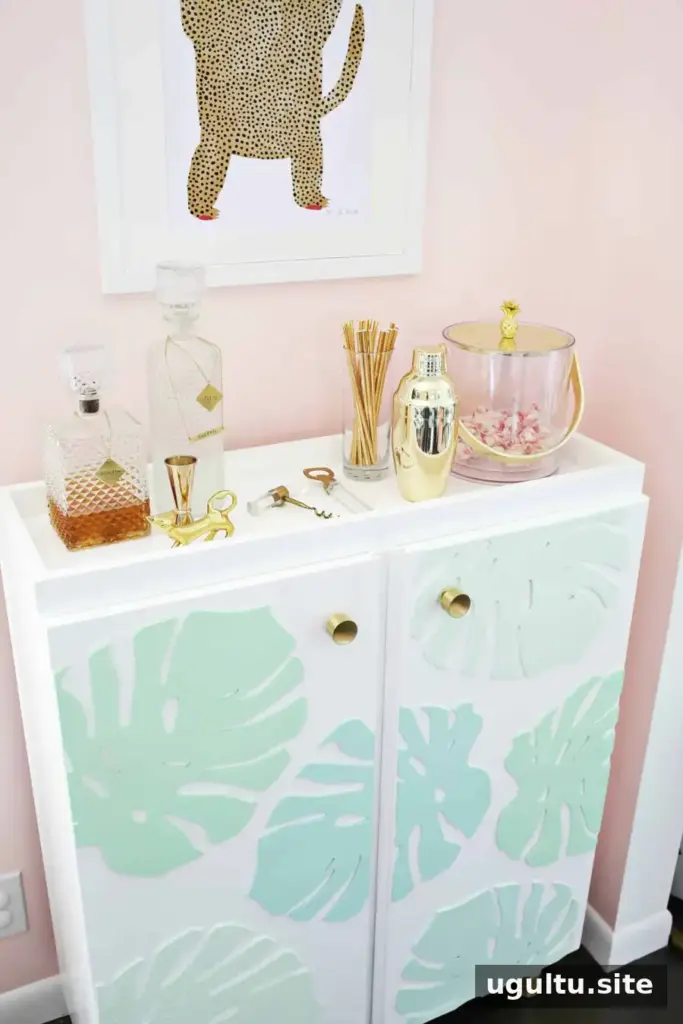
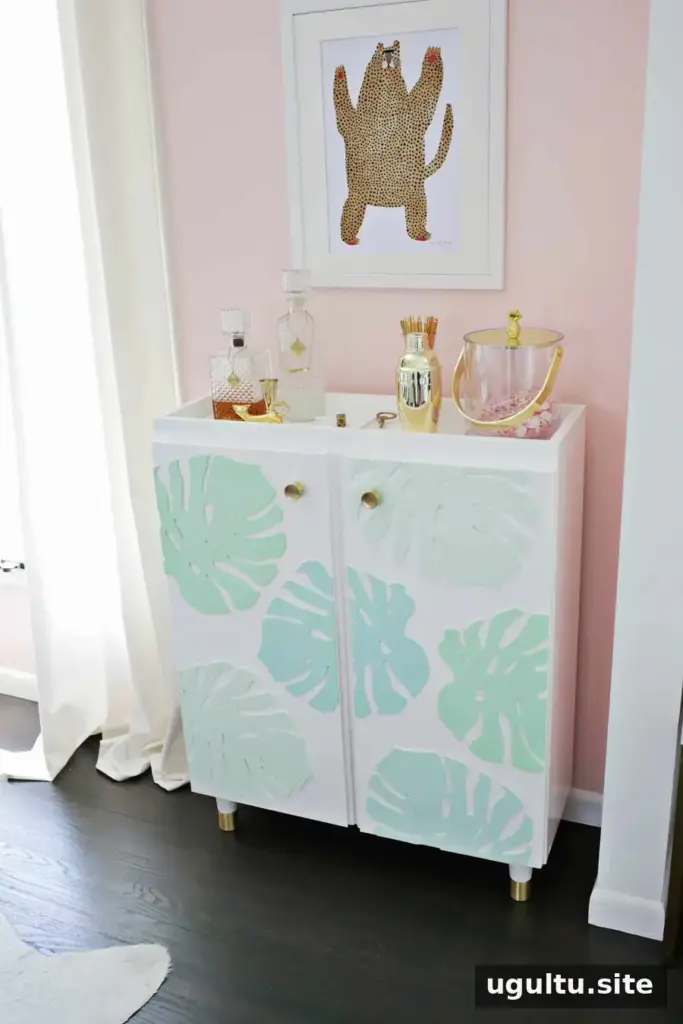
Once the cabinet is ready, arrange bar accessories such as an ice bucket, shaker, and glass decanters on the top. The raised border gives the surface a tray-like look, while the painted leaf design adds color. Keep heavier items low and make sure the top remains uncluttered and stable.
This IKEA IVAR cabinet hack combines closed storage with a customized display surface. With carefully fitted doors, secure legs, and wall anchoring, the cabinet can be adapted to suit a living room while helping keep bottles and glassware out of easy reach. Project notes by Laura.