
 admin
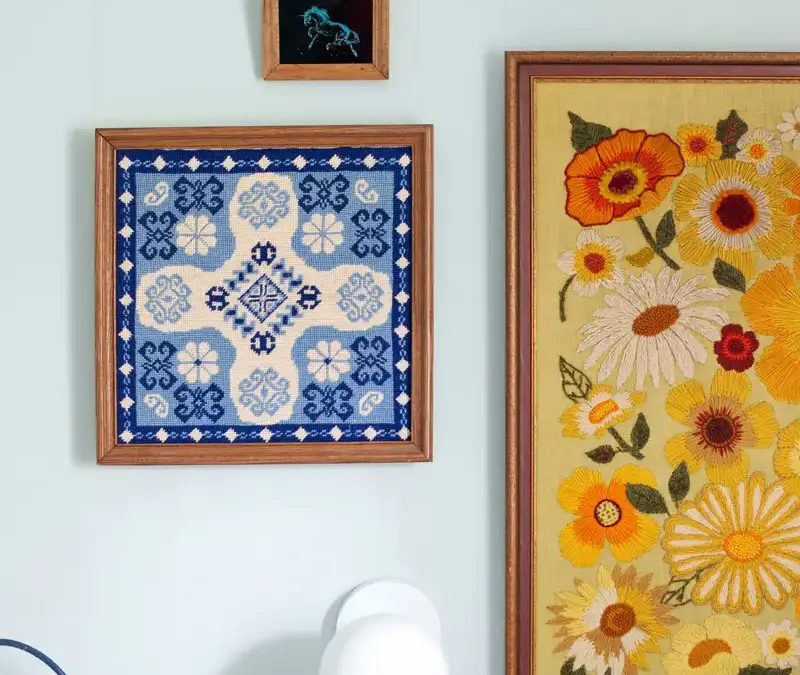
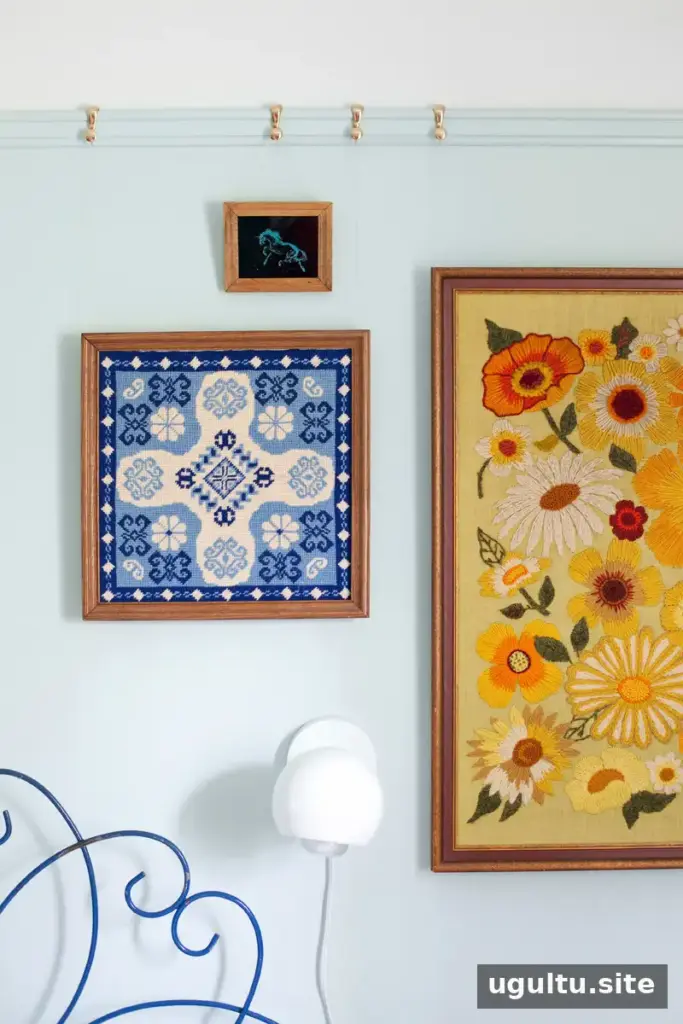
Picture rail moulding installation adds architectural detail and provides a way to hang artwork without putting a new nail hole in the wall for every rearrangement. It can also create a clean transition between two wall colors. With careful measuring, compatible moulding and hooks, and secure fastening, this project can give a plain room a more finished look without adding clutter.
Before starting, check that the chosen moulding profile works with the picture hooks, and plan where the rail will sit in relation to doors, corners, and any color break on the wall.
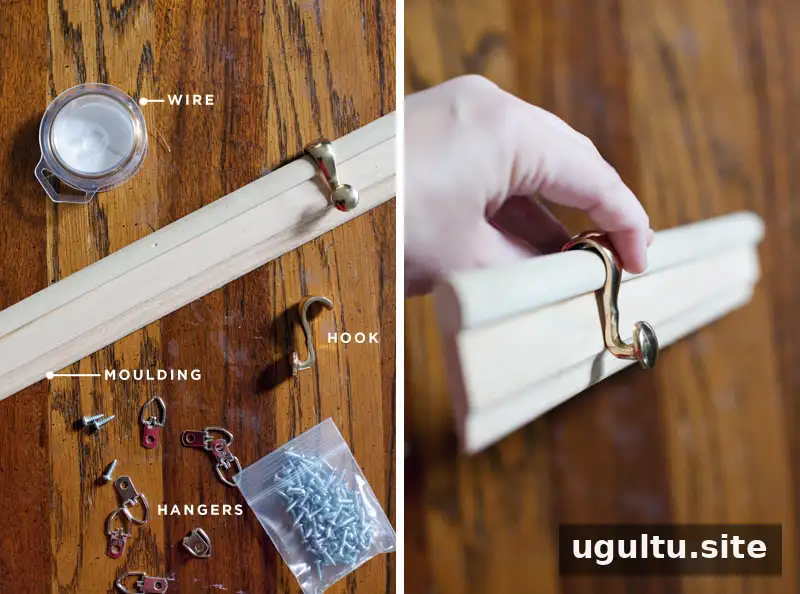
Materials
- Moulding with a curved top that fits the picture hooks
- Picture hooks designed for the selected rail
- Strap hangers for the backs of picture frames
- Picture-hanging wire
Optional materials
- Duct tape for temporarily holding pieces together during a dry fit
- Wood glue for joining separate moulding strips
Tools
- Level
- Nail gun or hammer with a nail set
- Miter saw
Choosing moulding for picture rail moulding installation
Choose the picture hooks before buying the moulding, then take a hook along when shopping. Test the fit against the moulding profile so you know the hook can sit securely on the rail. A piece of pencil moulding may work with a hook, for example, but it can look narrow on its own. Pairing it with a second profile beneath it can create a fuller detail.
Measure each wall section and allow a little extra length for trimming. If you are joining two moulding strips, glue them together before cutting them to size. Apply a bead of wood glue, press the pieces together, and use duct tape as a temporary clamp. Wipe away squeezed-out glue before it dries. Allow the glue to dry for over an hour before cutting.
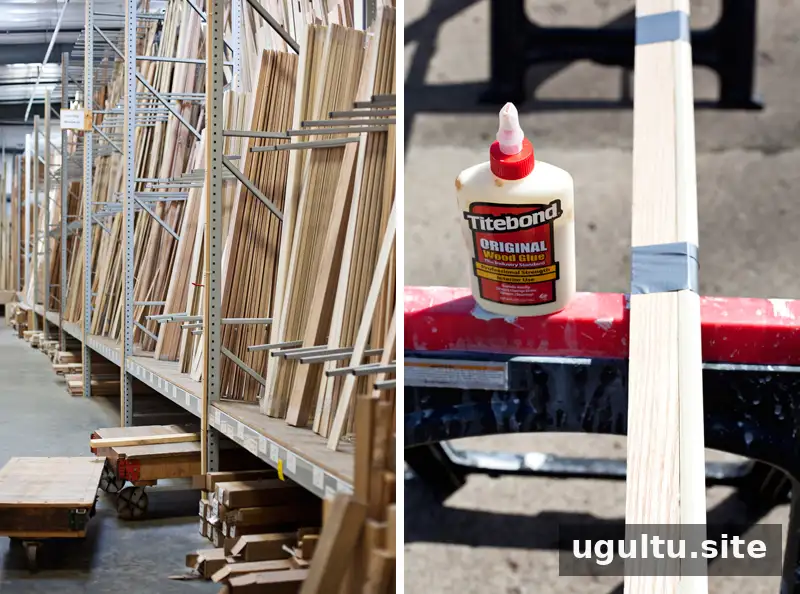
For a consistent result, check the full moulding-and-hook combination before purchasing enough material for the room. Keep the rail profile and hook type together while planning the layout.
Measure, cut, and test the moulding
Measure each wall section, then cut the moulding to fit. A miter saw can make 45-degree cuts for corners, while ends that meet a door frame can be cut straight. Avoid cutting pieces to their final length too early: trimming a little at a time is easier than trying to correct a piece that is too short.
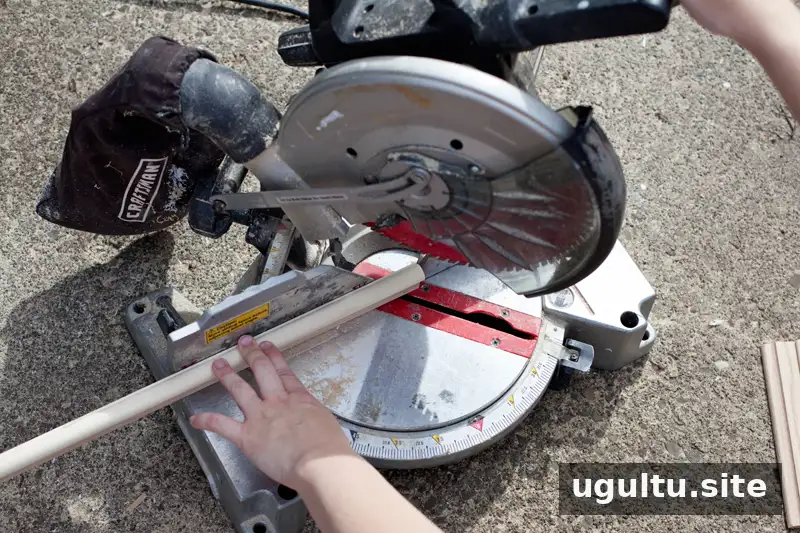
Allow extra length. Cut each piece slightly longer than the measurement at first, then make small adjustments. This helps preserve enough material if a corner needs to be recut.
Check the actual corner angle. Walls are not always perfectly square. If two 45-degree cuts do not meet, adjust the saw angle and test again. In one example, changing the cuts to approximately 43 degrees produced a better fit. The right angle depends on the corner, so use a test fit rather than assuming every wall is 90 degrees.
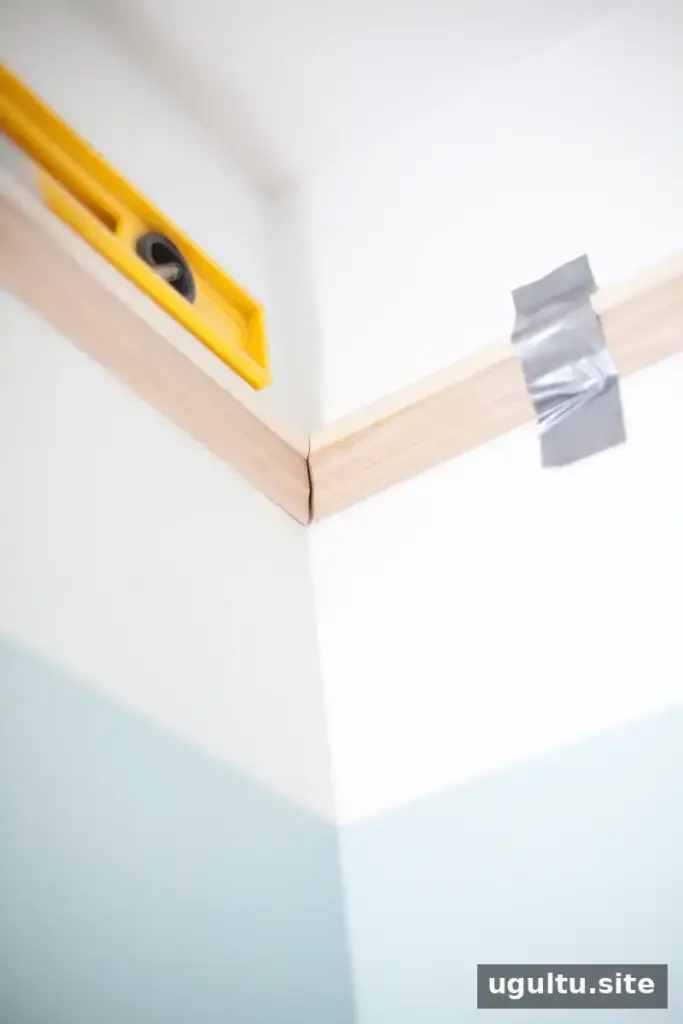
Match both sides of a corner. When adjusting a miter, cut both adjoining pieces to the same angle. For example, matching 48-degree cuts are more likely to fit together than one 50-degree cut paired with one 45-degree cut.
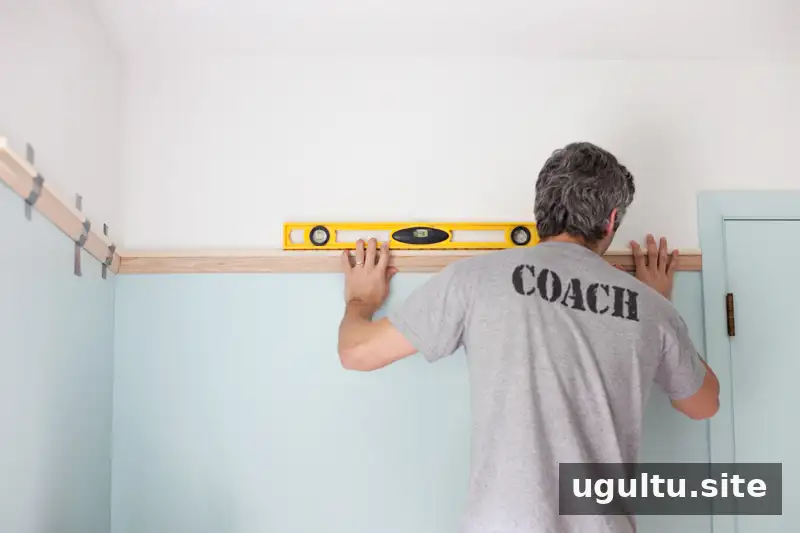
Check corner joints before trimming the other end of a piece to fit beside a door frame. Holding the untrimmed piece flat against the wall makes it possible to assess the corner while keeping extra length available for further adjustments.
Dry-fit every section. Temporarily hold the pieces in place with duct tape and inspect the corners and ends before painting or installation. Remove the tape promptly, and test it in an inconspicuous spot first to avoid marking the wall.
Install the picture rail securely
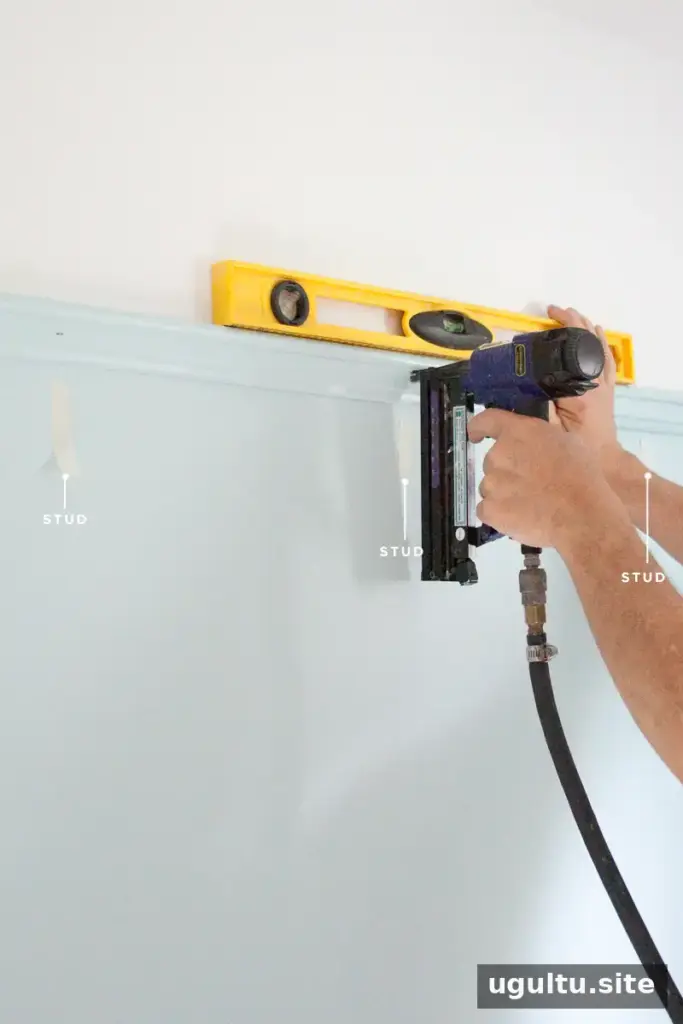
Use a level to position the rail. Do not rely on paint edges or chalk lines, which may not be level. Mark the wall studs with masking tape after locating them with a stud finder, then fasten the moulding into the studs. Secure attachment is especially important because the rail and hooks will support framed artwork.
Follow the fastener and tool instructions for your wall and moulding. If a section is too short or a joint is imperfect, make corrections before filling and painting wherever possible.
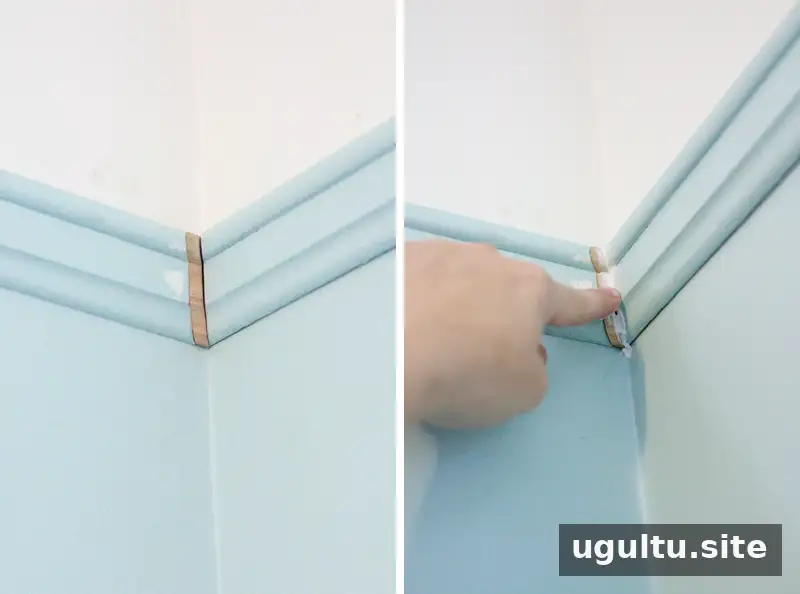
Finish painted joints carefully. Small gaps in painted moulding can be filled with caulk and painted over once dry. Caulk is not a substitute for a sound joint, and this approach is intended for painted trim rather than stained wood, where the repair may remain visible.
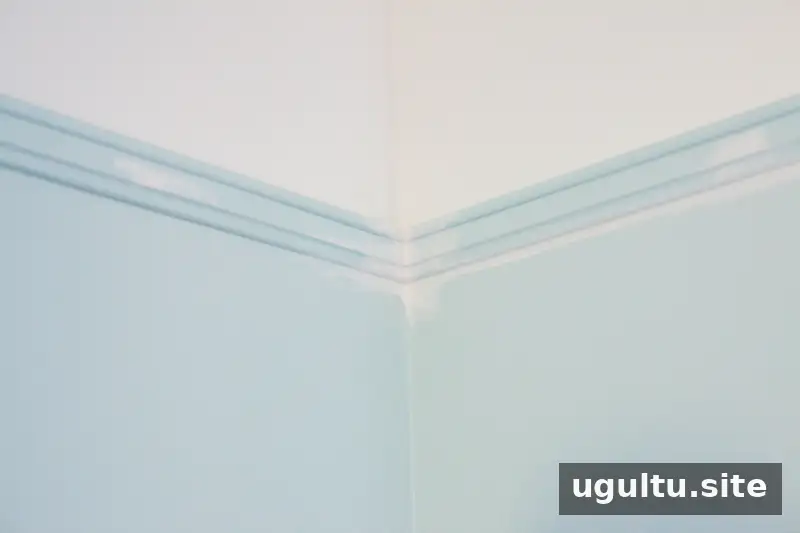
Fill nail holes. Use a suitable filler on the nail holes, let it dry, and sand as needed. Apply primer and matching paint to the repaired spots for a more uniform finish.
Prepare and paint the moulding
Painting the moulding before installation can make sanding and coating easier, especially when the trim can be placed on supports outdoors or in a well-ventilated work area. Protect nearby surfaces and follow the instructions on the primer and paint labels.
- Lightly sand unfinished wood to smooth rough areas and splintered cuts. Wipe away dust thoroughly.
- Apply one moderately heavy coat of primer, avoiding a coat so thick that it drips.
- After the primer dries, smooth the surface with 400-grit wet/dry sandpaper used wet, or buff gently with grade 0000 steel wool. Remove residue before the next coat.
- Apply a second coat of primer.
- Finish with two or three light coats of semi-gloss paint, allowing each coat to dry as directed. Spraying can reduce brush marks; careful brush application can also work.
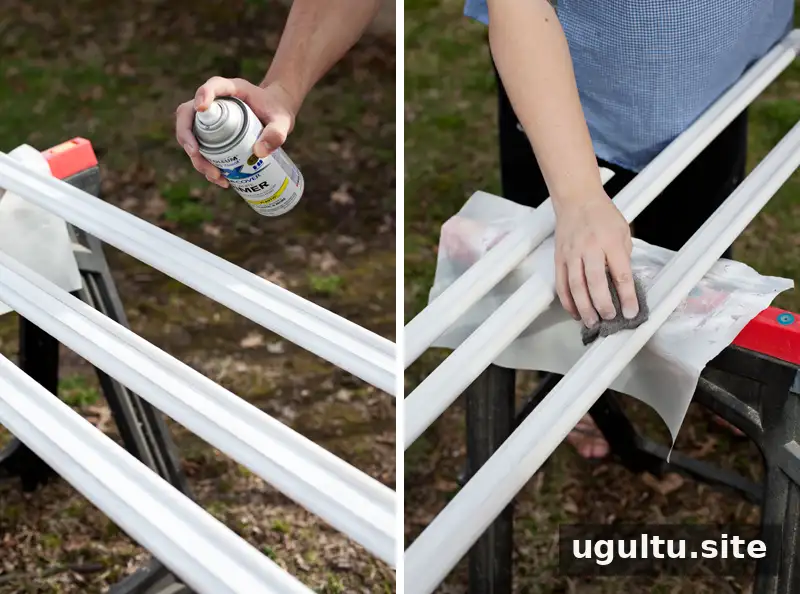
Light coats and thorough dust removal help create a smoother finish. Let the final paint cure according to its label before handling or hanging artwork.
Hang artwork from the finished rail
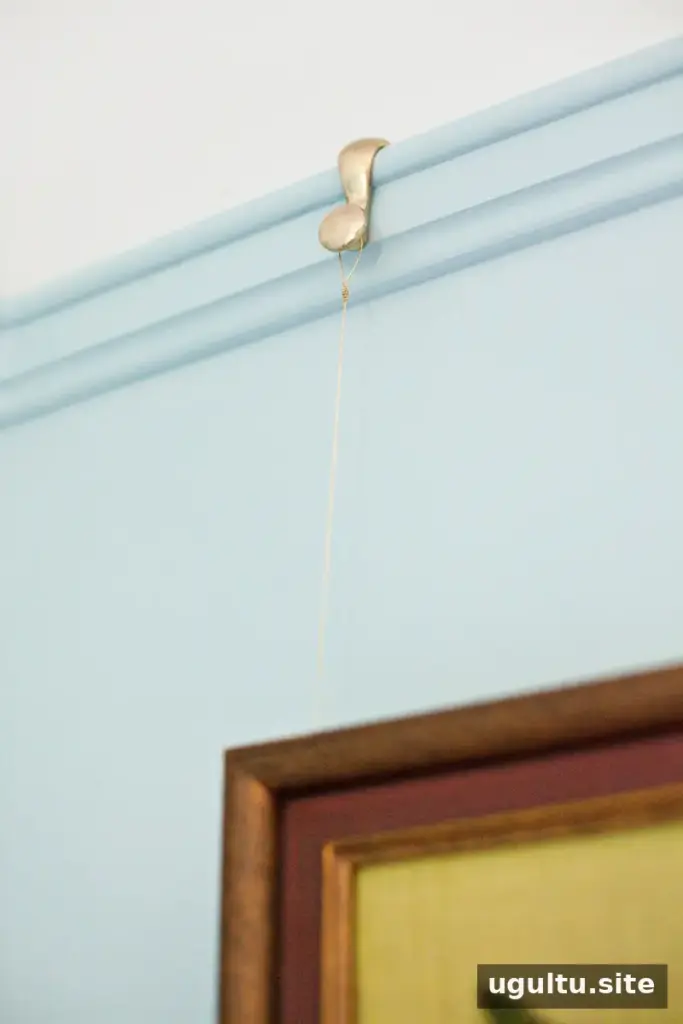
Attach strap hangers to the sides of each picture frame and connect picture wire between them. Keep the wire lengths even, loop and twist the ends securely, then place the picture hook over the rail. Adjust the frame by pulling gently on one side of the wire until the picture is level.
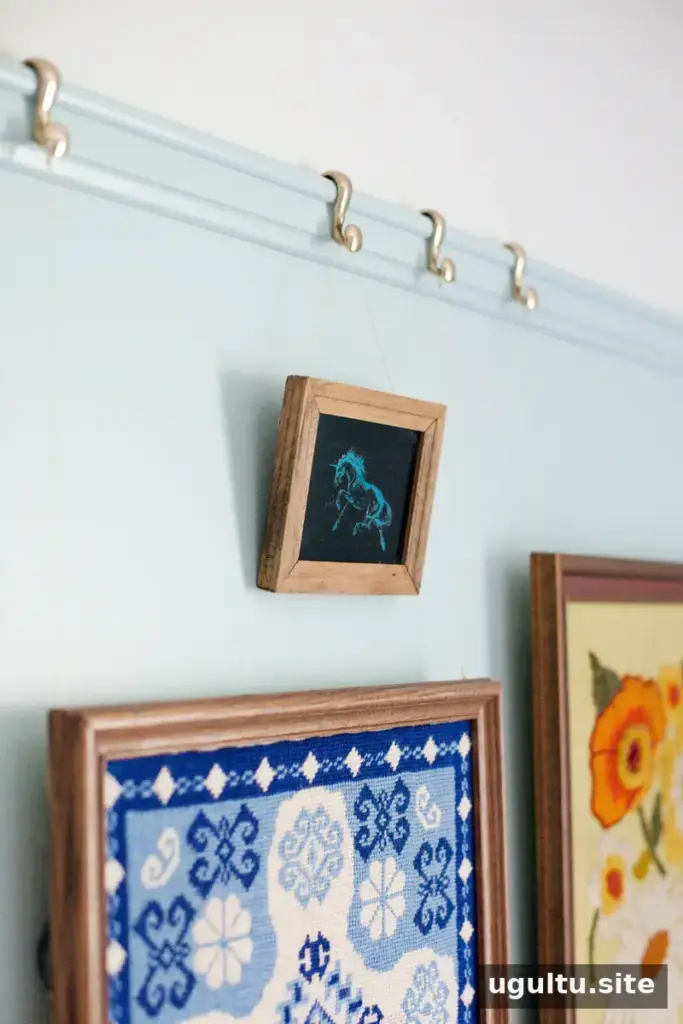
Check that each hook is seated correctly and that the rail is securely fastened before hanging a frame. Use hooks and hanging hardware suitable for the artwork’s weight, and avoid exceeding their stated capacity.
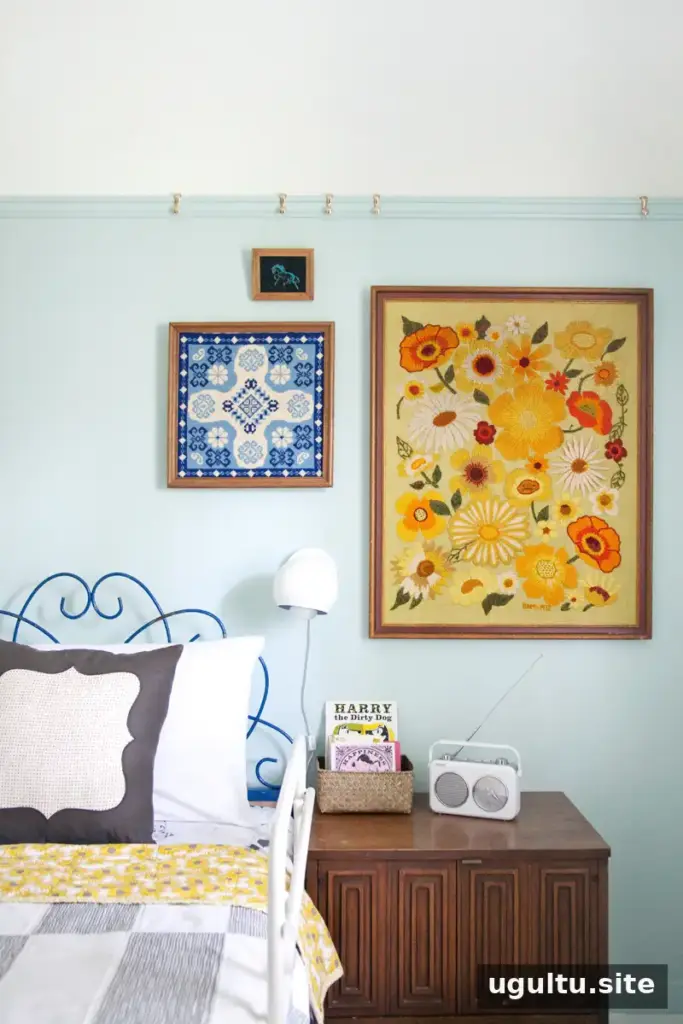
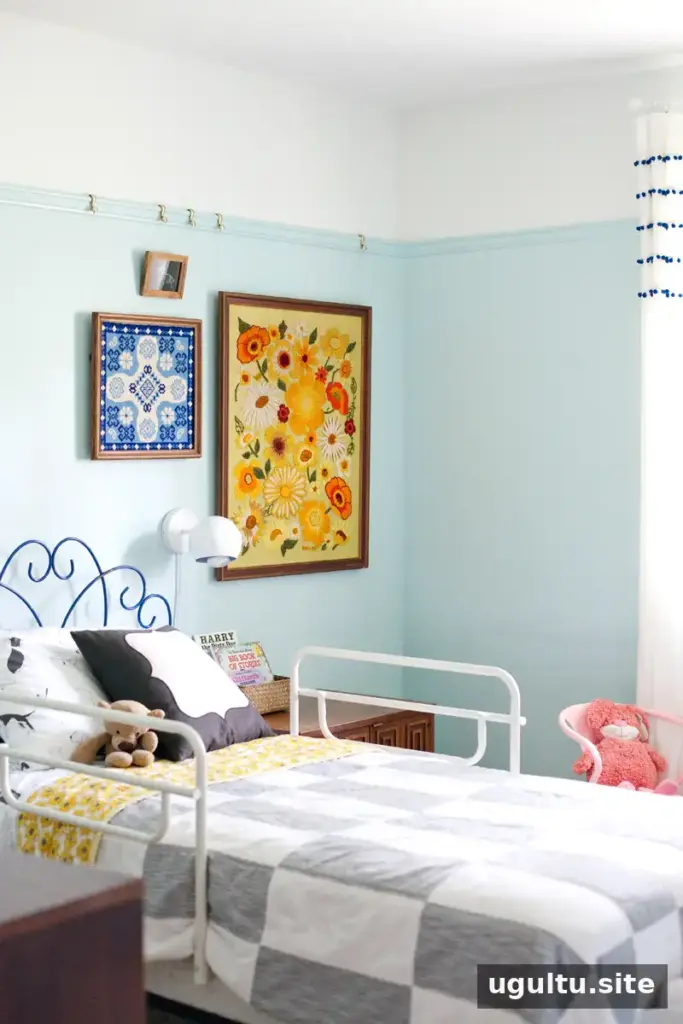
A well-planned picture rail can add definition to a bedroom or living area while making it easier to rearrange framed artwork. For successful picture rail moulding installation, prioritize hook compatibility, careful dry fitting, level placement, and fastening into wall studs. These checks help create a polished detail that is both useful and secure.
—Mandi


