
 admin
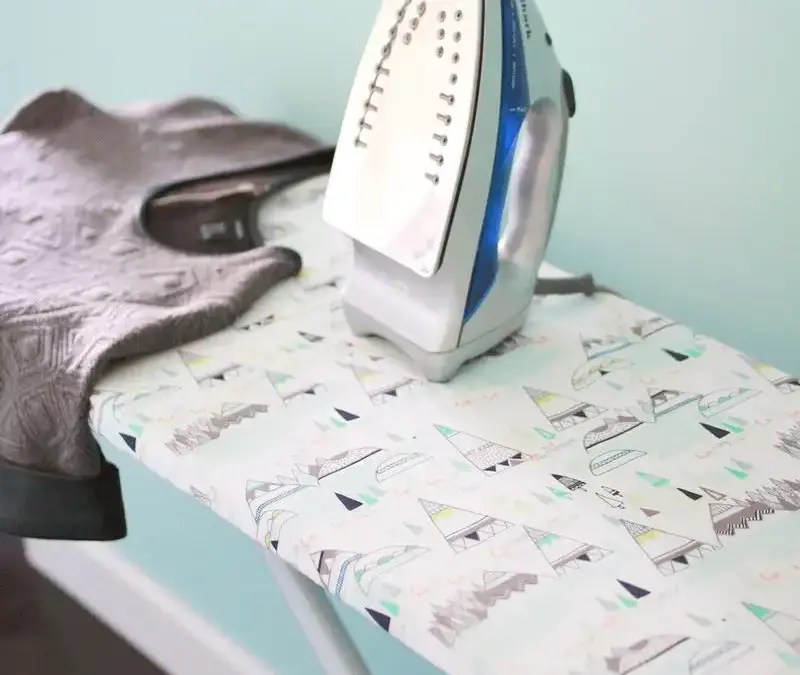
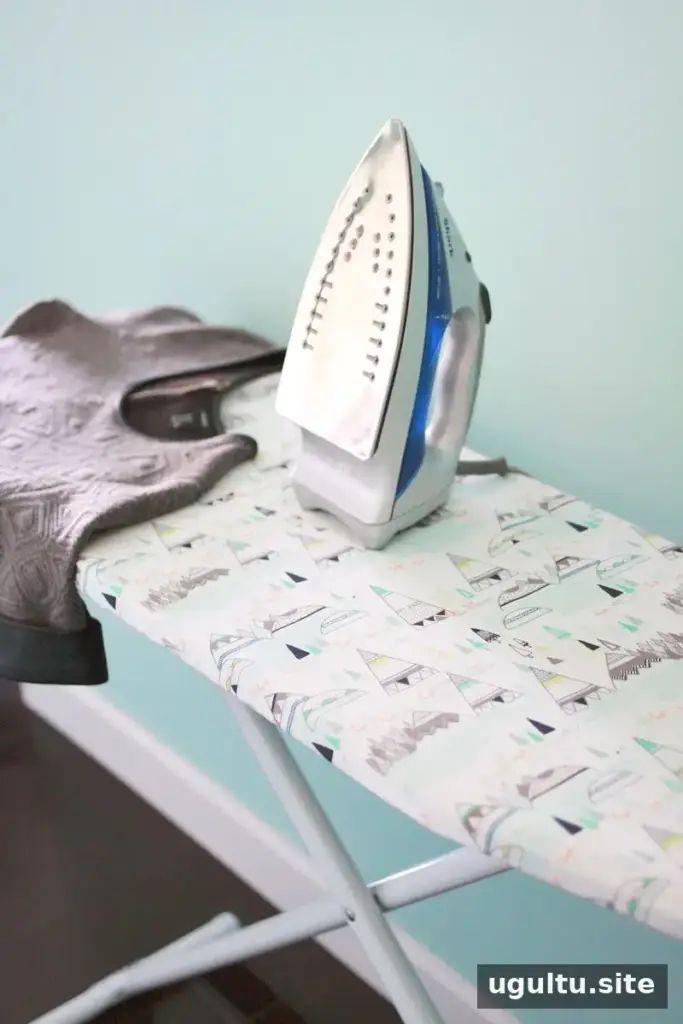
A practical ironing board cover DIY project can refresh a worn cover or add a fabric print that suits your space. This simple sewing project uses cotton fabric and elastic to create a removable cover that fits around the board. The main steps are measuring and cutting the fabric, sewing a casing, then threading elastic through it.
Ironing Board Cover DIY: Supplies
Gather the following materials before you begin so the fabric can be cut and assembled without interruption:
- Cotton fabric
- Ironing board
- Fabric scissors
- Elastic, 1/4 inch wide
- Straight pins
- Safety pin
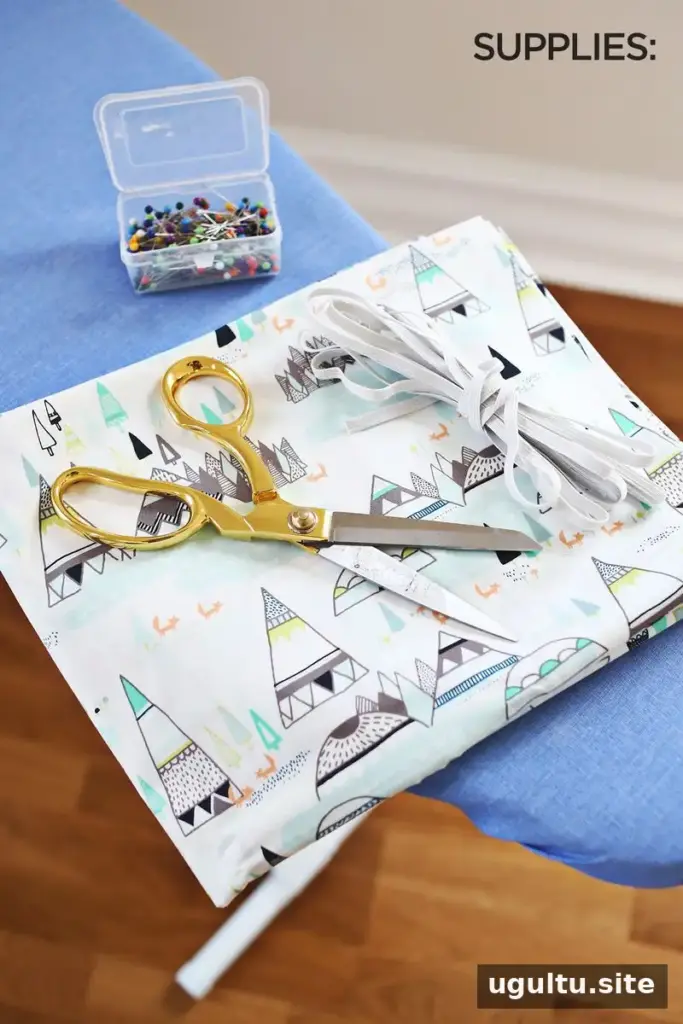
Choose a piece of fabric large enough to extend about 3 inches beyond the edge of the ironing board on every side. If possible, lay it flat before cutting to avoid folds affecting the outline.
How to Make an Elastic-Fit Ironing Board Cover
1. Cut the fabric to fit
Remove the old cover from the ironing board. Spread the fabric on the floor with its right side facing down, then place the board upside down on top. Cut around the board, leaving approximately 3 inches of fabric beyond its edge. This extra fabric will form the casing and wrap around the underside.
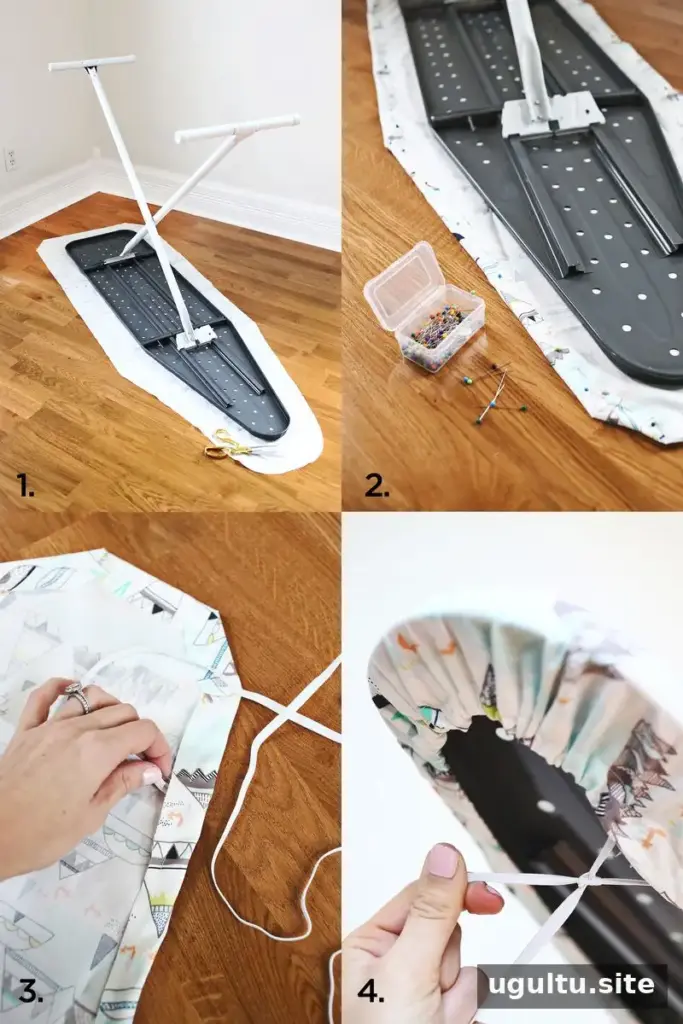
Keep the fabric flat as you cut, and check that the extra allowance is reasonably even around the board. A consistent edge makes it easier to fold and sew the casing.
2. Fold and sew the casing
Fold the fabric edge over by 1 inch all the way around and hold the fold in place with straight pins. Sew around the folded edge with a 1/2-inch seam allowance. Leave an opening about 1 inch wide; this is where the elastic will enter and exit the casing.
Before sewing, make sure the opening is large enough for the safety pin and elastic to pass through. Take care when handling pins and scissors, and remove pins as you sew.
3. Thread the elastic
Attach a large safety pin to one end of the elastic. Feed the pin into the casing and guide it around the fabric by feeling for it through the hem and moving it forward. Continue until the pin and elastic come out through the opening.
4. Adjust and secure the fit
Pull the elastic ends until the cover gathers around the ironing board. Tie the ends together, then trim the excess elastic. Aim for a snug fit that holds the cover taut while still allowing it to be removed for washing.
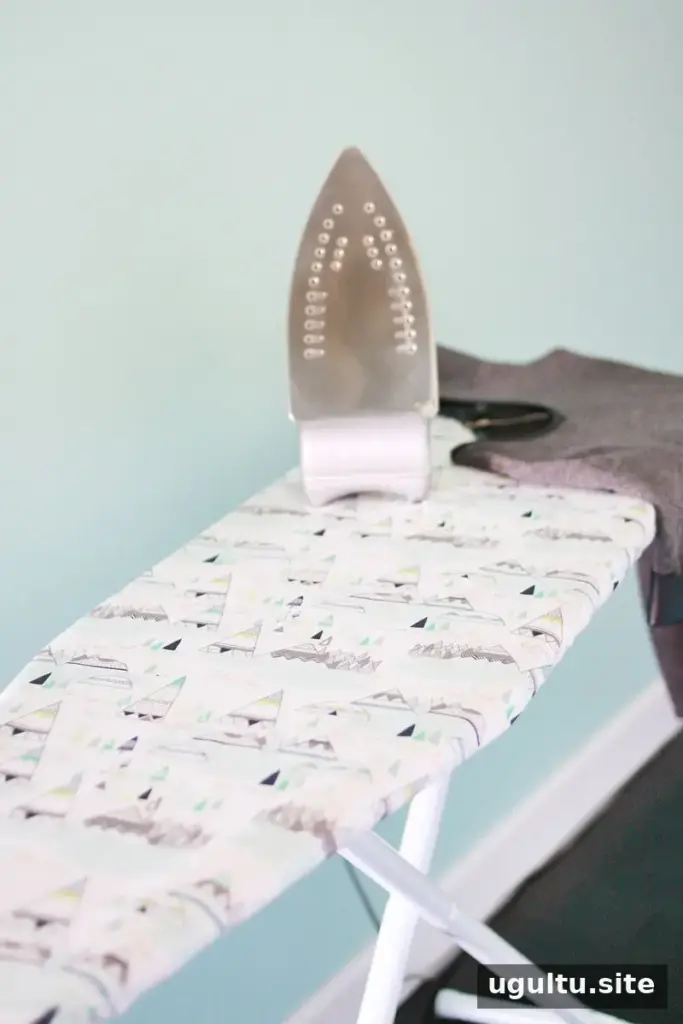
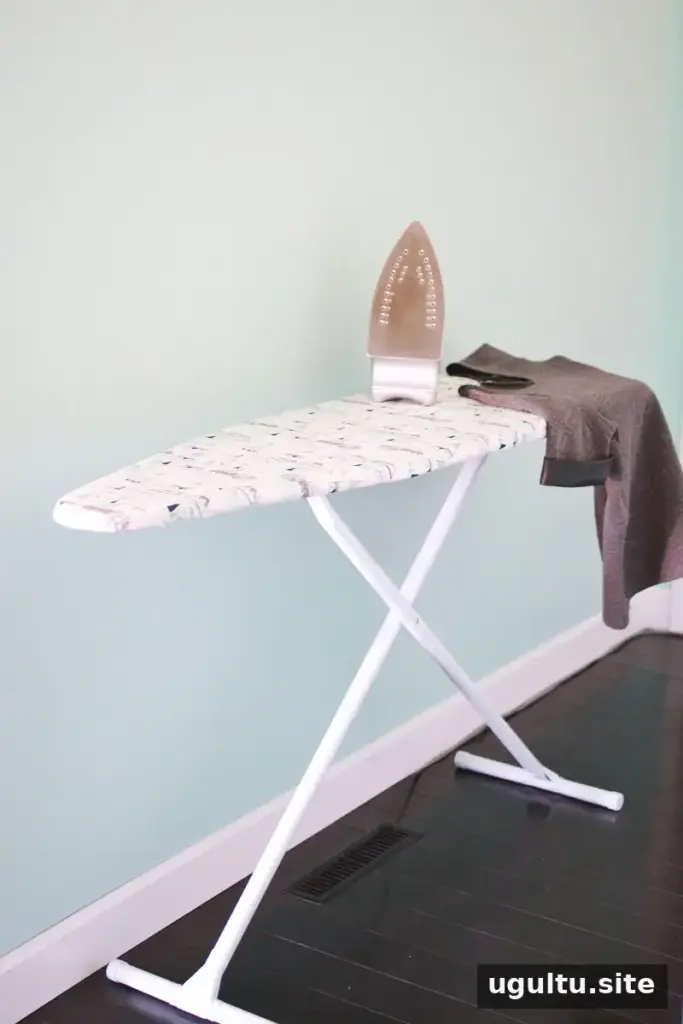
Finishing and Fit Tips
Place the cover over the board and adjust the gathers before trimming any excess elastic. If the cover feels too loose, tighten the elastic knot; if it is difficult to remove, loosen it and retie. Keeping the casing opening accessible makes future adjustments easier.
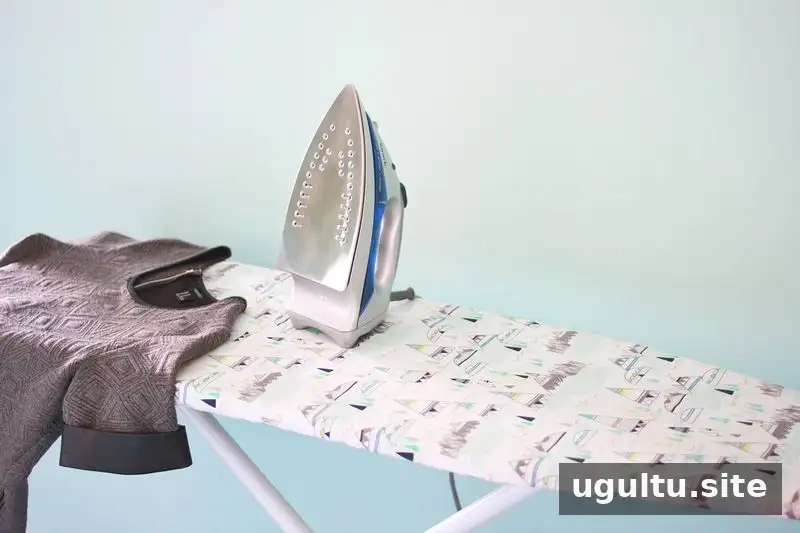
This ironing board cover DIY uses a straightforward casing-and-elastic method, so the finished cover can be taken off when needed. Project by Laura.


