
 admin
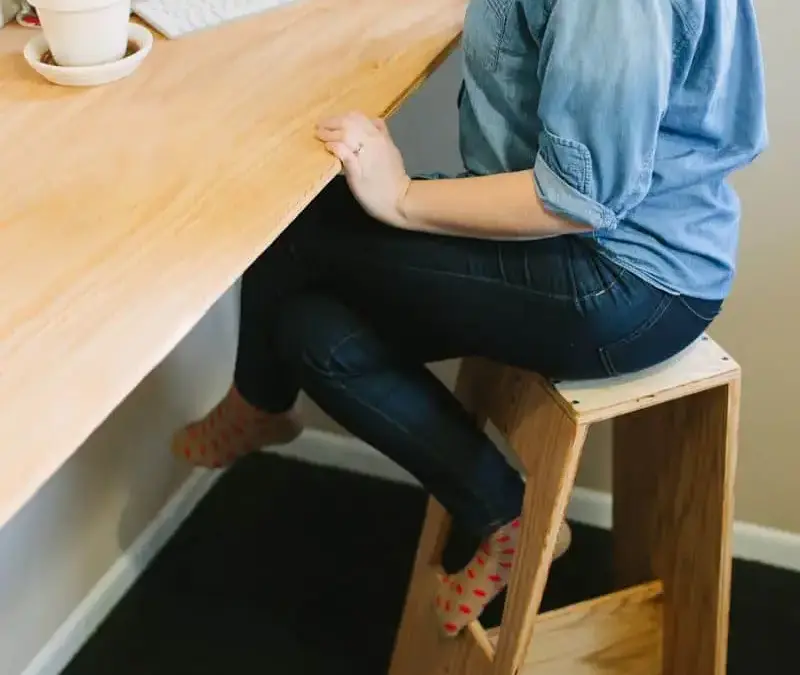
This modern stool project uses 3/4-inch plywood to create a simple seat with angled legs, and it can be paired with an optional standing-height workspace. The guide covers the main cuts and assembly sequence. Because some support-piece dimensions depend on the fit of your build, measure those parts against the assembled frame before cutting.
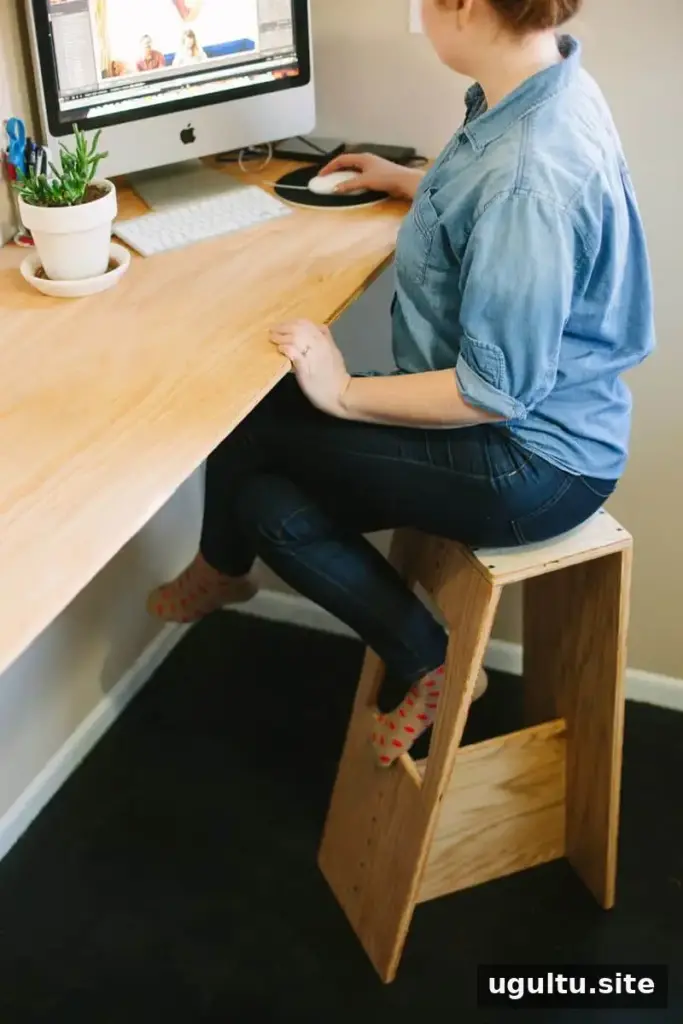
Materials and tools for the modern stool
- One 4-foot by 8-foot sheet of 3/4-inch hardwood plywood or similar
- Wood screws approximately 1 3/8 inches long
- Wood glue
- Drill and a drill bit slightly narrower than the screws
- Miter saw and jigsaw
- Table saw (optional)
- Measuring tape and a straightedge; a T-square is recommended
- Three shelf brackets for the optional workspace
Helpful setup tip: Draw a pencil line down the center of each board. This reference line helps position pilot holes and keep the screws centered during assembly. Wear suitable eye and hearing protection when cutting or drilling, and secure the plywood before working on it.
Cut the stool components
Step 1: Break down the plywood sheet
Have the plywood cut into three lengthwise strips: one measuring 13 by 96 inches for the stool, one measuring 24 by 96 inches for the work surface, and a remaining piece approximately 11 by 96 inches for scrap. If the initial cuts are made elsewhere, check each strip’s width before continuing.
Step 2: Cut the seat and legs
Divide the 13-by-96-inch strip into three parts:
- Piece A: Seat, 12 by 13 inches
- Piece B: Back leg, 30 by 13 inches
- Piece C: Front leg, 30.5 by 13 inches
Cut the ends at 15-degree angles to form the angled front profile described in the plan. Confirm the angle and orientation before cutting so the leg pieces face the correct way when assembled.
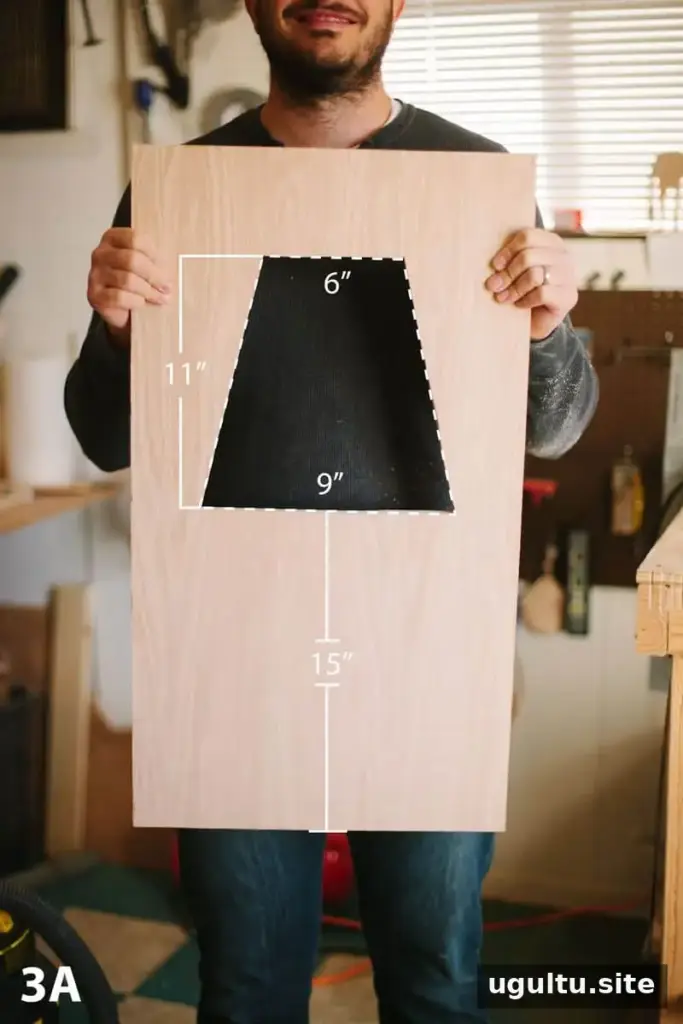
Step 3: Shape Piece C
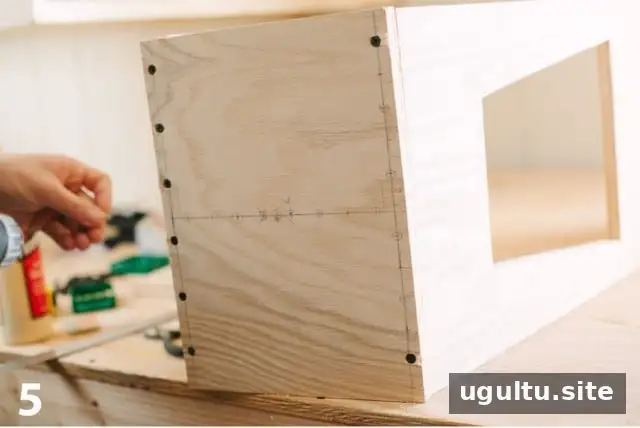
Mark the cutout on Piece C as shown in the accompanying image. Drill a pair of starter holes, then use a jigsaw to cut out the marked section. Keep the workpiece firmly supported and follow the marked outline carefully.
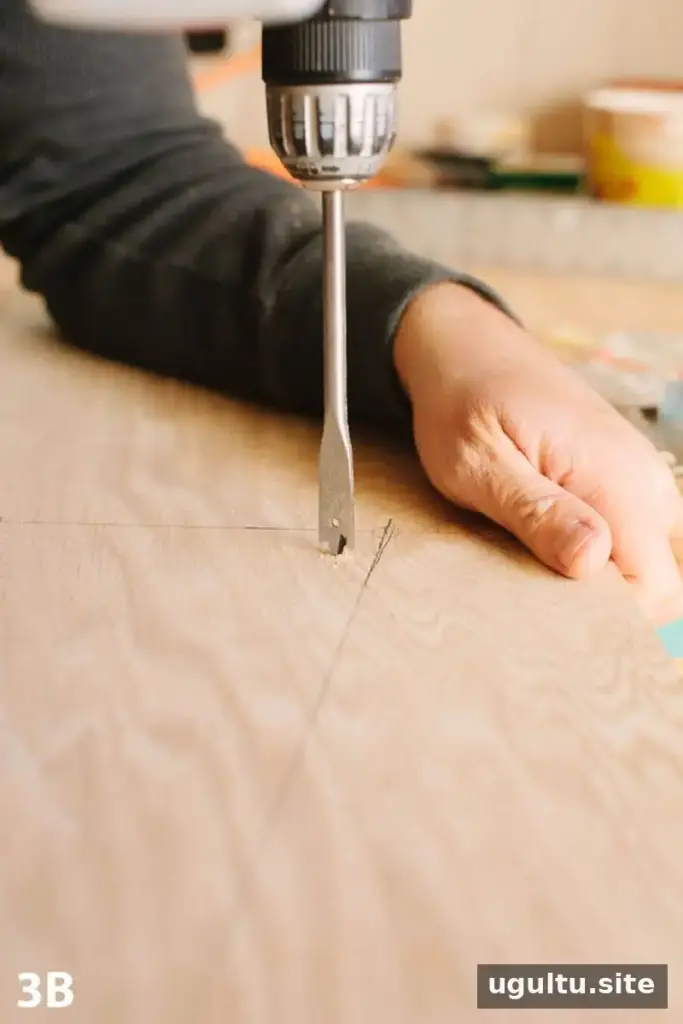
Drill the starter holes and make the cut with a jigsaw.
Assemble the modern stool frame
Before driving screws, drill pilot holes to reduce the chance of splitting the plywood. When joining parts, start with the outermost screws and then add the middle screws; this helps keep the pieces aligned.
Step 4: Attach the back leg
Apply glue where Piece A meets Piece B. Since the plywood is about 3/4 inch thick, mark a line approximately 3/8 inch from the edge to help place screws near the center of the adjoining piece. Drill pilot holes about every 2 inches and fasten the seat and back leg together.
Step 5: Attach the front leg
Glue Piece A to Piece C, then pre-drill and add screws at roughly 2-inch intervals. Check that the seat and legs remain squarely aligned with the intended design before the glue sets.
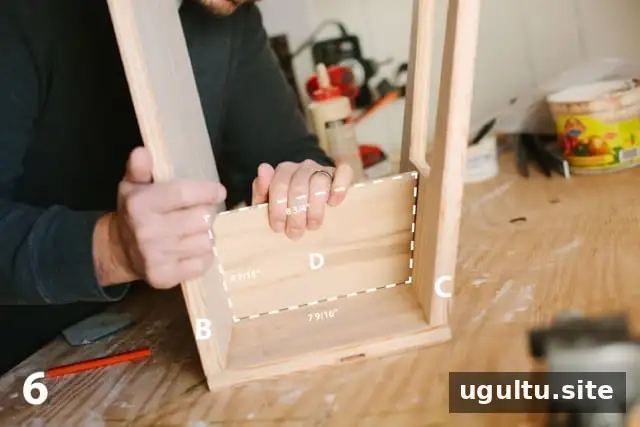
Steps 6–9: Fit and secure Piece D
Measure and cut Piece D to fit the frame. The plan does not specify its dimensions, so take measurements from your assembled parts and check the fit before applying glue. Apply glue to three sides, then pre-drill and install three screws through Piece B, three through Piece C, and five through Piece A.
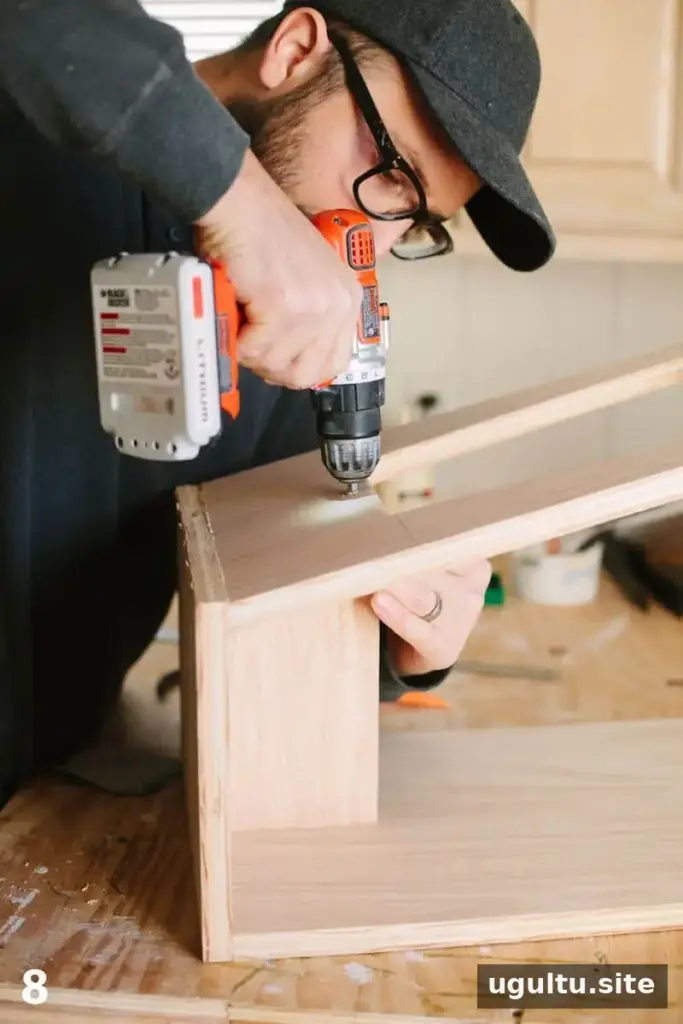
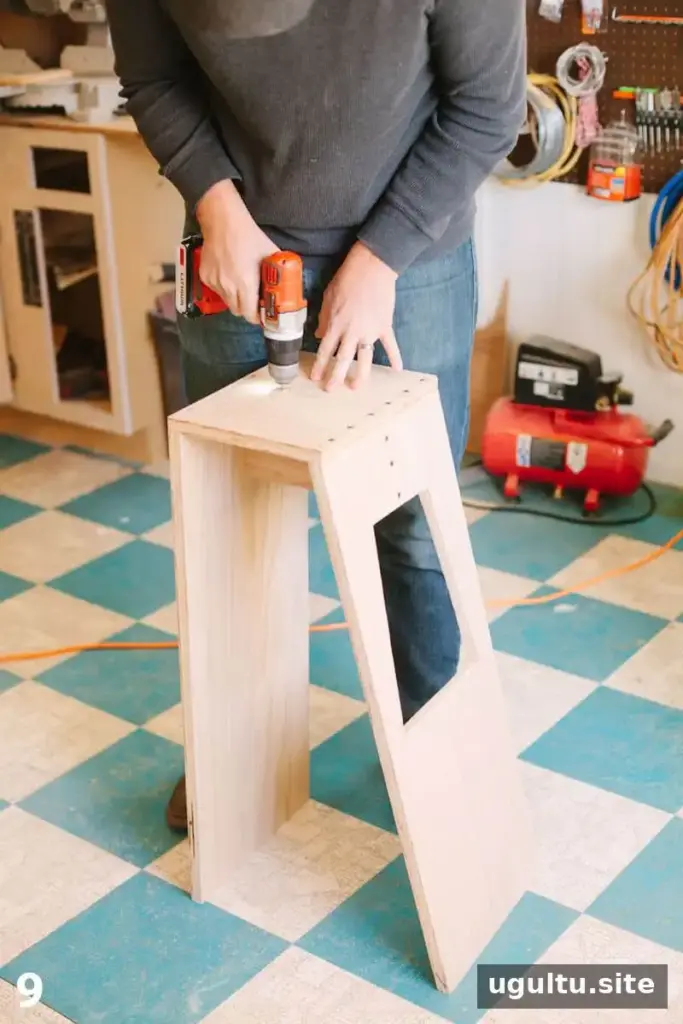
Steps 10–12: Measure and install Piece E
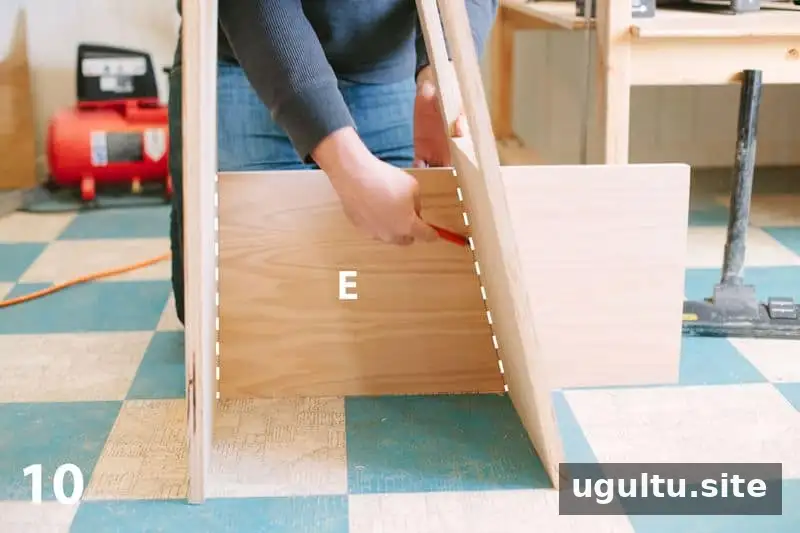
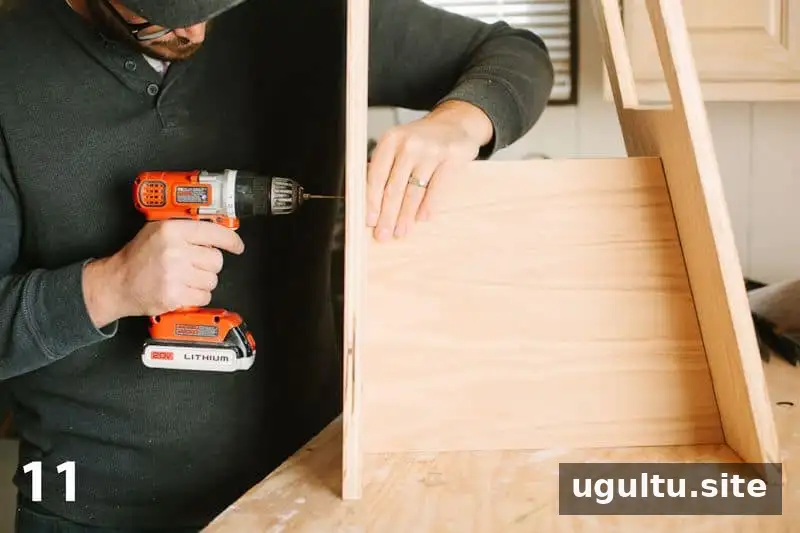
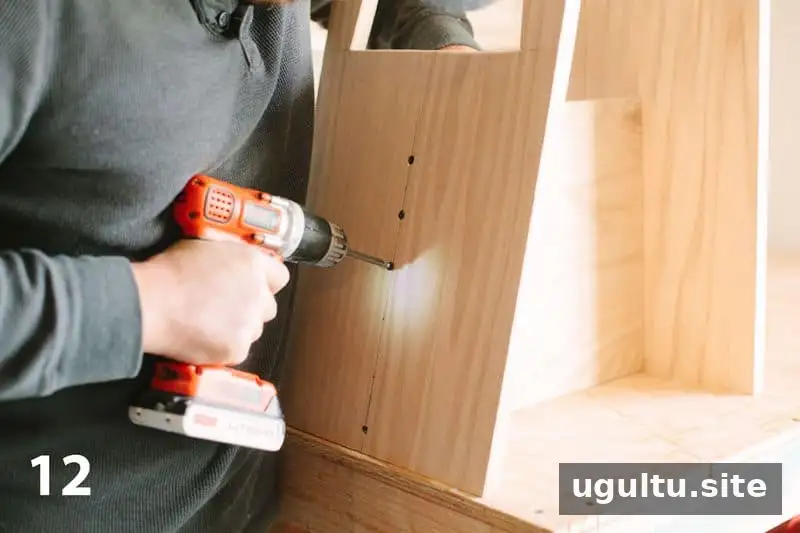
To size Piece E, hold it against the upright section and mark its outline with a pencil. Piece B may not sit at exactly 90 degrees, so check and mark both sides before cutting. Test the fit, then pre-drill and screw through Piece B at about 2-inch intervals. Repeat through Piece C at similar spacing.
Finish the stool and add an optional workspace
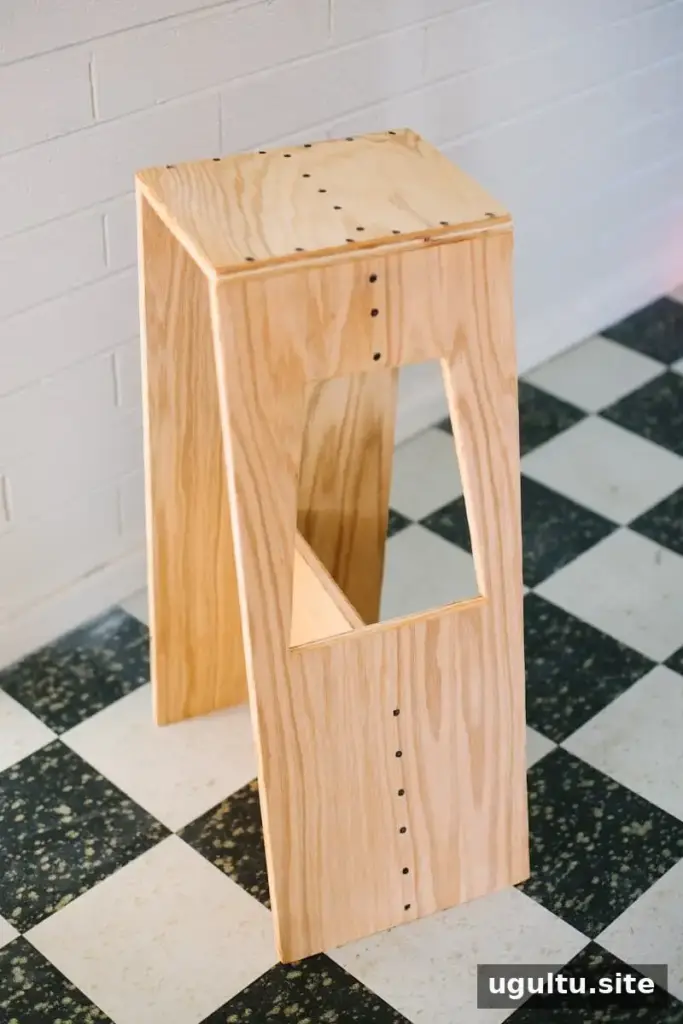
Allow the glue to dry, then sand the edges and surfaces. Polyurethane is an optional finish; follow the product label and allow the coating to dry fully before using the stool.
To make a standing-height workspace, use the prepared 2-foot piece with three shelf brackets and install it like a shelf. The example workspace was mounted 42 inches high, but choose a height that feels comfortable for the intended user and location. Check that the brackets and wall fixings are suitable for the surface and expected load.
Project credit: Josh.


