admin


A Juju hat can bring rich texture and color to a room, and this Juju hat DIY project offers a handmade alternative to buying one. With stitched feather trim, a woven placemat, and a little patience, you can create feather wall décor in three sizes without covering the feathers in hot glue. Hand stitching is the most reliable method, while a sewing machine can speed up the first layers.
What Is a Juju Hat?
Juju hats, also known as Tyn hats, were worn by royal dancers during Bamileke ceremonies. They symbolized prosperity and were traditionally made with natural or dyed chicken and wild bird feathers stitched to a base. The base could be opened with a strap and folded with the feathers inside for storage.
For this project, the feather trim is attached to a woven placemat. Using three sizes together creates a varied display, but you can also make just one. Before ordering trim, check the available yardage and remember that dyed colors can vary between batches.
Juju Hat DIY Supplies and Measurements
Choose feather trim with a satin or similar stitched edge; loose feathers are much harder to attach neatly. The feather lengths and quantities below are for the three sizes in this project:
- 24-inch Juju hat: 4.5 yards of stitched peach goose feathers, 5–7 inches long.
- 16-inch Juju hat: 2 yards of stitched hot pink feathers, 2–4 inches long.
- 10-inch Juju hat: 1 or 2 yards of stitched berry red chinchilla saddle feathers, 3 inches long.
You will also need one 12-inch circular woven placemat for each hat. The placemats can be cut down for the medium and small versions. Gather coordinating thread, a 2.5-inch embroidery needle, straight pins, scissors, and one paperclip per hat. A sewing machine is optional.
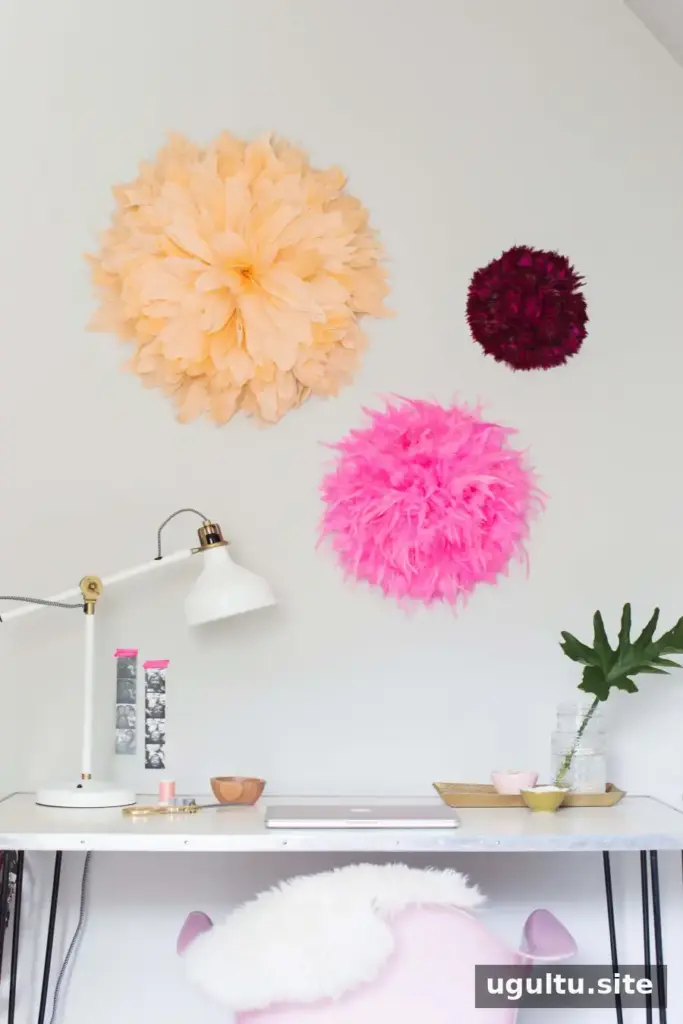
Different feather types create different results. The 5–7-inch goose feathers are full and textured, making them a good choice for medium or large designs. The 2–4-inch hackle feathers have movement and suit a medium hat. The shorter chinchilla saddle feathers are denser and work well for a smaller hat. Check color and texture in the product details before purchasing, and allow for possible dye variation.
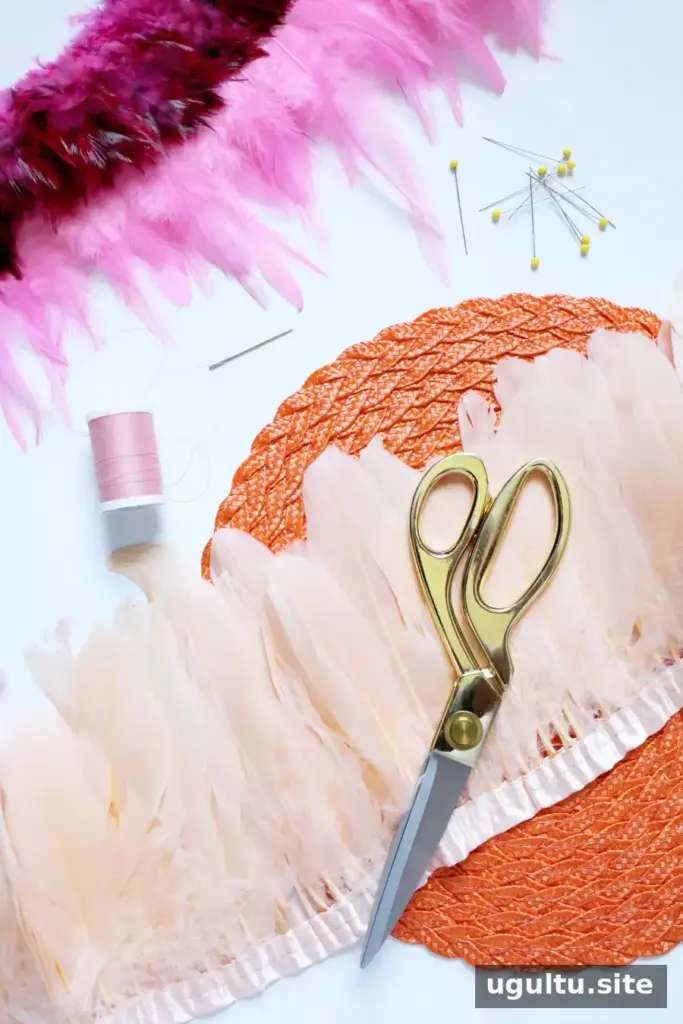
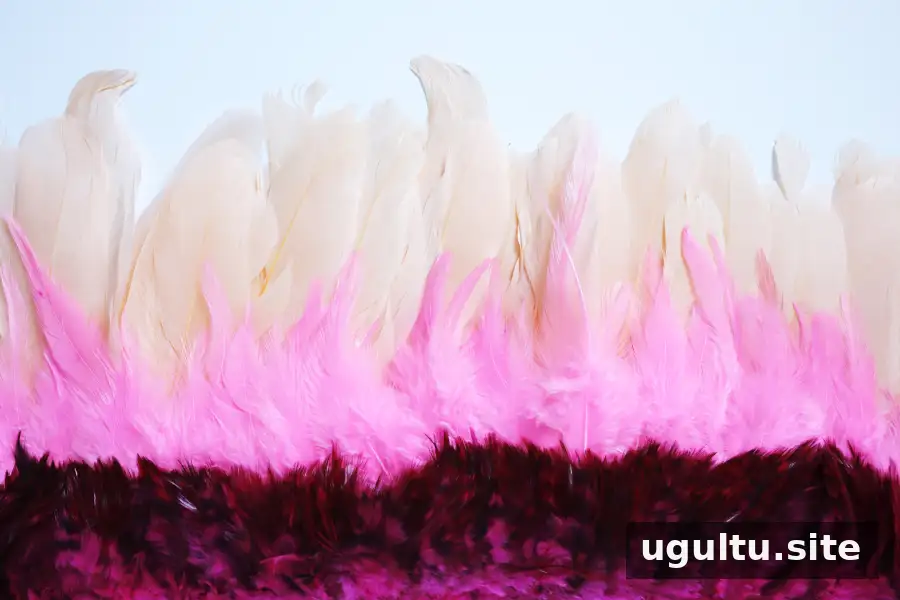
How to Make a Feather Juju Hat
Plan the feather rows
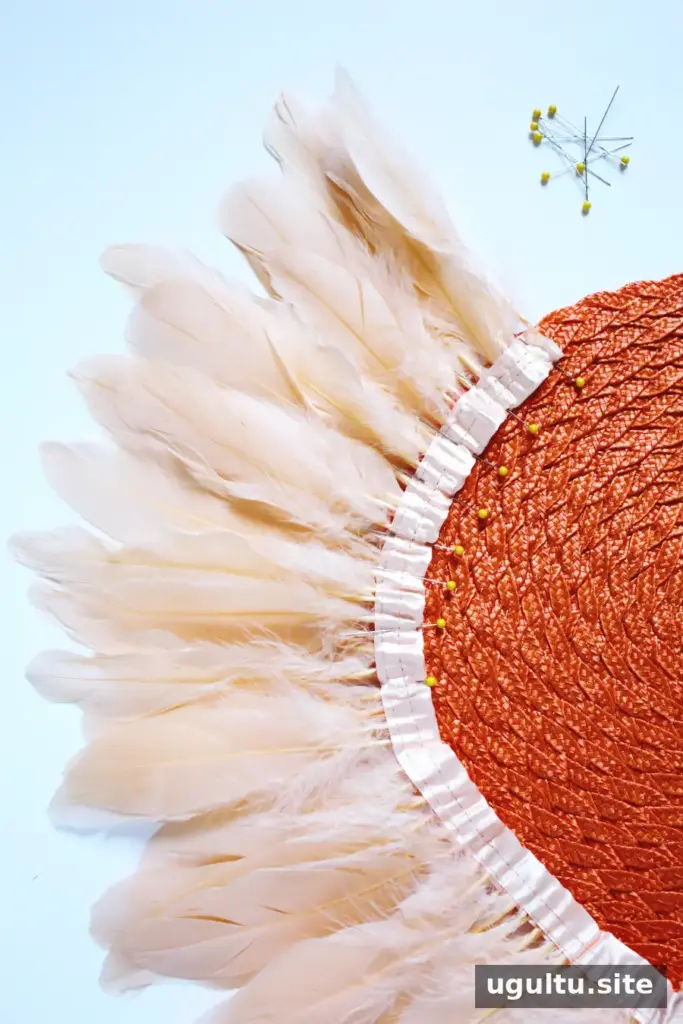
Begin at the outer edge of the placemat. Wrap the feather trim around it to estimate the spacing for each ring as you work toward the center. You can cut the trim into circles or continue in one strip. Decide on the layout before cutting so you do not end up short or with unnecessary joins.
For the 24-inch design, position the satin edge near the placemat’s outer edge and pin it about every 1 inch. Avoid stretching the trim too tightly, and check the placement every 6 inches. Pin only the first outer row at this stage. If using separate circles, overlap the ends by about 1 inch.
Stitch the outer layers
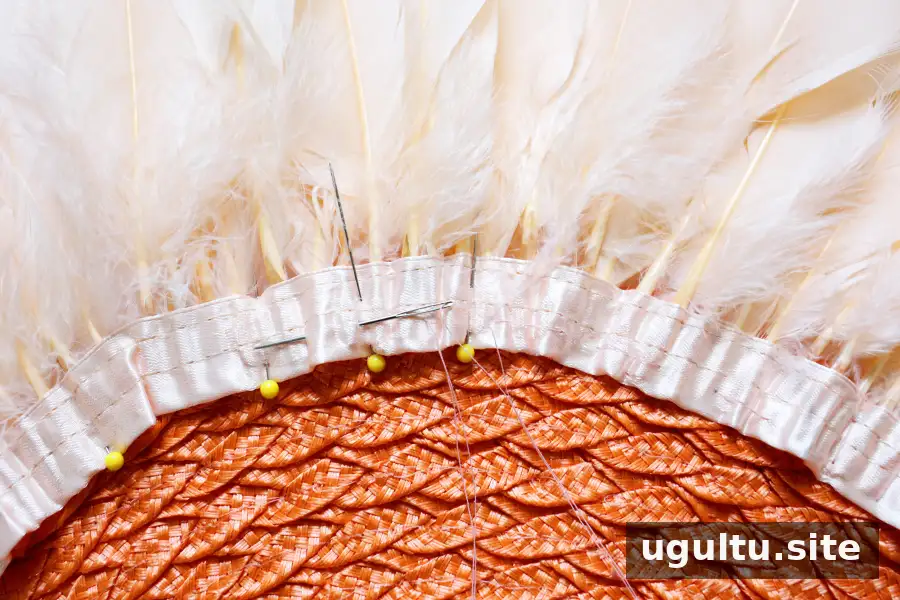
Thread the needle and use wide stitches through the satin edge and placemat. Remove each pin as you reach it. Hand stitching takes time, but it secures the trim without exposing the feathers to excessive glue. If you use a sewing machine, guide the feathers carefully and sew only the outer layers; the center becomes harder to manage as the rows get tighter.
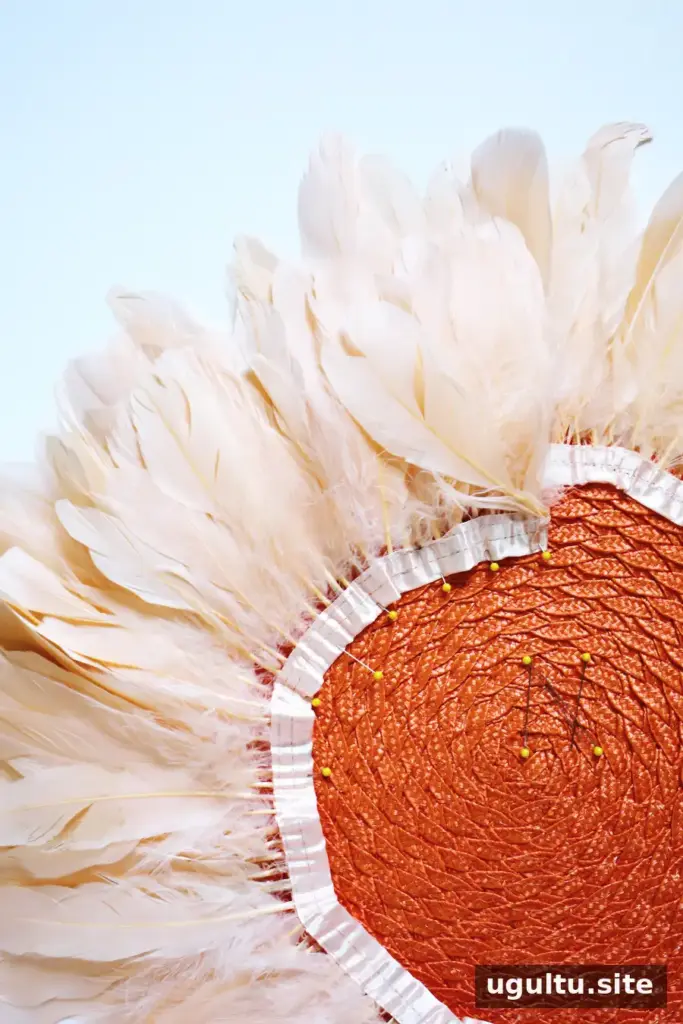
Position the next row about 1 inch closer to the center than the previous one, then pin and stitch it in place. Keep the right side of the feathers facing outward for the first two layers. For the third layer, turn the trim so the feather backs face outward; the curve adds dimension. Continue with the remaining rows with the right sides facing out.
Finish the center and adjust the smaller sizes
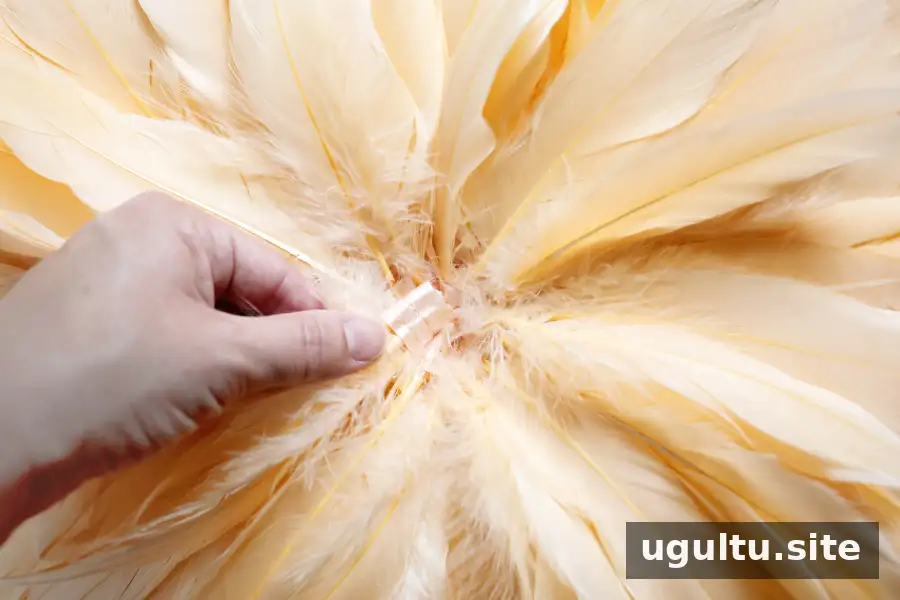
As you approach the center, gather the trim closely to prevent a thin or bunched finish. Hand stitch the final section, cut the strip, tuck the satin edge underneath, and secure it. Cut off 4–7 separate feathers and, if needed, trim 2–4 inches from their bases. Glue these over the center gap so they fan outward. Let the adhesive dry for about 24 hours before handling the feathers.

For the 16-inch hat, start about 1.5 inches in from the placemat’s outer edge and space the rows about 1 inch apart or closer, depending on the trim. You can reverse the third layer for added dimension.
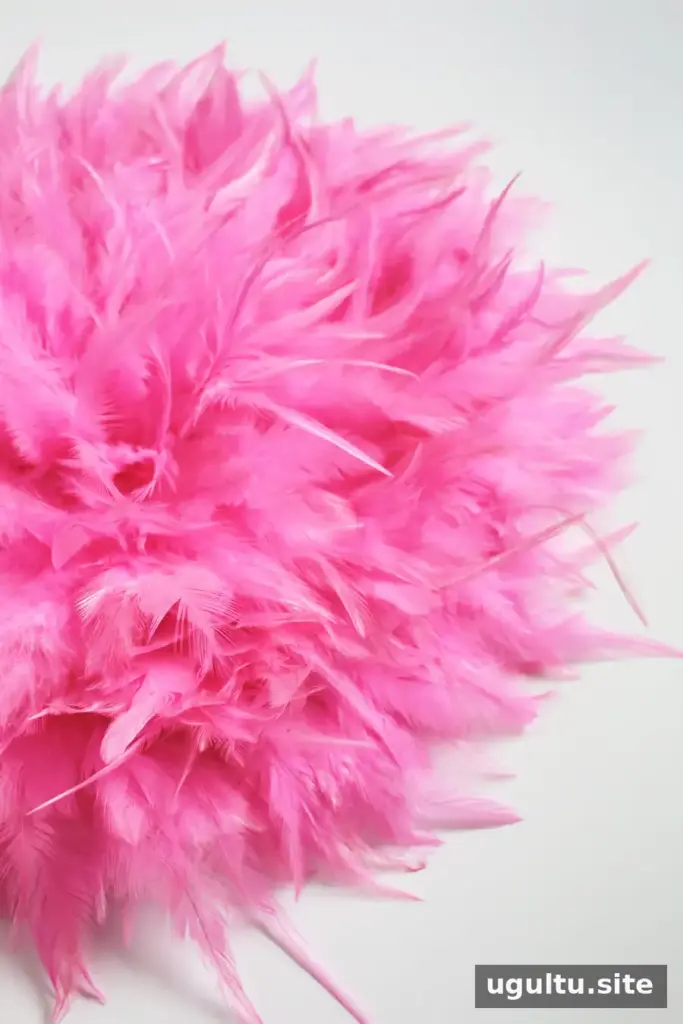
For the 10-inch hat, begin about 3 inches in from the outer edge. Keep the third layer facing the same way because the dense feathers may not fan well when reversed. Once the trim is attached, you can remove about 2 inches from the placemat’s outer edge.
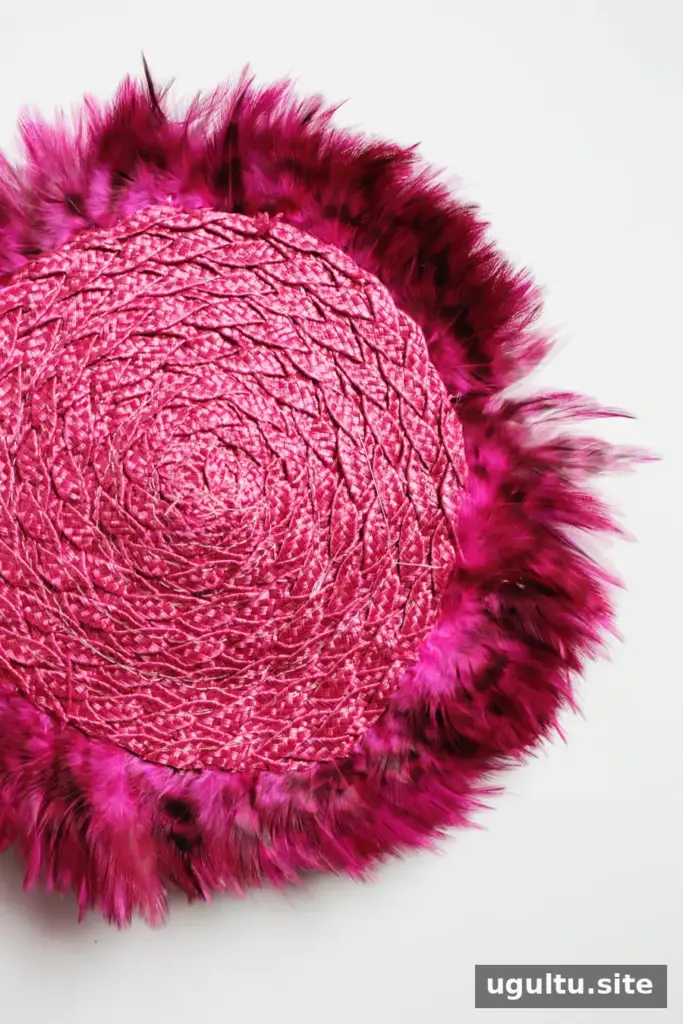
How to Hang Your Juju Hat
Slip one half of a folded paperclip through the placemat’s woven backing. Hook the other half over a nail or wall hook. Check that the paperclip is secure and that the wall fastener can support the finished piece before hanging it.

This Juju hat DIY can be customized with different feather colors and sizes to suit a room. Before starting, confirm that you have enough trim for the full design, and allow time for the center adhesive to dry. — Rachel