
 admin
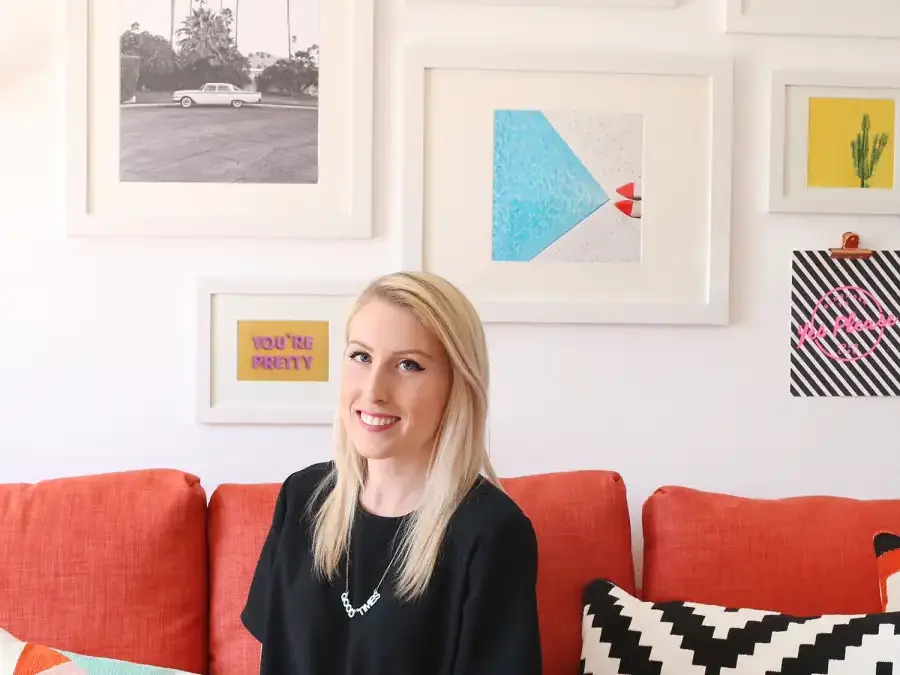
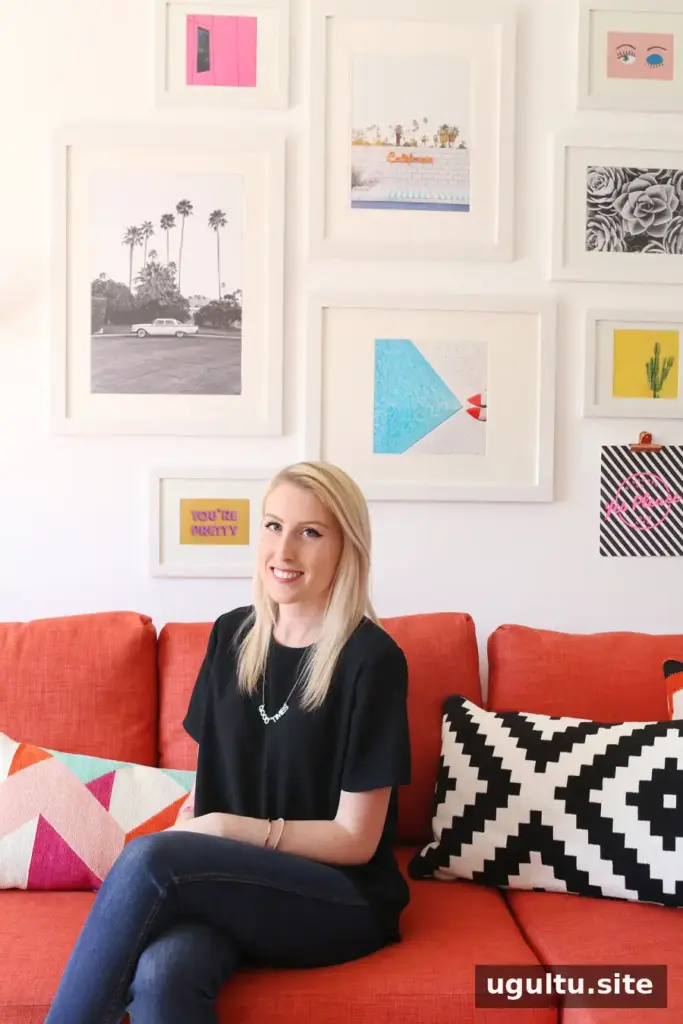
A well-planned gallery wall can make a bedroom feel more personal without taking up floor space. Katie Thierjung’s room was refreshed with a mix of her own photographs and art prints, arranged to suit a space that also functions as a design workspace. The makeover followed a contest in which Katie won a printer, $1,000, and a visit to help update one of her walls.
Planning Katie’s gallery wall
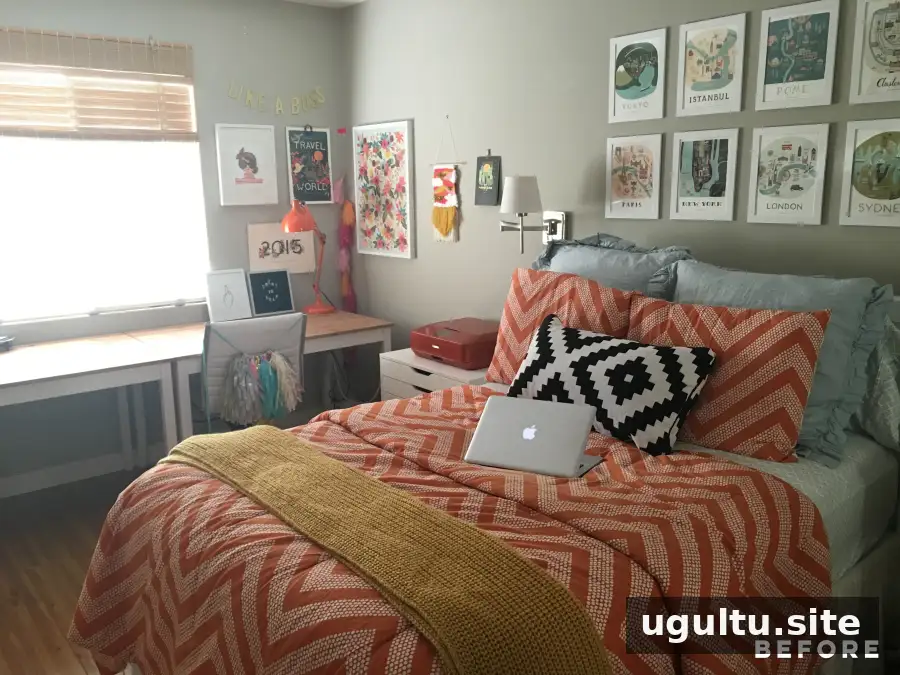
Before the makeover, Katie put together a board of inspiration to show the colors and styles she liked. Three possible directions were considered: a wall covered in tissue-paper fringe, an abstract painted design, and a classic gallery wall. She chose the gallery wall, which gave her a flexible way to display art and personal photographs together.
Before the project began, Katie had already painted the walls white and replaced her bed with a sofa bed. Those changes helped brighten the room and made it easier for the space to serve as both a bedroom and a work area. If a room has more than one purpose, it can help to plan the wall décor around the furniture and everyday activities already in the space.
Combining art prints and personal photos
The artwork included a selection of prints from previous mail collections. A range of options gave Katie a chance to choose pieces that suited her room rather than committing to a single style or color palette.
Katie’s Instagram photographs were printed using the iP8720 wide-format crafting printer she won in the contest. The larger prints brought out details that can be difficult to appreciate when an image is viewed only at a small size on a phone. For a similar project, choose photographs with clear subjects and check that the image quality is suitable for the print dimensions you want.
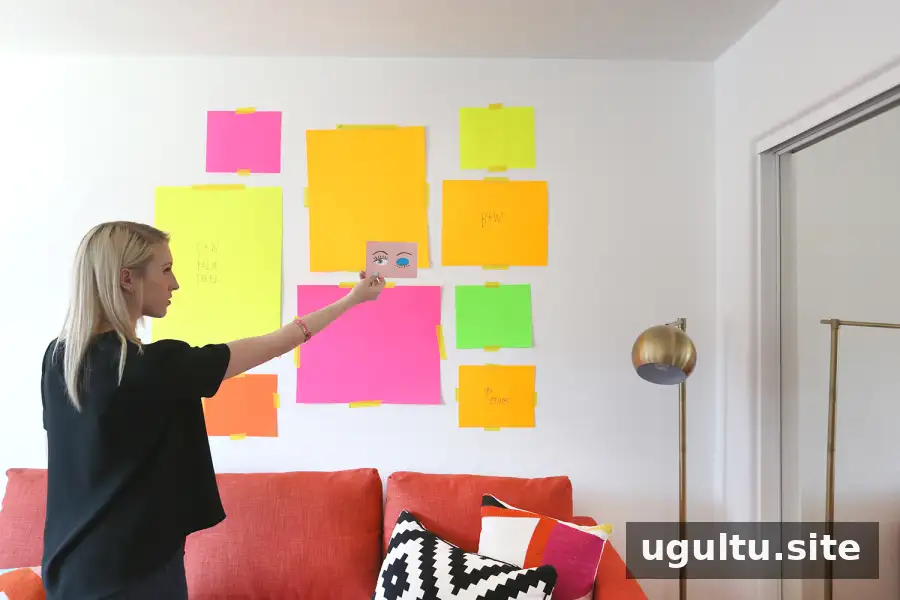
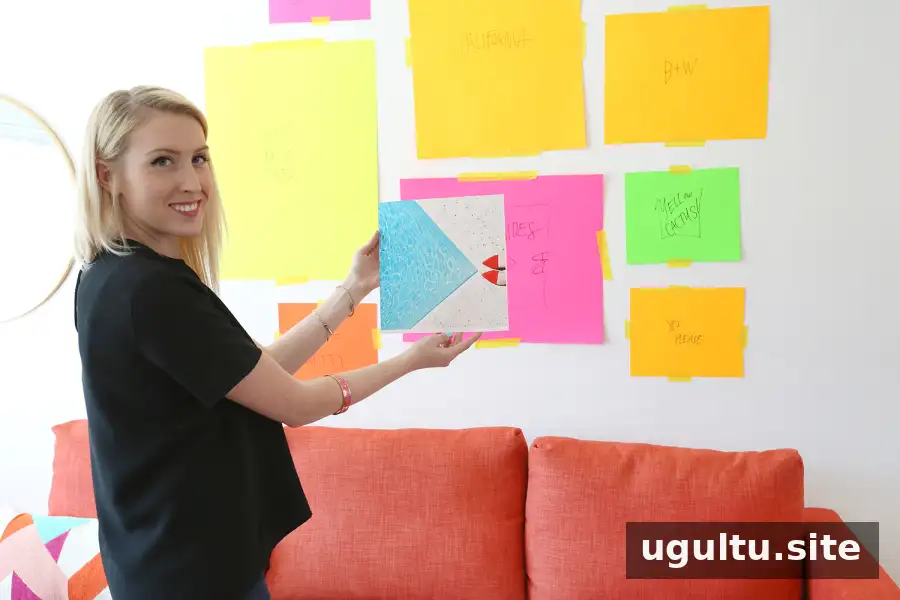
Before hanging the frames, the team traced each frame’s dimensions onto colorful poster board. These paper templates were placed on the wall first, making it possible to adjust the layout and spacing before putting any holes in the wall. This simple step is useful when working with frames of different sizes or arranging a gallery wall above furniture.
Arranging and hanging the frames
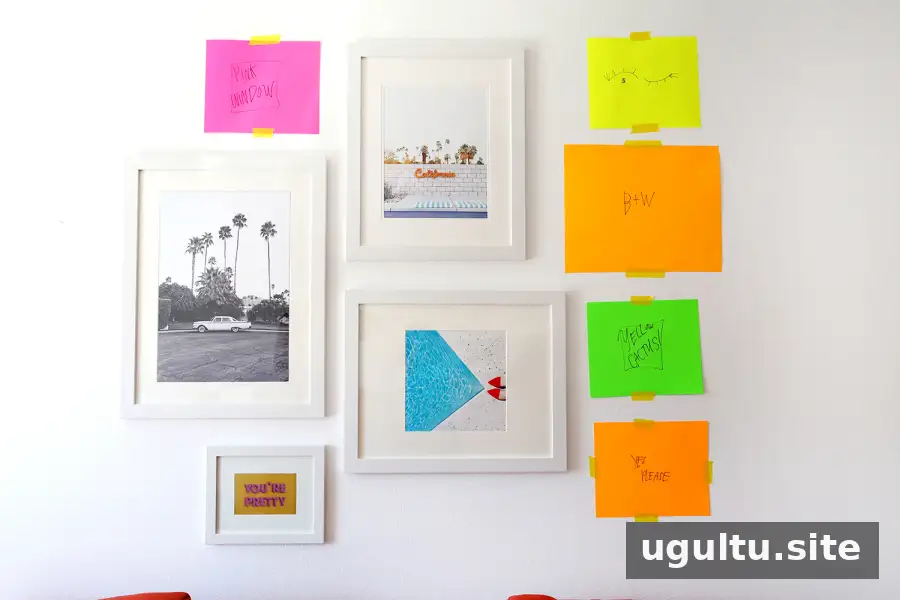
The templates provided a guide as the frames went up. A practical approach is to start with the largest or most important piece, then arrange smaller frames around it. Step back occasionally to check the balance and make small adjustments before hanging the remaining pieces.
The time-lapse video shows the progress of the project throughout the day:
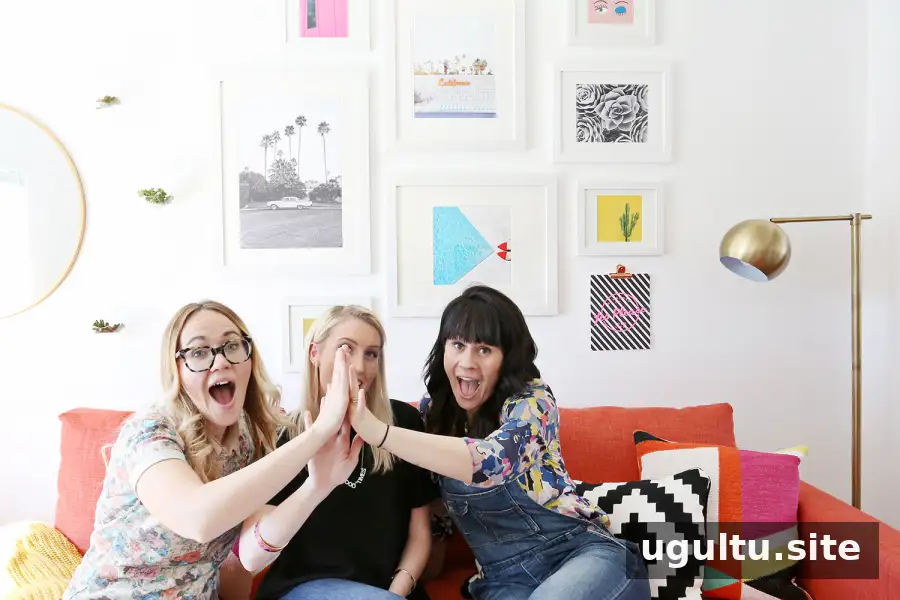
The finished gallery wall made a noticeable difference to the room and was completed before sunset. Together, the white walls, sofa bed, art prints, and enlarged photographs created a bright, personalized backdrop that worked with Katie’s bedroom and workspace.
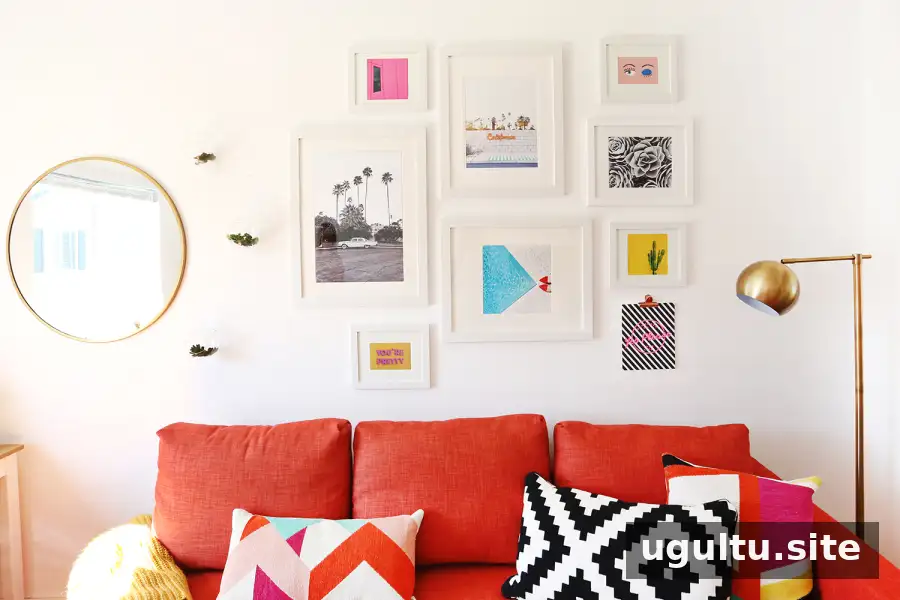
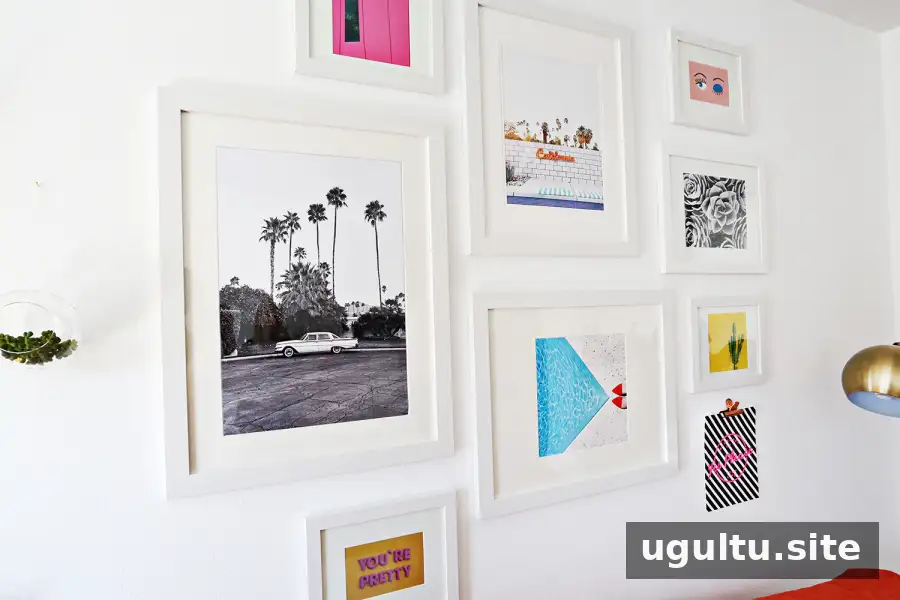
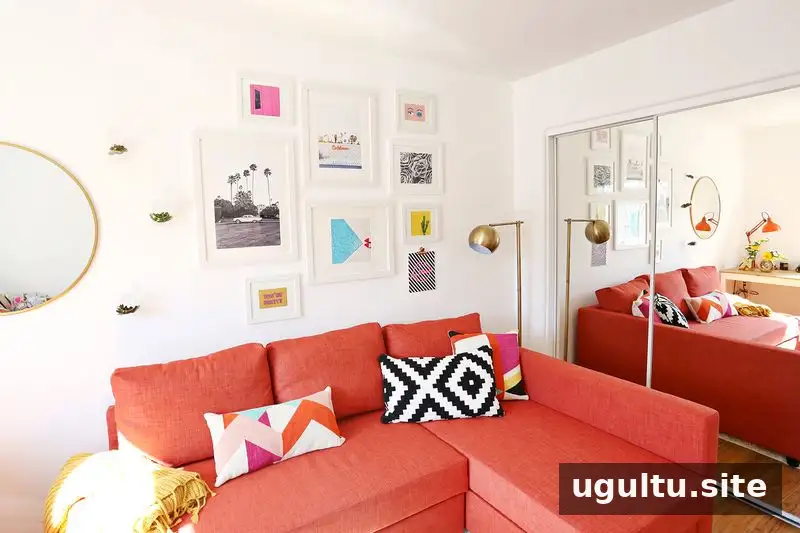
The project brought together personal photos and selected artwork in a layout planned to fit the room. For anyone creating a gallery wall, measuring first, testing the arrangement with paper templates, and choosing images that matter to the people who use the space can make the process easier and the final display more personal.
— Elsie and Emma


