
 admin
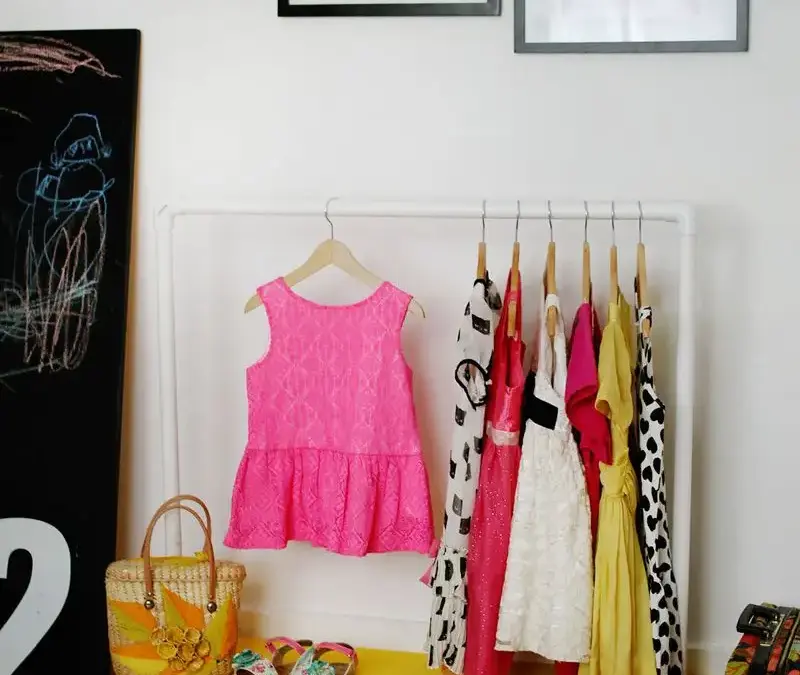
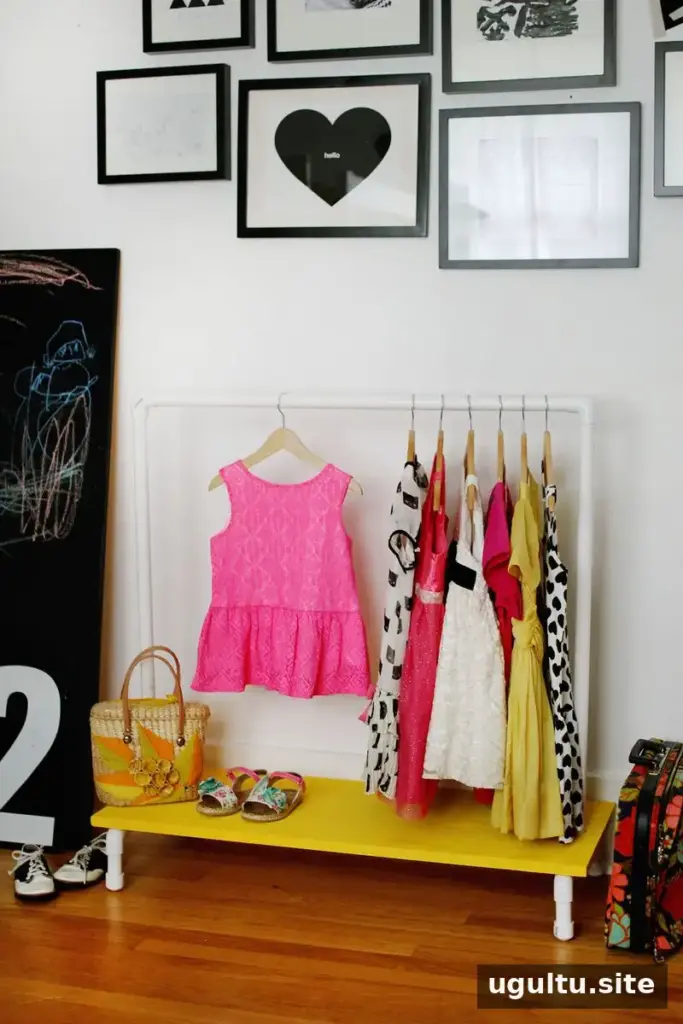
A Kids Clothes Rack DIY project can add hanging storage to a small bedroom or playroom while keeping clothes within children’s reach. This design uses PVC pipe and a wooden shelf to create a freestanding rack for dresses, shirts, shoes, bags, or dress-up costumes. Adjust the height to suit the clothes and the children who will use it.
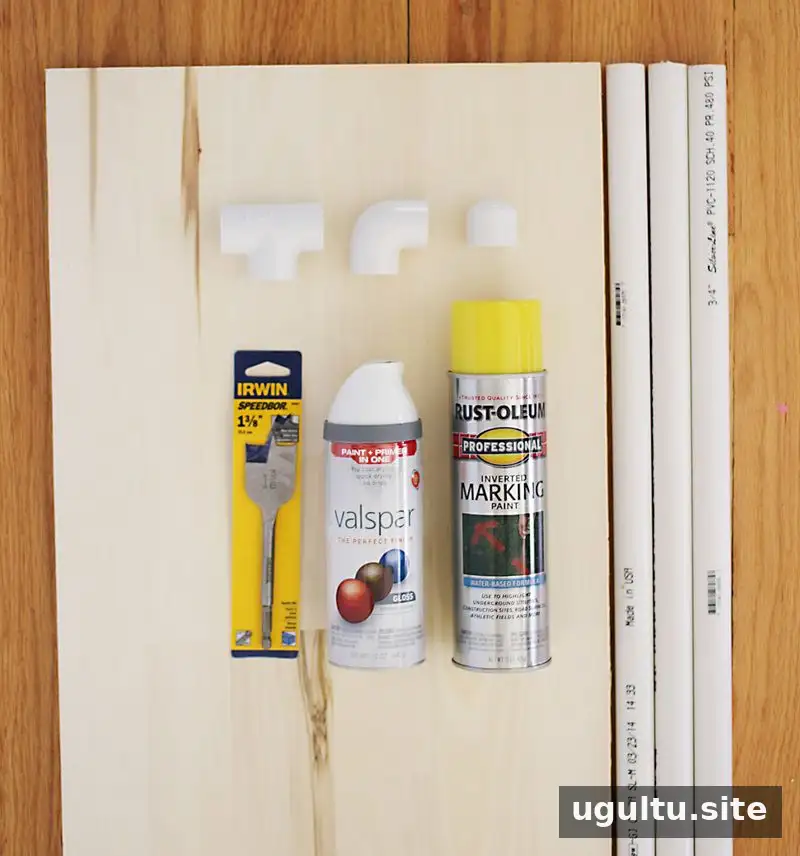
Supplies
- Precut wood measuring 3/4″ × 15″ × 36″
- Spray paint in two colors
- Three 3/4″ × 5′ lengths of PVC pipe
- Super glue
Tools
- Power drill and 1 3/8″ drill bit
- Hand saw
- Sandpaper in 150 and 100 grit
- Pencil and ruler
- Safety goggles
Important parts check: The assembly instructions also refer to PVC tee fittings, 90-degree elbow fittings, and end caps, but these are not included in the listed supplies. Confirm the required fitting types and quantities before starting.
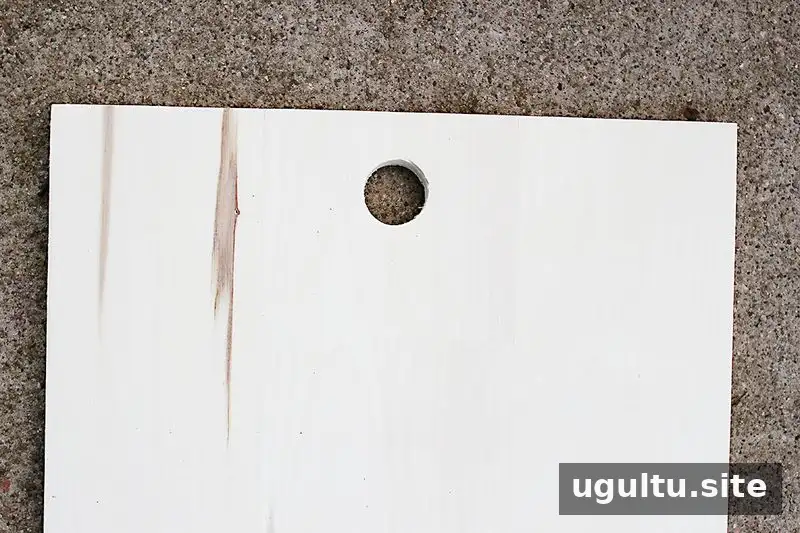
Step 1: Drill the shelf board
On each short end of the board, mark a point about 2″ in from the edge and centered across the width. Carefully drill through the board at both marks using the 1 3/8″ bit. Wear safety goggles while drilling. Sand the wood first with 100-grit paper and then with 150-grit paper to smooth the surface.
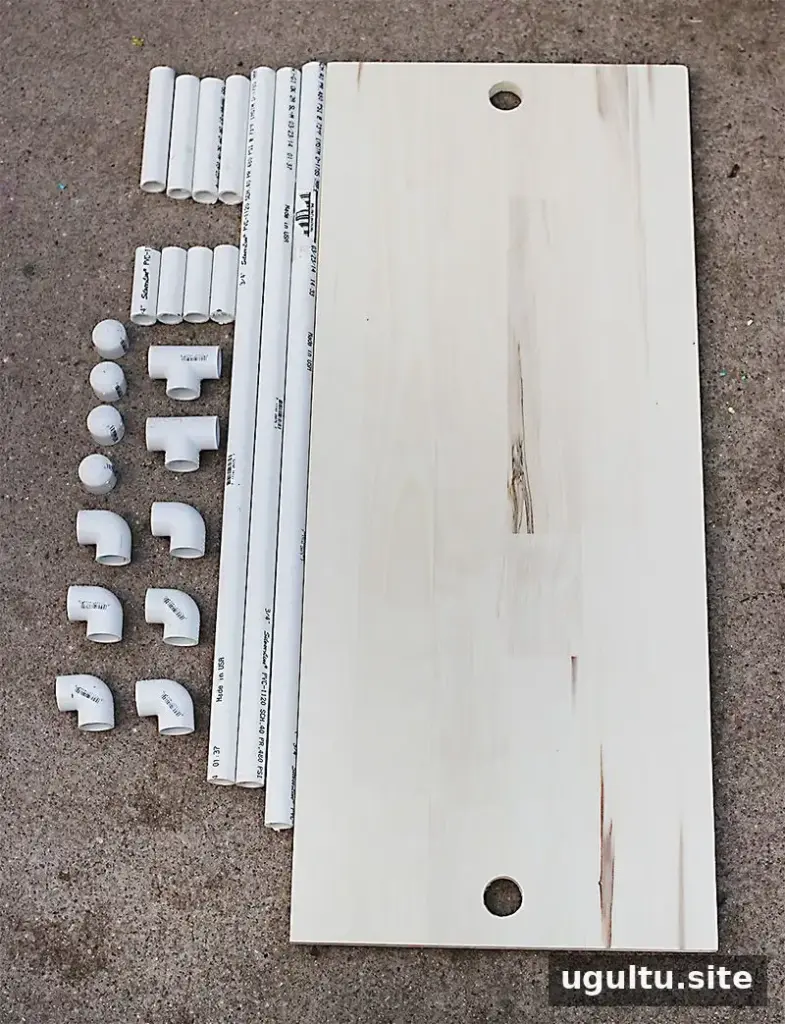
Step 2: Cut the PVC pipe
Cut one 5′ PVC pipe in half to make two 30″ upright sections. This height is suggested for dresses in sizes 4–6T. For a taller rack, cut two 5′ pipes to lengths between 32″ and 38″. Cut another 5′ pipe to 32″ for the top bar. From the remaining pipe, cut four 5 1/2″ pieces and four 3″ pieces for the base. A hand saw can be used; a circular saw is another option if available. Measure each piece before cutting to keep matching parts the same length.
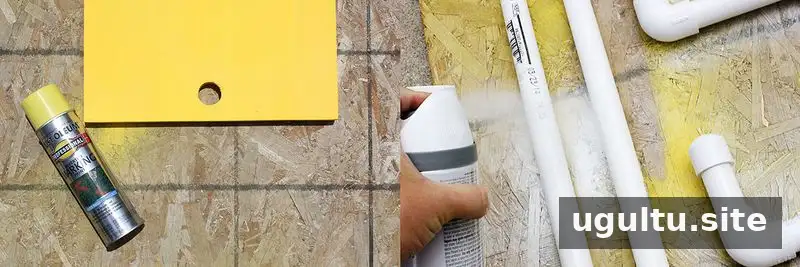
Step 3: Paint the wood and pipe
Apply spray paint to the wooden board and PVC pieces. Choose paint designed for plastic for the pipes. A light coat of white can help cover printed barcodes and lettering; additional coats may be needed, especially when painting over dark markings with a light color. Follow the paint manufacturer’s instructions, including its guidance on application and drying.
Step 4: Assemble the base and uprights
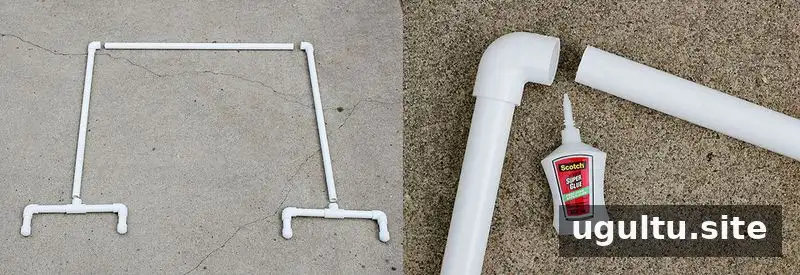
Position the two equal-length upright pipes parallel to each other. Fit a 90-degree elbow to the top of each upright so the openings face one another. The instructions then use tee fittings, the four 5 1/2″ pieces, the four 3″ pieces, additional elbows, and end caps to form the two base legs. Assemble the base components as shown in the accompanying images, but leave the base legs unattached to the side pipes for now.
Step 5: Secure the top bar
If you do not expect to take the rack apart regularly, apply super glue inside the upper elbow fittings before fitting the 32″ top bar. This helps keep those joints from pulling apart. Do not glue the base legs to the side pipes yet; the board needs to be fitted first.
Step 6: Fit the shelf and finish assembly
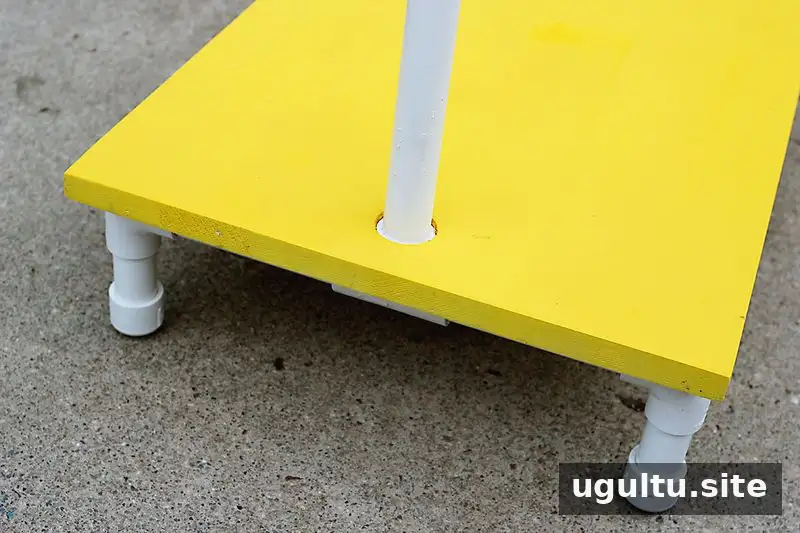
Set the base legs into the drilled holes in the wooden board, then attach the side poles. Once the parts are positioned correctly, super glue can be used at the joints if the rack will not need to be disassembled for storage. Check that the board sits securely and that the rack stands evenly before adding clothes.
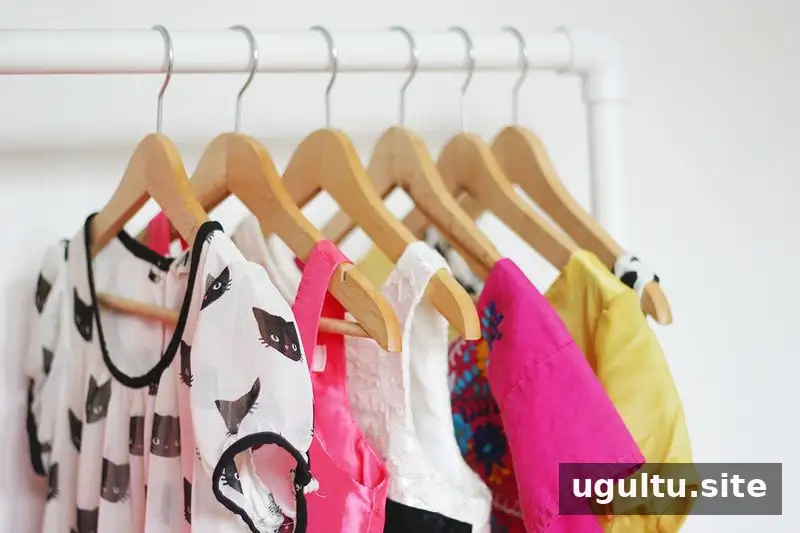
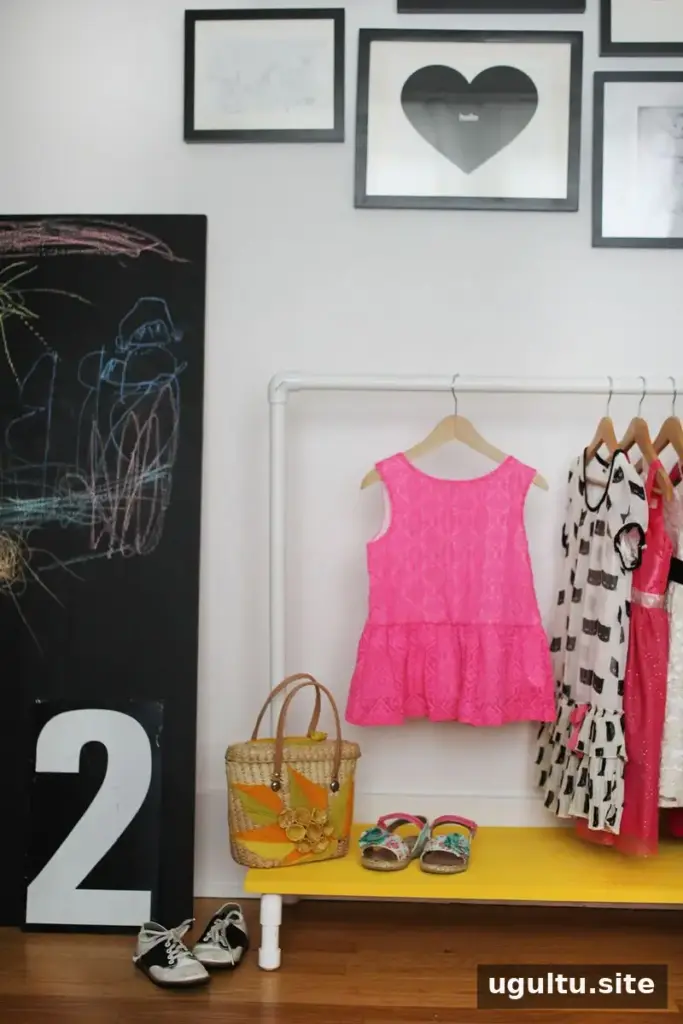
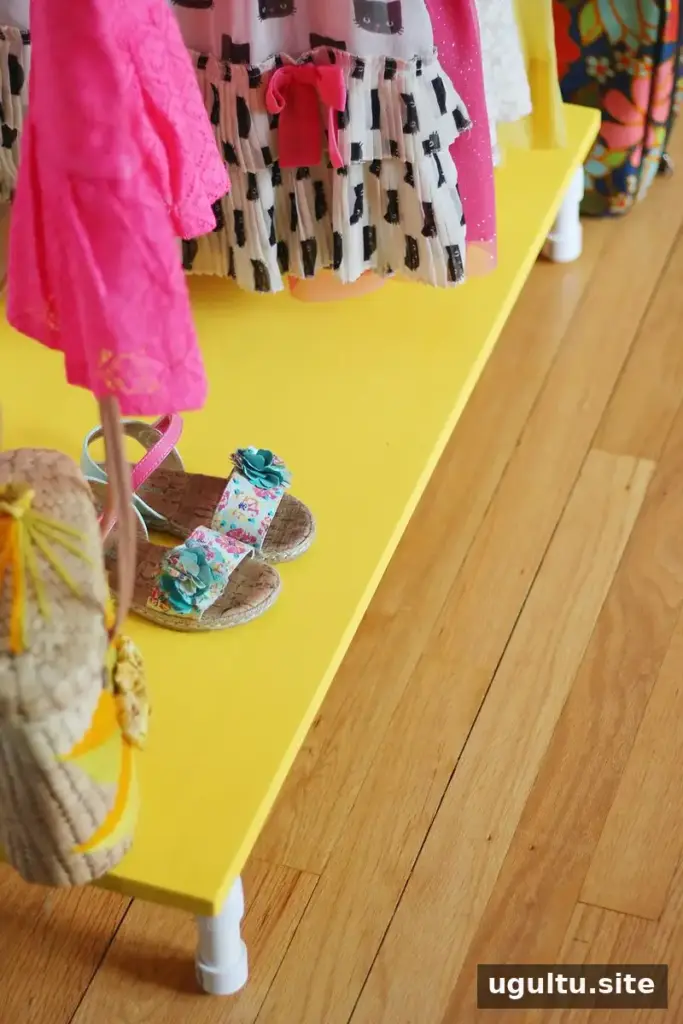
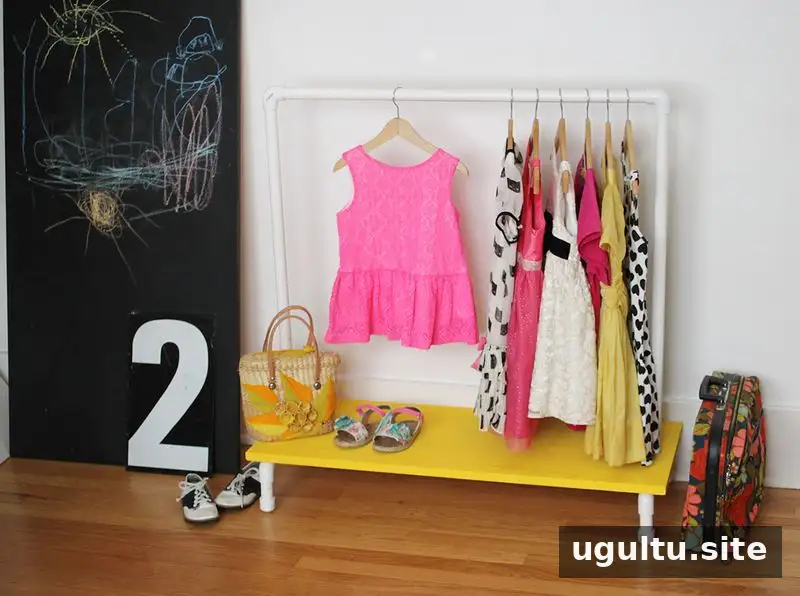
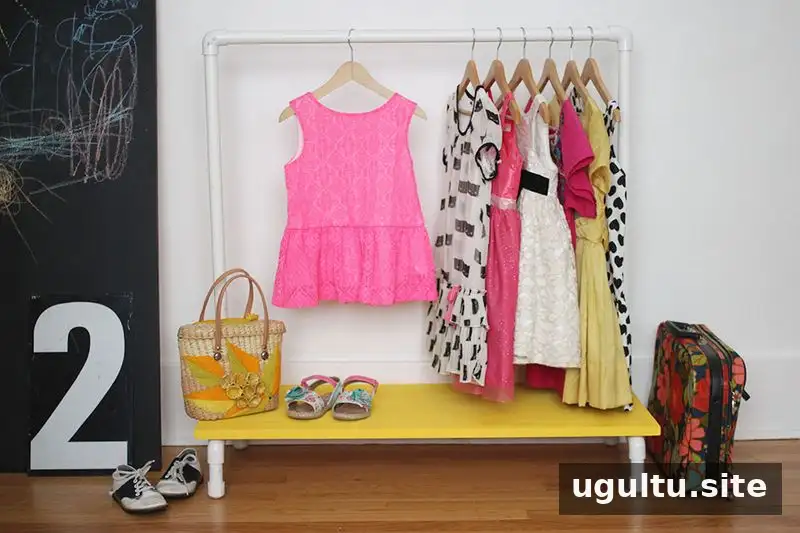
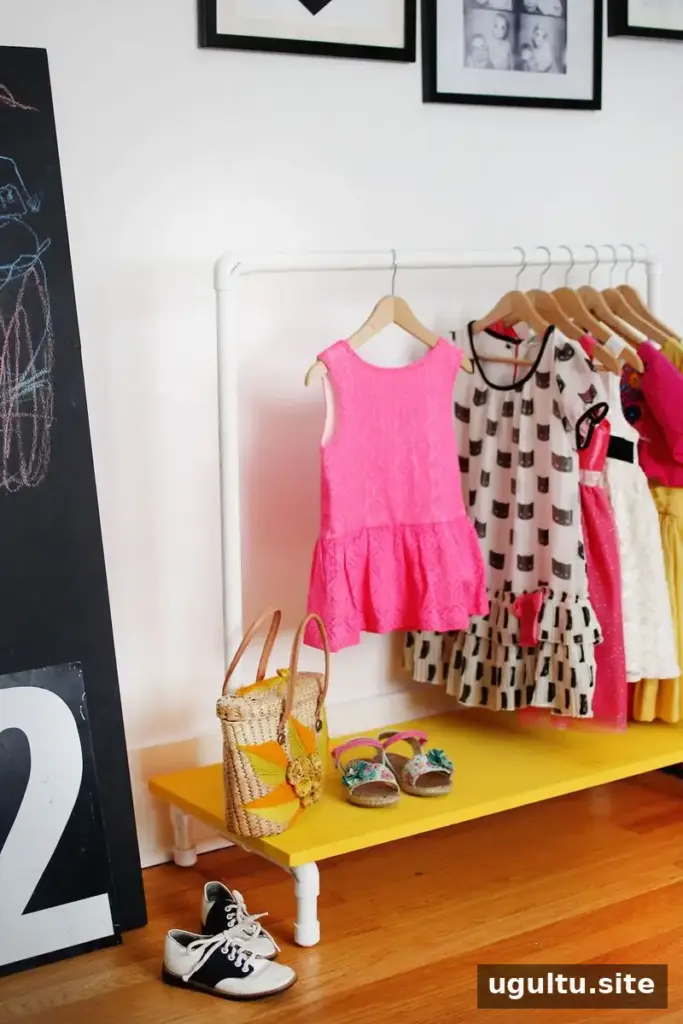
The finished rack can be used in a bedroom or playroom. The wooden shelf offers a convenient place for shoes and bags, while the hanging bar can help keep costumes and everyday clothes organized. Keep frequently used items at a height children can reach comfortably.
Safety and use
This rack is intended for clothing and storage, not for climbing, swinging, or hanging from. Explain appropriate use to children and supervise them as needed. Before putting items on the rack, check that the fittings are secure and the assembled structure is stable.
Kids Clothes Rack DIY: final considerations
A Kids Clothes Rack DIY project offers a practical way to add accessible hanging space using the specified wood and PVC measurements. Plan the height before cutting, verify the missing fitting details, and allow paint and adhesive to dry according to their labels. —Rachel


