
 admin
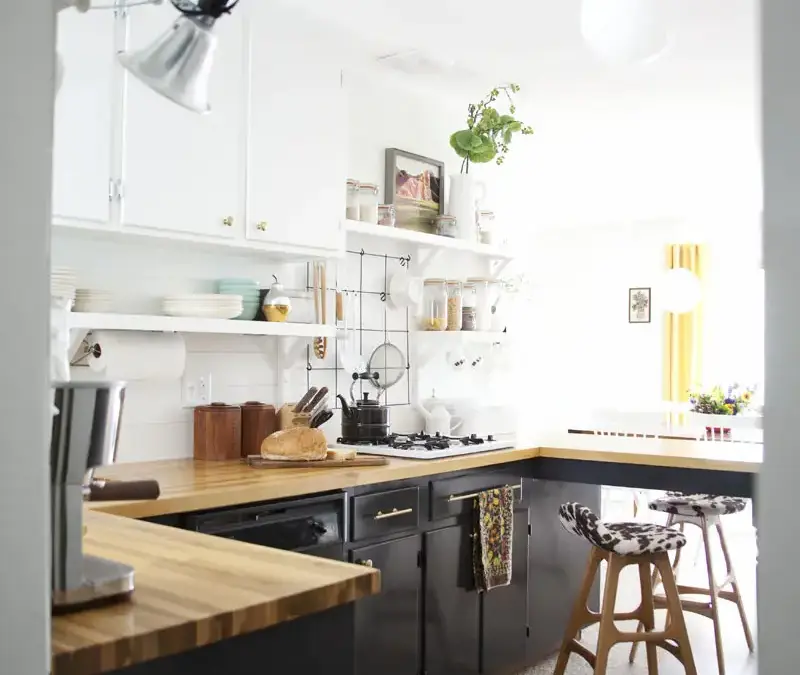
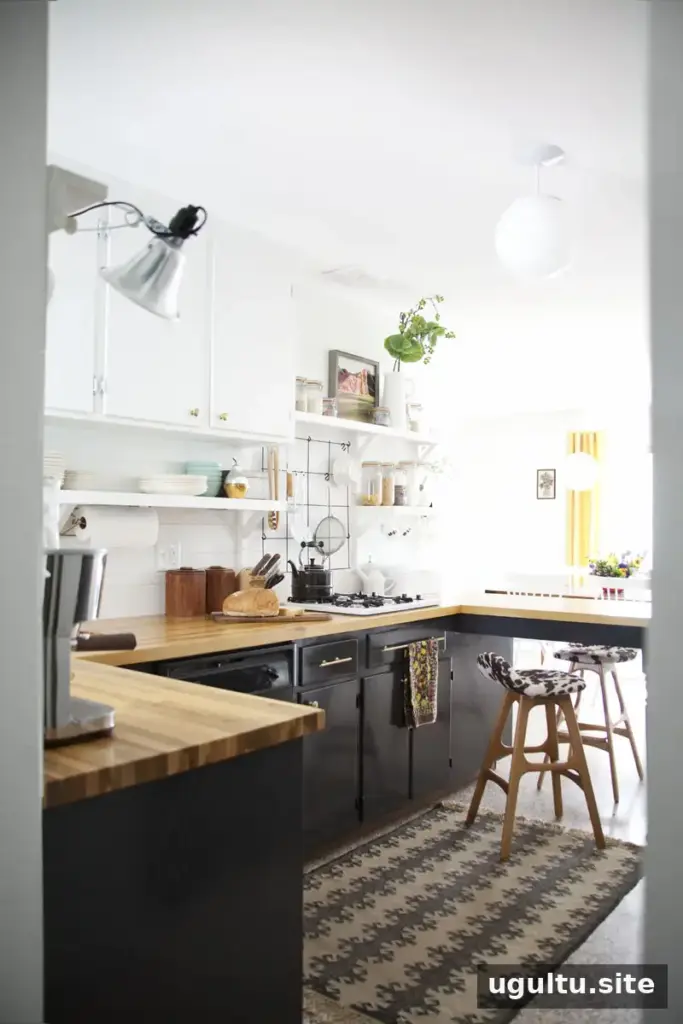
This kitchen renovation transformed a dark, dated space into a brighter and more welcoming place to cook, eat, and gather. The work took about two months, with several demanding late nights and stretches when key parts of the kitchen were out of use. The before-and-after results show how a considered mix of paint, wood counters, and updated storage can change the feel of a room.
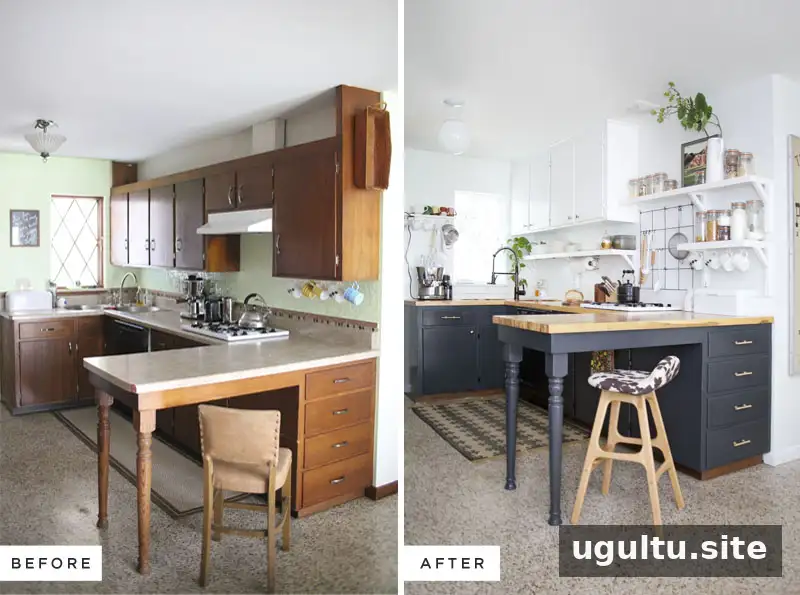
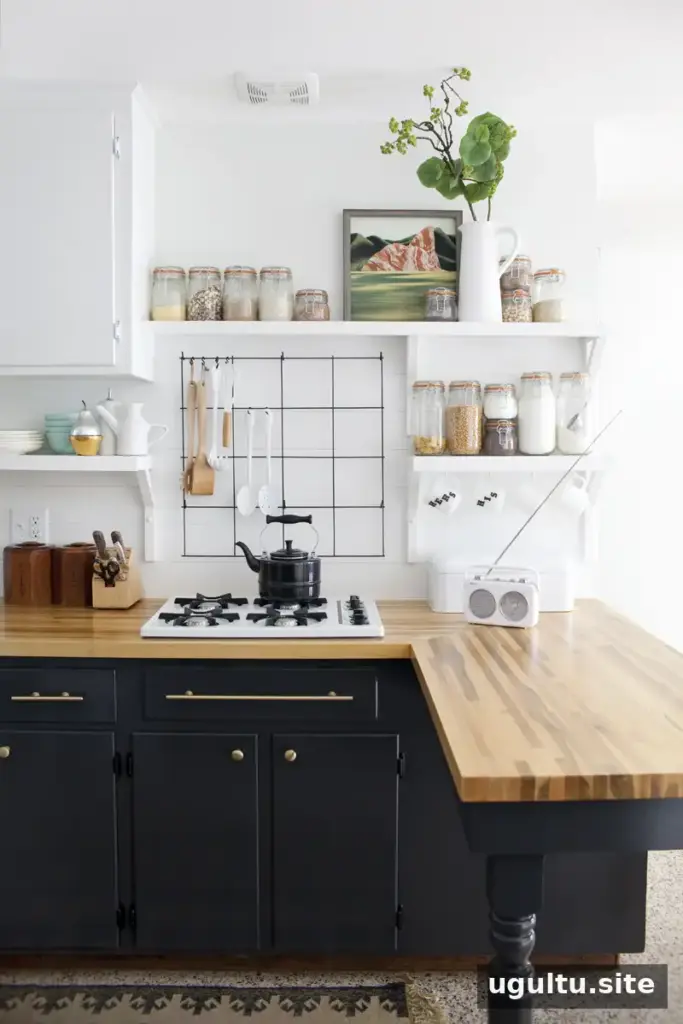
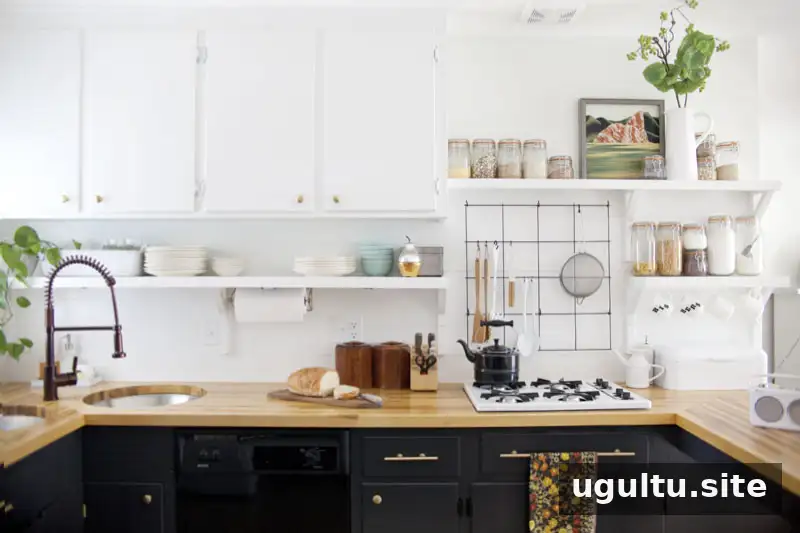
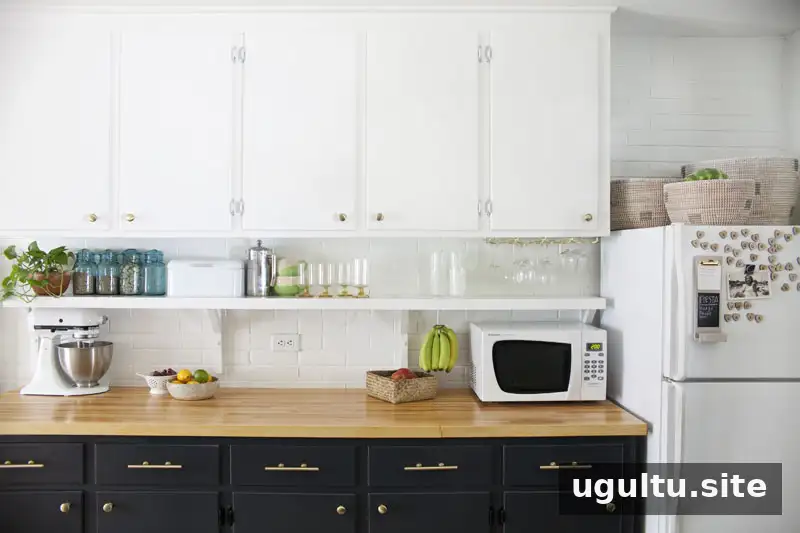
White walls and upper cabinetry make the room feel lighter, while dark lower cabinets add contrast and help ground the design. The wood counters bring warmth to the palette. Open shelves create a place to display useful or decorative items without taking up additional counter space.
Kitchen renovation design and finishes
The style combines contemporary details with mid-century and country influences, reflecting the home’s white barn siding and long, arched porch. Rather than making the room feel overtly rustic, the combination gives it a relaxed character while keeping the overall look fresh.
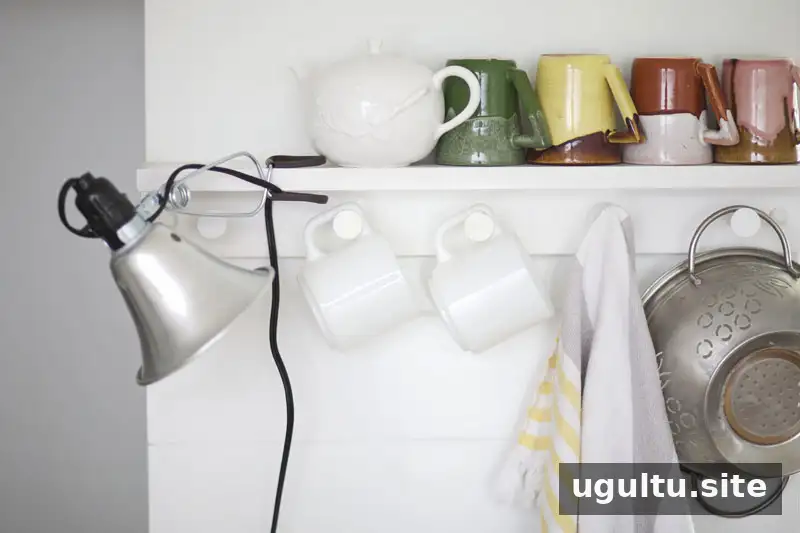
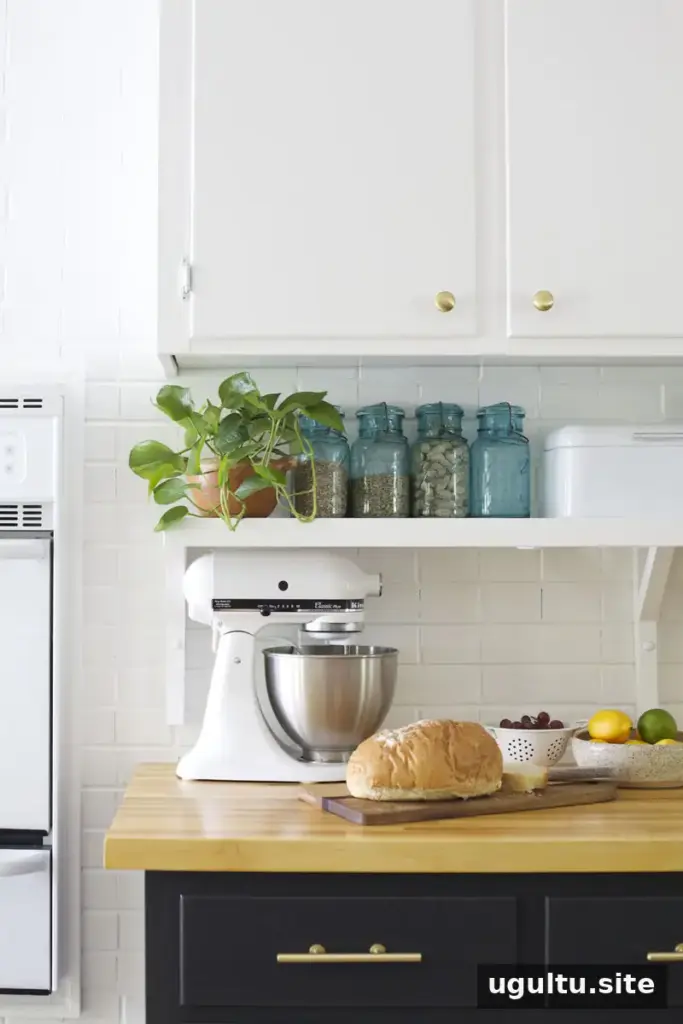
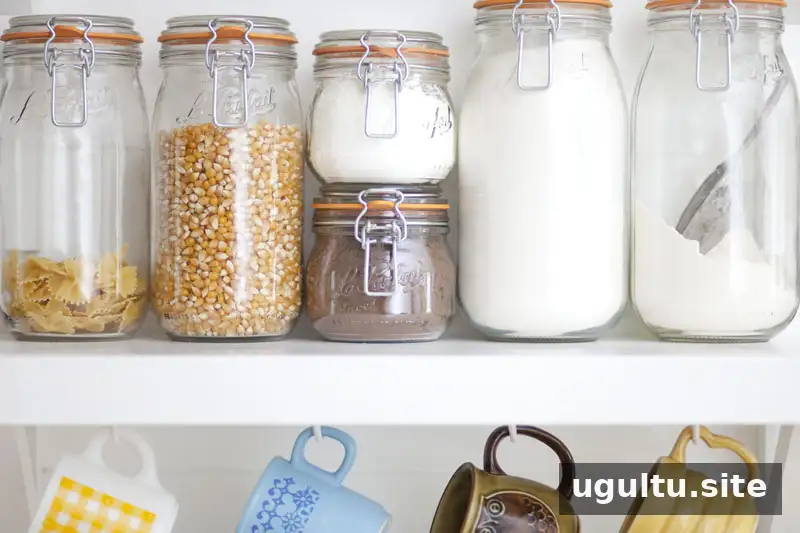
Open shelving can make frequently used dishes easy to reach, but it does require regular dusting. A practical approach is to reserve shelves for items used often and keep less-used pieces behind cabinet doors. Mixing open storage with closed cabinets offers a balance between display and everyday upkeep.
What renovation work was like
During construction, the sink and counters were unavailable for at least three weeks. Dishes and pantry supplies were packed away, and meals relied more heavily on frozen food and takeout. If your own kitchen will be disrupted, plan a temporary meal area, set aside essential plates and utensils, and decide in advance where food preparation can safely happen.
There was also a safety concern with a toddler near a ladder. The child was moved away before climbing far, and baby gates and television were used to help keep the area safe. Keep children away from tools, ladders, and active work zones throughout a renovation.
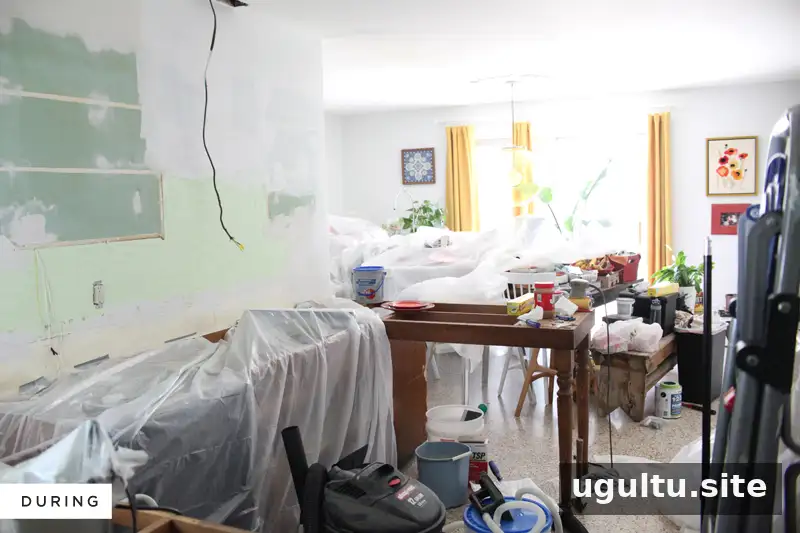
Work often paused while waiting for help with tasks that could not be completed alone. A flexible schedule can make these gaps easier to manage: group independent jobs together, confirm when helpers are available, and allow time for delays rather than assuming every task can happen immediately.
Some nights ran until around 4 a.m. Once the cabinets were reinstalled, dishes could be unpacked and the dining room cleared. The counters, shelves, and sink followed, gradually making the space functional again.
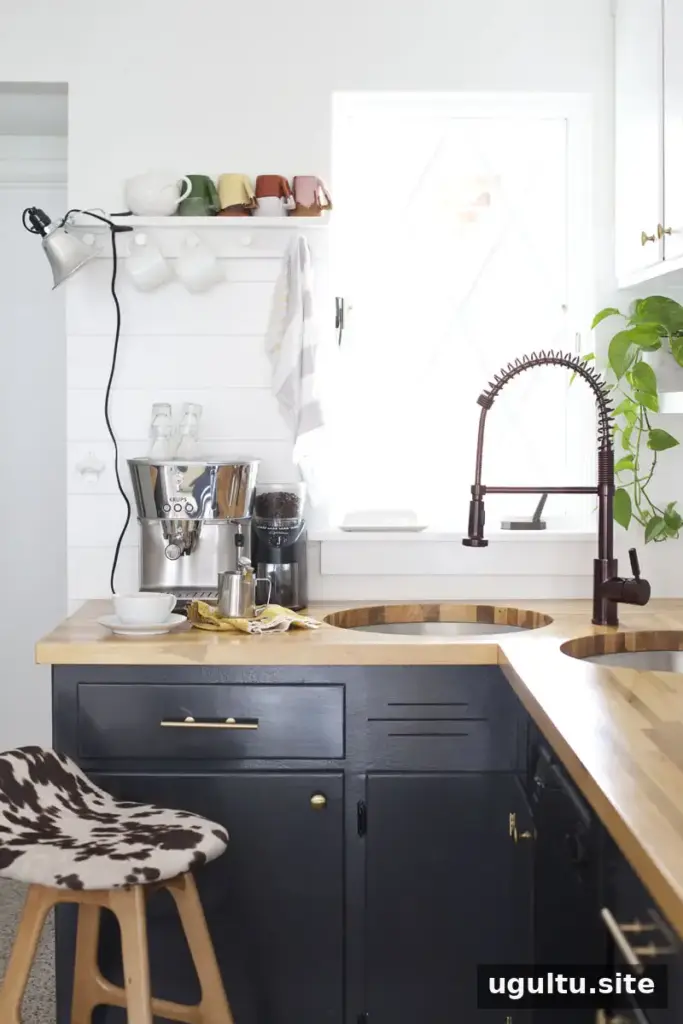

With the main work complete, the kitchen bar became a comfortable spot for morning coffee and a quiet start to the day. Looking back, the design choices still feel right, but the project offered several useful lessons for future renovations.
Practical lessons from this kitchen renovation
Choose cabinet paint with preparation in mind
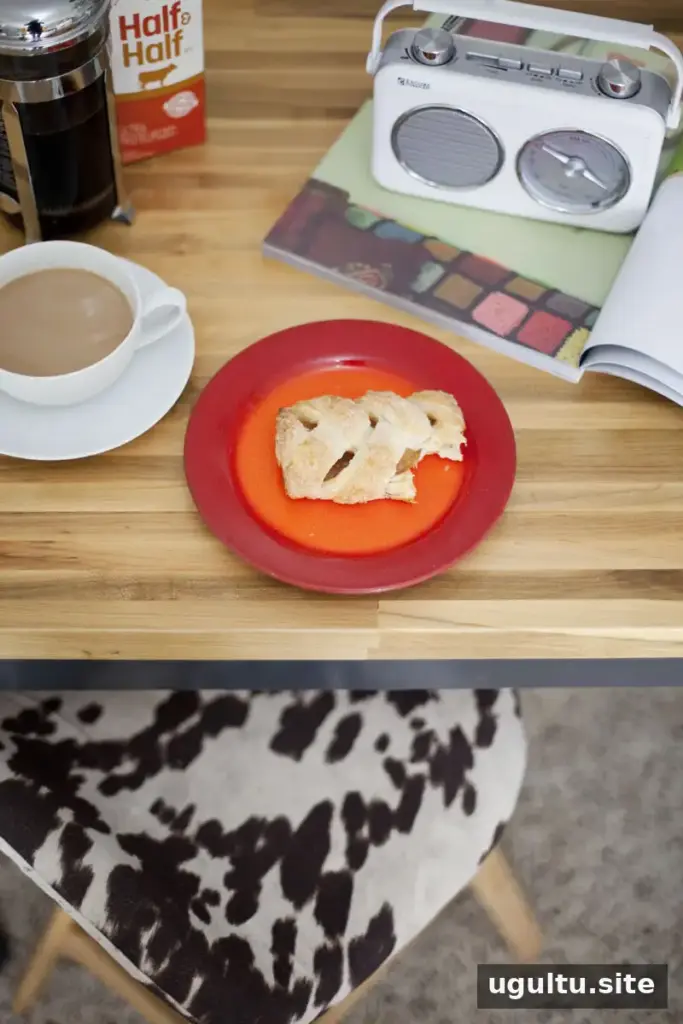
Semi-gloss paint is useful on surfaces that need frequent wiping, such as cabinets. Its reflective finish can also make dents, scratches, uneven textures, and marks from application more noticeable. Fill holes and sand repaired areas carefully before painting; preparation has a visible effect on the final result.
The finish was easy to clean but showed smudges readily. It also seemed to take longer to cure than eggshell and satin finishes during this project, especially on darker-tinted surfaces. Follow the paint manufacturer’s instructions and allow adequate curing time before heavy use.
Consider the surface before painting brick
Painting brick can be a manageable way to update a room, but first inspect the surface and address cracks or loose material. In this kitchen, tile was removed from the brick wall, the damaged surface was repaired, and the brick was painted. Taking time to prepare the wall helps create a more even finish.
Plan for open-shelf maintenance
Open shelves look airy and keep everyday items within reach, but exposed dishes and jars collect dust. Use them for items you reach for regularly and consider closed cabinets for pieces that are used less often. That simple division can reduce cleaning while preserving the open look.
Build a realistic budget and schedule
A renovation budget should account for both planned work and unexpected repairs. One practical guideline is to add 10% to estimated expenses as a contingency. Older homes may require a larger reserve if electrical, plumbing, or ventilation problems are possible. Avoid starting work without a clear plan for paying for it.
A written schedule can help track progress and coordinate people who have offered to help. Keep it flexible, include rest days, and confirm availability before planning tasks that depend on others.
Cabinet refinishing was the most time-consuming part of this project. Sanding, filling holes, and wet-sanding after priming took substantial effort, but careful surface preparation helps paint adhere and creates a smoother finish. Countertop work also required repeated measuring and practice cuts. Check measurements and templates thoroughly before cutting expensive materials.
Mix hardware thoughtfully
Hardware choices can influence the finished look without requiring every piece to be identical. Here, solid brass bar pulls were combined with less expensive brass-plated knobs. The mix created a cohesive result while keeping the overall hardware cost more manageable.

Before-and-after kitchen renovation
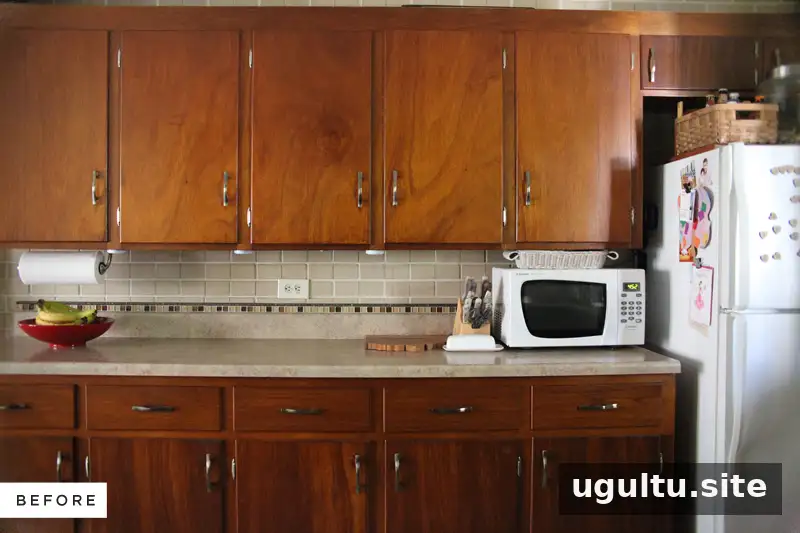
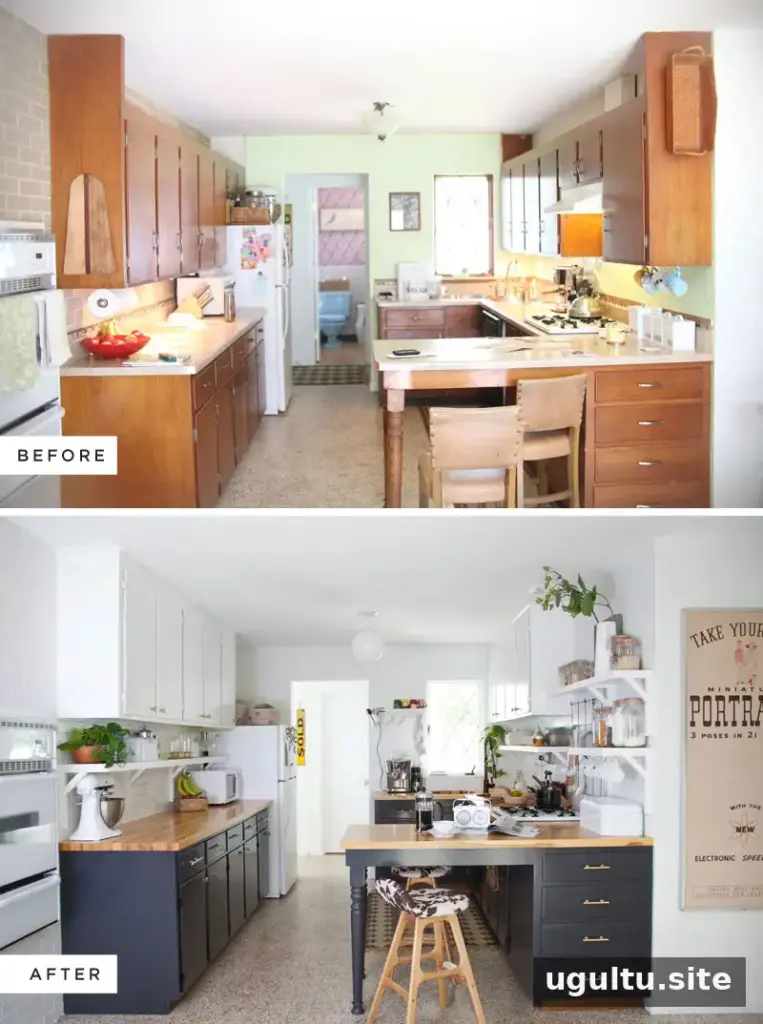
The before-and-after images show the change from dark cabinetry to a brighter scheme with contrasting lower cabinets, warm wood counters, and open shelving. Everyday items are included in the finished photographs to give a more realistic sense of how the room looks in use.
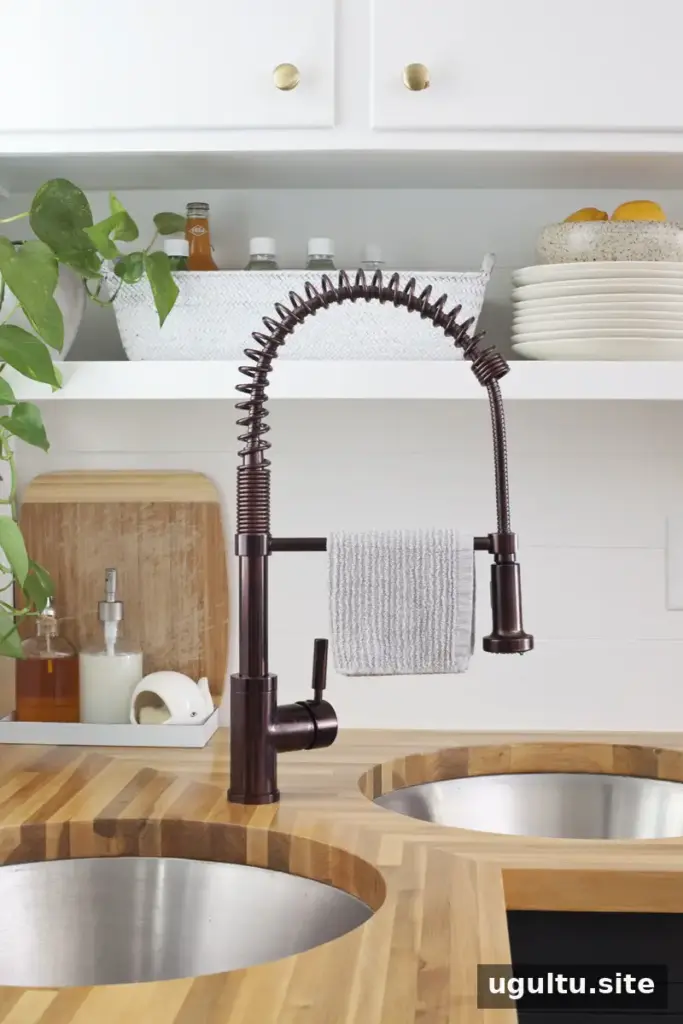
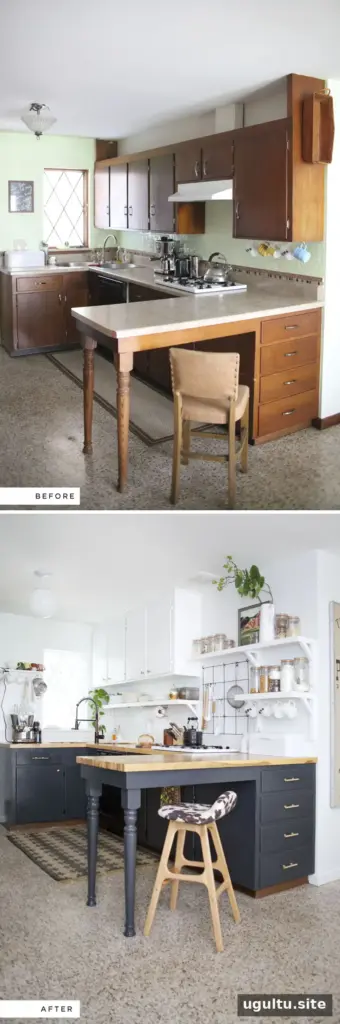
The renovation also involved refinishing cabinets, updating the brick wall, reconfiguring existing cabinetry, adding a plank backsplash, and installing butcher-block counters with an undermount sink. Together, these projects show how reusing existing elements can contribute to a fresh design.
Finishes and materials
- Cabinet paint: Black Panther, semi-gloss.
- Wall paint: Bright White, eggshell.
- Trim and backsplash paint: untinted white, semi-gloss.
- Butcher-block sealer: original low-VOC finish, satin.
- Countertops: maple butcher block.
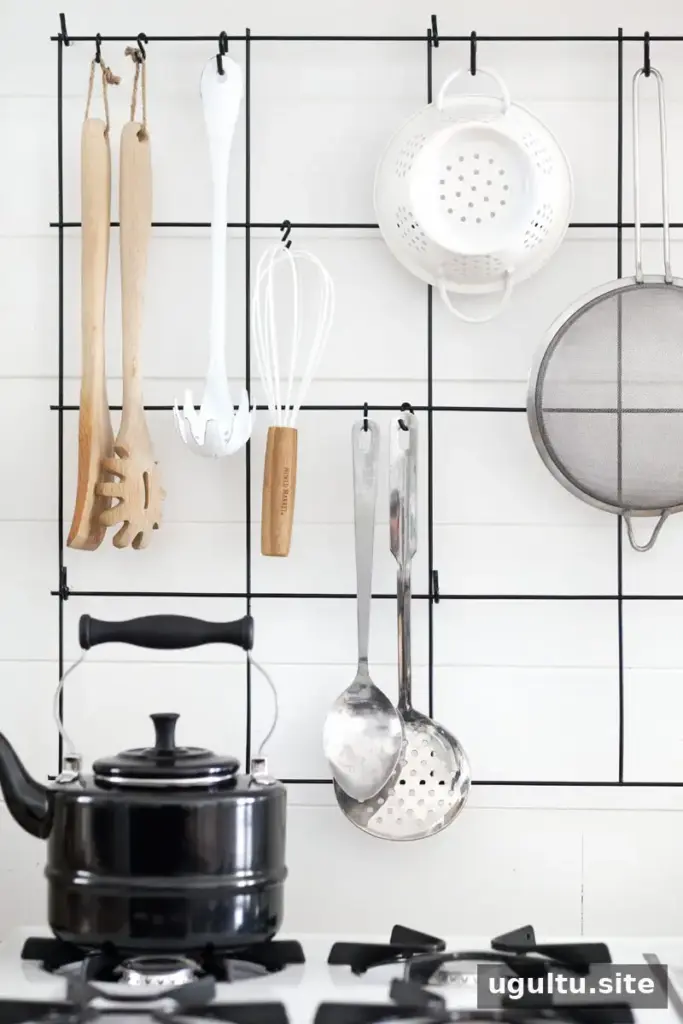
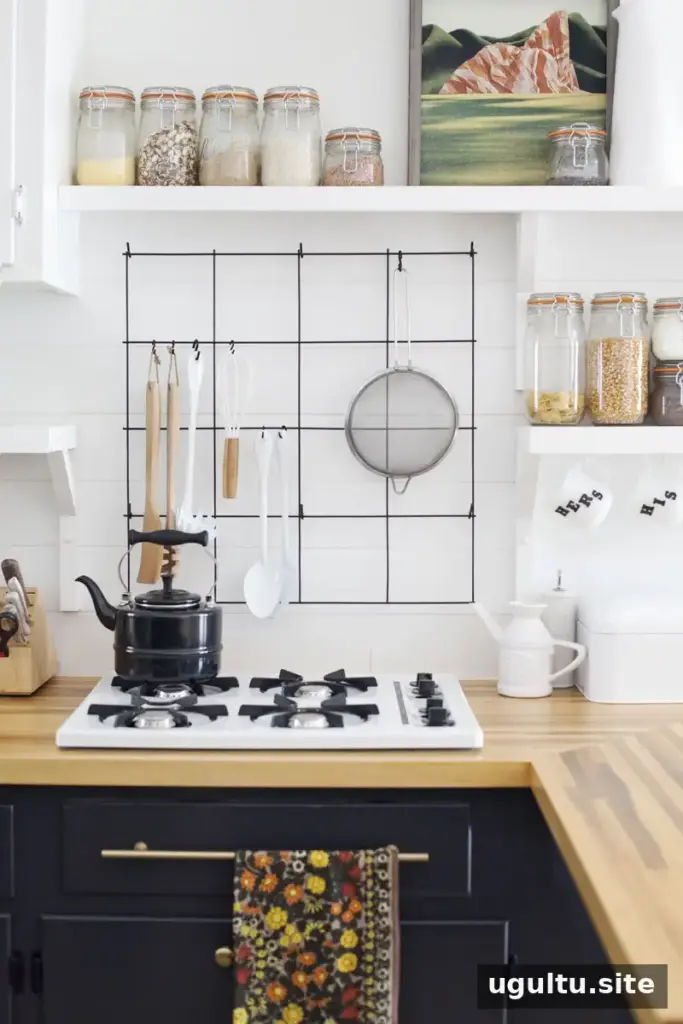
- Other details include brass bar pulls, brass-plated knobs, a faucet, pendant lighting, an under-cabinet stemware holder, and a DIY utensil rack.
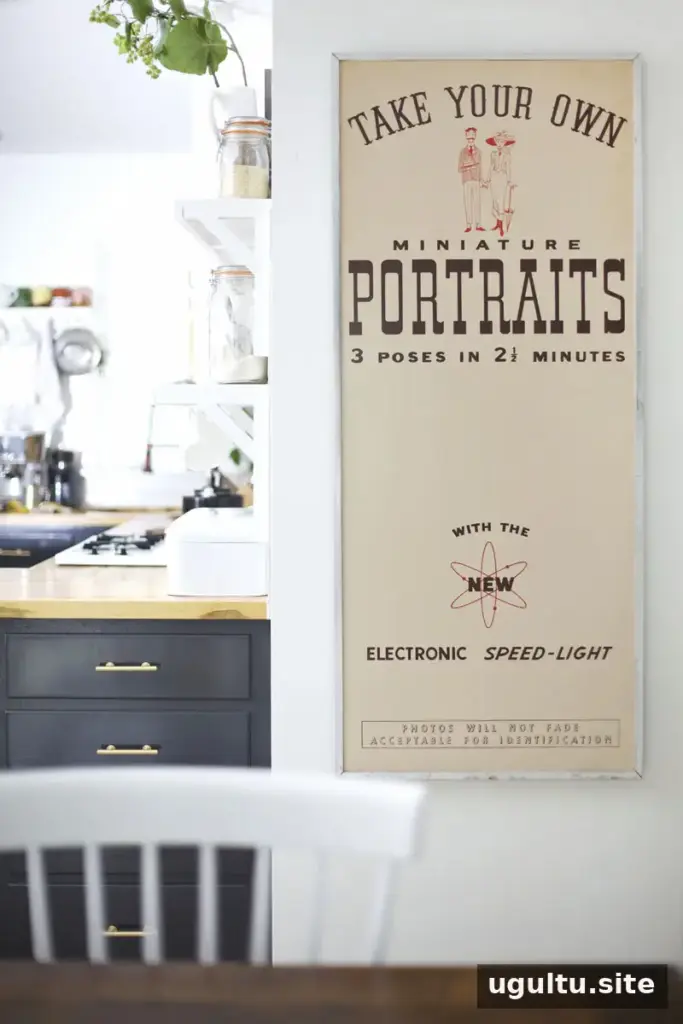
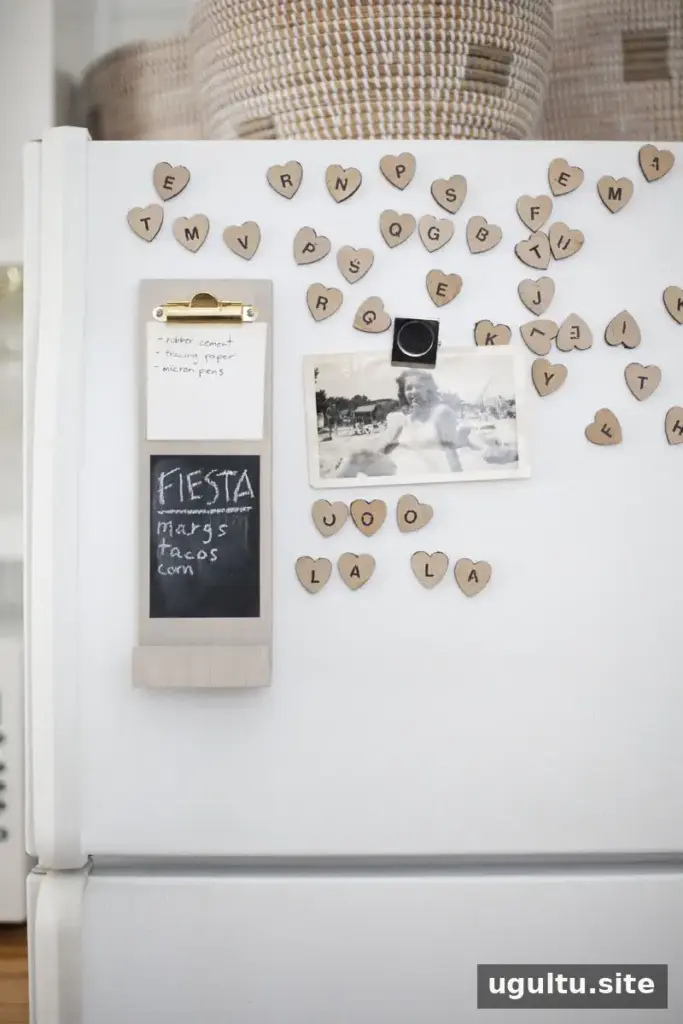
Decorative details include landscape collage art by Jesse Treece, a vintage photobooth panel, a reupholstered stool, canning jars, a bread box, a tea kettle, and a DIY refrigerator note station. Reusing existing or vintage pieces can add character and help control costs; check that items are clean and suitable for their intended use.
This kitchen renovation is a reminder to budget for surprises, take time with preparation, and plan for the practical realities of living through construction. Reusing existing fixtures and combining finishes can produce a personal result without requiring every element to be new. —Mandi


