
 admin


This lace-up sweatshirt DIY turns a simple short-sleeve sweatshirt into a customizable top with a V-shaped opening, oversized eyelets, and shoelace detailing. It works well for layering on cool spring evenings, and you can adjust the opening and lacing to suit your preferred look. Before cutting, try on the sweatshirt and check where the opening will sit when the garment is worn.
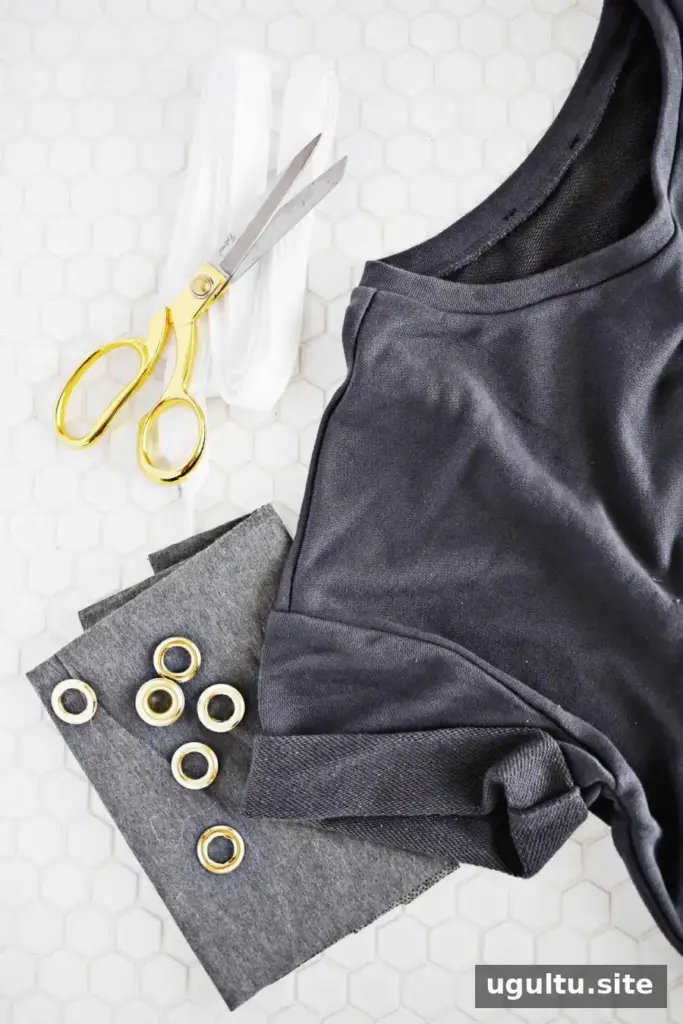
Supplies for a lace-up sweatshirt DIY
- A sweatshirt
- Fabric scissors
- An extra-large eyelet kit
- A hammer
- 3/4-inch-wide shoelaces
- A fabric marking pen
- Fray Check
- A cutting mat, rotary cutter, and ruler (optional)
- Medium-weight iron-on interfacing (optional)
Check the eyelet kit instructions before starting, as installation details can vary. If you are using a rotary cutter, work on a suitable cutting mat and measure carefully to keep the opening balanced.
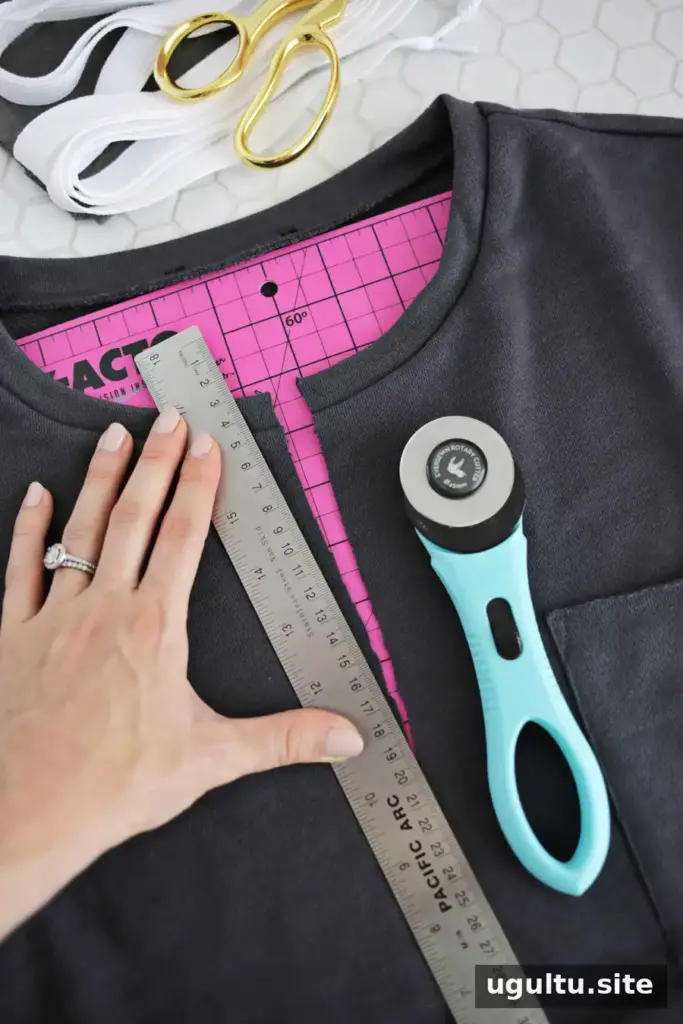
Cut and shape the sweatshirt opening
Put on the sweatshirt and use a pin to mark how far down you want the center opening to reach. The lacing can pull the lower part of the opening closed, so consider how you plan to tie it when choosing the length. Remove the sweatshirt before cutting.
Cut a straight line down to your marked stopping point. To create the V shape, trim the same amount of fabric from each side of the cut. Cutting in small increments makes it easier to control the width; try the sweatshirt on between cuts if you are unsure. In the original project, about 1/2 inch was removed from each side.
If the fabric feels too lightweight to support large eyelets, cut two 2-inch-wide strips of medium-weight fusible interfacing and iron them onto the inside of the sweatshirt where the eyelets will go. Follow the interfacing instructions and make sure it is positioned evenly on both sides.
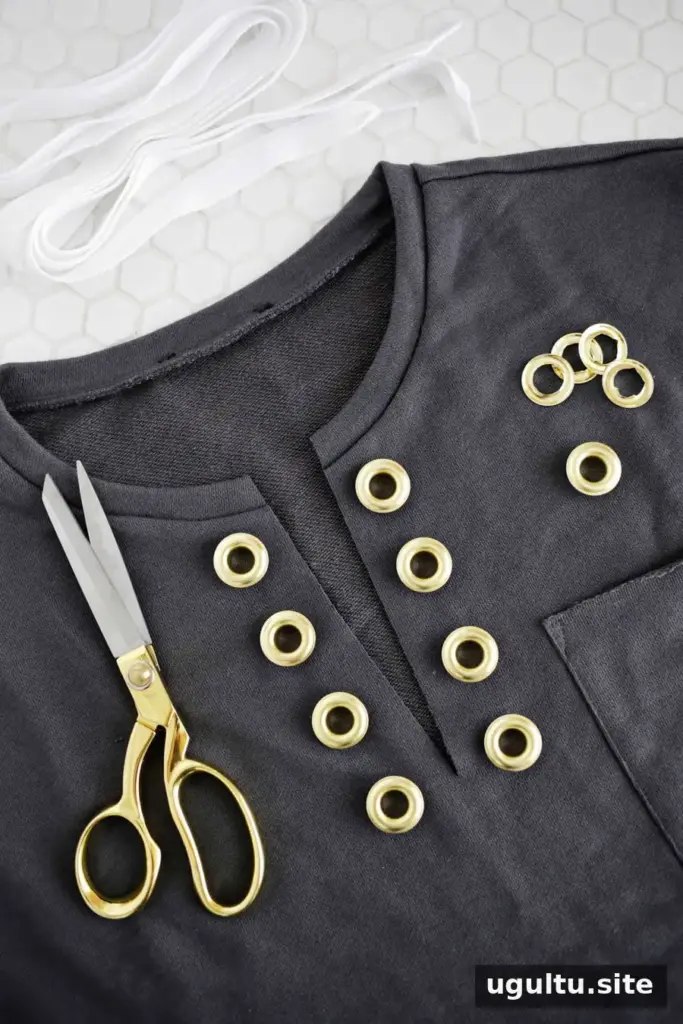
Mark and install the eyelets
Position the eyelets along both sides of the V to decide how many fit without crowding the opening. Place the center of each eyelet about 1 inch in from the cut middle edge. Check that the spacing looks even before marking, since the eyelets will define the finished lacing pattern.
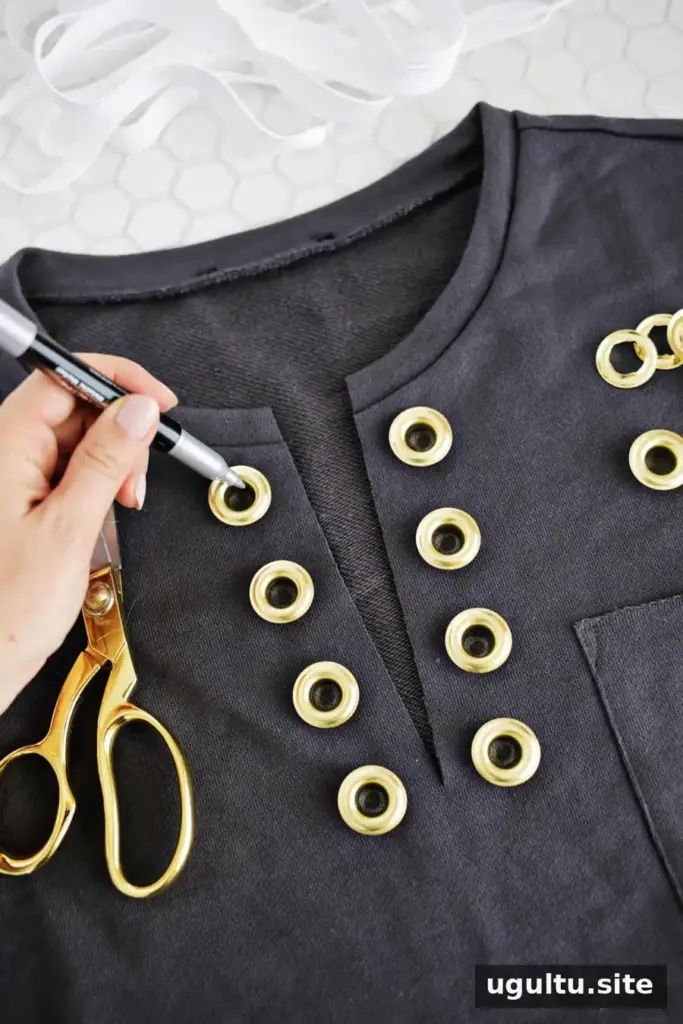
Use a fabric marking pen to trace the center of each eyelet. Keep the marks aligned on both sides so the shoelace will cross neatly when threaded.
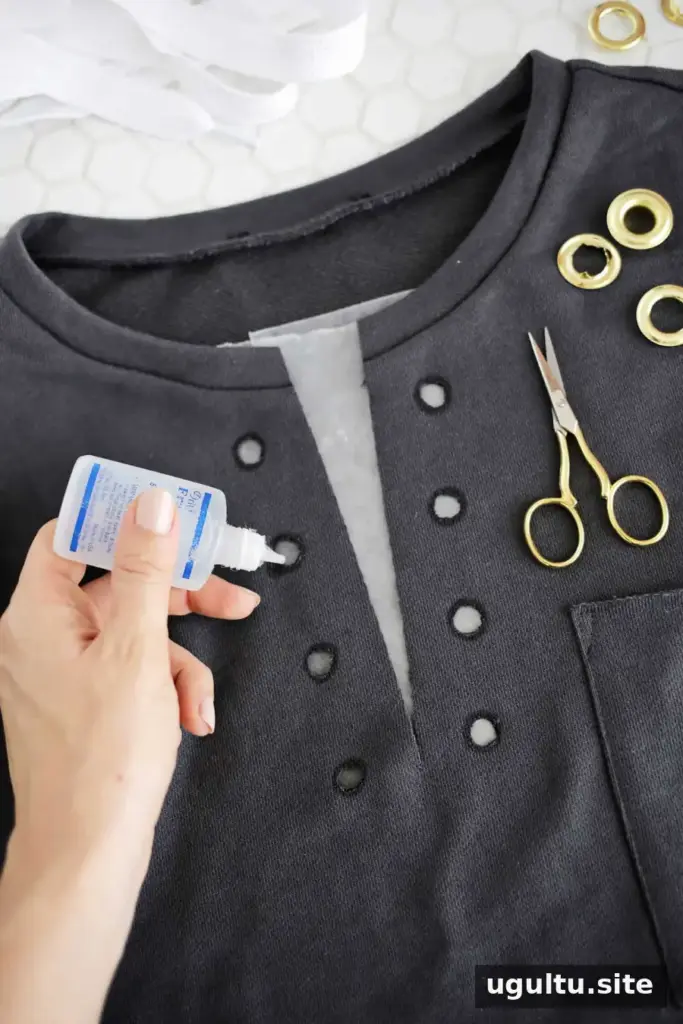
Cut out the marked circles. Small sewing scissors can help you make controlled cuts. Apply Fray Check to the circular cut edges to help limit fraying. The product may darken some fabric colors, so test it on a scrap from the sweatshirt first. The straight neckline edge can also be treated if desired.
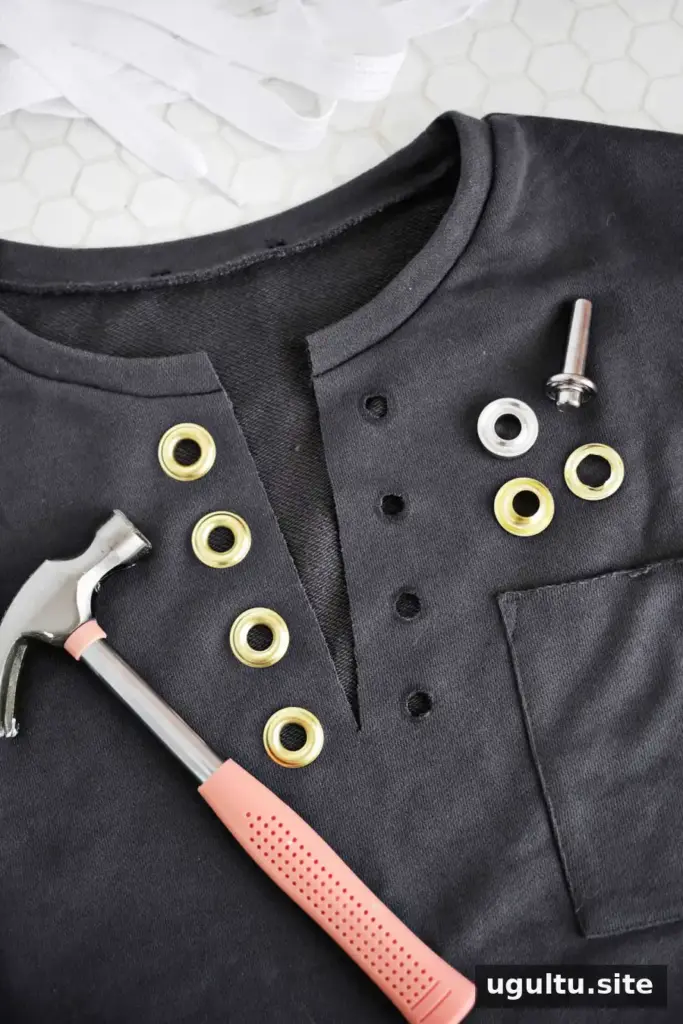
Use a hammer to attach the eyelets, following the instructions included in the kit. Fit the front and back pieces through each hole and hammer them together. Make sure the decorative front of each eyelet faces the outside of the sweatshirt, and work on a firm, protected surface.
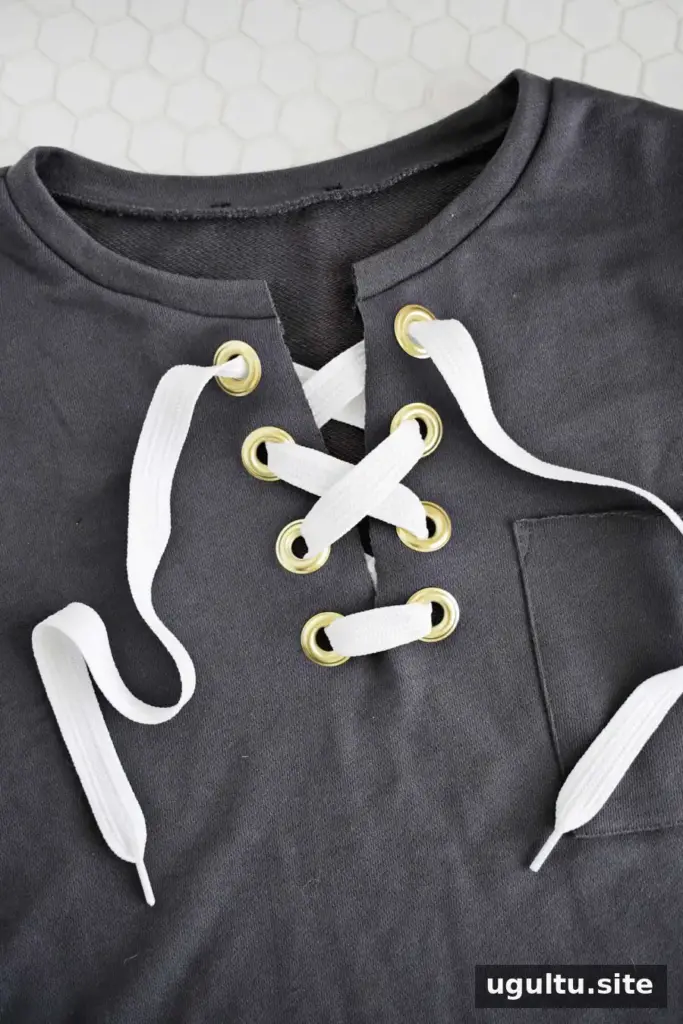
Lace the sweatshirt and customize the finish
Thread the shoelace through the eyelets and adjust the tension until the opening sits the way you want. Avoid pulling too tightly, which can bunch the fabric around the eyelets. If the lace is not long enough, two shoelaces from a pack can be joined to create extra length.
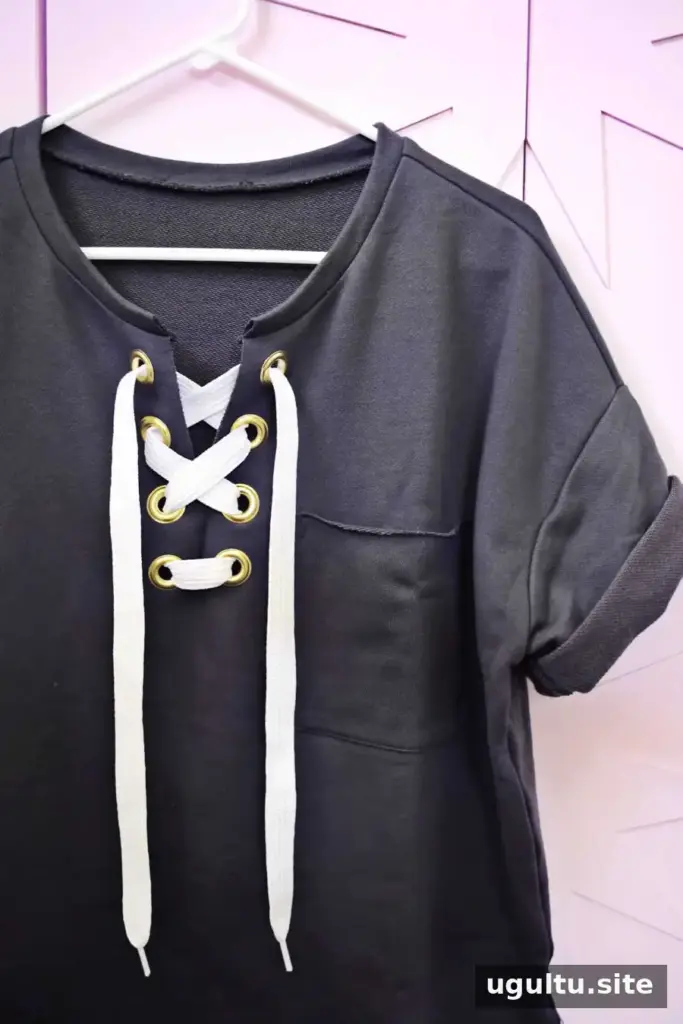
Oversized eyelets and wide laces create a bold detail, but smaller eyelets and thinner lacing offer a more subtle finish. You can also make the V wider for a more open neckline; measure gradually and try the sweatshirt on before making additional cuts. For a lace-up sweatshirt DIY that suits your wardrobe, choose the eyelet size, lace width, and opening depth with both comfort and fit in mind.

Project by Laura.


