
 admin
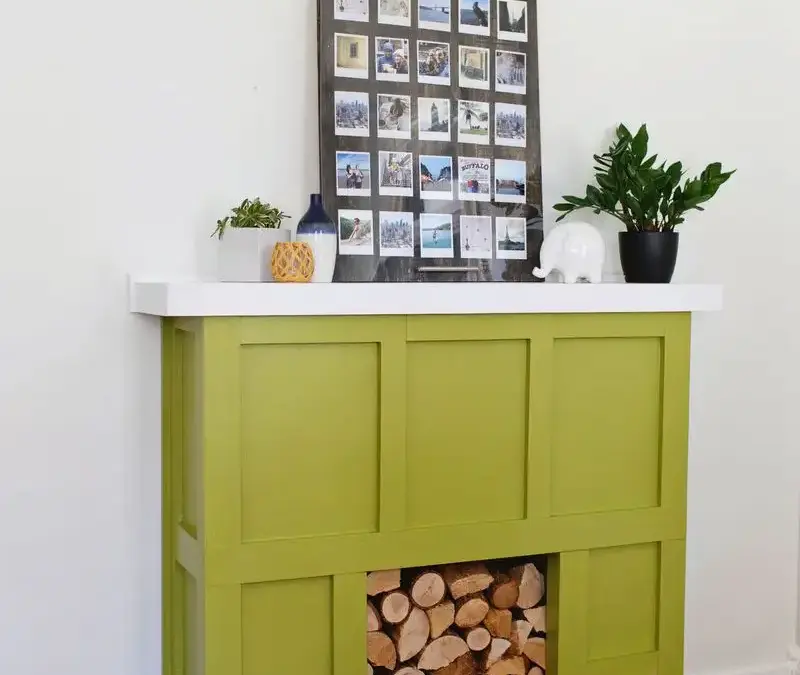
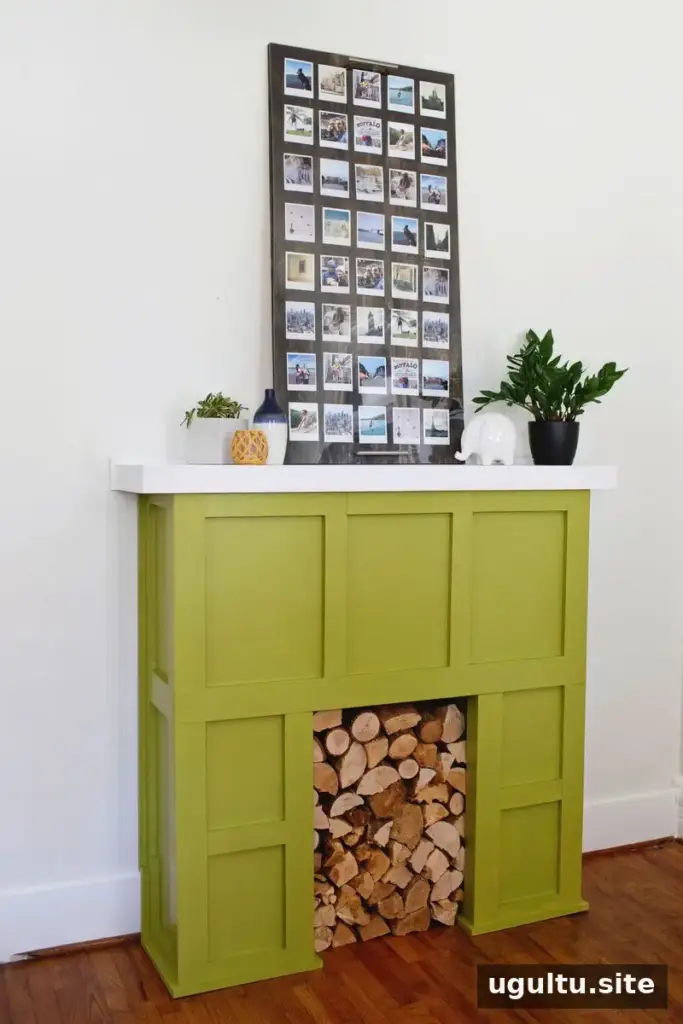
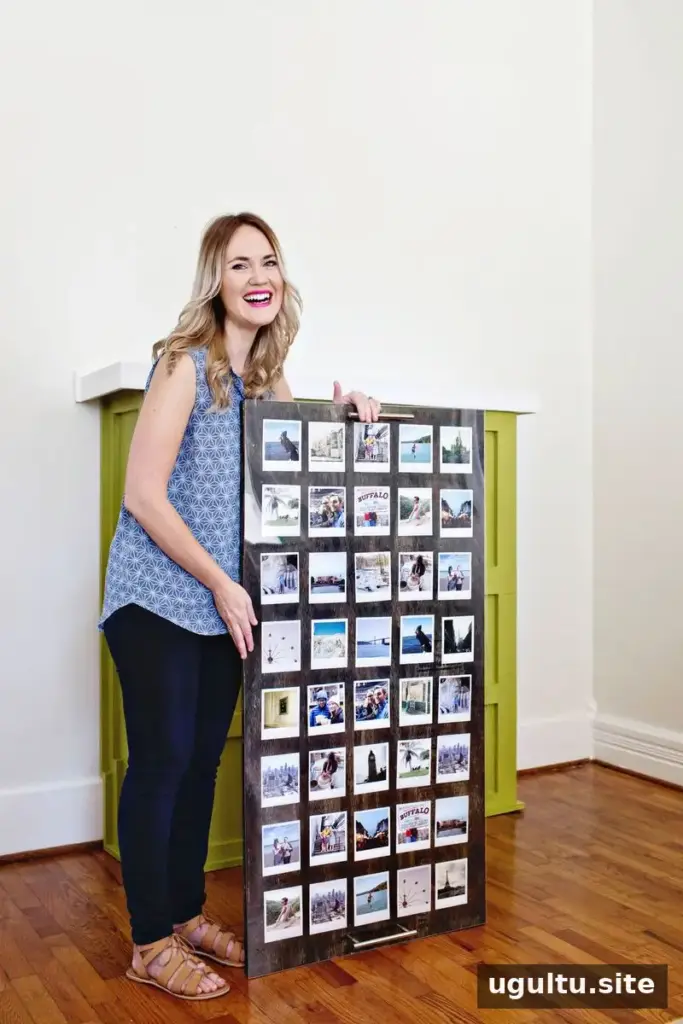
An instant film photo display can turn a small collection of snapshots into a striking piece of wall art. This project combines original instant photos with additional prints styled to match, then arranges them in a large frame made from plywood and plexiglass. The result is designed to hang above a piano, but the same approach can work above a sofa or along another open wall.
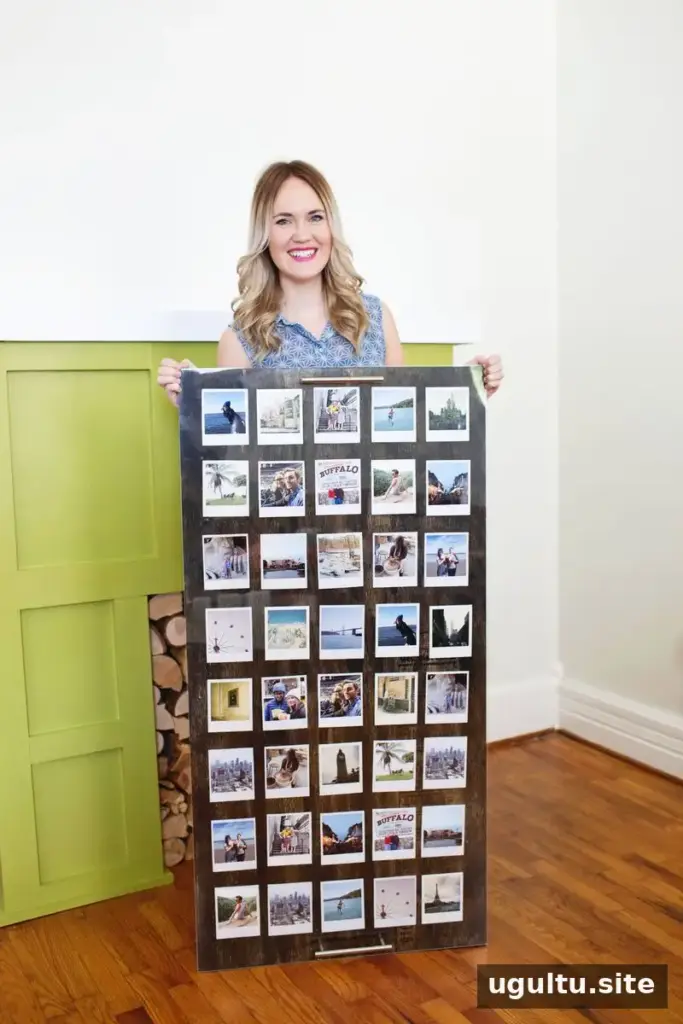
Planning a large instant film photo display
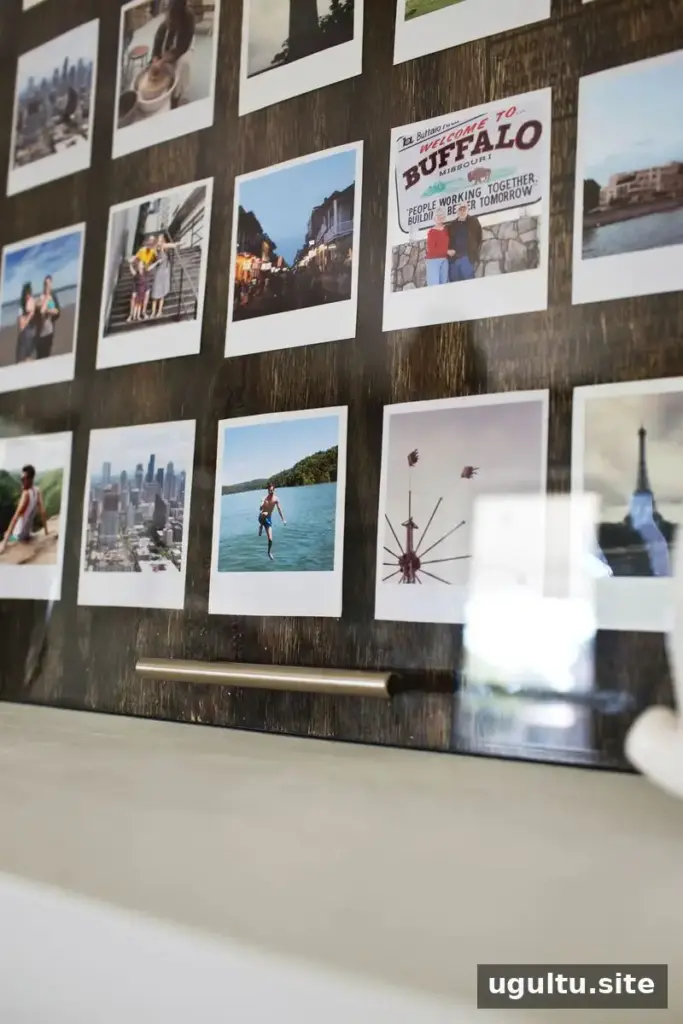
A collection of travel photographs can hold memories of places such as the Mona Lisa, the Eiffel Tower, Big Ben, the Empire State Building, Salvation Mountain, and other memorable stops. The original collection for this project included eight square instant photos gathered over time. Rather than relying on more instant film, additional images were printed to make a fuller display.
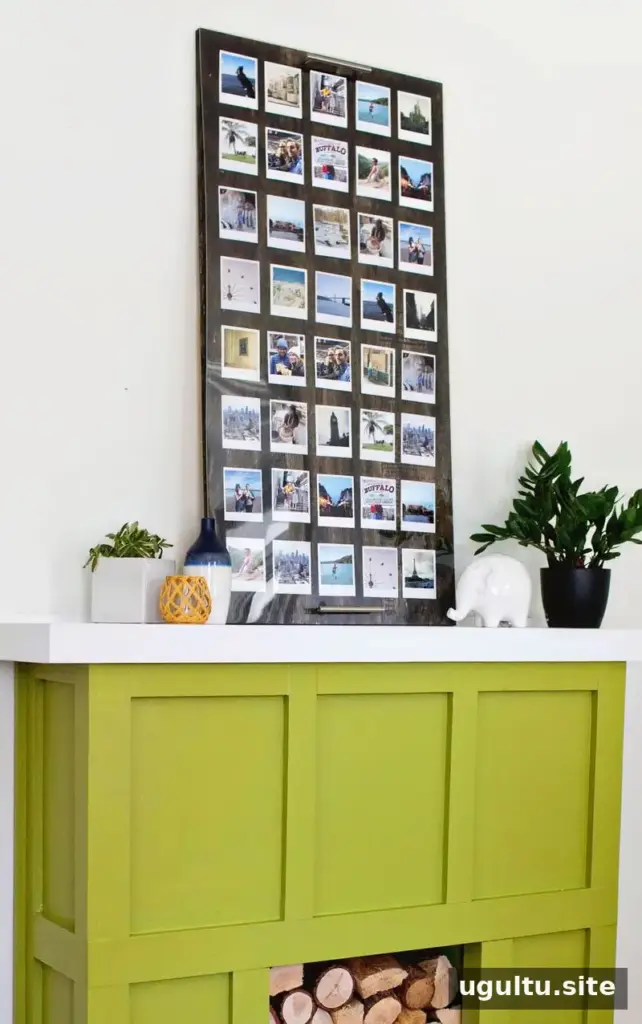
The photos had previously been taped along a kitchen wall and later arranged in frames as part of a gallery wall. For a future home with room for a piano, a wider display seemed better suited to the open space above it. Before building, measure the intended wall and consider the furniture below it so the finished piece feels proportionate and can be viewed comfortably.
Materials and estimated cost
The display uses a 2 ft x 4 ft piece of plywood and a matching 2 ft x 4 ft sheet of plexiglass. The project also requires two cabinet pulls, ebony wood stain, a power drill, and a drill bit. The materials cost around $50, excluding the drill, drill bits, and stain already on hand.
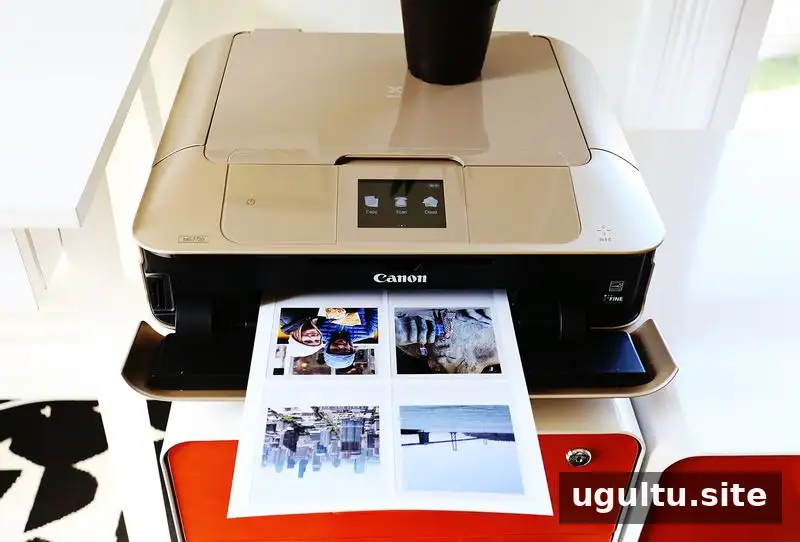
To create prints that looked like the originals, a photograph of an existing instant photo was edited so a new image appeared inside the original-style border. Keeping the slightly off-white frame and its subtle texture helped the new prints blend with the older ones. This extra editing step is optional, but it can make a mixed collection look more cohesive.
How to assemble the display
1. Stain the plywood
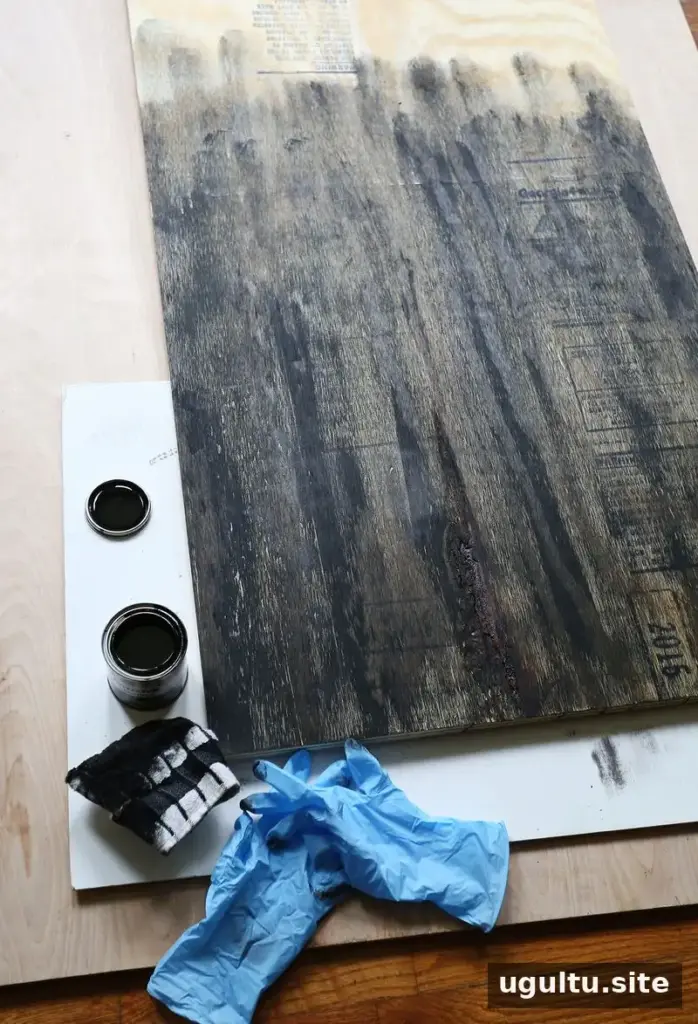
Apply ebony stain to the plywood. A rag was used to give the surface a more textured appearance, with gloves worn while working. Follow the stain product’s instructions and allow the surface to dry before attaching the other components.
2. Mark and attach the cabinet pulls
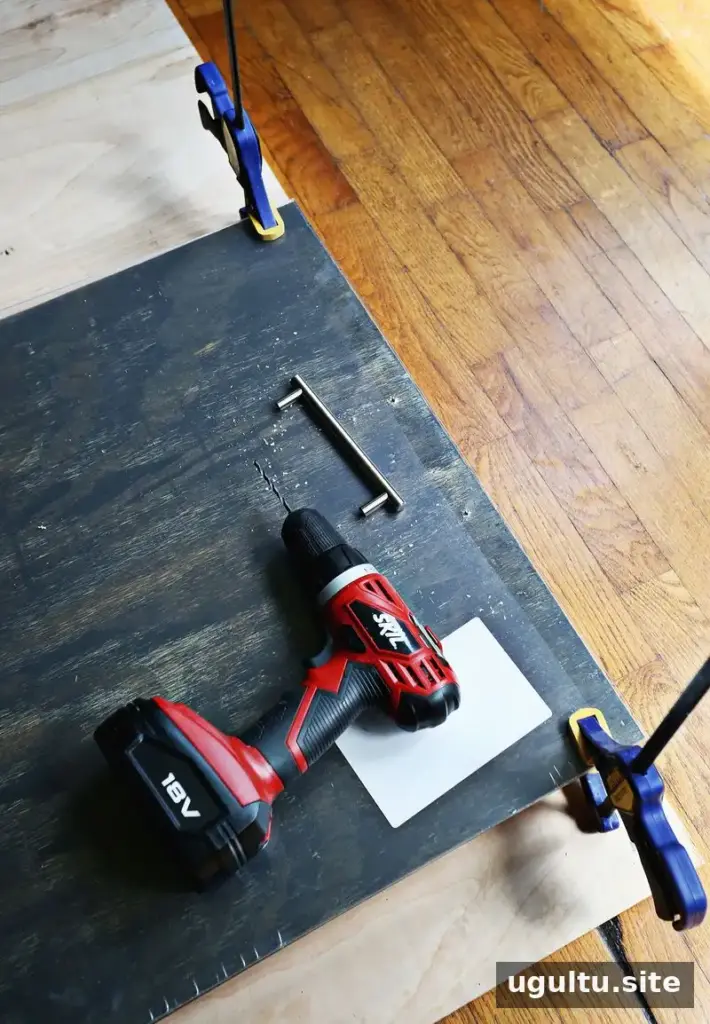
Measure and mark the positions for the two cabinet pulls. They hold the plexiglass and plywood together, so check that the marks are aligned before drilling. Keep the protective film on the plexiglass during this stage to reduce the chance of scuffs while handling it.
3. Arrange and secure the photographs
Lay out the photos before fixing them in place. More than 30 new prints were arranged alongside the eight existing instant photos, with some images repeated. Once the composition looks balanced, attach the pictures using acid-free double-sided tape or glue dots. Washi tape did not hold the photos securely in this project, and some shifted when the board was turned on its side.
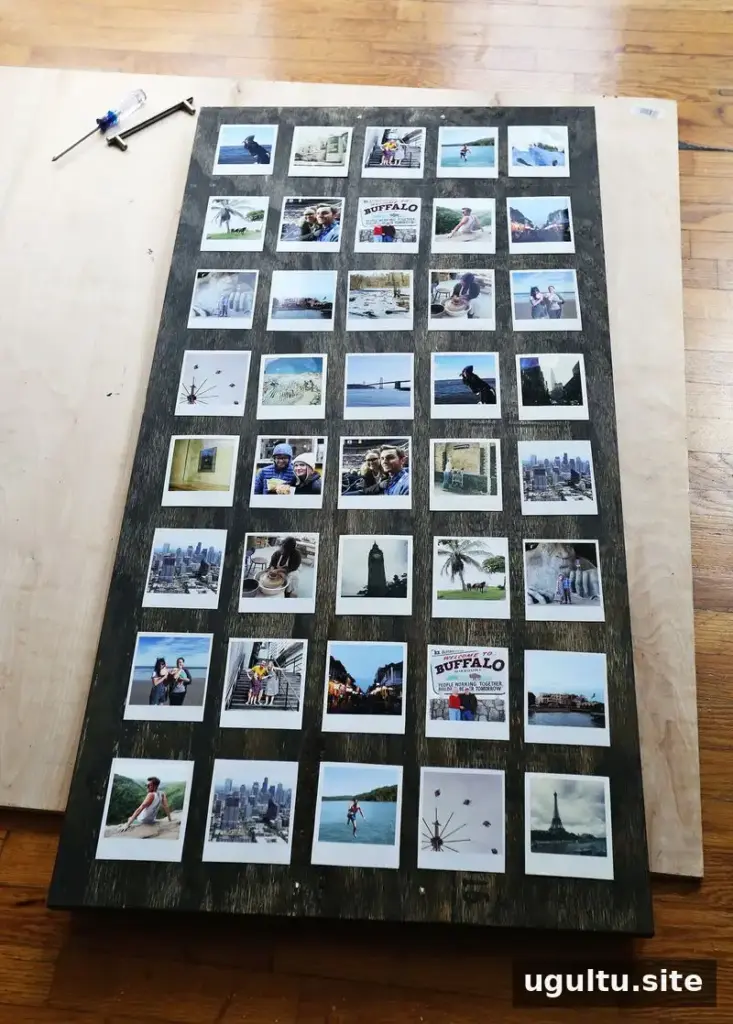
After the photos are secured, carefully place the plexiglass over the arrangement and fasten it with the cabinet pulls. Handle the completed piece carefully, especially when moving or mounting it, and use suitable wall hardware for its size and weight.
Finishing and display tips
Look over the layout through the plexiglass before hanging the display. This makes it easier to spot shifted photos, uneven spacing, or repeated images that feel too close together. Repeating a few photographs can help fill the surface, while keeping consistent gaps between prints gives the overall arrangement a more intentional look.
This instant film photo display is a straightforward way to bring older snapshots and newer prints together in one large piece. Prepare the images first, test the layout on a flat surface, and choose a reliable adhesive before closing the frame. Project by Emma.


