
 admin
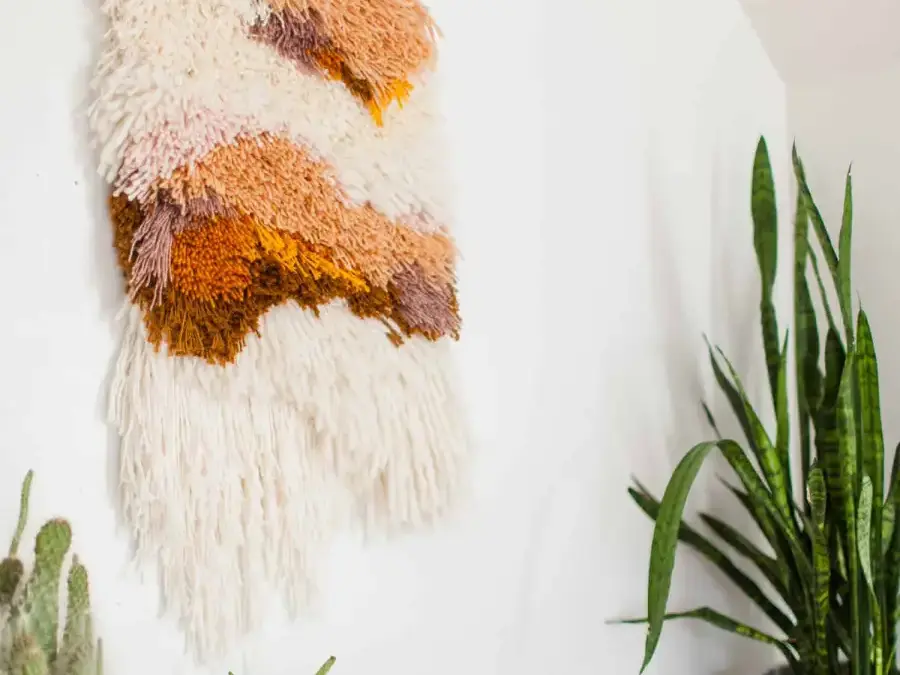
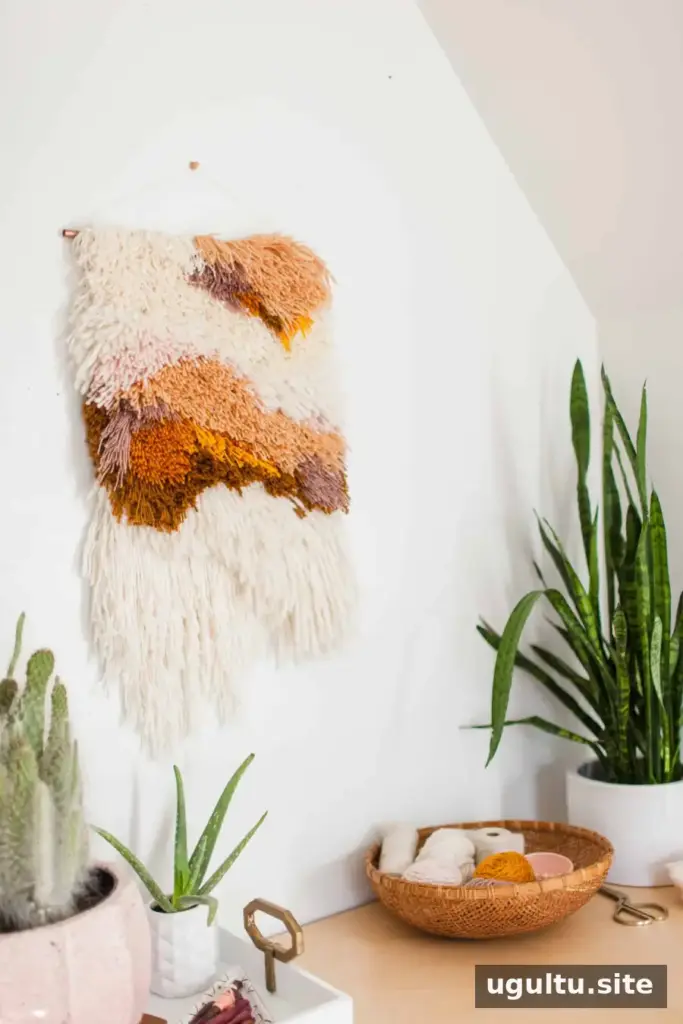
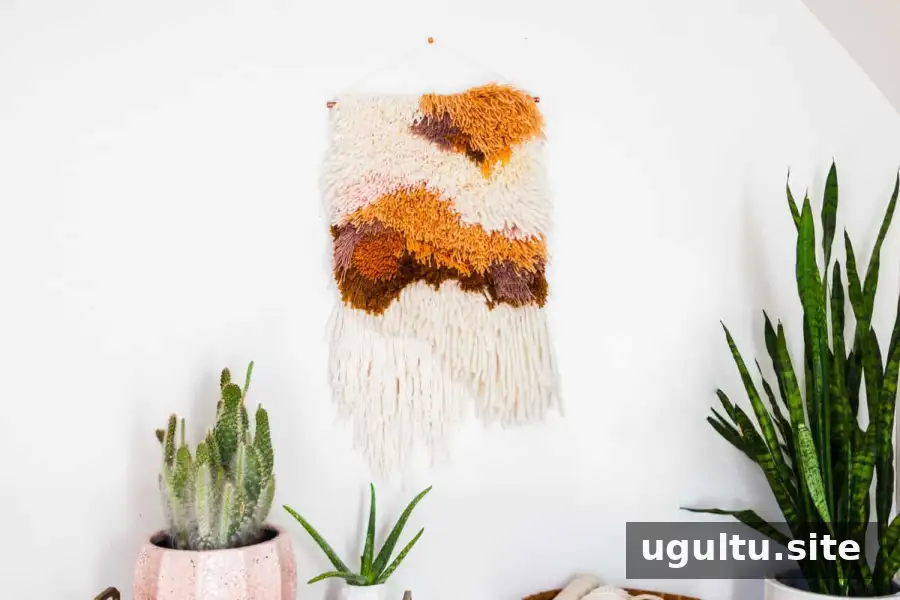
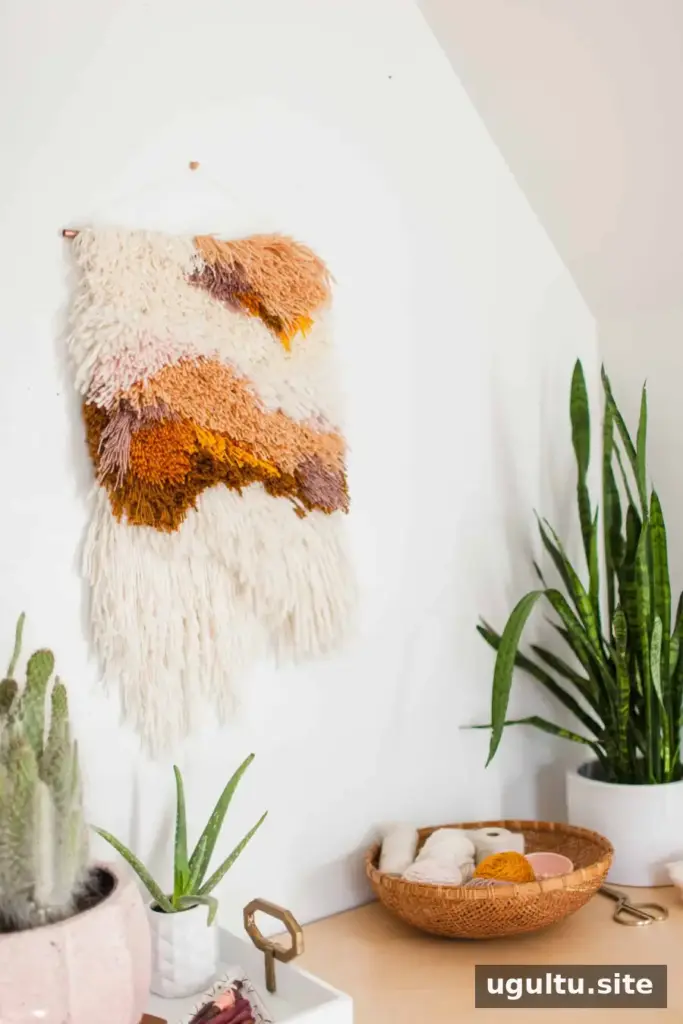
A latch hook wall hanging is a simple way to create a soft, shaggy textile piece without using a traditional weaving setup. With latch hook canvas, yarn, and a latch hook tool, you can build a colorful design and adjust the finished size to suit your wall.
This project also works well for using leftover yarn from knitting or crochet. Choose a range of colors and yarn textures for a varied surface, or use one color family for a more coordinated look. The same method can be used to make a rug, provided the canvas and finished item are suited to that purpose.
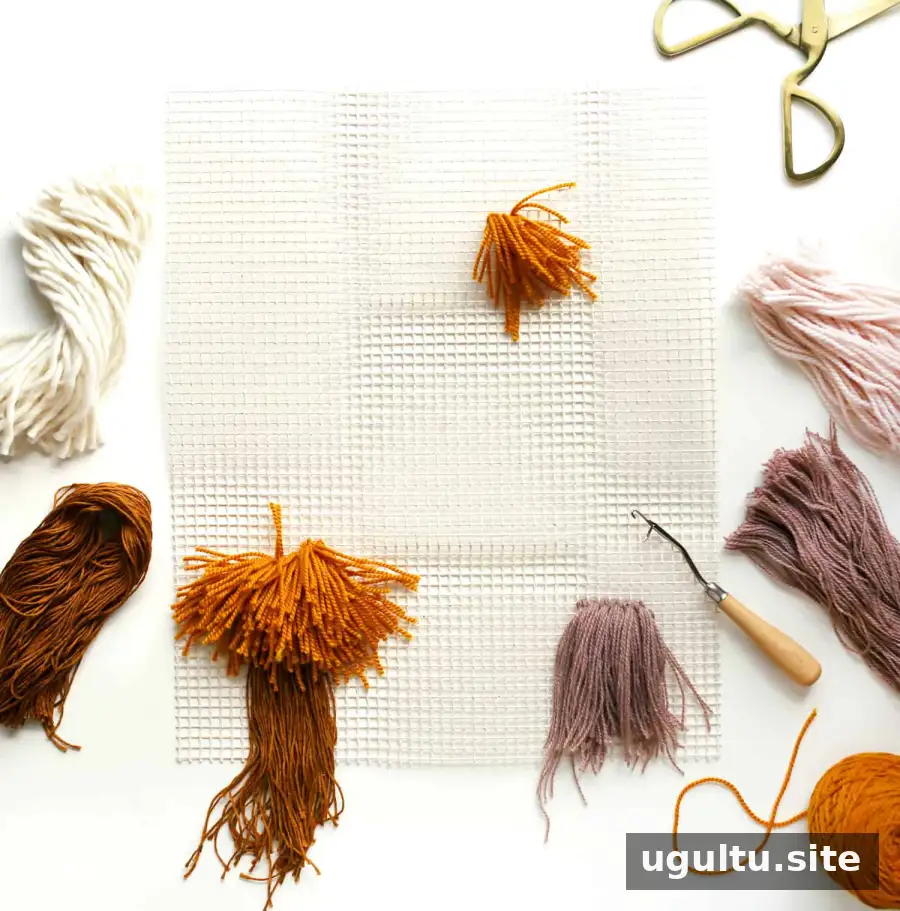
Materials for a latch hook wall hanging
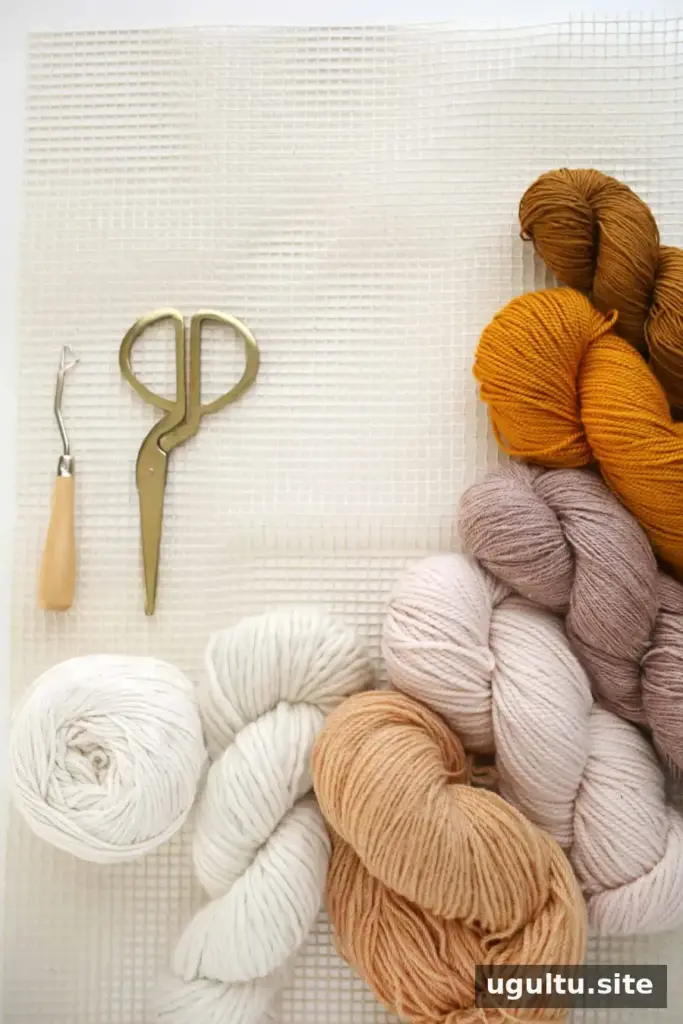
Gather these supplies before you begin:
- 24″ x 30″ latch hook canvas
- Latch hook
- Seven or eight skeins of yarn in various colors; different thicknesses, wool, and cotton can be combined
- Scissors
- A dowel or stick as wide as the canvas; a copper pipe can also be used as the hanger
Sketch your design beforehand or work freehand. If you want clearer color boundaries, mark the main shapes on the canvas with a marker. Plan the finished dimensions before cutting: a larger piece will require more yarn.
Prepare and cut the yarn
Cut the yarn into strands as you work. For the bottom edge, use longer pieces so the hanging can have a shaggy or uneven finish. In this example, the bottom strands ranged from 14″ to 24″. A piece of scrap cardboard measuring 7″ or 12″ can serve as a winding guide: wrap yarn around it repeatedly, then cut the loops at one end.
The remaining strands in this project were about 5″ long and were trimmed after the canvas was filled. Keeping strands grouped by color can make it easier to follow your layout and spot any gaps as you work.
How to latch hook the canvas
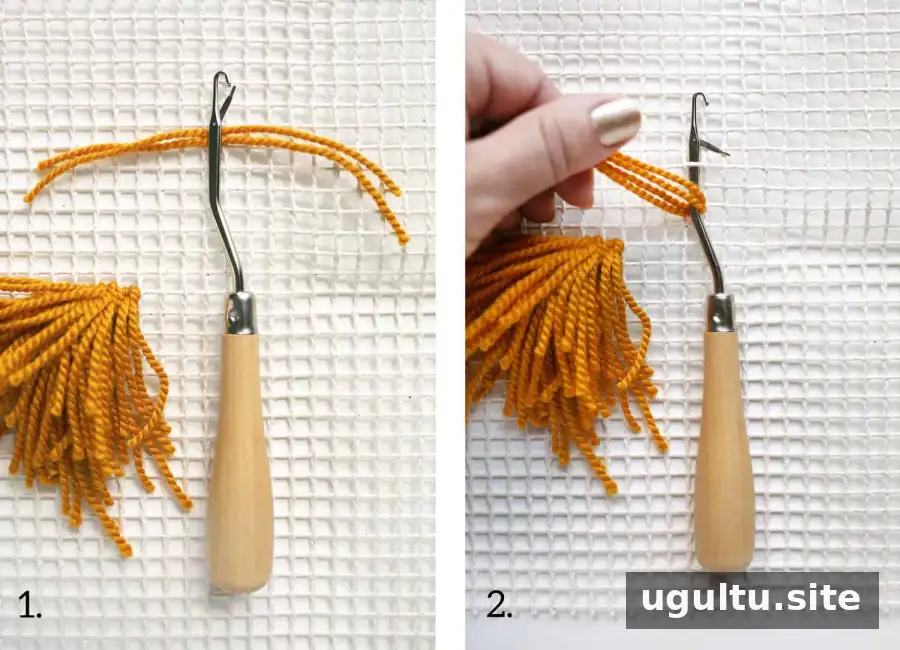
Step 1: Cut the latch hook canvas to your preferred dimensions. The example piece was about 14″ x 28″. Place two strands of yarn under the hook.
Step 2: Hold the four strand ends together near the curved end of the latch hook. Slide the hook beneath a single strand of the canvas and bring it back through, passing the hook beyond the latch.
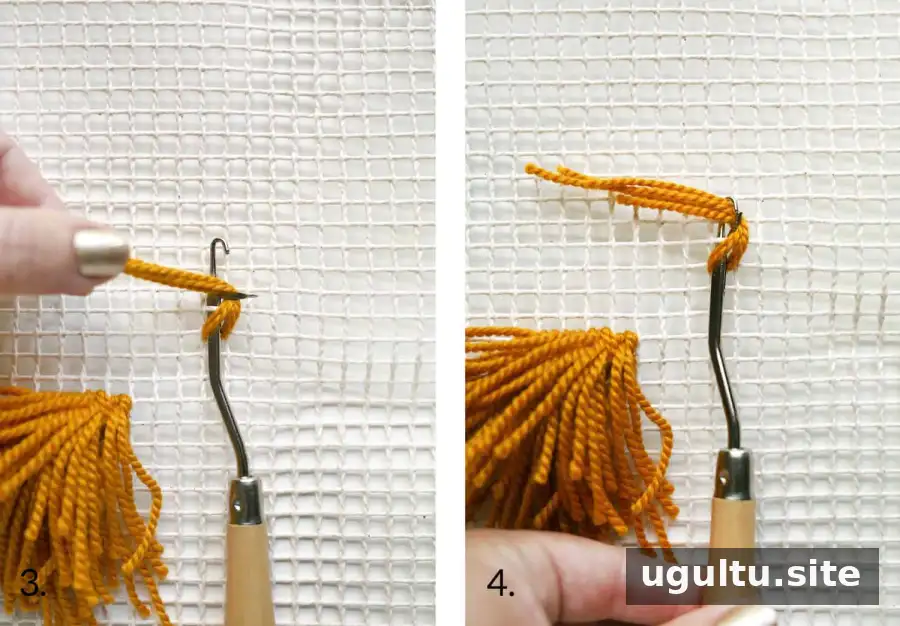
Step 3: Position the four yarn ends to one side of the latch.
Step 4: Gently pull the hook handle toward you so the latch closes around the yarn.
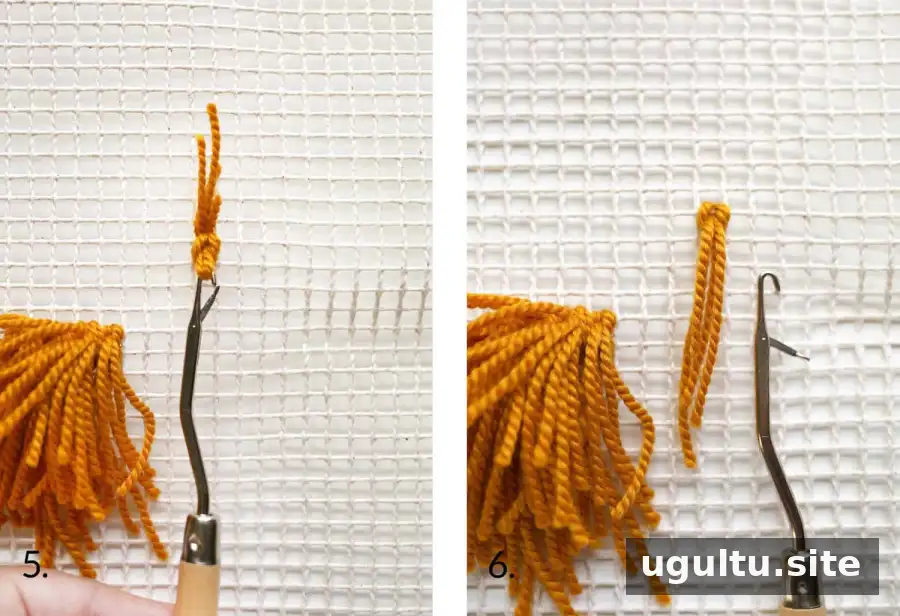
Step 5: Continue pulling the hook toward you until the yarn ends pass through the canvas loop.
Step 6: Check that the yarn is secured in the canvas. Repeat the process across the design, keeping the tension consistent without pulling so tightly that the canvas bunches.
Build the design and fill the canvas
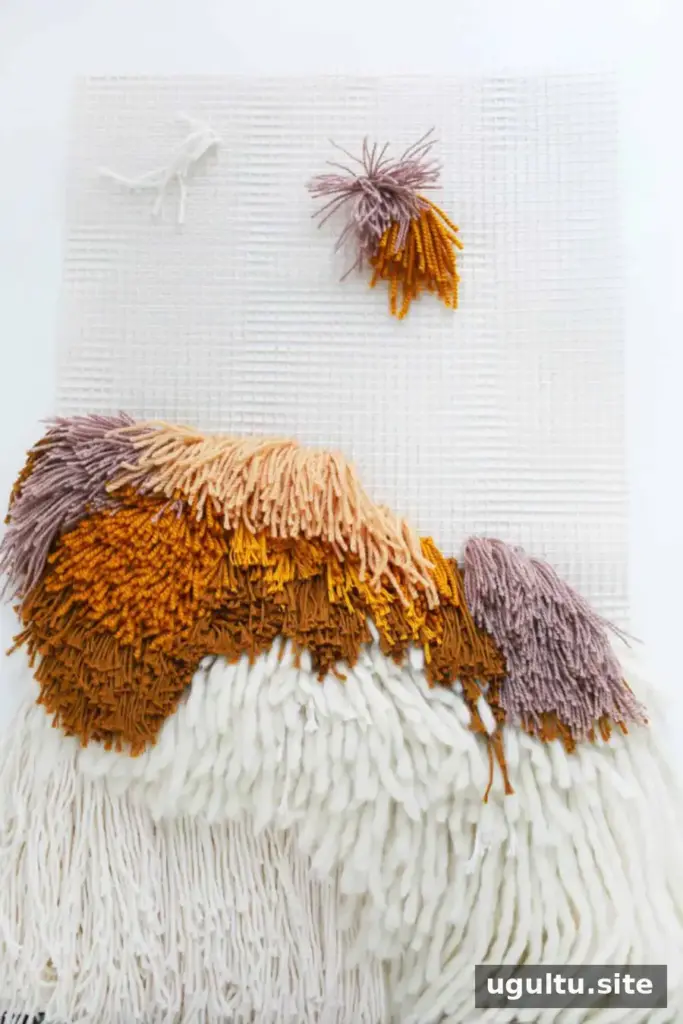
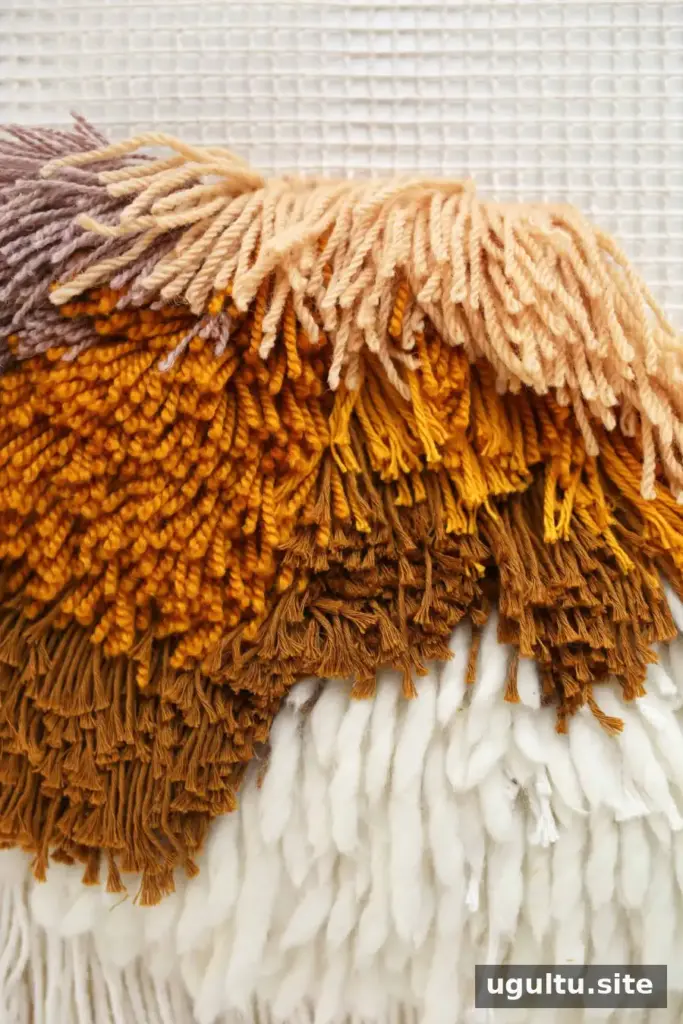
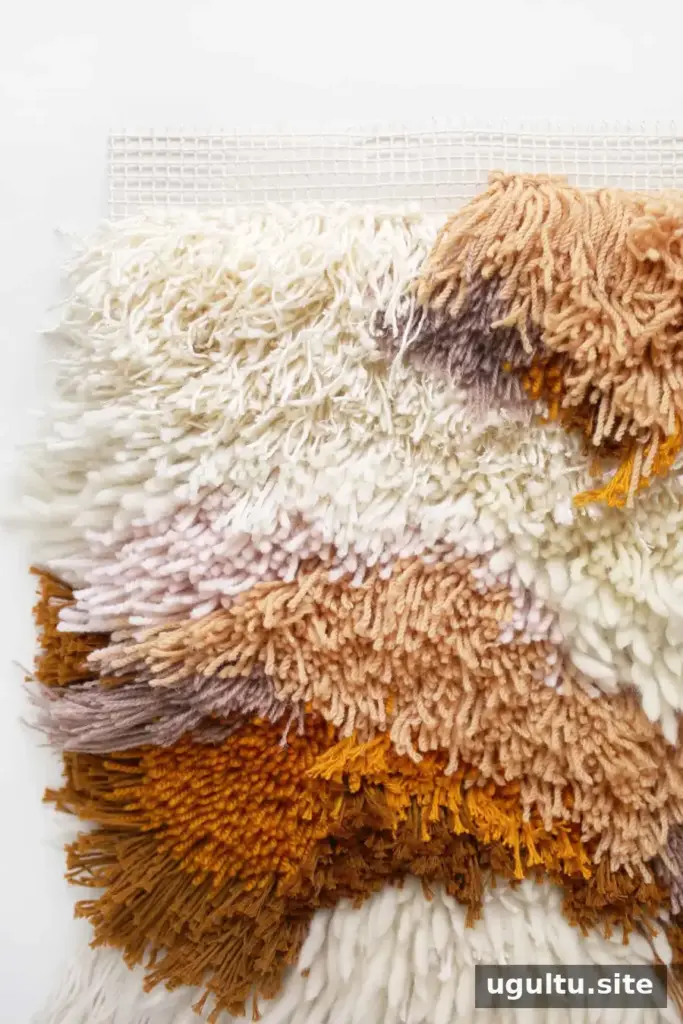
For the example, three areas of color were placed first as focal points, then the surrounding sections were filled in with white yarn. You can work one color block at a time or move across the canvas from one side to the other. Similar shades can help colors blend, while contrasting colors create more defined areas.
A densely filled canvas takes time, so consider starting with a smaller piece if you want a shorter project. A 6″ x 10″ canvas is one option for a compact version. Check the front periodically and fill any visible gaps before moving on.
Stop adding yarn when you are about 2″ from the top edge. This unfilled section is needed to make a pocket for the hanging rod.
Finish the edges and add a hanger
Turn the piece over and fold each side inward by about 1/2″. Use yarn and a running stitch to secure the folded edges, tying a knot at the start and finish. The folded edges create a cleaner border, while the yarn strands on the front help cover the seam.
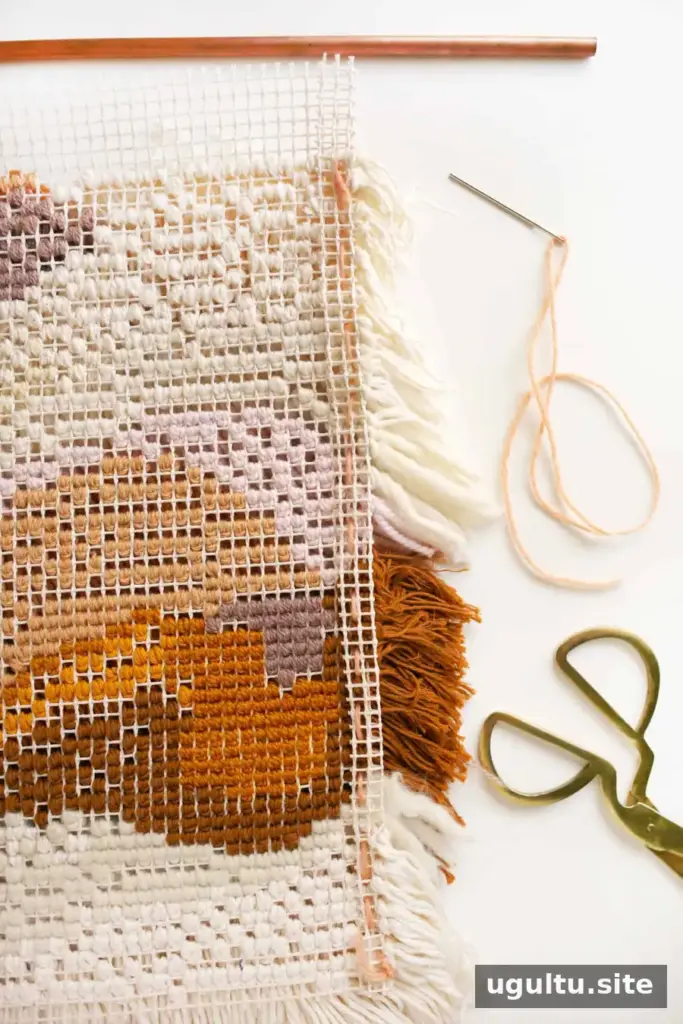
Fold the top edge down far enough to hide the bare canvas from the front. Stitch the fold to the main canvas with a running stitch, and secure both ends with knots to create a pocket.
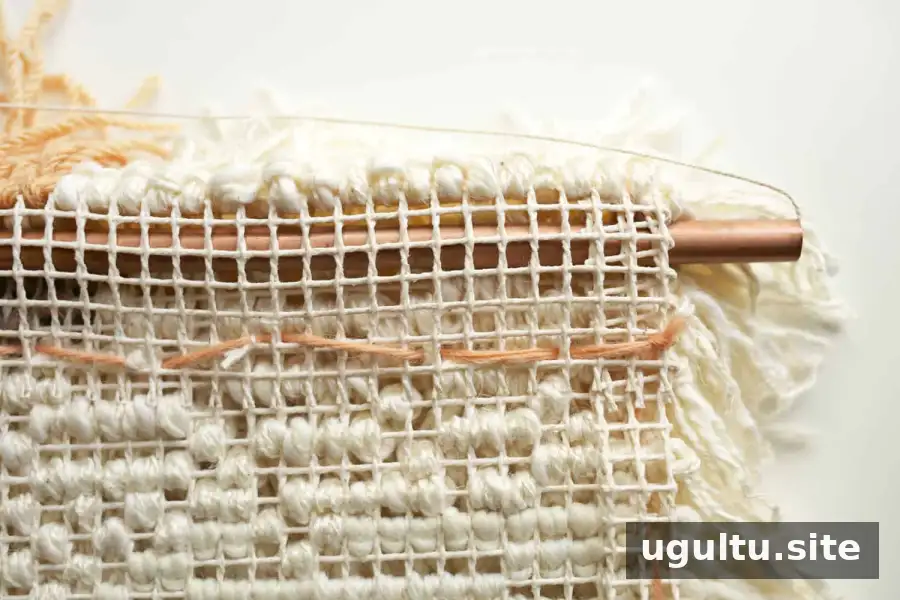
Slide a dowel or copper pipe through the pocket. Attach a hanger by passing it through the pipe or tying it securely at both ends of the dowel.
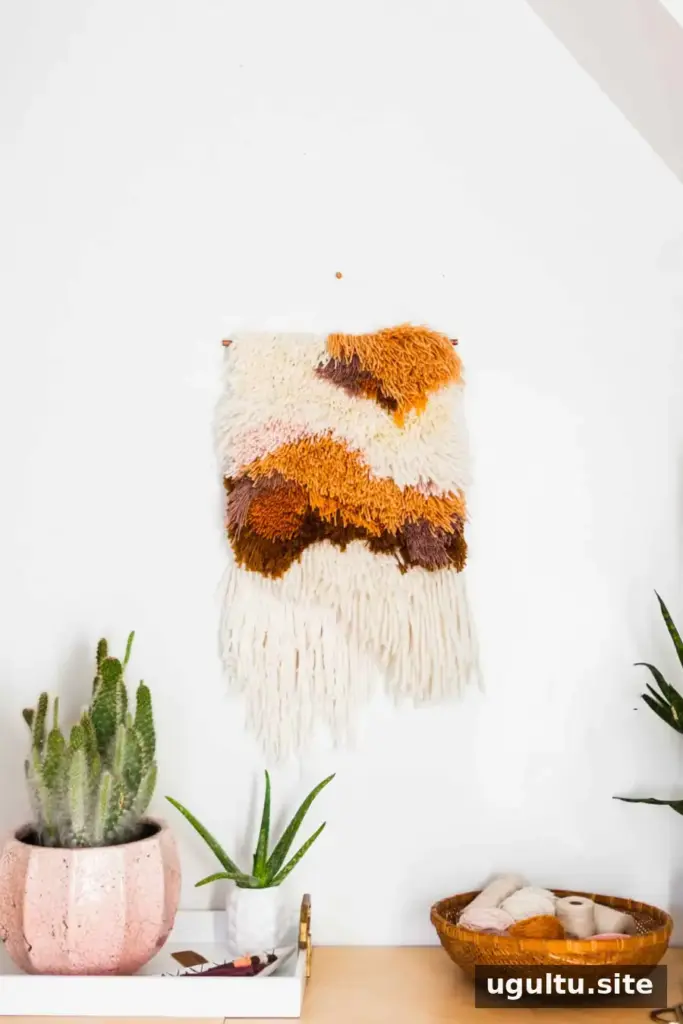
Hang the finished piece and gently separate the yarn with your fingertips. Trim stray strands or larger sections as needed to shape the bottom edge. Take care not to cut the canvas or the yarn knots while trimming.
Conclusion
A latch hook wall hanging can be customized with different colors, yarn textures, and dimensions, making it a flexible project for leftover materials or a planned room accent. Work steadily, leave space for the top pocket, and check the front as you go for an even finish.
— Rachel


