
 admin
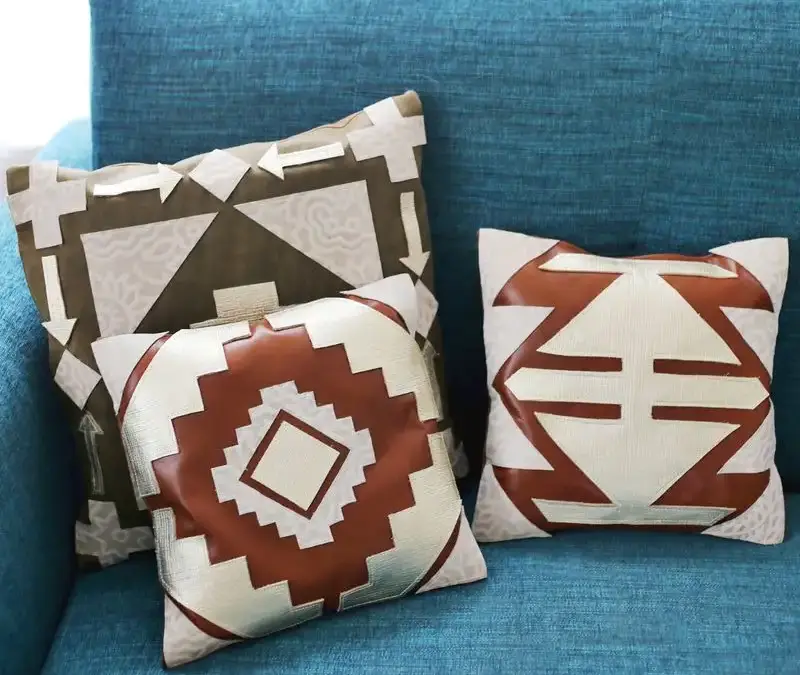
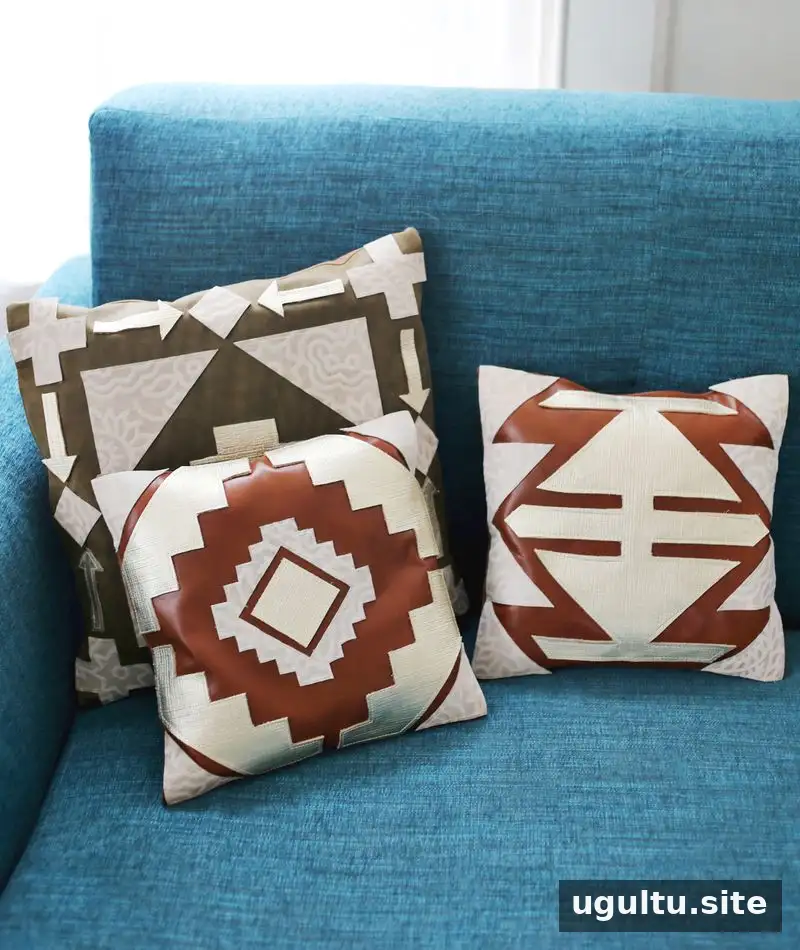
DIY leather throw pillows bring texture and a custom geometric design to a room. This project uses leather or suitable faux leather, fabric for the pillow backs, and basic sewing tools. Mallory shares the steps for planning and assembling the pillows, including tips for sewing leather neatly.
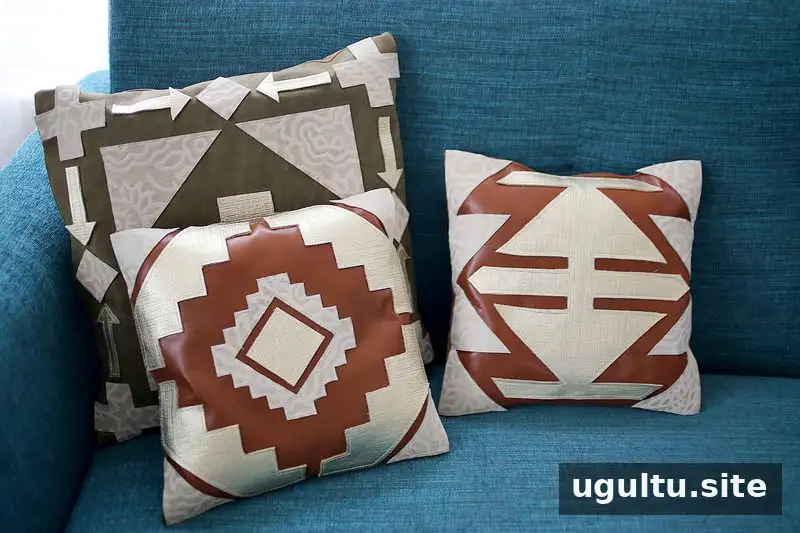
Plan your DIY leather throw pillows
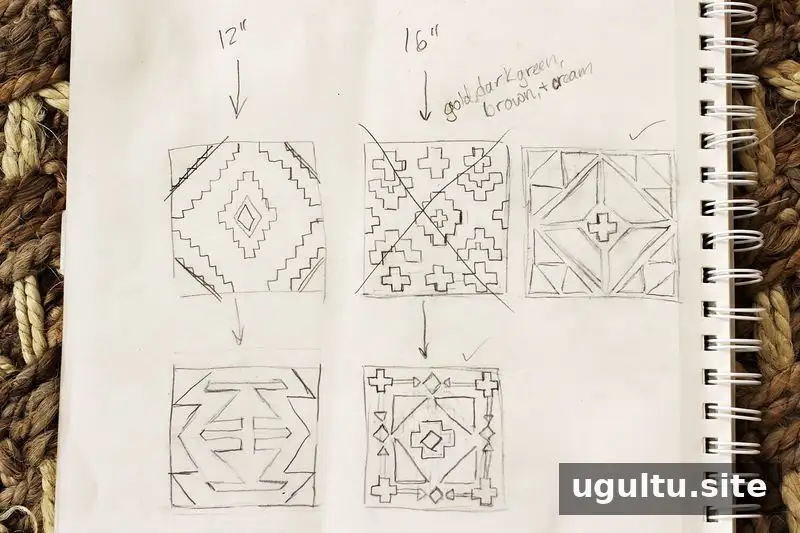
Choose a pattern before cutting the materials. Southwestern motifs and kilim rugs can offer ideas for simple geometric shapes. Sketch a few designs on paper, then select patterns that can be cut into manageable pieces. If a design looks too complex to sew, simplify it before making templates.
Real leather left over from other projects can be used. Faux leather is also an option, provided its backing does not unravel when cut. Test unfamiliar material with a small offcut first, especially if you are unsure how it will behave under the sewing machine.
Materials and cutting the pieces
- Leather or faux leather for the decorative pillow fronts
- Thick cotton for the backs
- Brown kraft paper and a clear ruler for templates
- Leather glue or rubber cement
- A sewing machine and leather needle
- Scissors, a rotary cutter, or an X-acto knife
Draw each design to scale on kraft paper and cut out the shapes to make templates. Remember to allow extra fabric around the main front pieces so they can be sewn to the backs. For the fronts, cut two 12-inch squares and two 16-inch squares of leather. Cut matching-size squares from thick cotton for the backs. Cut contrasting leather pieces for the decorative topstitching.
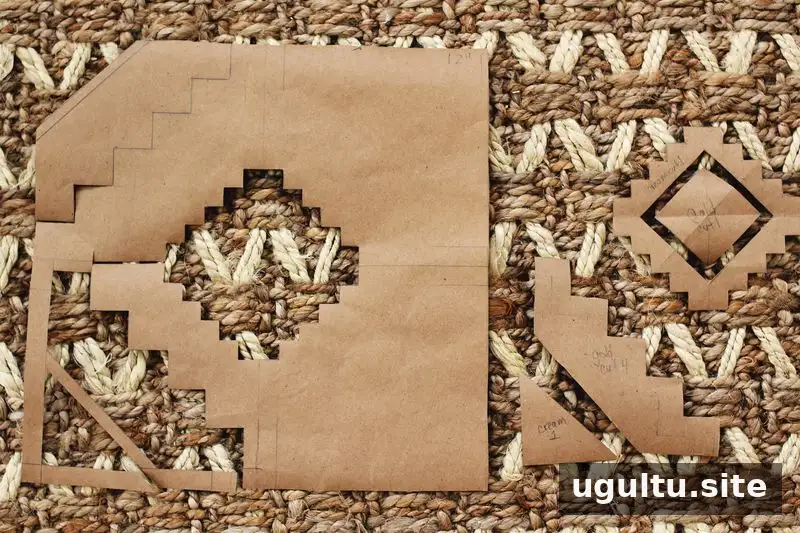
Attach and sew the leather design
Arrange the cut shapes on the pillow fronts, then use leather glue to hold them in place. Rubber cement can be used if leather glue is unavailable. Follow the adhesive’s directions and allow it to set as needed before sewing.
Use a leather needle in the sewing machine. Before stitching the pillow pieces, test the tension on scraps of the same materials. Sew close to the edge around each decorative leather shape. If the leather sticks to the machine, place freezer, wax, or parchment paper between the material and the machine while sewing. A Teflon foot is another option when available.
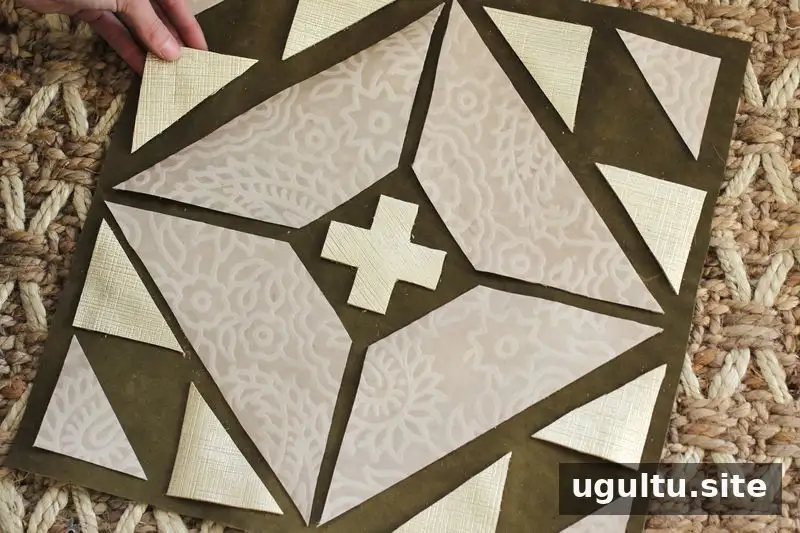
Assemble and finish the pillows
Place each front and its matching cotton back with the good sides facing inward. Sew around the edges, leaving a gap of a few inches on one side. Trim the corners close to the stitching without cutting through the seam; this helps the corners turn more cleanly.
Turn the pillow right side out through the opening and add stuffing. Close the gap with a line of topstitching close to the edge. Sewing through leather by hand can be difficult without practice, so machine stitching is the suggested finishing method in these instructions.
Final designs
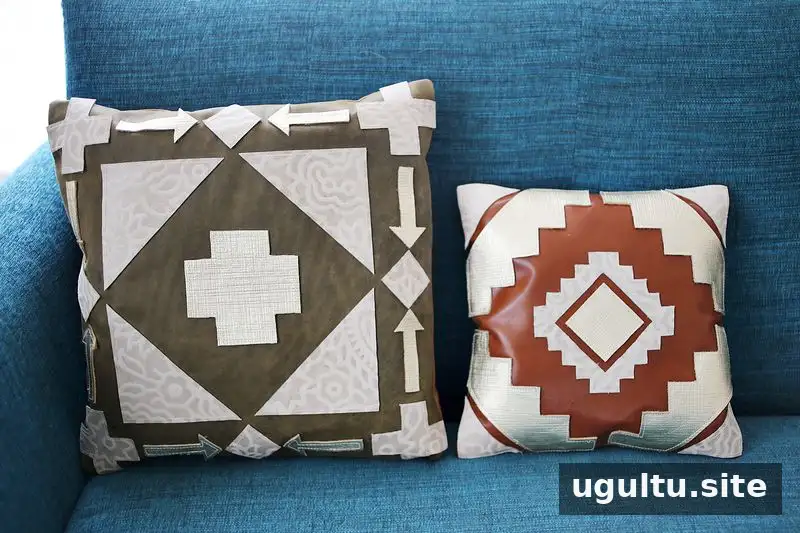
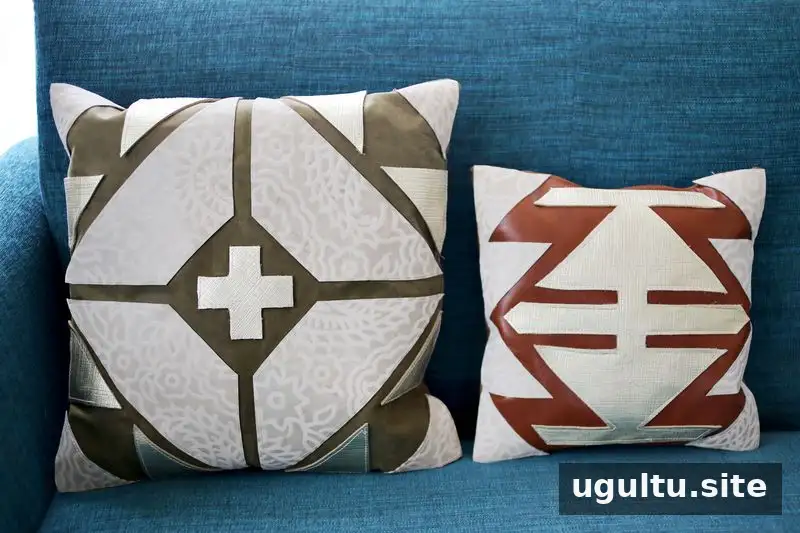
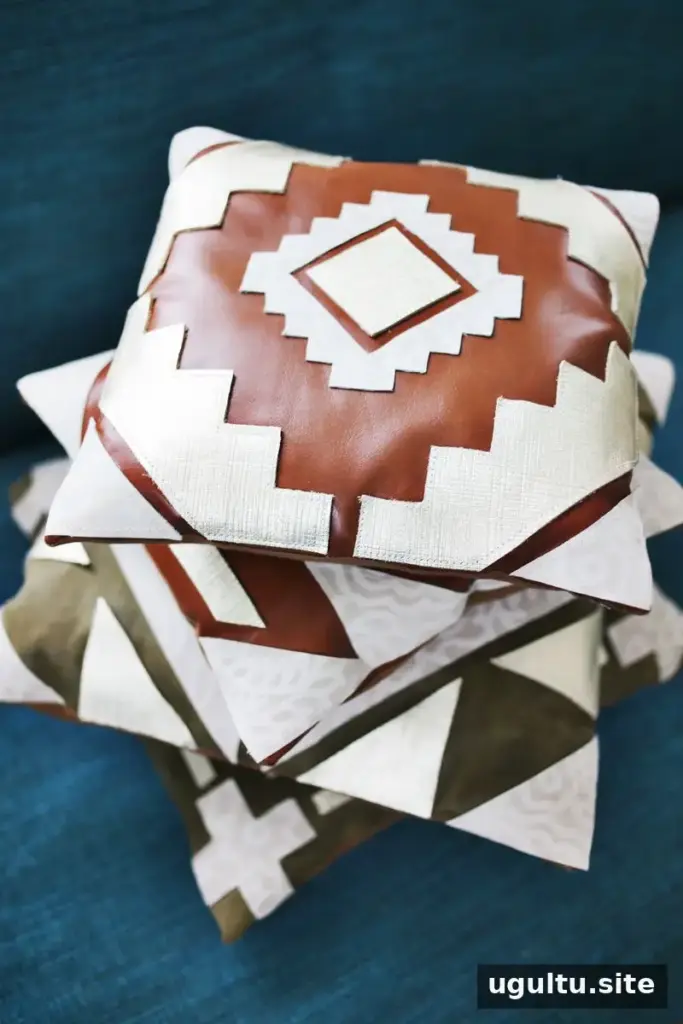
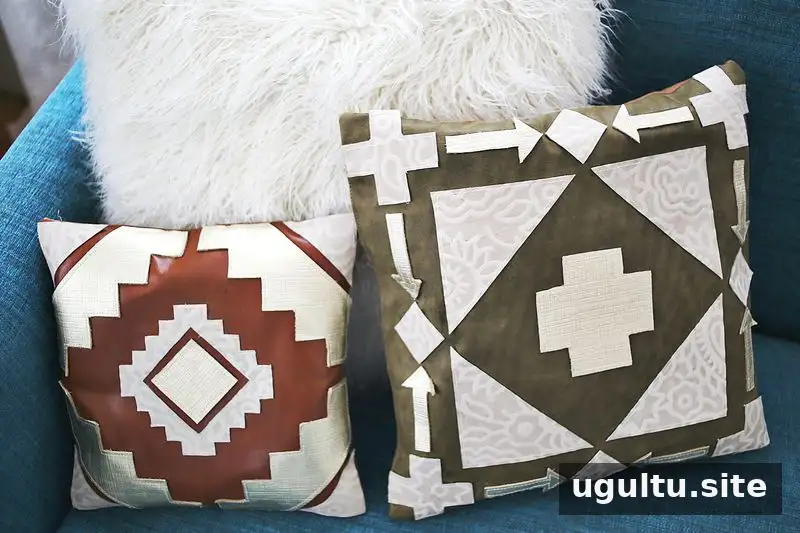
Thanks to Mallory for sharing the process. With careful templates, a test stitch on scrap material, and attention to the seam allowance, DIY leather throw pillows can be made with a distinctive geometric look.


