admin
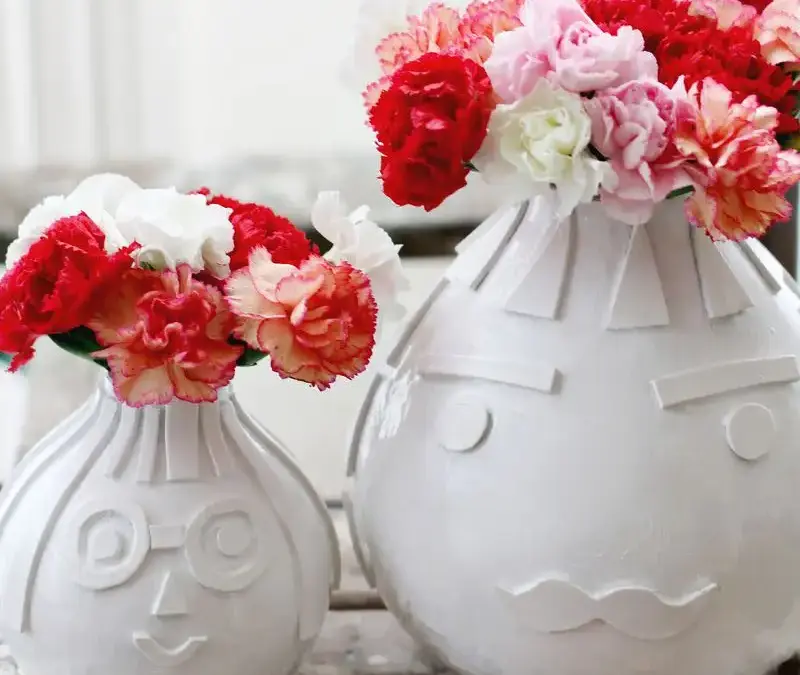
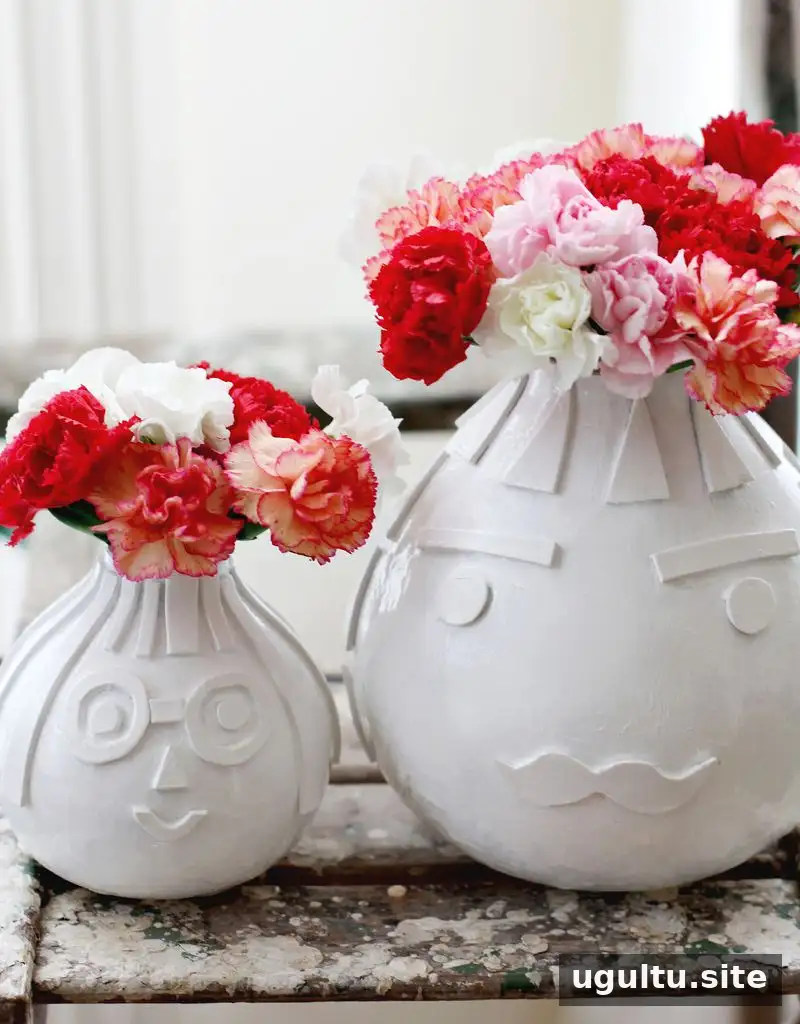
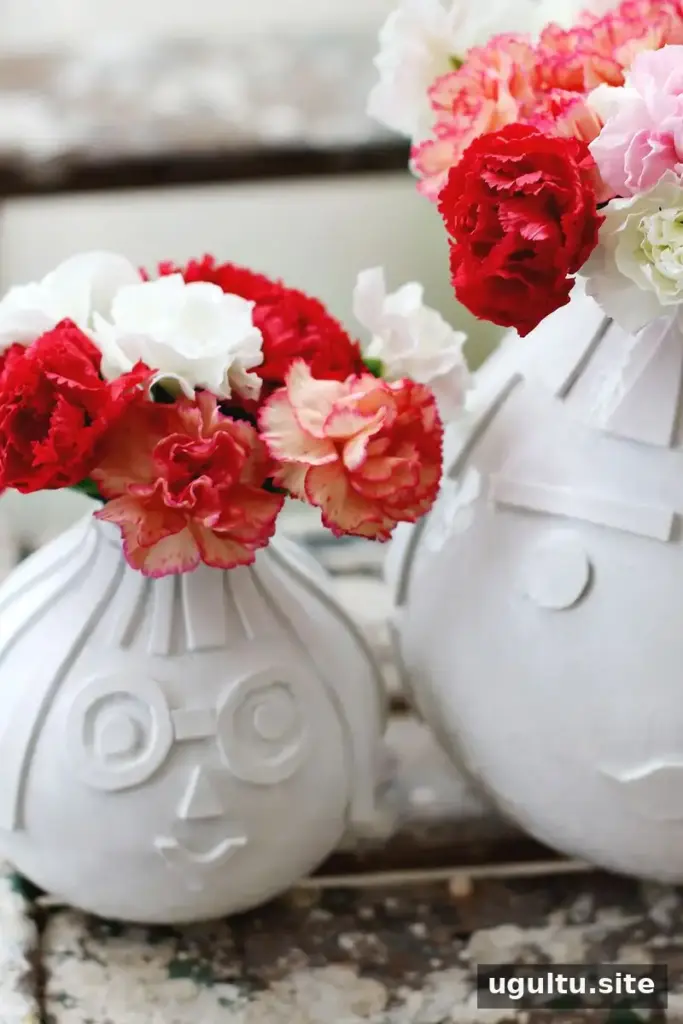
A textured vase is a simple way to add a custom accent to a room using a plain vase and a few accessible craft supplies. This project creates a raised geometric pattern with self-adhesive foam, then unifies the design with white spray paint. You can arrange the shapes into a face, an abstract motif, or another pattern that suits your space. Take time to plan the layout before attaching the pieces so the design looks balanced around the vase.
Materials for a Textured Vase
Gather the following supplies before you begin:
- A plain vase
- White spray paint
- Very fine sandpaper
- A sheet of self-adhesive foam
- Scissors
- Optional: triple-thick glaze for a glossy finish
Choose a vase with a surface that can be lightly sanded, and check the spray-paint label for compatible materials. Work in a well-ventilated area and follow the product’s safety and drying instructions. Protect nearby surfaces from overspray.
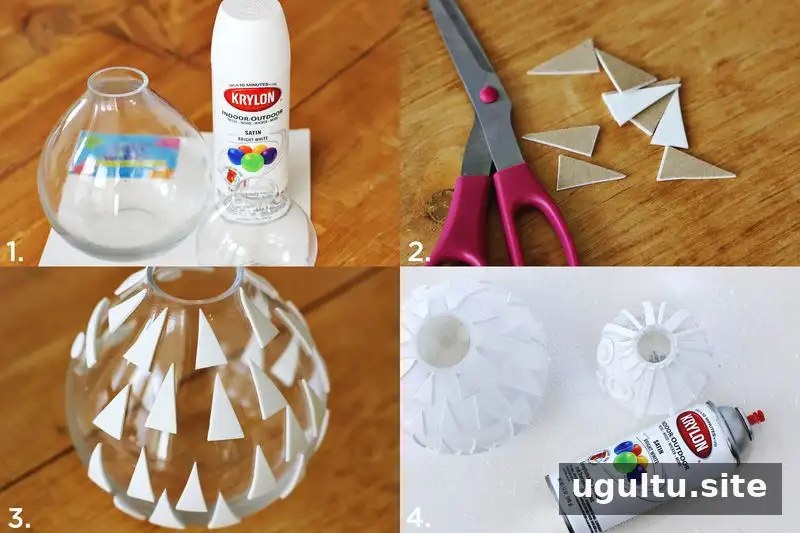
The foam pieces create the raised details, while the paint gives the finished vase a consistent color. Small geometric shapes are easy to cut and arrange, but varying their size can also add visual interest.
How to Make the Geometric Vase
- Prepare the surface. Lightly sand the vase with very fine sandpaper. Wipe away dust so the surface is clean before adding the foam.
- Cut the pattern. Use scissors to cut small geometric pieces from the self-adhesive foam. Lay them out beside the vase first to test the spacing and arrangement.
- Attach the foam. Press each shape onto the vase, smoothing it down so it stays in place. Check the design from several angles and adjust any pieces before painting.
- Apply the paint. Spray several light coats of white paint, allowing the recommended drying time between coats. Continue until the vase is completely white and the foam details are covered evenly.
- Add an optional finish. Once the paint is fully dry, apply a coat of triple-thick glaze if you want a glossy appearance. Follow the glaze instructions and allow the finish to cure as directed.
Keep each coat light rather than trying to cover the vase in one pass. This can help the finish look more even and reduce the chance of paint collecting around the raised foam edges. Let the vase dry completely before moving or styling it.
Display and Design Ideas
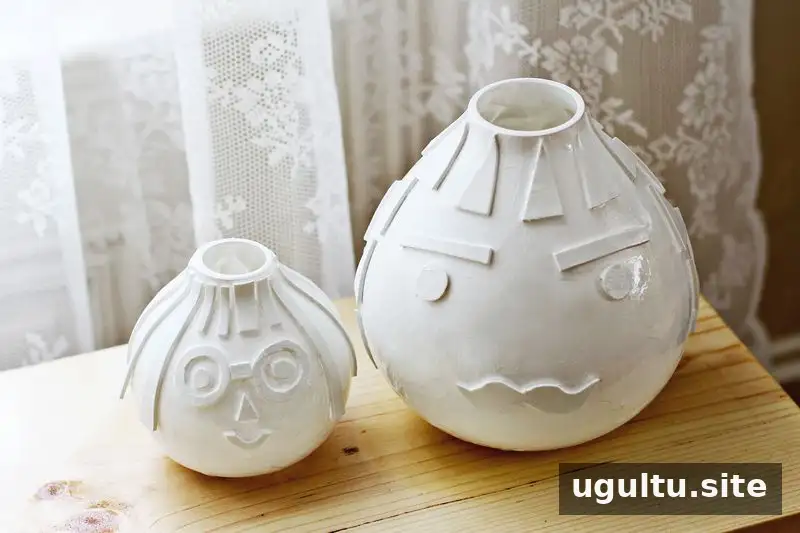
A face-inspired pattern gives the vase a playful look, while repeated triangles, squares, or other simple shapes create a more abstract design. For a coordinated display, repeat the same shapes on several vases or change the scale of the pattern from one piece to another. The same technique can also be adapted for planters by using a geometric arrangement instead of a face.
Use the finished piece as decorative home decor. Because the vase has been painted and embellished, check the coating instructions before adding water or placing it in contact with plants, food, or drink. If you want to display fresh flowers, a separate water-safe insert may help keep liquid away from the painted surface.
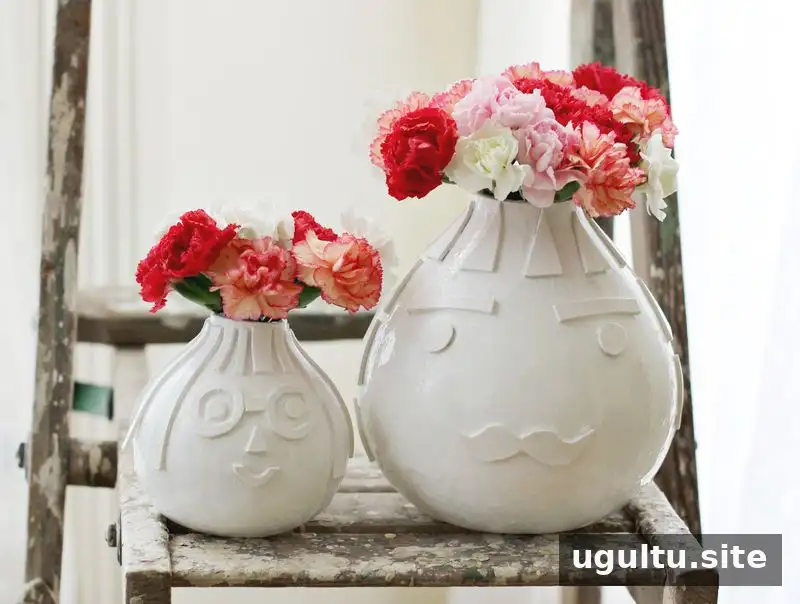
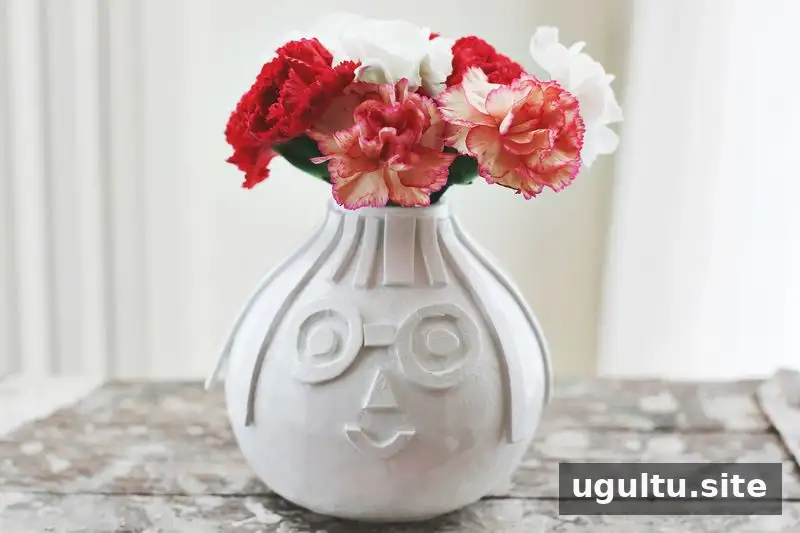
Final Tips for Your Textured Vase
This textured vase project is easy to personalize: experiment with the foam layout, keep the surface clean before painting, and allow each coat to dry properly. A little planning helps the raised pattern look intentional, while an optional glaze adds shine. The finished vase can bring a handmade, geometric touch to a shelf, table, or decorative arrangement.
— Elsie