
 admin
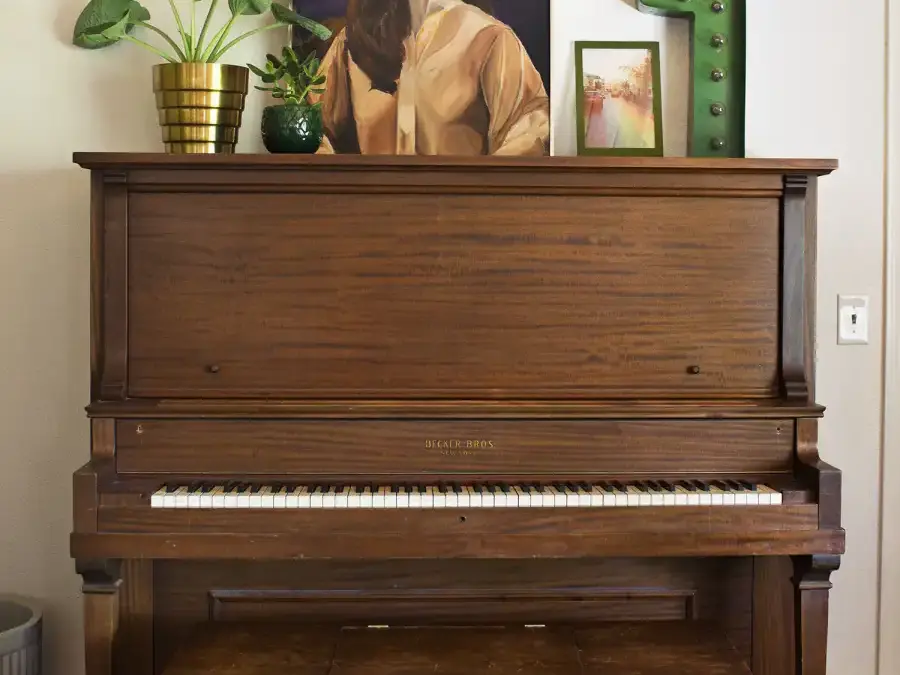
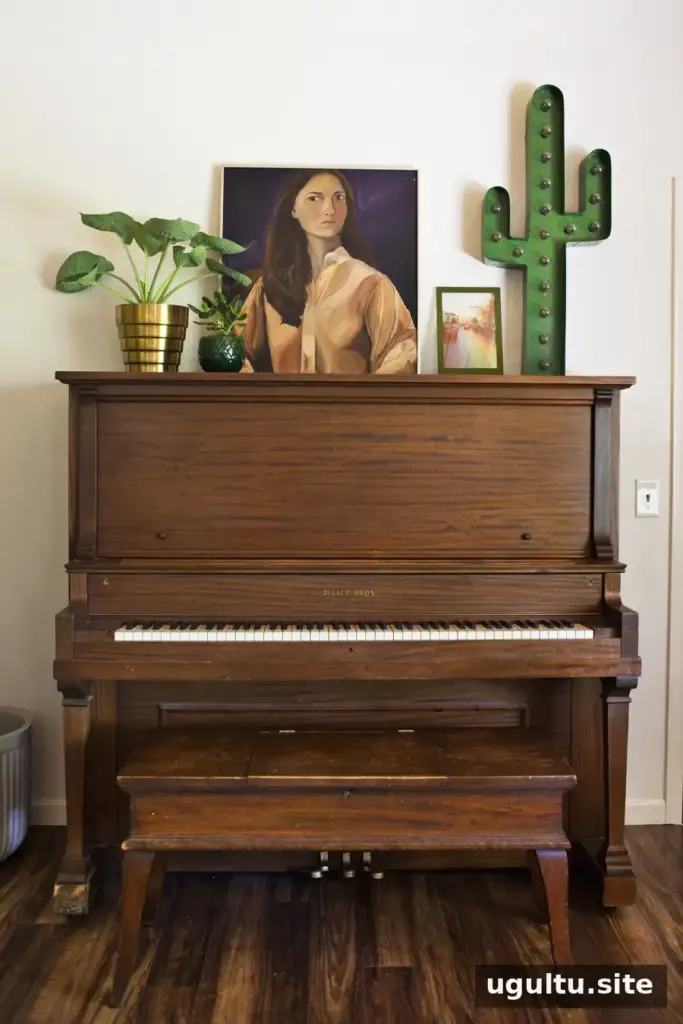
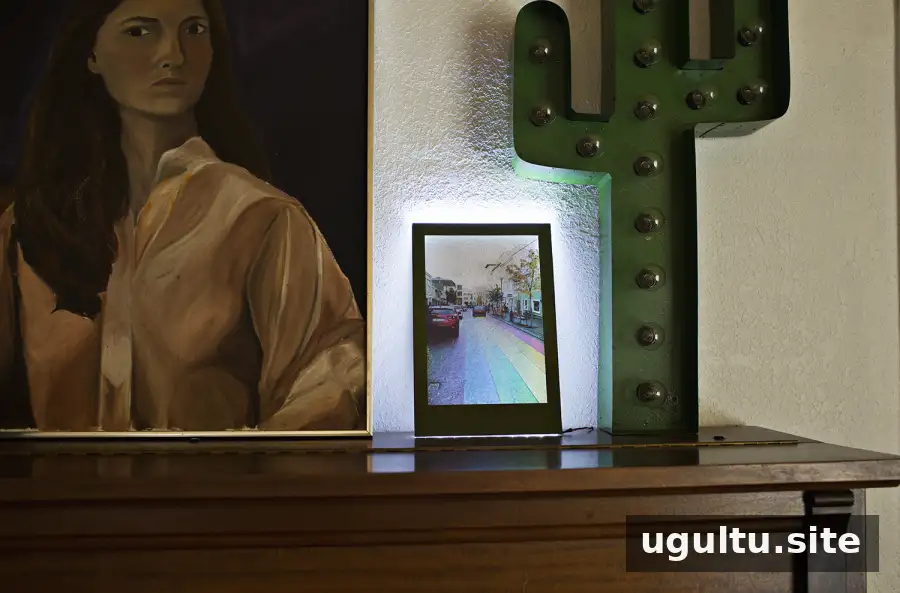
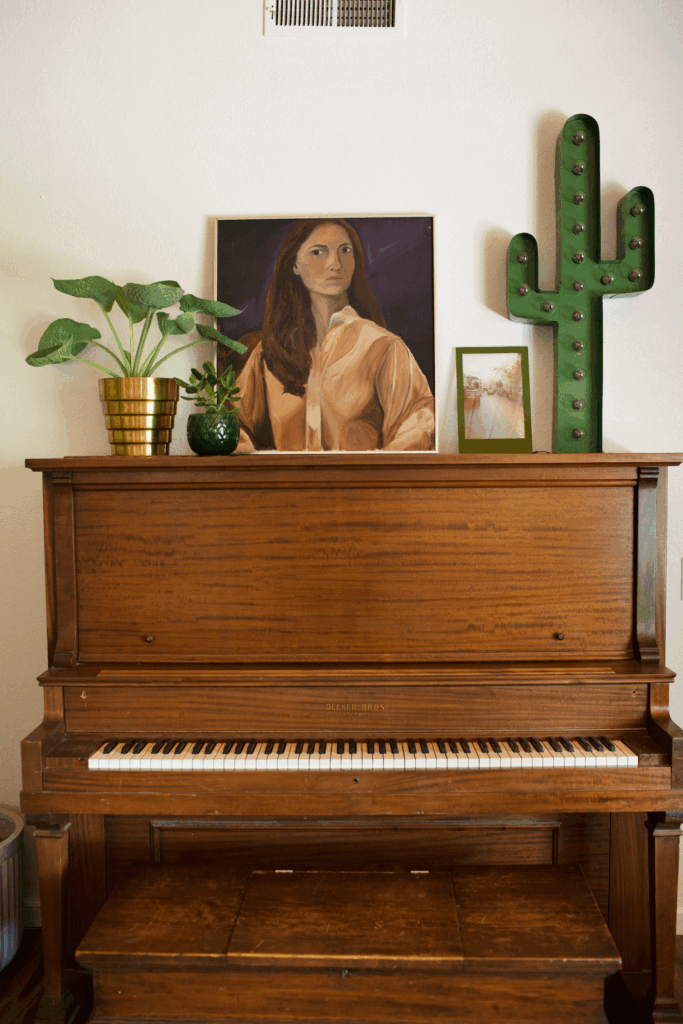
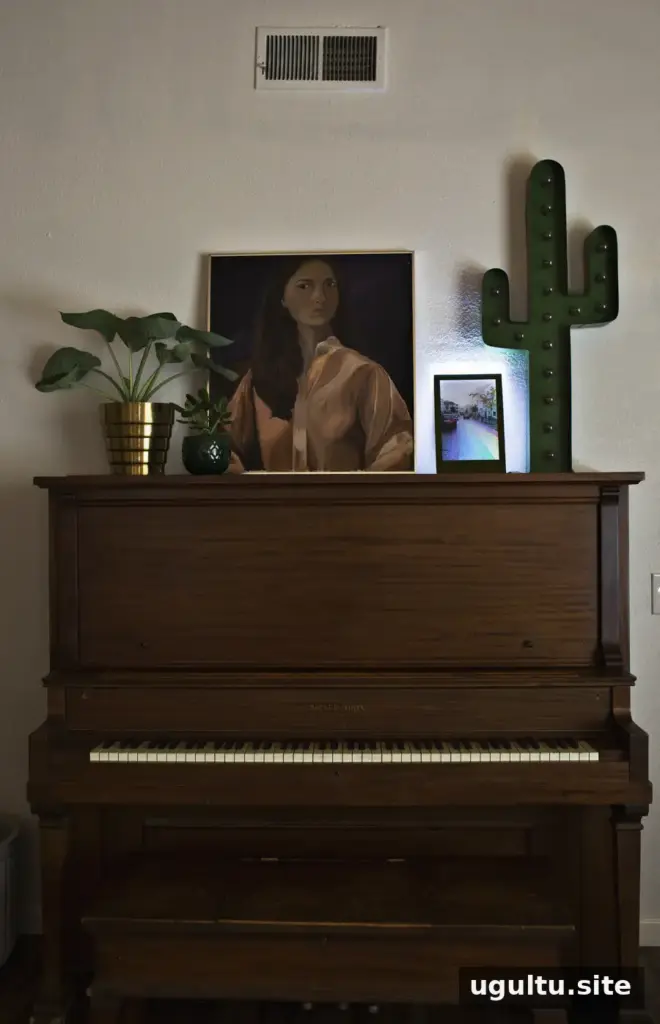
A light up photo frame is a simple way to add a personal touch and a soft glow to a darker corner of your home. This beginner-friendly project combines a printed image, a sheet of plexiglass, poster board, and a flexible LED light strip. You can customize the frame shape and color to suit your room, then display the finished piece on a shelf, piano, or another stable surface.
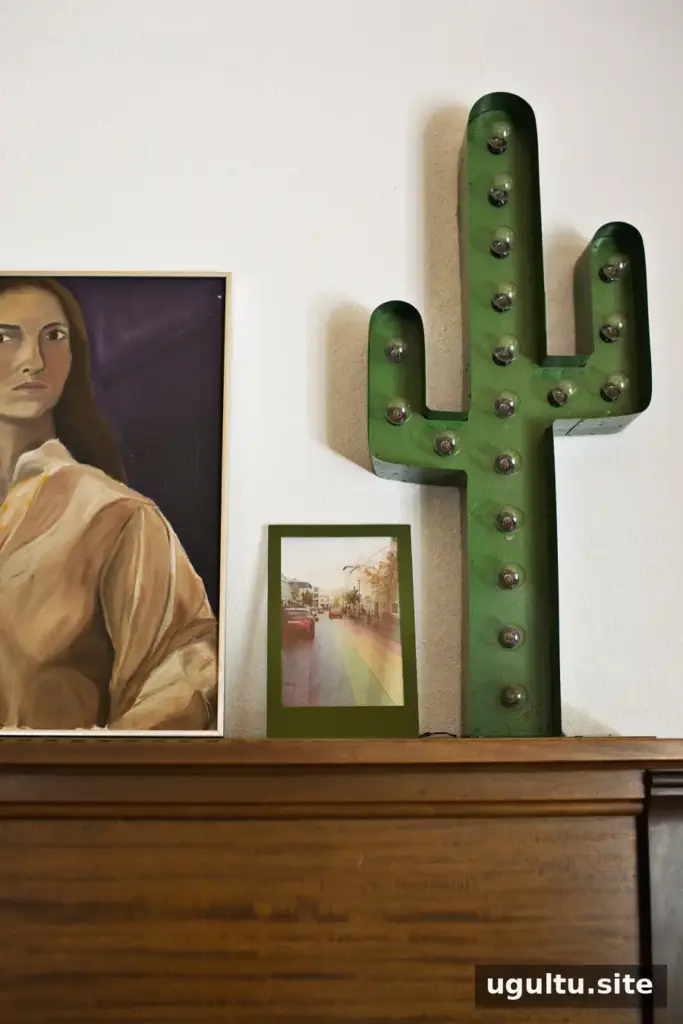
How to Make a Light Up Photo Frame
The design uses a transparent printed image attached behind the plexiglass, with a decorative paper frame on the front and LED lights along the bottom edge. The materials are straightforward, and the frame can be customized without changing the basic steps. Before starting, choose an image that will fit the display area and check that your printer can print on transparency film.
Supplies
- Transparency film and an inkjet printer
- Plexiglass measuring 8 × 12 inches and 1/2 inch thick
- One sheet of white poster board
- One sheet of colored poster board or oversized paper
- A flexible LED light strip that can be cut to size
- An X-Acto knife
- A ruler
- Glue dots
Lay out the materials before you begin so you can check that the image, paper, and lights will fit the plexiglass. Handle the cutting tool carefully, and use the light strip’s marked cutting points if trimming is needed.
Step-by-Step Instructions
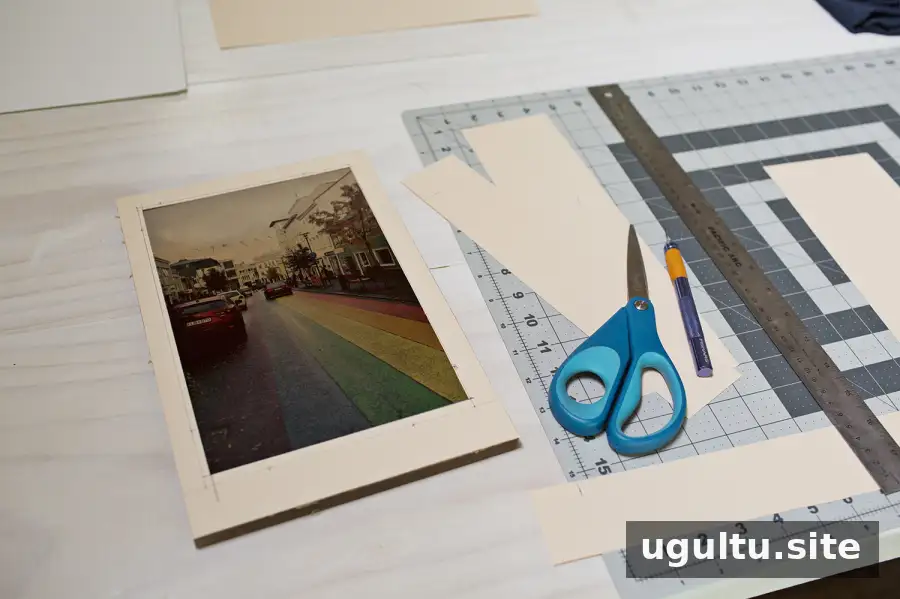
- Print and attach the image. Print your chosen image onto the transparency film. It only needs to be large enough to fill the opening in your planned frame, so it does not have to cover the entire plexiglass sheet. Cut around the image, leaving enough extra material at the edges for glue dots. Decide which side of the plexiglass will be the back, then attach the transparency there.
- Make the paper frame. Draw a frame shape on the white poster board to use as a pattern. An instant-photo style is one option, but you can make the border thick, narrow, scalloped, or another shape. Once you are happy with the pattern, trace it onto the colored poster board or paper and cut it out. Attach the colored frame to the front of the plexiglass with glue dots.
- Fit the LED lights. Measure the light strip against the bottom of the plexiglass and trim it if necessary. Attach the strip with glue dots. Check that the lights are positioned securely and that the finished frame can stand or rest safely where you plan to display it.
Display and Care
Place the finished frame on a stable surface where its glow can be enjoyed. If you want the display to coordinate with your room, choose poster board in a color that complements nearby decor. Keep the setup simple: a carefully measured image and an even border help the finished frame look neat.
As with other home lighting, turn the LEDs off when you leave home or go to sleep. This is a sensible precaution for any illuminated project. Follow the instructions supplied with the light strip, particularly when trimming or connecting it.
Enjoy Your Light Up Photo Frame
This light up photo frame is an easy project to personalize with a favorite image and a paper border that suits your space. Measure each component before cutting, secure the image and lights with glue dots, and switch the LEDs off when they are not in use. With those steps, you can create a small, customized display for a dim corner or a shelf.
— Emma


