admin
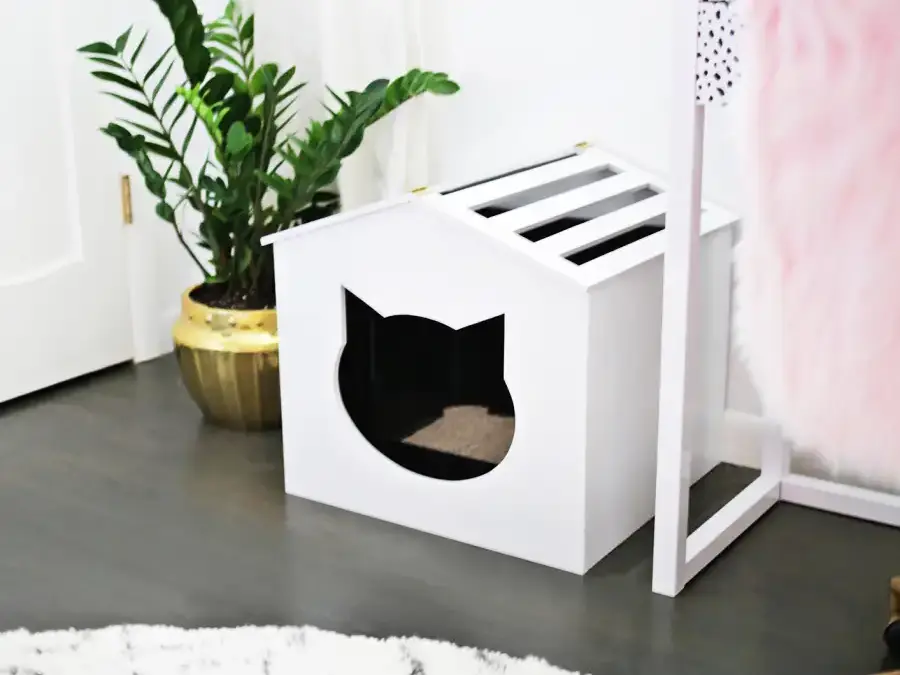
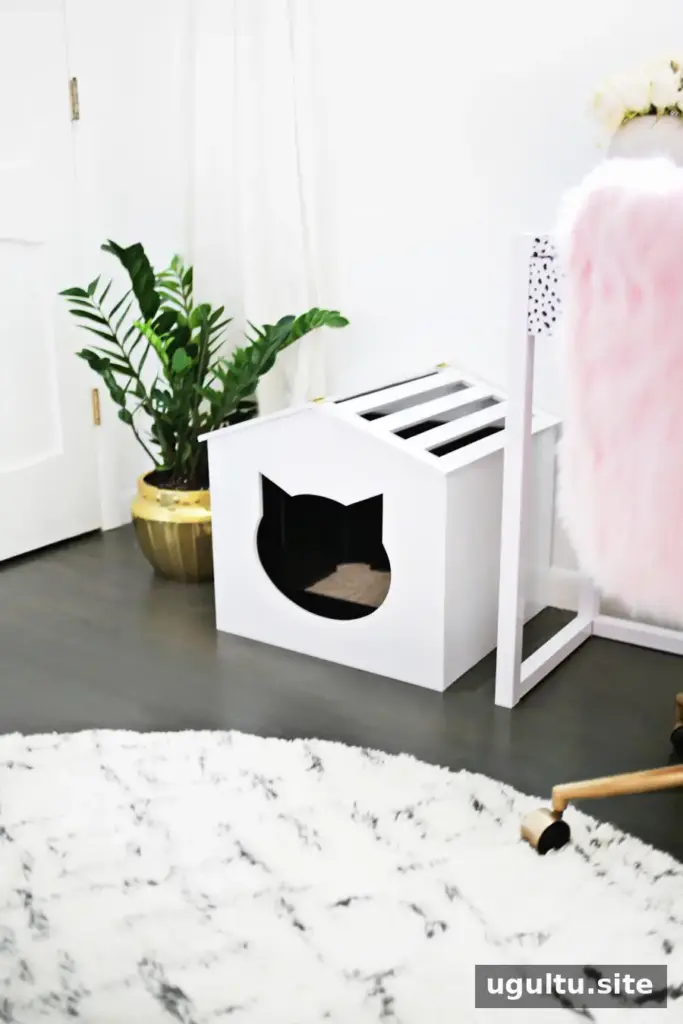
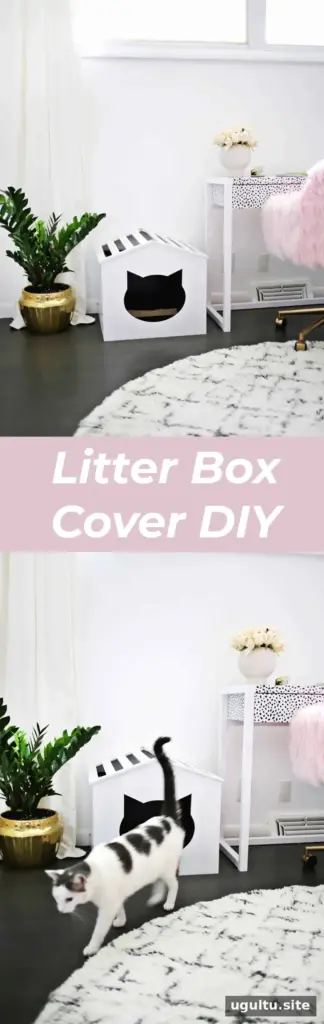
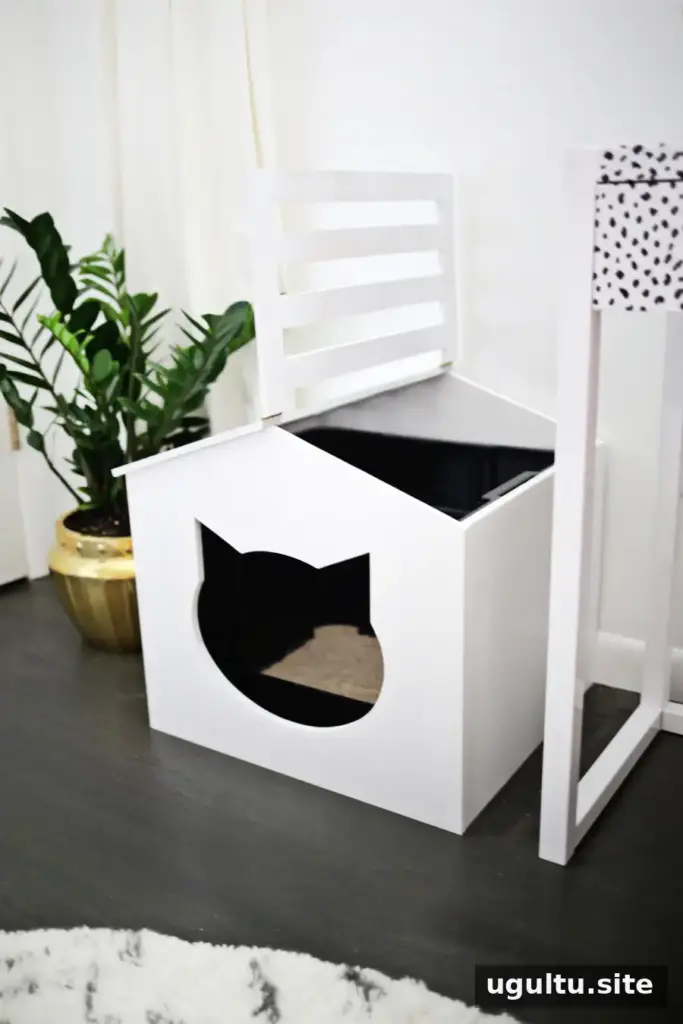
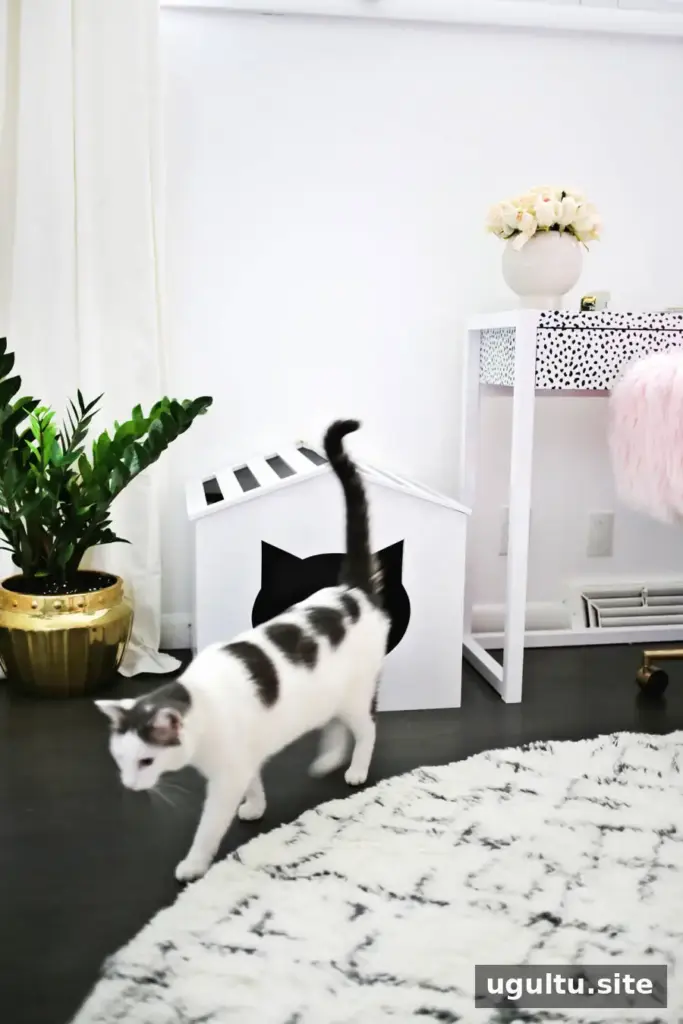
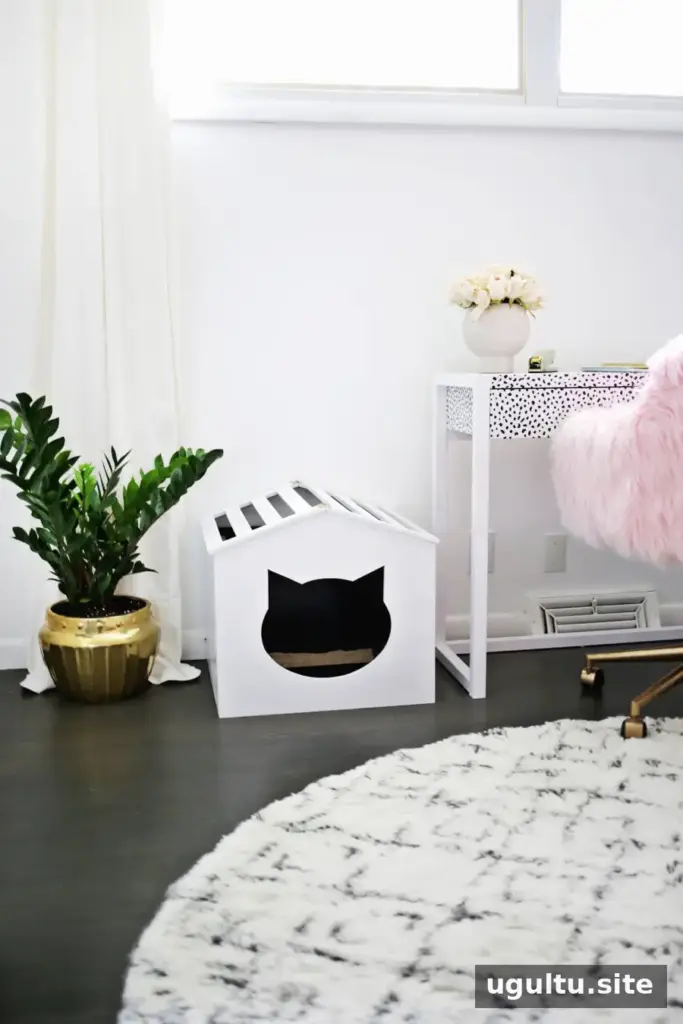
A DIY litter box cover can make a cat’s litter area fit more naturally into a room while keeping the box accessible for daily use. This wooden design has four side panels, a cat-shaped entrance, and a slatted roof. You can adapt the measurements to your litter box and choose a roof style that suits your tools and your cat’s preferences.
Materials and tools for a DIY litter box cover
Gather the following supplies before measuring and cutting:
- Sheets of 1/2-inch-thick plywood, large enough for the four sides
- 1 1/2-inch-wide boards for the roof; the original project used six boards about 30 inches long
- Nails and wood glue
- A jigsaw
- A miter saw, if you want to make an opening roof
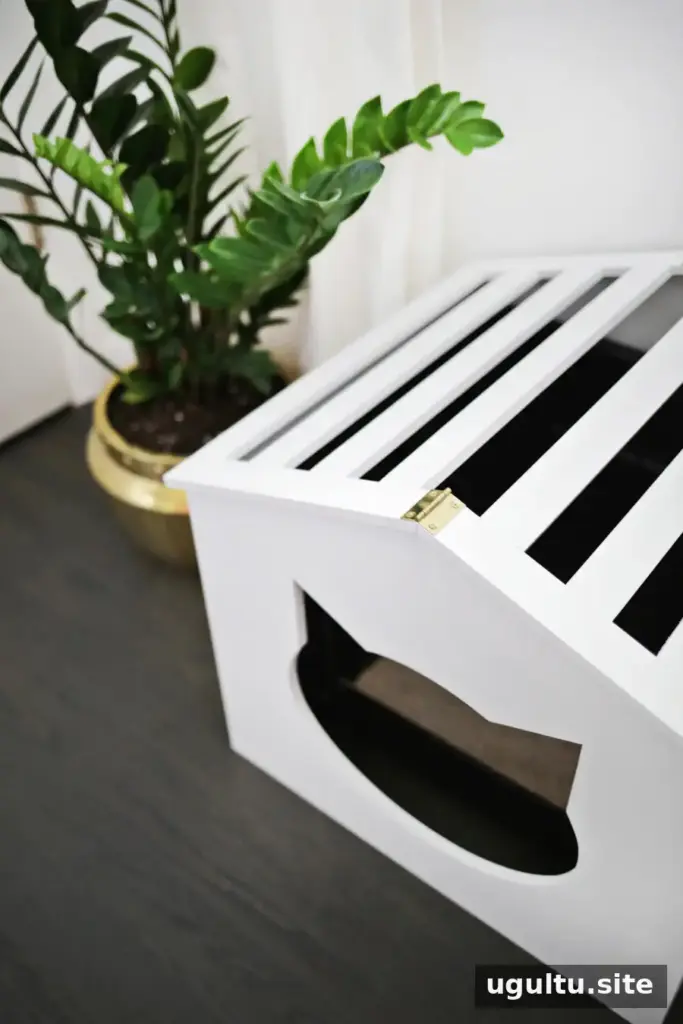
- Two small hinges for the opening roof
- A cat-shaped opening template
- Wax paper and paint
Check that you have a stable work surface and the appropriate safety equipment for your tools. Cut slowly and keep hands clear of the blade.
Measure the litter box and cut the panels
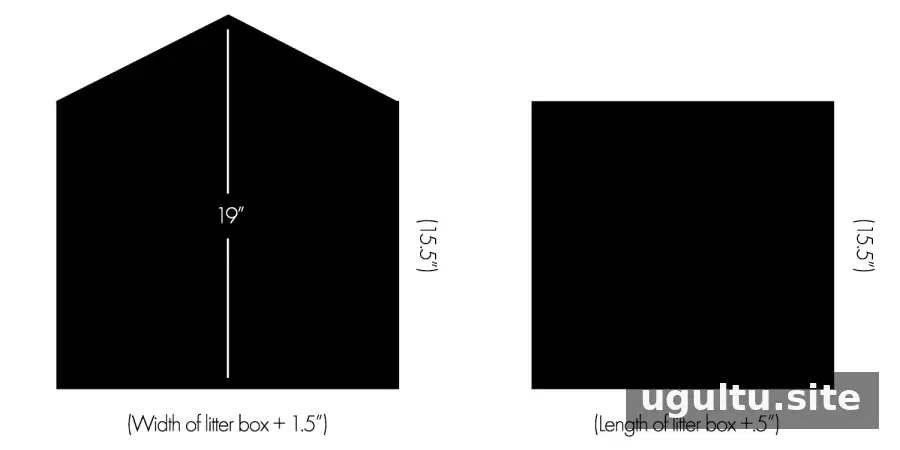
Measure the length and width of the litter box before deciding the cover’s dimensions. The panels should leave about 1/4 inch of space around the box for a snug fit. Make the cover larger if you prefer, but do not make it smaller than the litter box. Plan for two side panels and two front-and-back panels.
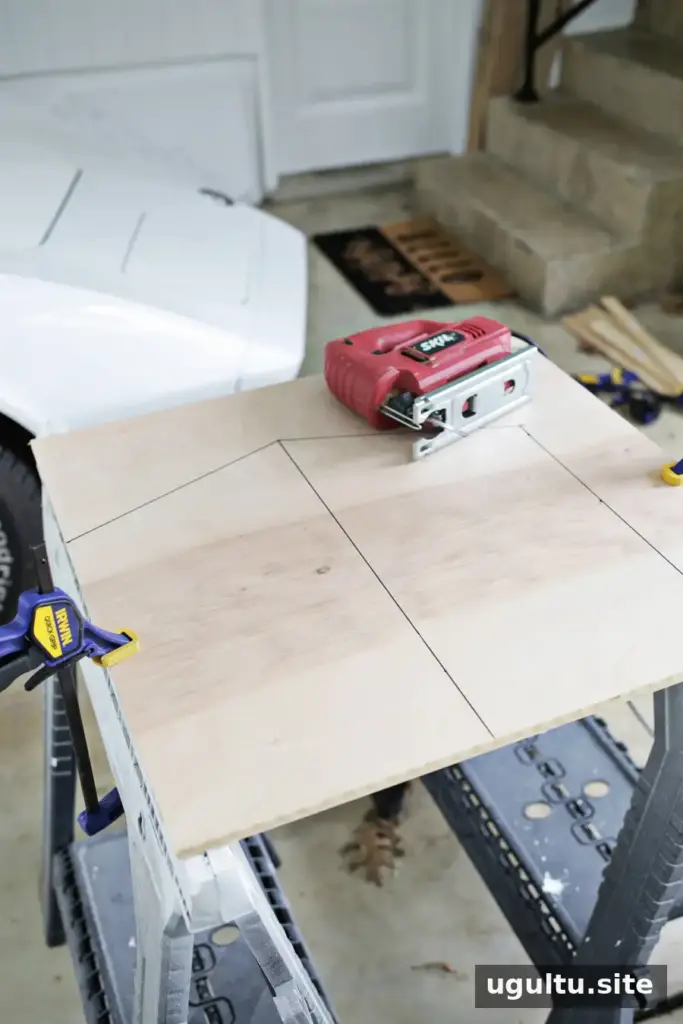
Mark the dimensions on the plywood and cut out all four panels with a jigsaw. Double-check the measurements and panel orientation before cutting, since the sides need to fit between the front and back pieces.
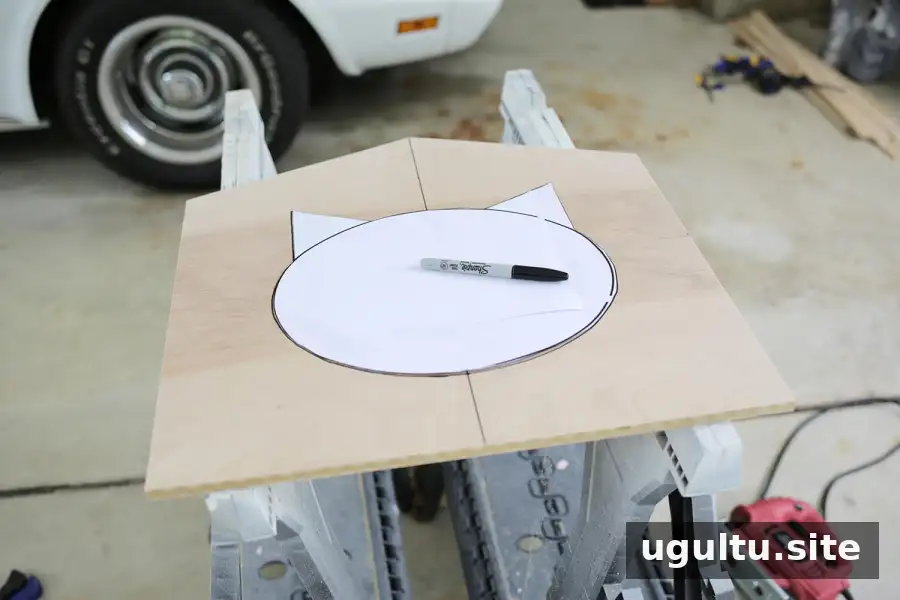
Choose an entrance size that allows your cat to pass through comfortably. For this project, the opening is about 12 inches wide. Print the template at the desired size, joining multiple pages with tape if needed. Trace the shape in the center of the front panel, about 2–3 inches above its bottom edge.
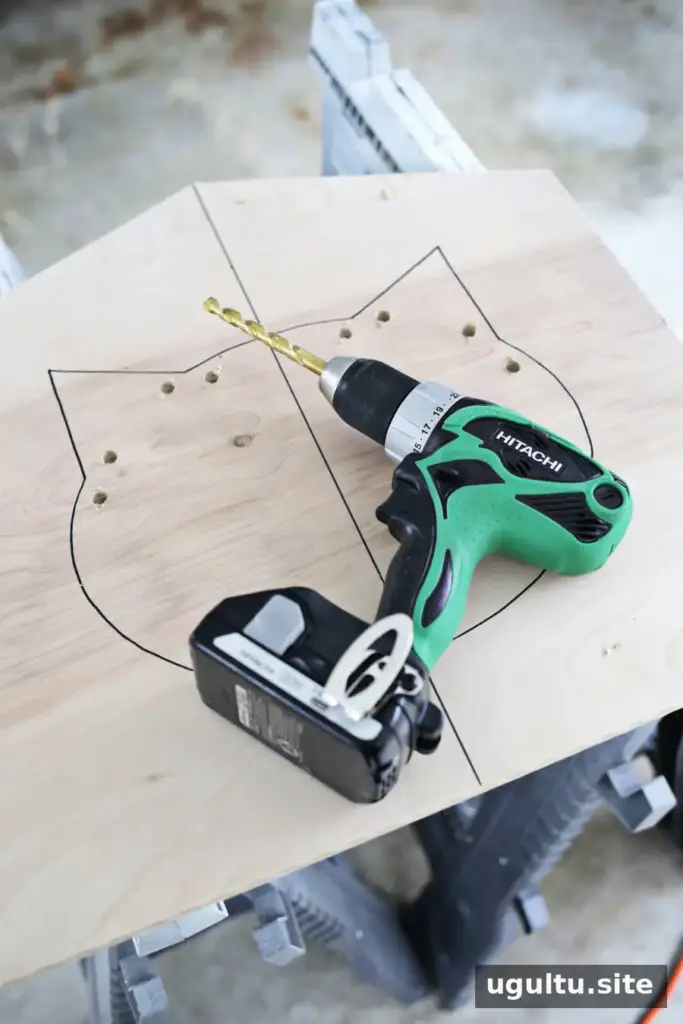
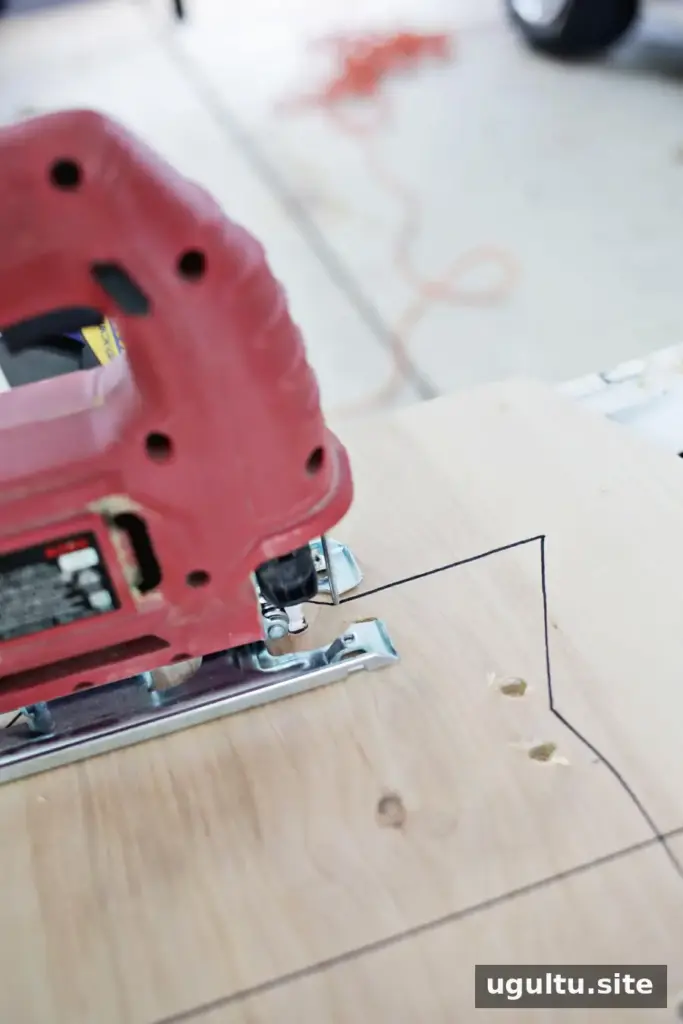
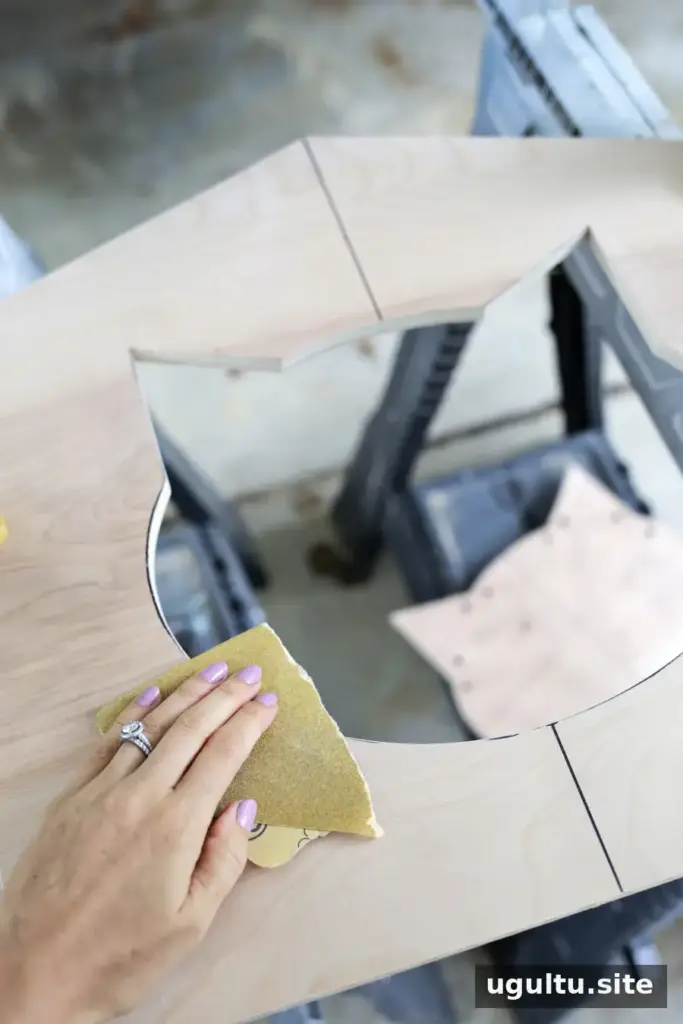
Drill starter holes inside the traced shape. Each hole should be wide enough for the jigsaw blade to enter. Carefully cut along the outline, then sand the edges of every panel and the entrance to remove rough spots.
Assemble the litter box enclosure
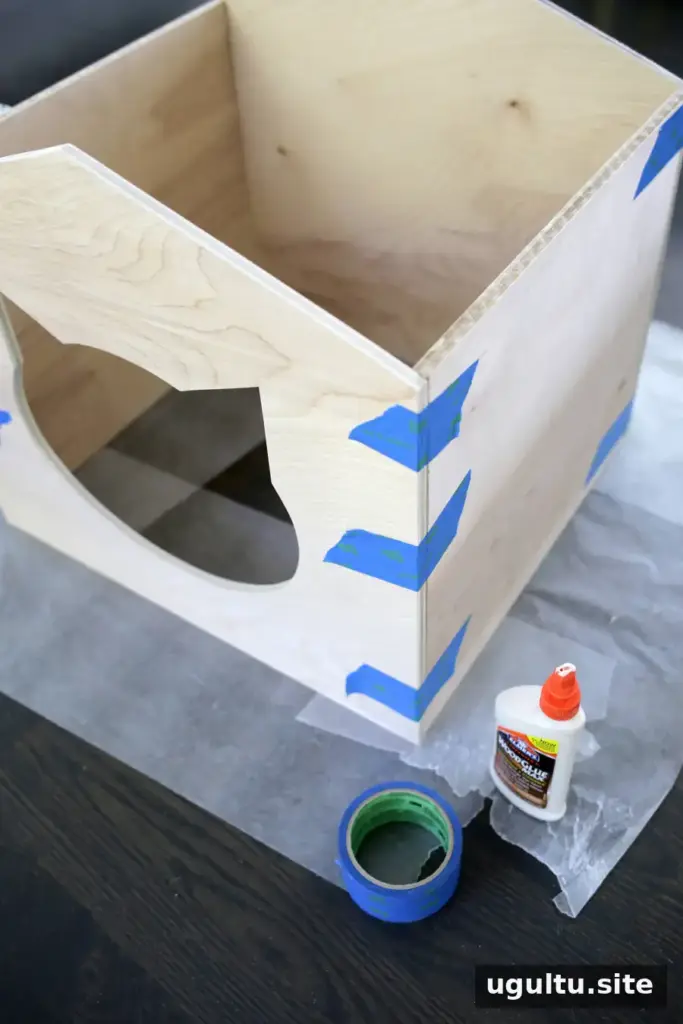
Lay wax paper beneath the joints to catch excess glue. Position the side panels between the front and back panels, square up the corners, and apply wood glue. Use tape or suitably placed boxes to hold the pieces steady while the glue sets. Check that the enclosure remains square before leaving it to dry.
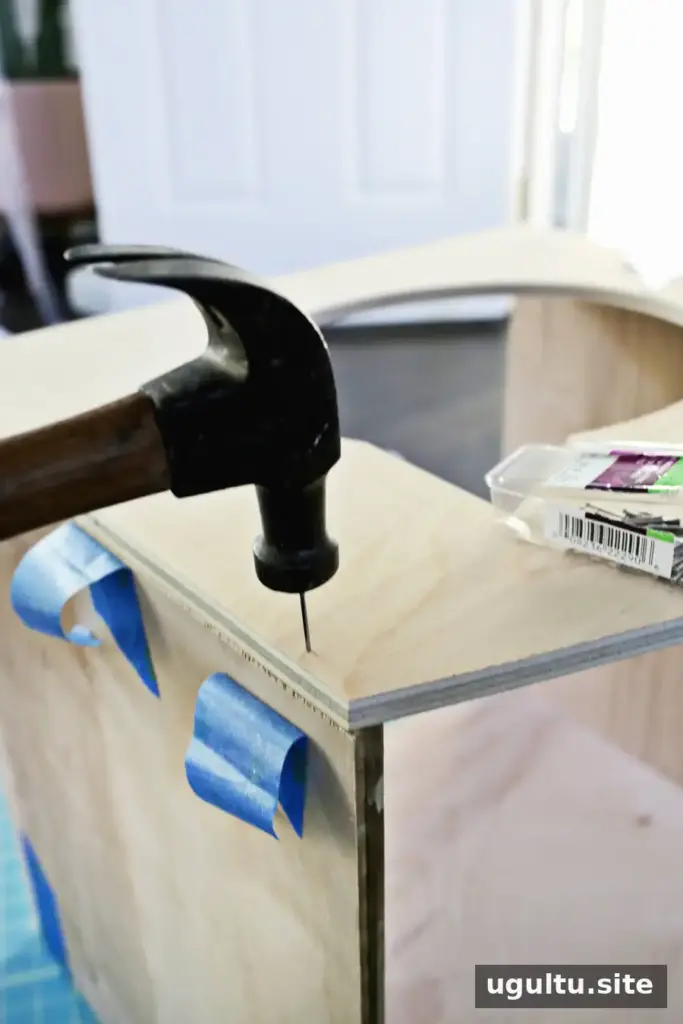
After the glue has set, secure the assembly by hammering nails through the front and back panels into the side panels.
Build the roof
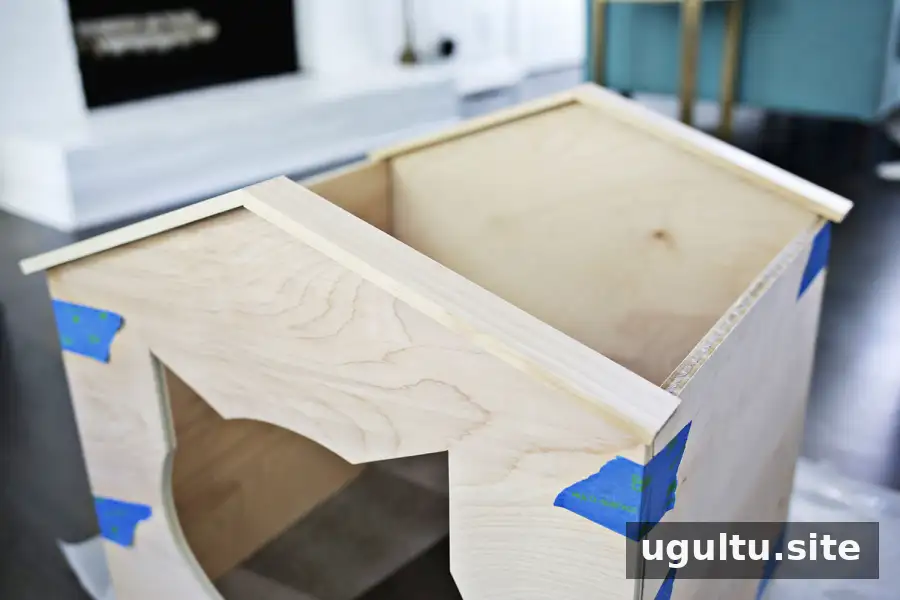
For a hinged roof, use a miter saw to cut four 1 1/2-inch boards so they meet at the roof peak on the front and back, with about a 1/2-inch overhang along the lower edges. The project’s roof angle was 25 degrees; test the angle with scrap wood and adjust it to suit your cover. Center the four angled boards, measure the gap between the front and back pieces, and cut eight additional boards to fit between them.
If you do not have a miter saw, cut 8–10 boards to run from the front to the back of the roof, leaving about a 1/2-inch overhang on both sides. Space and attach them evenly after painting. This simpler roof will not open, so cleaning access will be through the front entrance.
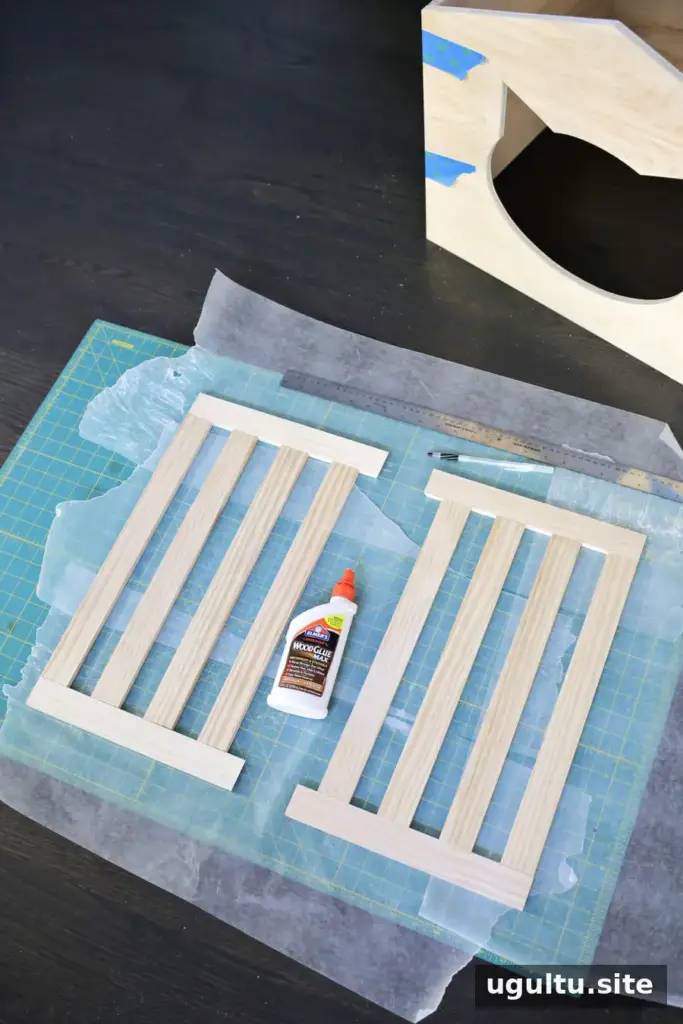
For the hinged version, arrange the eight roof boards evenly between the four angled boards, using wax paper underneath. Glue the pieces together and check their alignment before the glue dries.
Paint and attach the roof
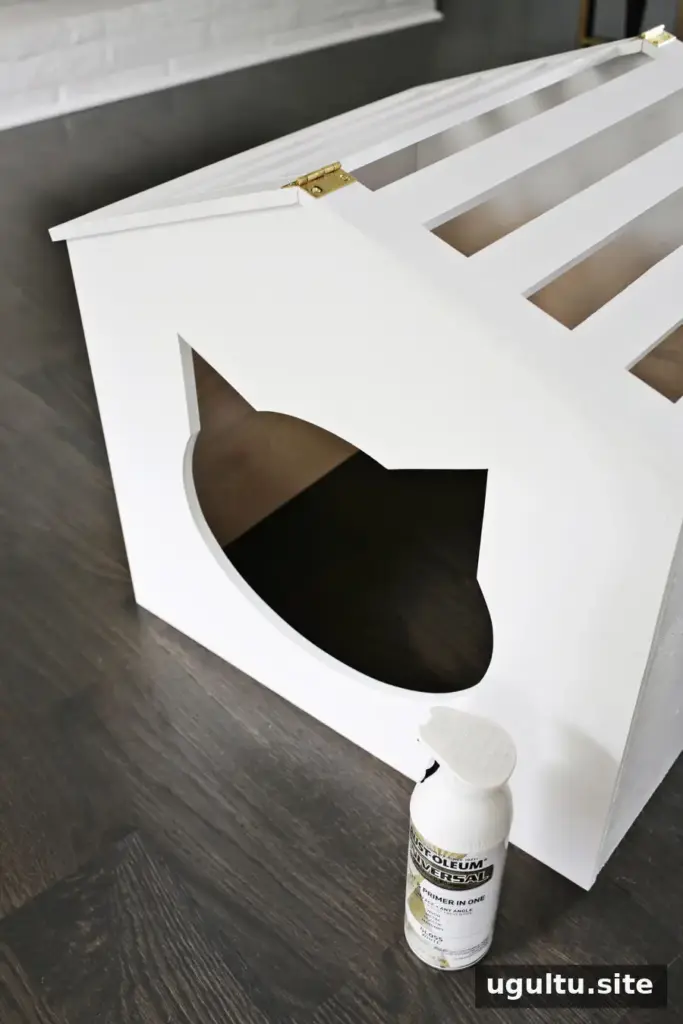
Paint the enclosure and roof pieces in your chosen color, then allow the paint to dry fully. Attach the two roof halves with the hinges, choosing which half should lift for cleaning. Glue or nail the other half in place to help keep the roof stable when opened. Before putting the cover over the litter box, confirm that the hinged section moves freely and the entrance is unobstructed.
Final considerations
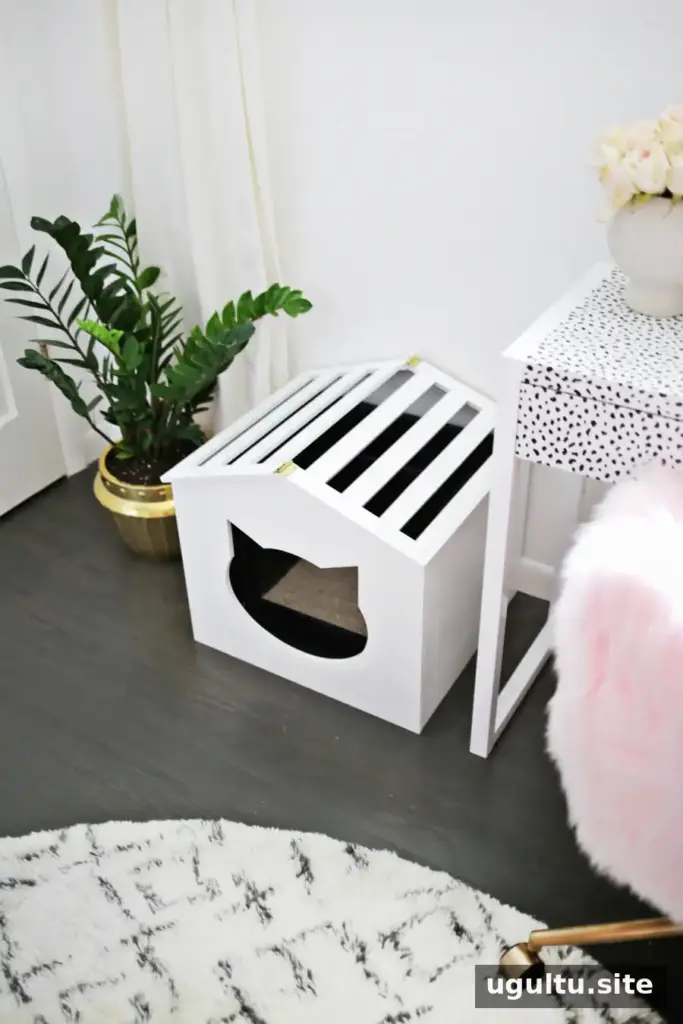
The number and spacing of roof slats can be adjusted to reveal more or less of the litter box from above. Cats differ in how comfortable they feel in enclosed spaces, so consider your cat’s behavior when choosing the roof coverage and entrance size. Make sure the finished cover remains easy to access for cleaning and does not prevent your cat from entering or leaving comfortably.
A well-sized DIY litter box cover can make the litter area less visually prominent while keeping everyday maintenance practical. Check the fit, smooth any rough edges, and allow the paint and glue to dry completely before use.
Design and writing: Laura.