
 admin
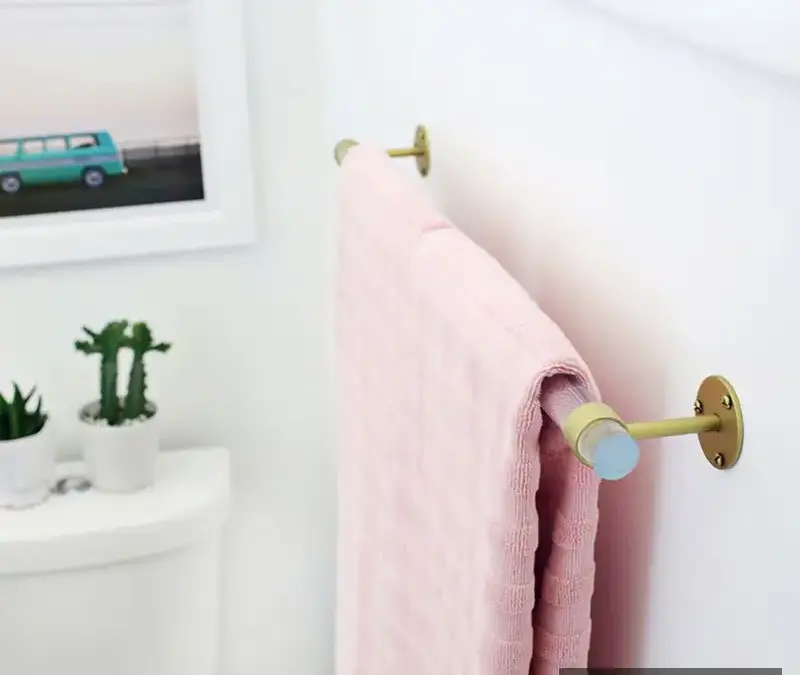
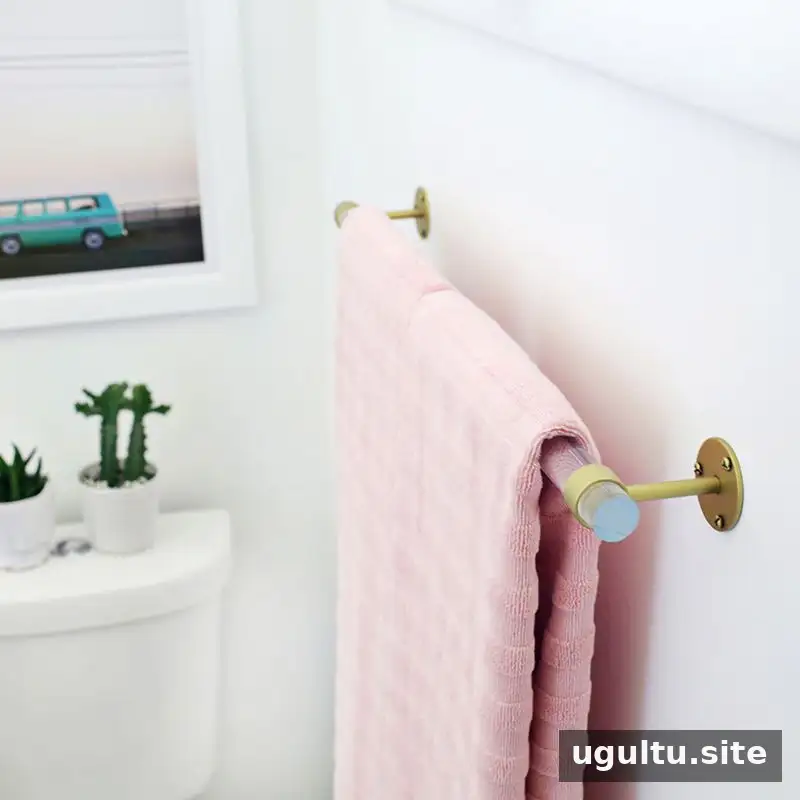
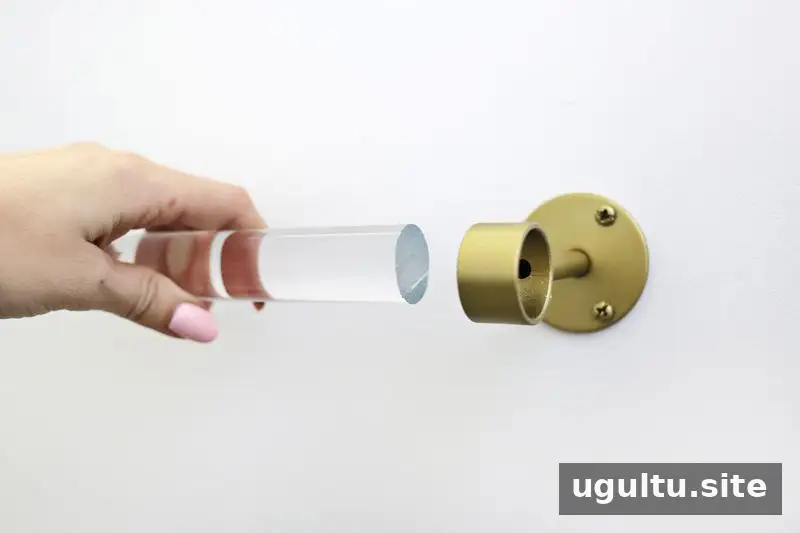
A DIY acrylic towel bar is a simple way to add a clean, polished detail to a bathroom without paying for a costly ready-made design. This project pairs a clear 1-inch acrylic rod with gold-painted brackets. The example uses a 26-inch rod and brackets installed about 24 inches apart, leaving a small amount of rod visible at each end.
Clear acrylic can create a light, open look that works well in a guest bathroom or other compact space. Before starting, measure the wall where you plan to install the bar and check that the rod and brackets will fit your towels and available space.
Materials for a DIY Acrylic Towel Bar
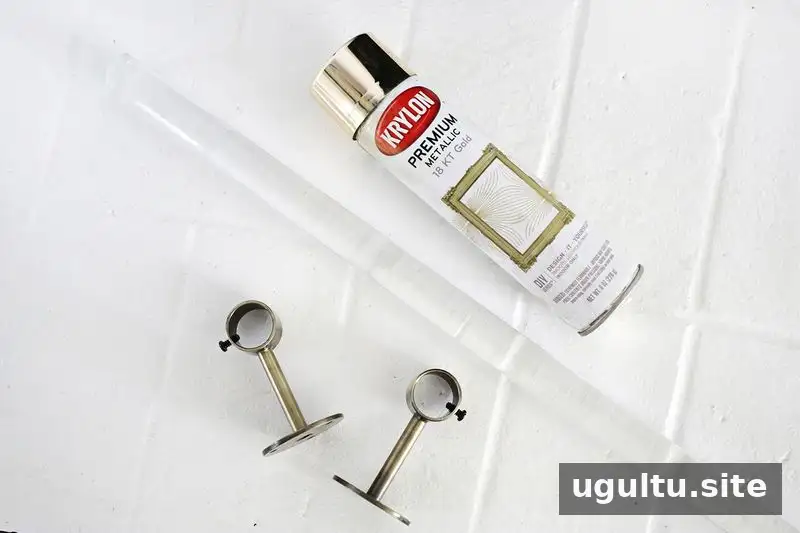
Gather the following supplies before you begin:
- One clear 1-inch acrylic rod, cut to 26 inches
- Two ceiling brackets designed for a 1-inch drapery rod
- Gold spray paint
- A drill or screwdriver
- Super glue, if needed to secure the rod in the brackets
- A level and painter’s tape to help mark the installation line
Rod lengths and bracket spacing can be adjusted to suit your wall. Keep in mind that the rod should extend slightly beyond the brackets if you want the same visible ends as the example.
Paint and Prepare the Brackets
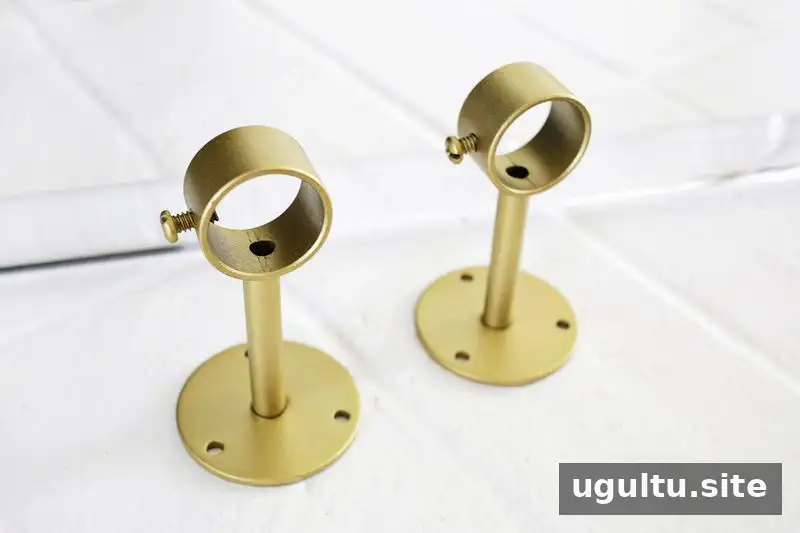
If the brackets have a finish that does not match your bathroom, spray-paint them gold before mounting. Apply a few coats as needed and allow the paint to dry fully according to the product label. Spray paint should be used in a well-ventilated area, with nearby surfaces protected from overspray.
Install the Acrylic Towel Bar
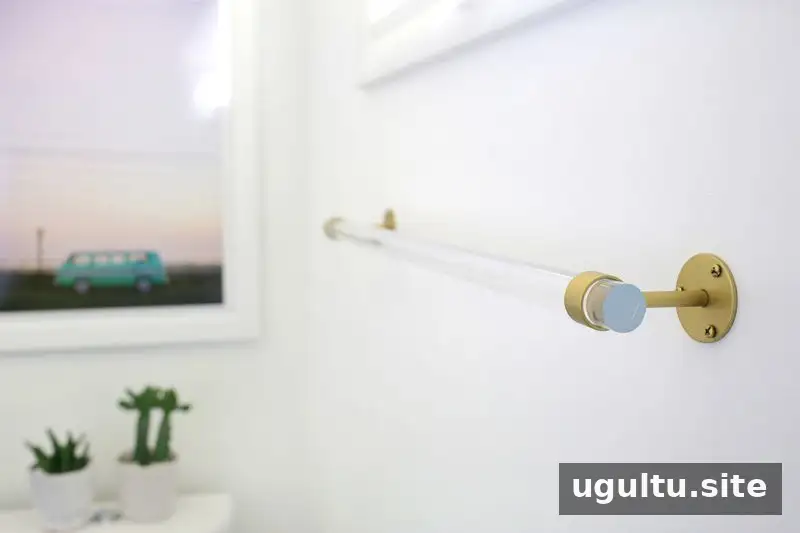
Once the brackets are dry, mark their positions on the wall. In this project, they are mounted about 24 inches apart, with a 26-inch rod. Use painter’s tape to mark a straight reference line, then check it with a level before drilling. Measure twice so the brackets are aligned and the rod sits evenly.
Choose mounting hardware suitable for your wall type and follow the bracket instructions. If the brackets do not include appropriate fasteners for the wall, select suitable anchors rather than relying on screws that may not hold securely.
Place the acrylic rod into the brackets. Tighten the bracket screws to hold it in position, if included. Alternatively, a small amount of super glue can be used to secure the rod. Check that the adhesive is compatible with acrylic and follow its instructions; test on an inconspicuous area first if possible.
Finish and Use
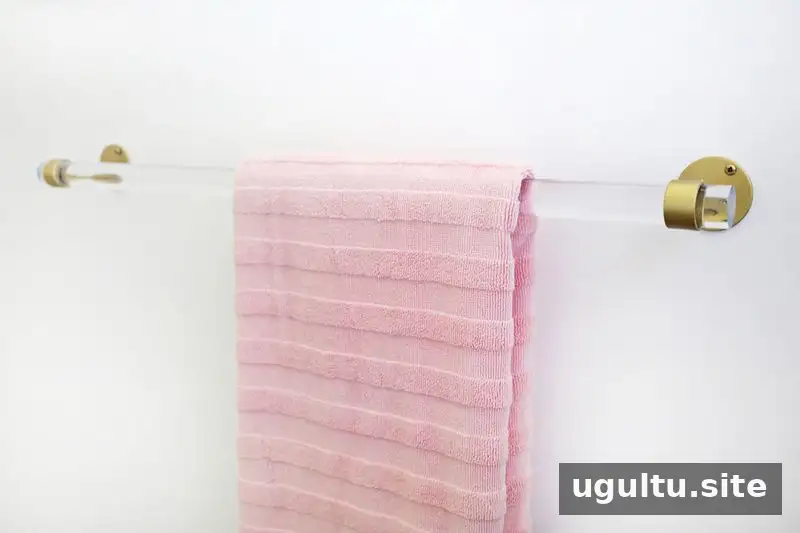
When installation is complete, add the towels and check that the bar feels secure before regular use. Avoid putting more weight on it than the brackets and wall fasteners are designed to support.
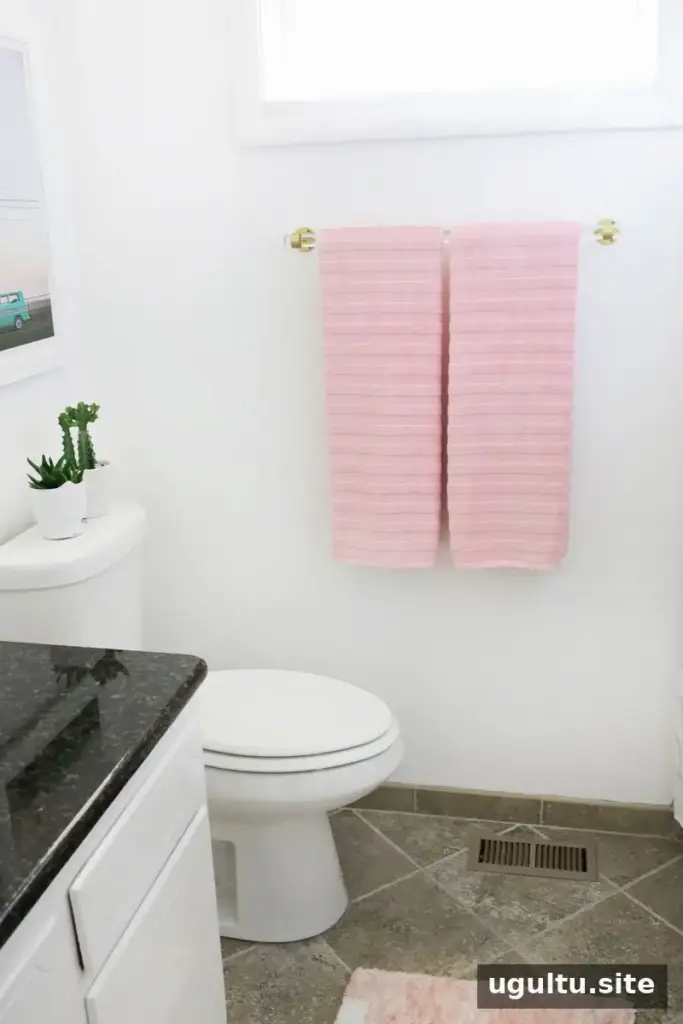
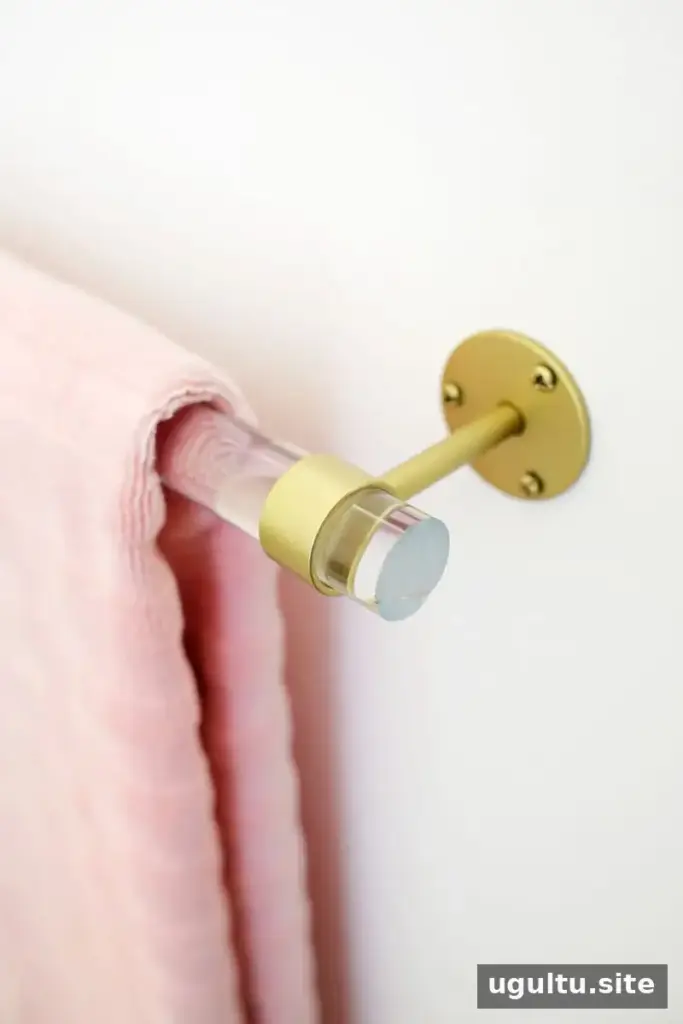
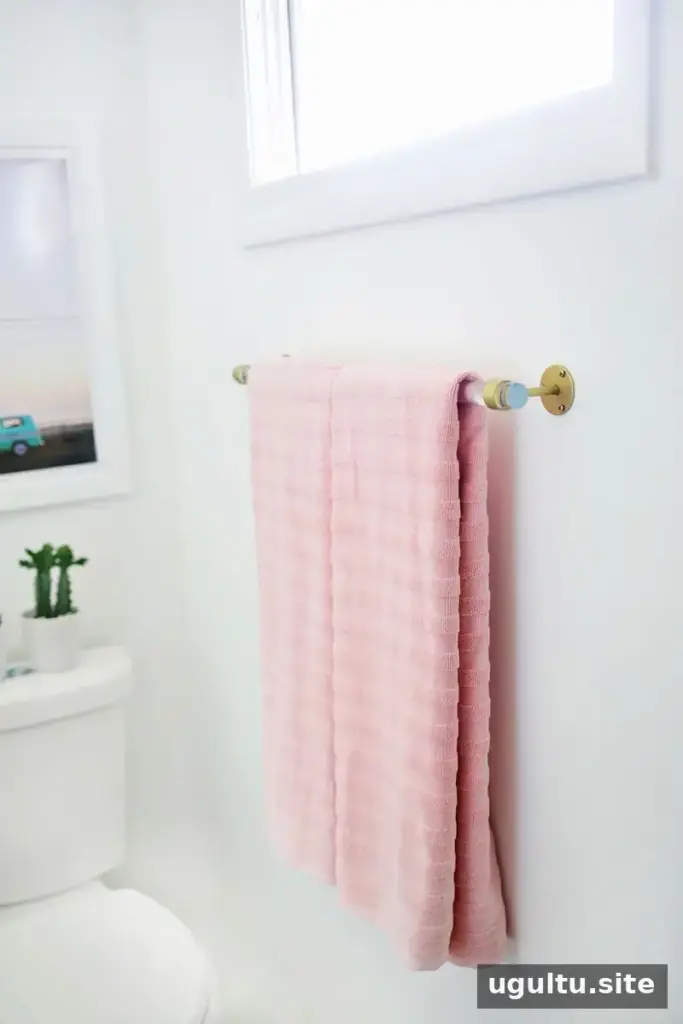
The combination of clear acrylic and gold brackets gives a basic towel bar a more refined appearance while keeping the design visually light. For a different finish, brass end brackets can be used in place of the ceiling brackets. That option brings the approximate project cost to $80, compared with about $30 for the ceiling-bracket version described here.
This project can be adapted by changing the rod length or bracket style, as long as the parts are sized to work together. Confirm the measurements and wall support before buying materials so the finished bar suits the intended location.
—Laura


