
 admin
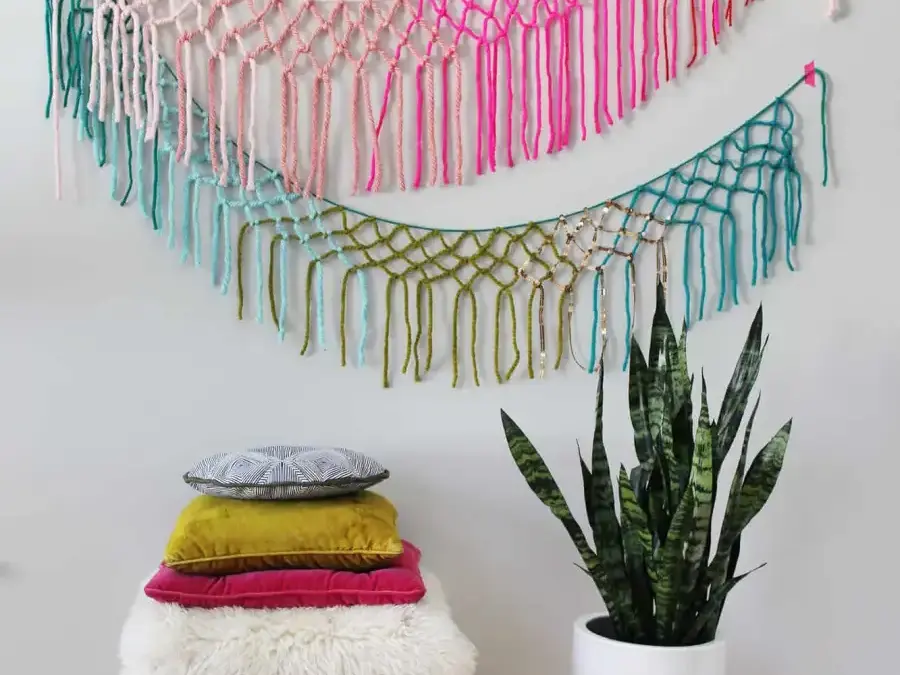
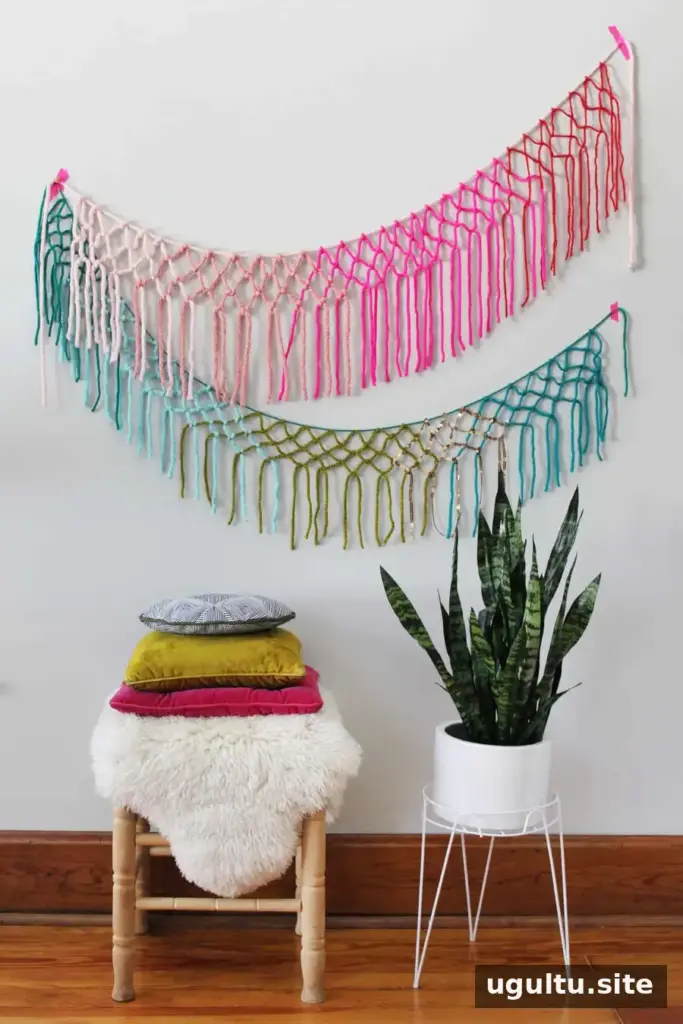
A macrame yarn garland is a simple way to add color and texture to a studio, party backdrop, or wedding table. This beginner-friendly project uses chunky yarn and a repeating knot pattern, so you can make a decorative hanging without needing a large supply of rope or complicated tools. Choose yarn colors that work together, then adjust the length and fringe to suit your space.
Materials for a Macrame Yarn Garland
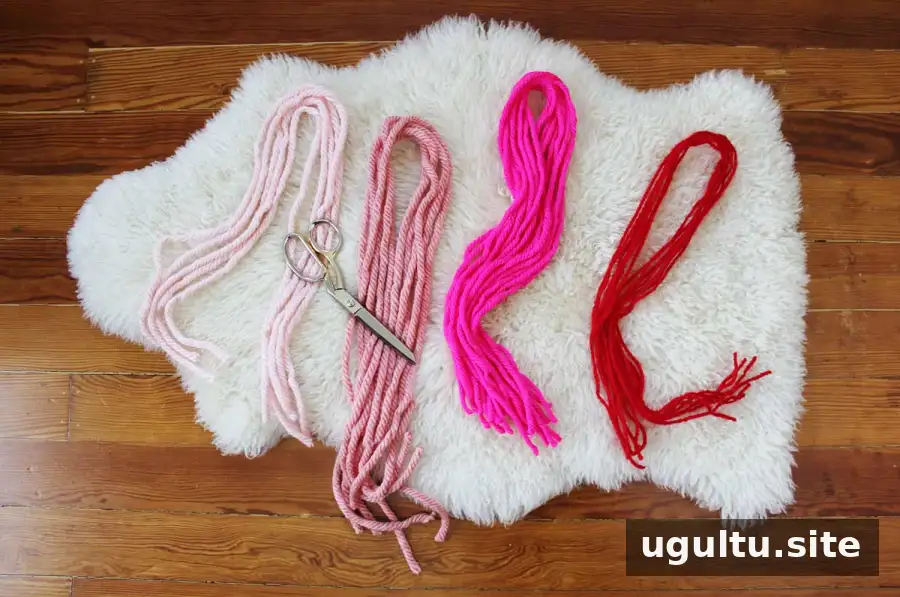
Gather the supplies before you begin. Using yarn in similar thicknesses helps the fringe hang more evenly, while a mix of colors creates a playful look.
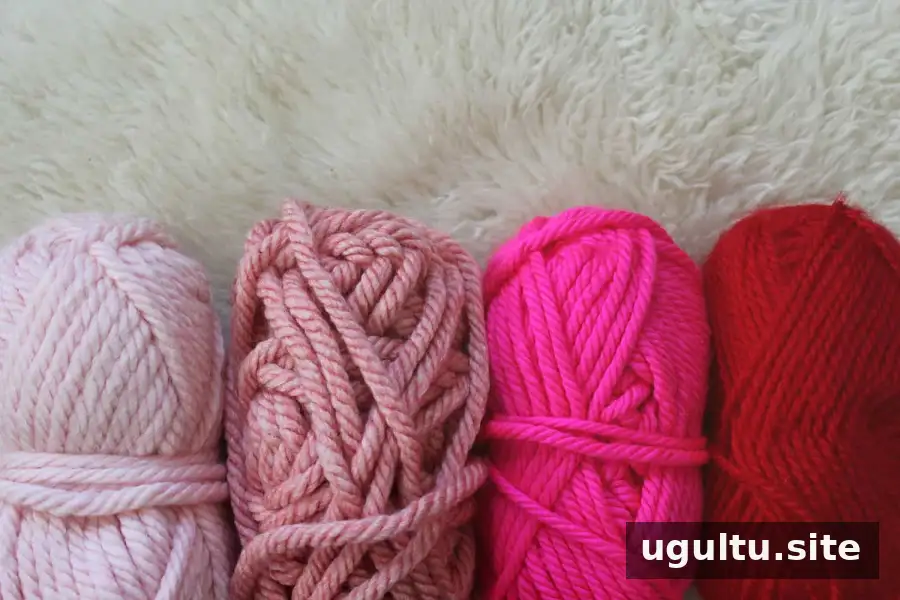
- Chunky yarn in a variety of colors, ideally in similar thicknesses
- Scissors
- Washi tape or push pins for holding the base strand in place
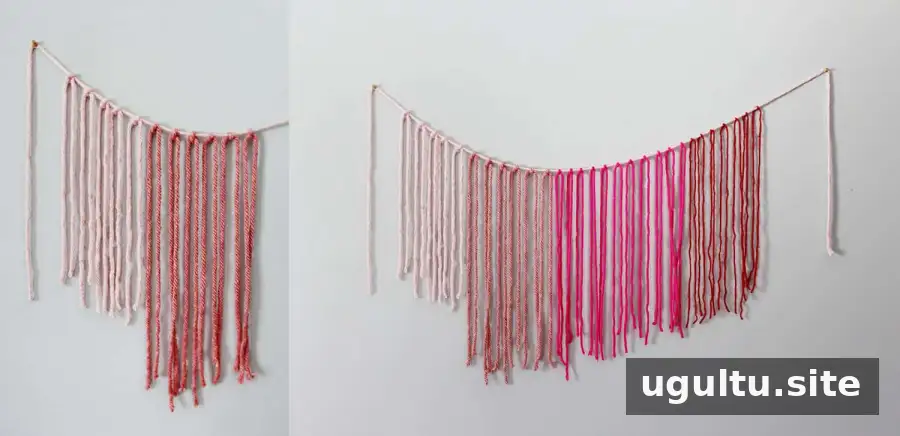
The garland adds color and visual interest without requiring a lot of materials or work time. It can be used as a backdrop for a celebration or hung as a bright accent in a room. For an event, plan where it will go before cutting the yarn so the base strand is long enough to span the intended area.
How to Make a Macrame Yarn Garland
1. Cut the yarn
Cut one long strand to serve as the garland’s base. The original project used a base about 8 feet long. Then cut the remaining yarn into pieces between 2 and 3 feet long, depending on how much fringe you want. Keep in mind that knotting shortens the hanging pieces, and you can trim them evenly once the garland is assembled.
Space the yarn pieces about 2 inches apart along the base to start. The strands can be spread out further after you tie the knots. For a garland of this size, approximately 30–35 individual pieces may be enough.
2. Attach the fringe to the base
Secure the base strand to a wall or another work surface with push pins or washi tape. Tie each cut piece over the base with a single knot. Keep the knots arranged along the strand, but avoid pulling them so tightly that the yarn becomes difficult to adjust.
3. Create the first row of knots
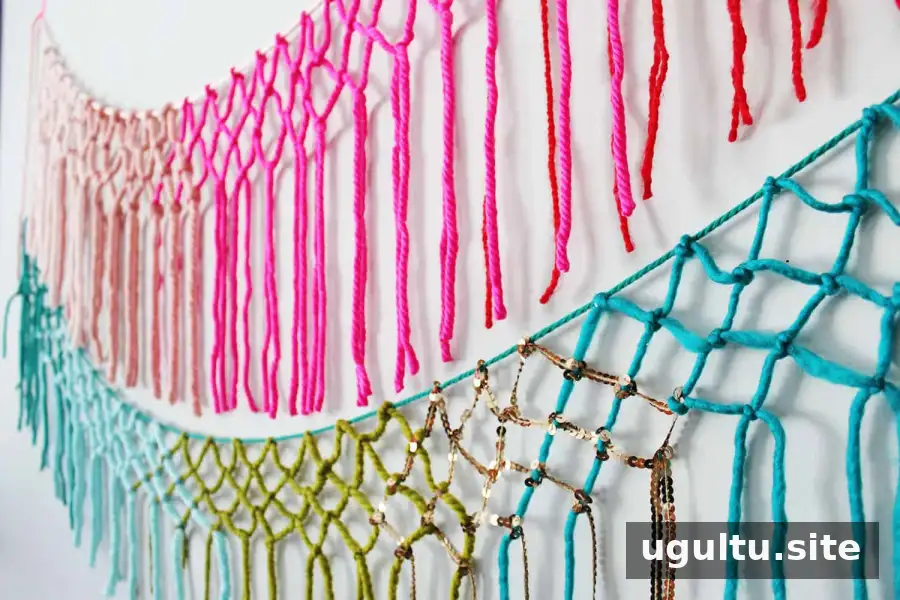
Skip the first hanging strand. Tie the second and third strands together with a double knot about 2 inches below the base. Continue across the garland, knotting neighboring pairs at roughly the same distance below the base. Position each pair of knots approximately between the attachment points above it to create an offset, net-like pattern.
4. Add another row and finish
Start the next row at the first strand, tying it to the second strand. Continue across, making this row about 2 inches below the previous row. To extend the pattern, return to the left side, leave the first strand loose, and knot the second and third strands together. Repeat the alternating pattern across the garland, adding as many rows as you like.
Stop when you have the amount of fringe you want. Trim the ends so they are even, checking the overall shape as you go. For a dressier variation, add sequin trim; the project also works with a full strand of gold sequin trim for extra sparkle. —Rachel
Finishing Tips
- Lay the garland flat before trimming so you can compare the fringe lengths.
- If you are unsure about the finished length, leave extra yarn at first and cut it down after the knots are complete.
- For a balanced look, keep the rows spaced consistently and choose colors that complement the setting.
This macrame yarn garland is easy to customize with different colors, fringe lengths, and numbers of knot rows. With a few basic materials and a little planning, you can make a cheerful hanging that suits your space or event.


