
 admin
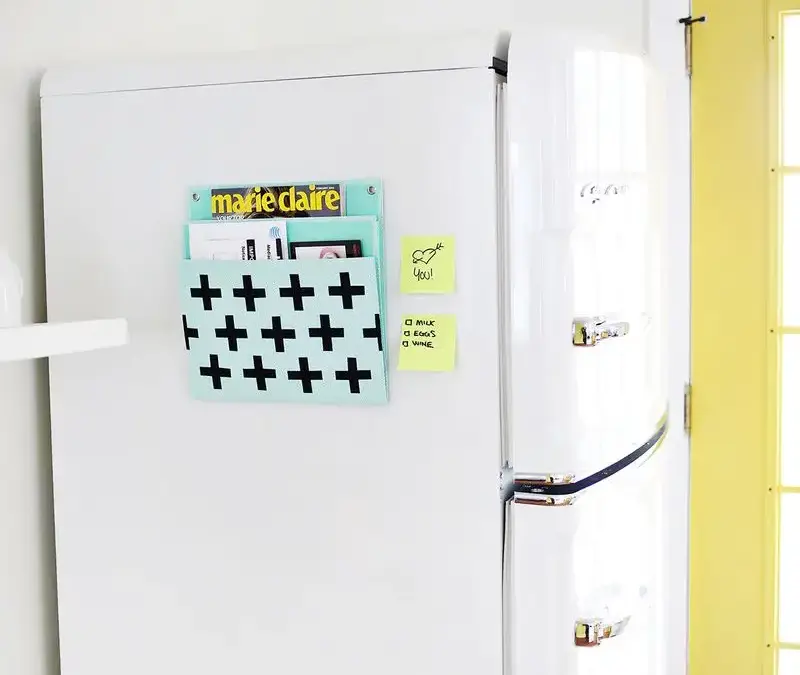
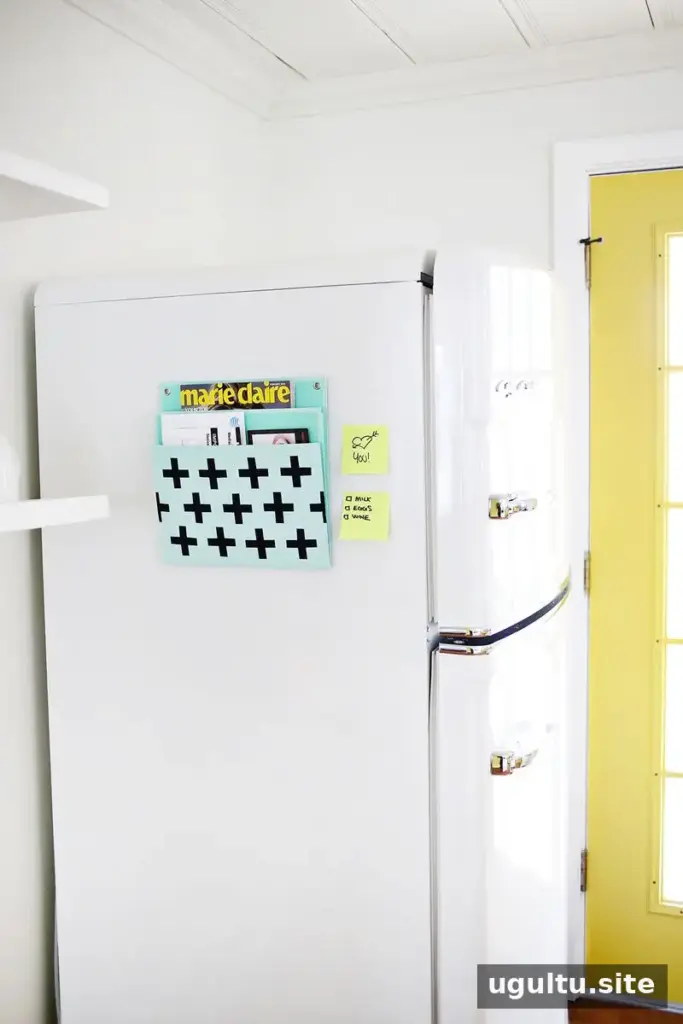
A magnetized mail holder DIY project can help keep incoming letters and important papers together without taking up valuable counter space. This compact organizer uses a pocket file attached to a magnetic surface, making it easier to collect mail in one place and review it regularly.
A large desk organizer can quickly become a catch-all for papers and other items. Choosing a smaller holder encourages a simpler system: keep only the documents you still need, and sort through them often. A few decorative details also make the organizer feel at home in your kitchen or workspace.
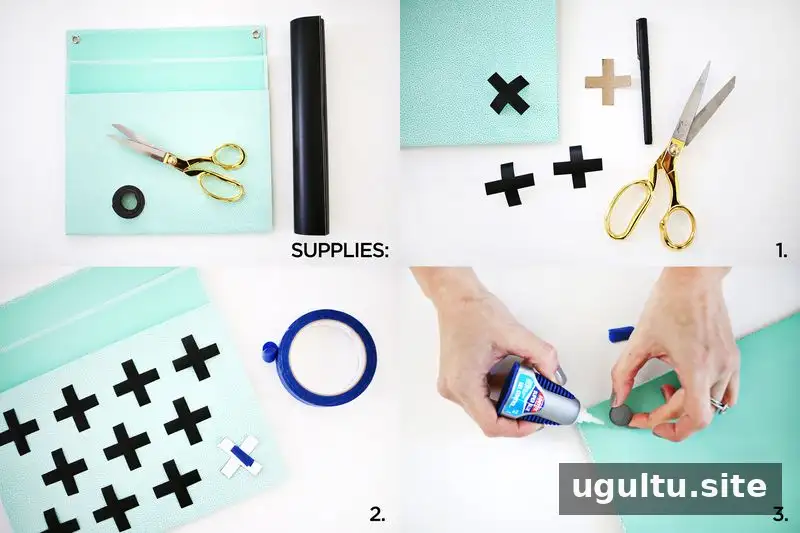
Supplies
- Pocket file
- Adhesive-backed vinyl
- Scissors
- Four to six round magnets
- Super glue, if the magnets do not have adhesive backing
- Craft paper
- Painter’s tape, optional
How to Make a Magnetized Mail Holder DIY
1. Make a decorative template
Draw a simple shape on craft paper and cut it out to create a template. A Swiss cross is one option, but you can choose another shape that suits your style. Trace the template onto the back of the adhesive-backed vinyl, then cut out as many pieces as you need.
Tip: Before cutting several pieces, check that your template fits comfortably on the front of the pocket file. This helps you plan the spacing and avoid wasting vinyl.
2. Arrange and attach the vinyl
Position the vinyl shapes on the front of the file before removing their backing. To keep the pieces in place while arranging them, make small tape loops with painter’s tape and temporarily attach each shape. When the layout looks right, peel off the backing and apply the vinyl one piece at a time, smoothing it down as you go.
Tip: Work on a clean, dry surface so the adhesive can make good contact. Take a moment to check the spacing before sticking each piece down, since repositioning may be difficult.
3. Attach the magnets
Turn the pocket file over and use super glue to attach four to six round magnets to the back. Alternatively, use magnets with adhesive backing. If using glue, follow the product instructions and allow it to dry fully before hanging the holder.
Check that the magnets are secure and that the surface you plan to use is magnetic. Test the holder with a small amount of mail first, then add papers gradually to make sure it stays in place. Avoid overfilling it, and keep heavier documents in a suitable filing system.
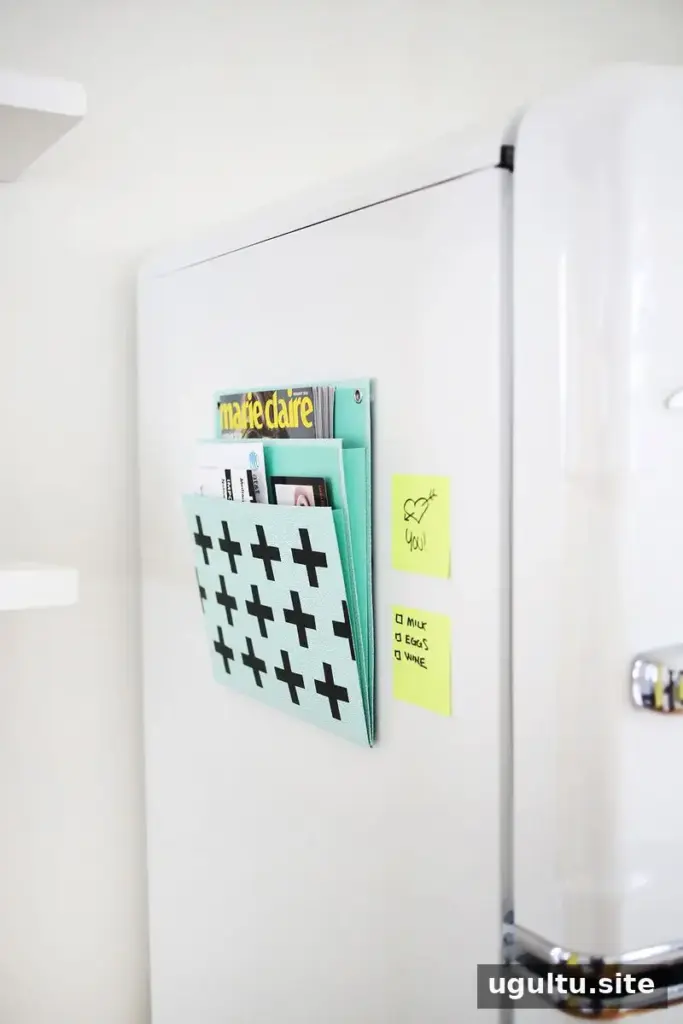
Use the Holder to Keep Mail Under Control
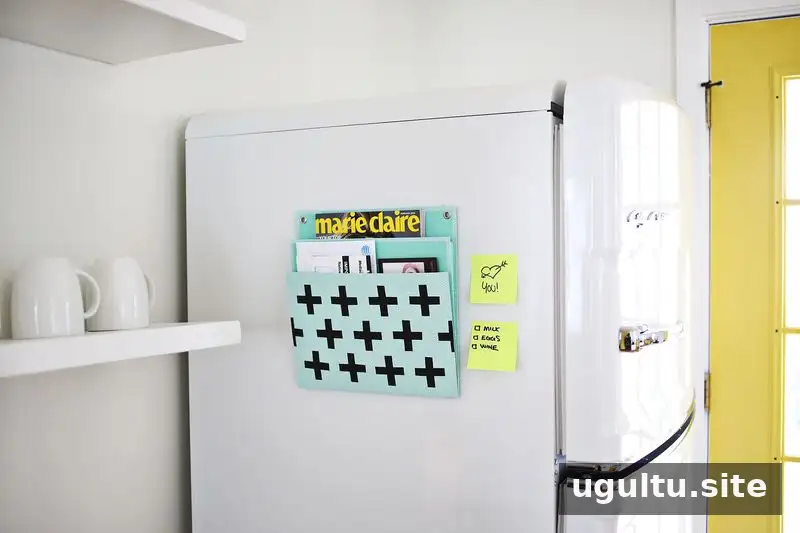
Place incoming mail in the pocket and set a regular time to sort it. Separate papers that need action from items that can be recycled, and remove anything that is no longer useful. A smaller holder works best when it remains a temporary landing spot rather than long-term storage.
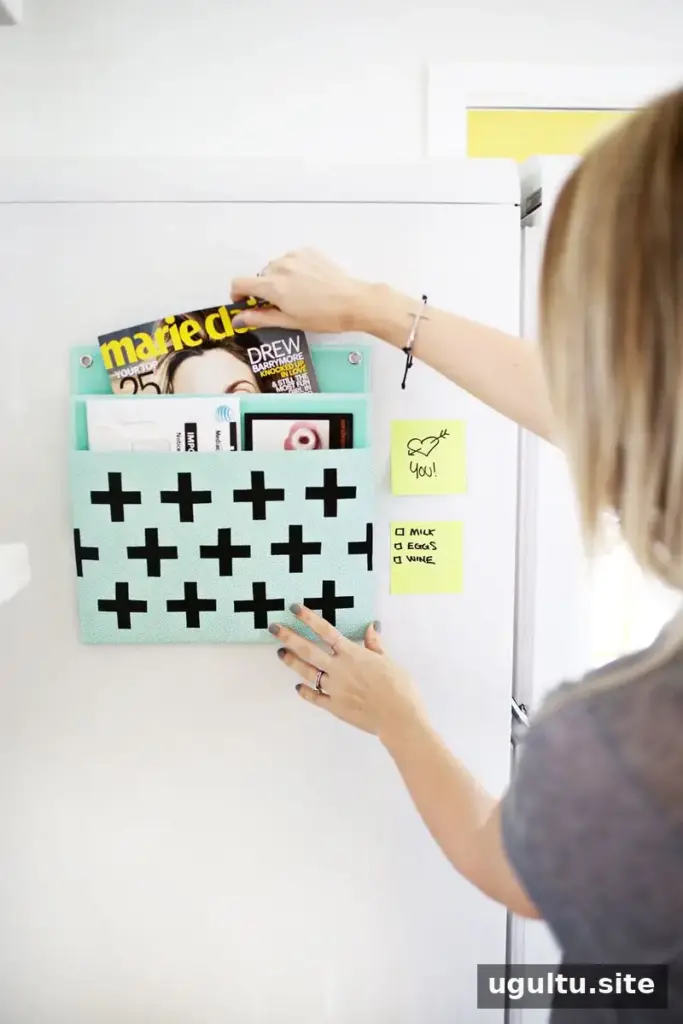
This quick project creates a decorative way to keep important papers, coupons, and incoming mail together without using counter space. With a pocket file, a few magnets, and adhesive-backed vinyl, a magnetized mail holder DIY can make everyday paper clutter easier to manage. — Laura


