
 admin
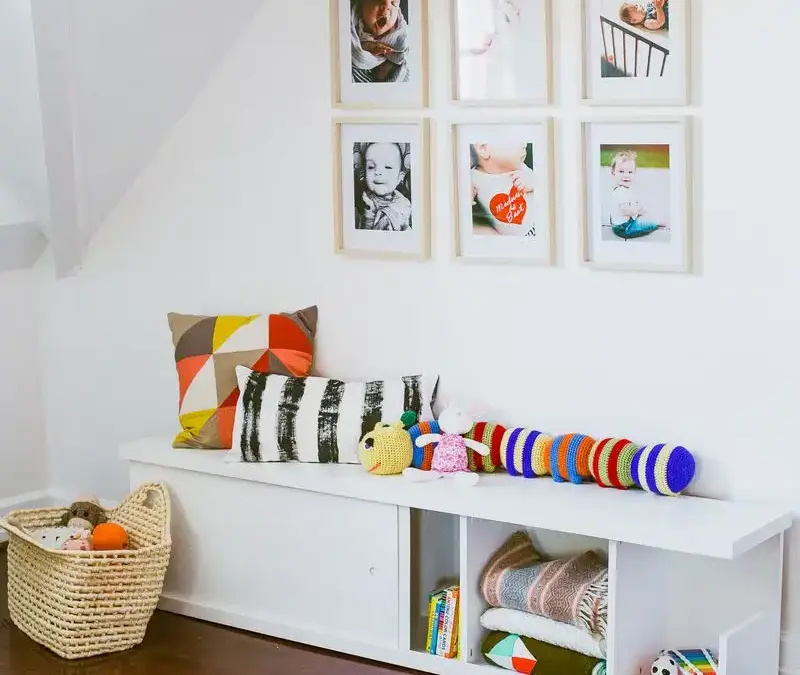
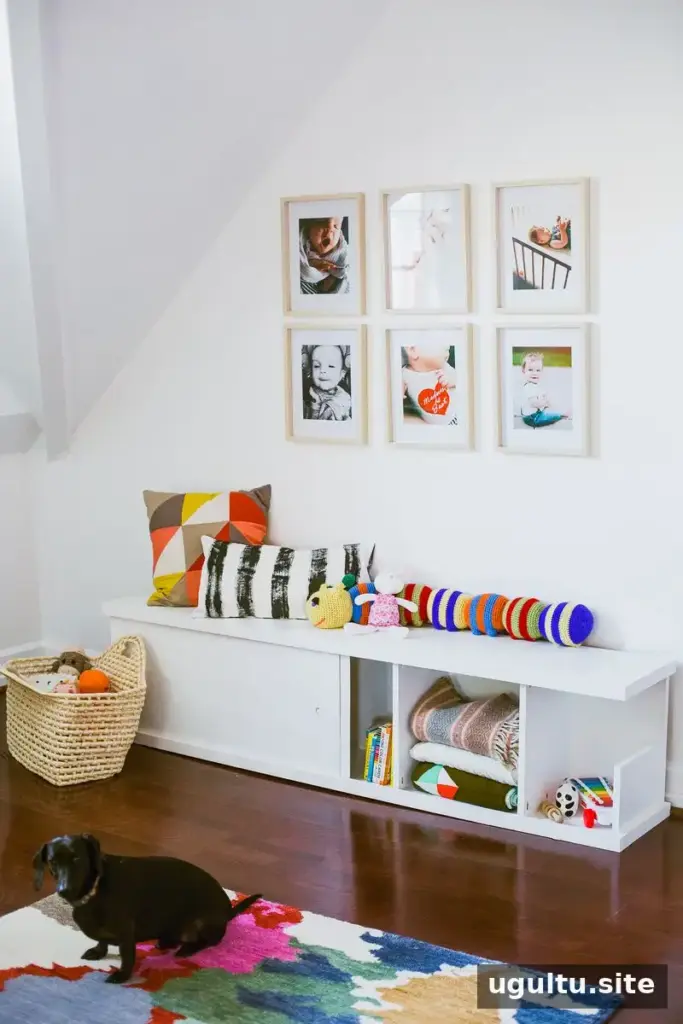
A built-in storage bench can add useful seating and help keep toys or household items organized. This DIY project uses sheet materials, pocket-hole joinery, and optional sliding doors. The design can suit a bedroom or another indoor space; for outdoor use, choose materials and finishes rated for exposure to the elements.
Materials and tools for a built-in storage bench
Gather the following supplies before starting. The project was designed around a 4-foot by 8-foot sheet of 3/4-inch hardwood plywood. A 3/4-inch particle board sheet was used for this version, but plywood is the preferred choice for a repeat build.
- One 4-foot by 8-foot sheet of 3/4-inch hardwood plywood, or 3/4-inch particle board
- One 4-foot by 8-foot sheet of 1/8-inch DPI board, optional for sliding doors
- Wood glue
Tools: table saw, miter saw, nailer, pocket-hole jig, drill, measuring tape, and pencil. Review the project diagram and cut list before cutting so you can identify each piece and plan the cuts. Wear appropriate eye and hearing protection when operating power tools.
How to build the storage bench
1. Cut the pieces
Cut the material according to the project diagram and cut list. The original build aimed to use one sheet of material for the bench. Check each measurement and label the pieces as you cut them; this makes assembly easier and helps prevent parts from being installed in the wrong position.
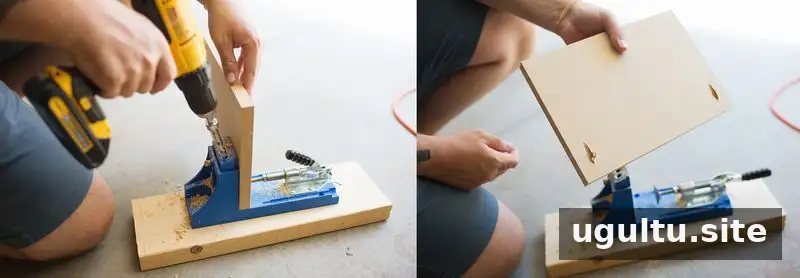
2. Drill the pocket holes
Drill pocket holes in the B pieces along both the top and bottom edges, following the diagram. The D pieces need pocket holes along the bottom only. The side openings are designed to remain partly accessible, allowing items to be reached even when the sliding doors are closed. Confirm the orientation of every piece before drilling.
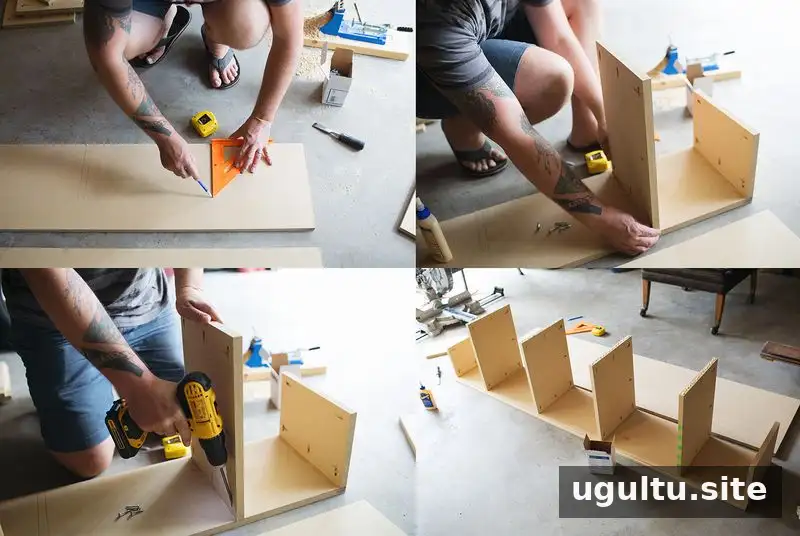
3. Assemble the frame
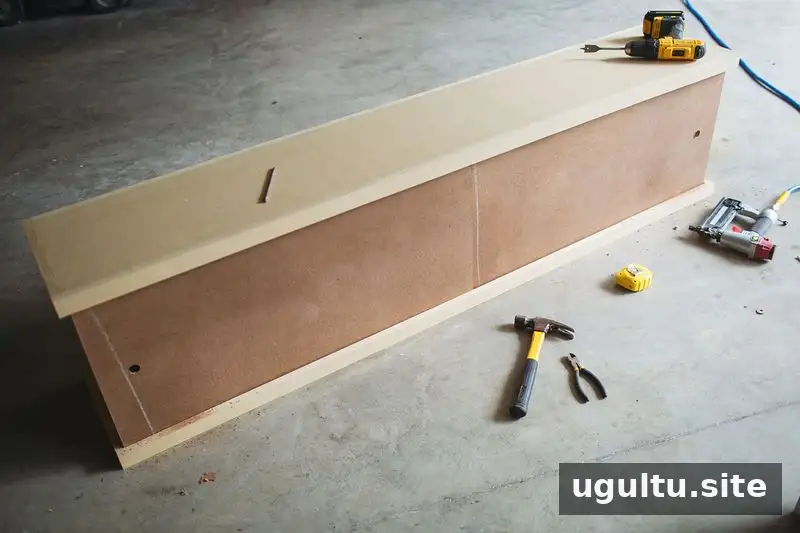
Measure and mark the position of each internal piece. In this design, the pieces are spaced about 9 inches apart. Apply wood glue and use screws through the pocket holes to secure the parts, working down the frame in order. For the sliding-door track, cut a notch approximately 1/4 inch by 1/4 inch from the corner of the upper piece, then attach that piece to the bench top as shown in the diagram.
4. Fit the back, doors, and trim
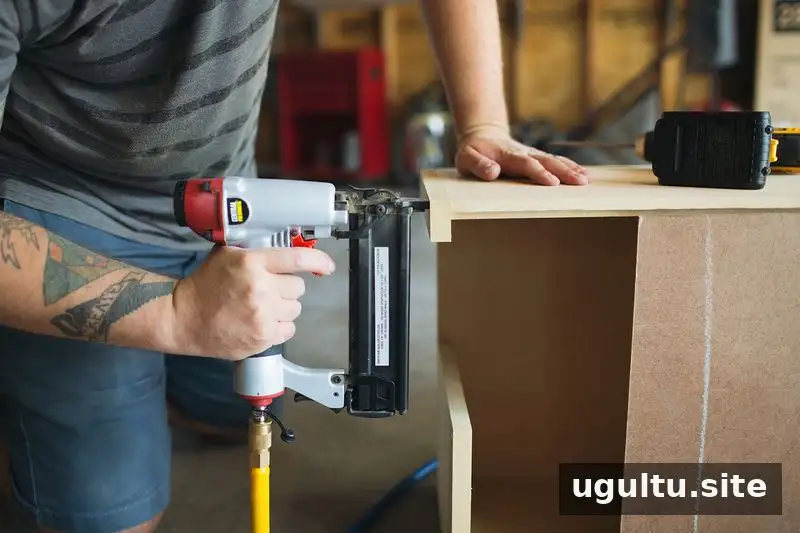
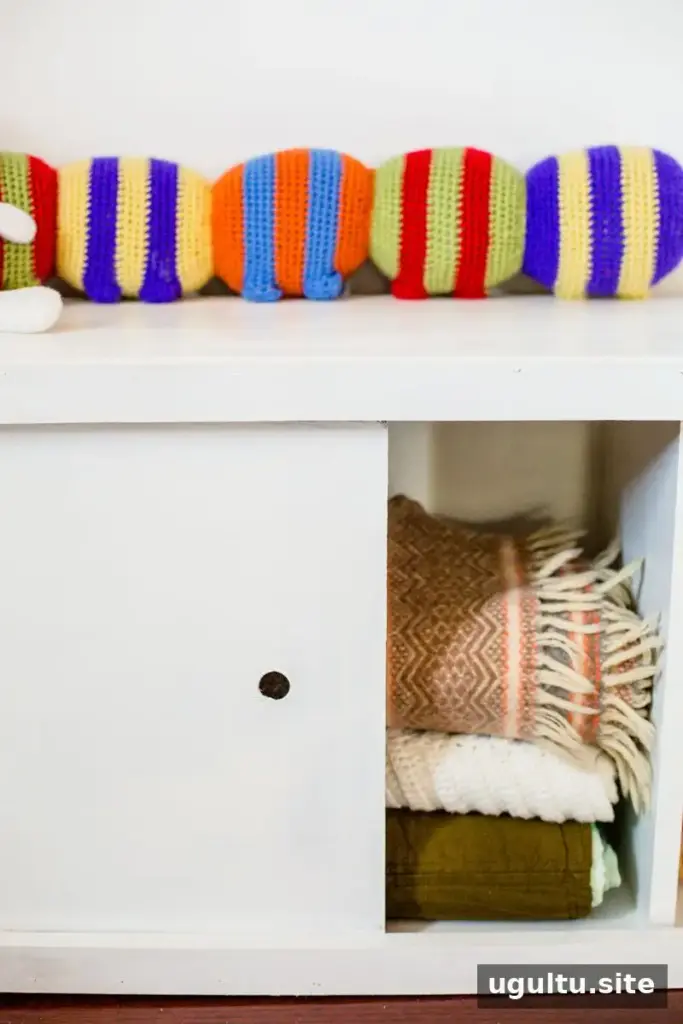
Attach the back after securing the top. Cut the doors to fit the opening and place them in position. Nail the surrounding strips in place to help retain the doors and add a finished edge. Drill finger holes in the doors so they can be moved more easily. Test the sliding action before applying paint or another finish, and check that the bench is stable on the floor.
5. Finish the bench
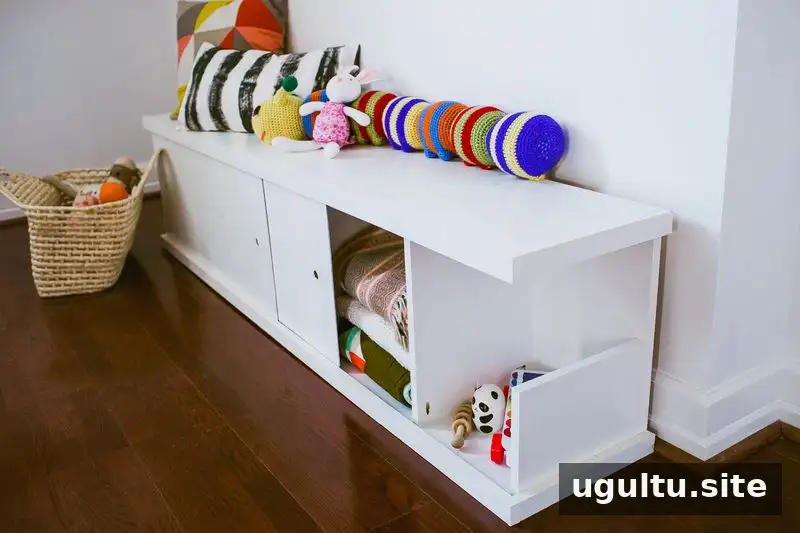
The bench was painted gloss white, and the particle board required three coats to achieve an even-looking finish. Particle board can absorb paint unevenly, so follow the coating manufacturer’s preparation instructions and allow each coat to dry as directed. Plywood is an alternative for future builds. If using the bench in a child’s room, make sure the doors move freely and the finished piece has no rough edges or exposed fasteners.
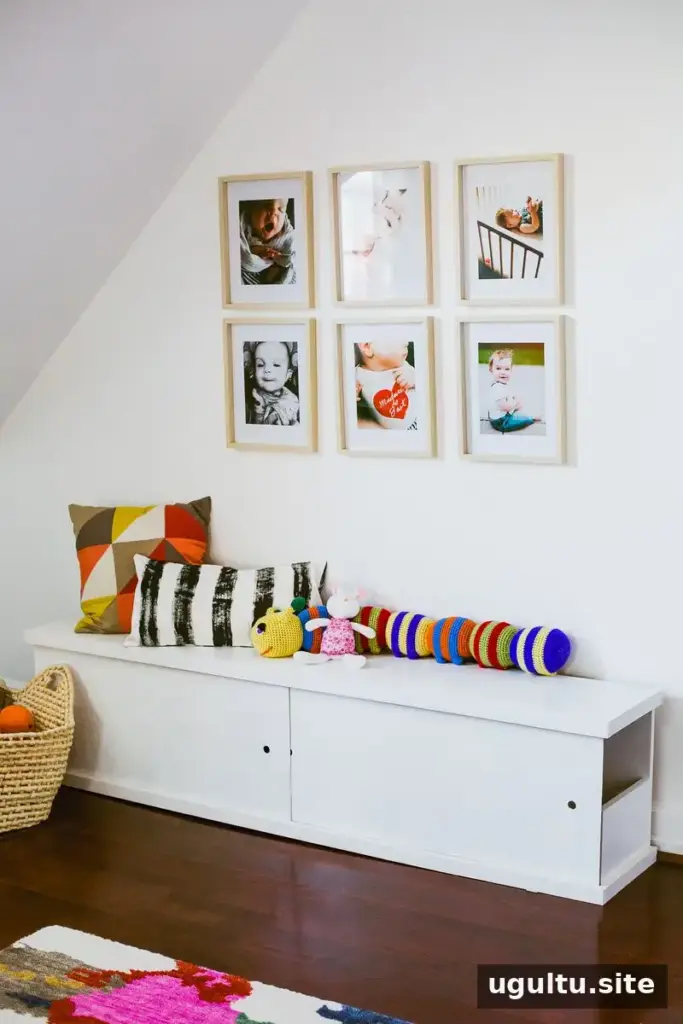
Plan your built-in storage bench
This built-in storage bench combines a place to sit with enclosed storage and optional sliding doors. Before beginning, verify the cut list against the space where the bench will go, and choose sheet material suited to the intended location. Careful measuring, labeled parts, and a test fit before finishing can make assembly smoother. — Josh


