
 admin
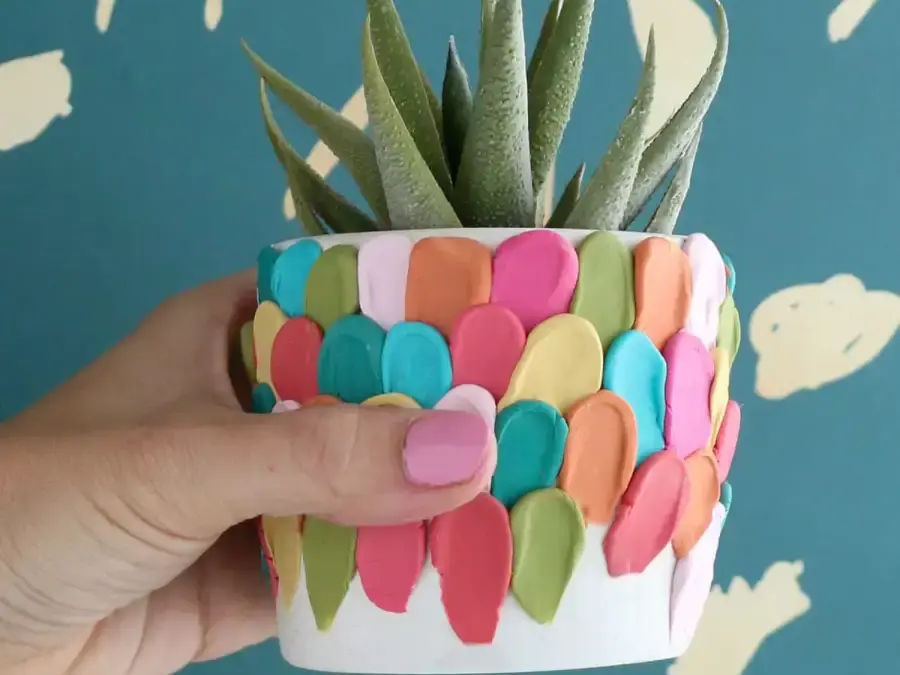
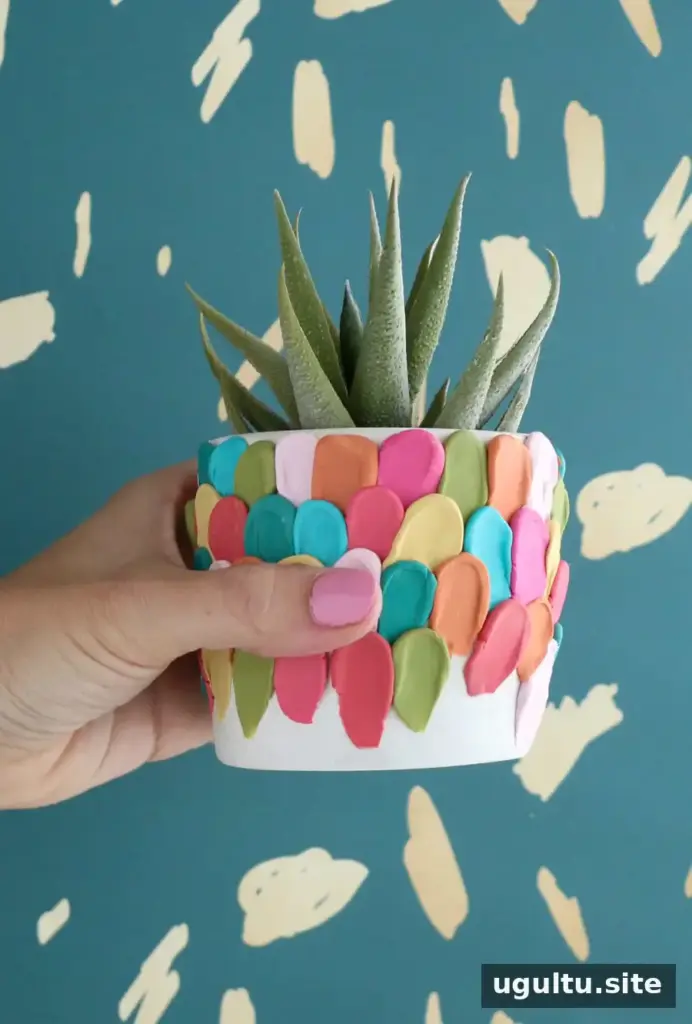
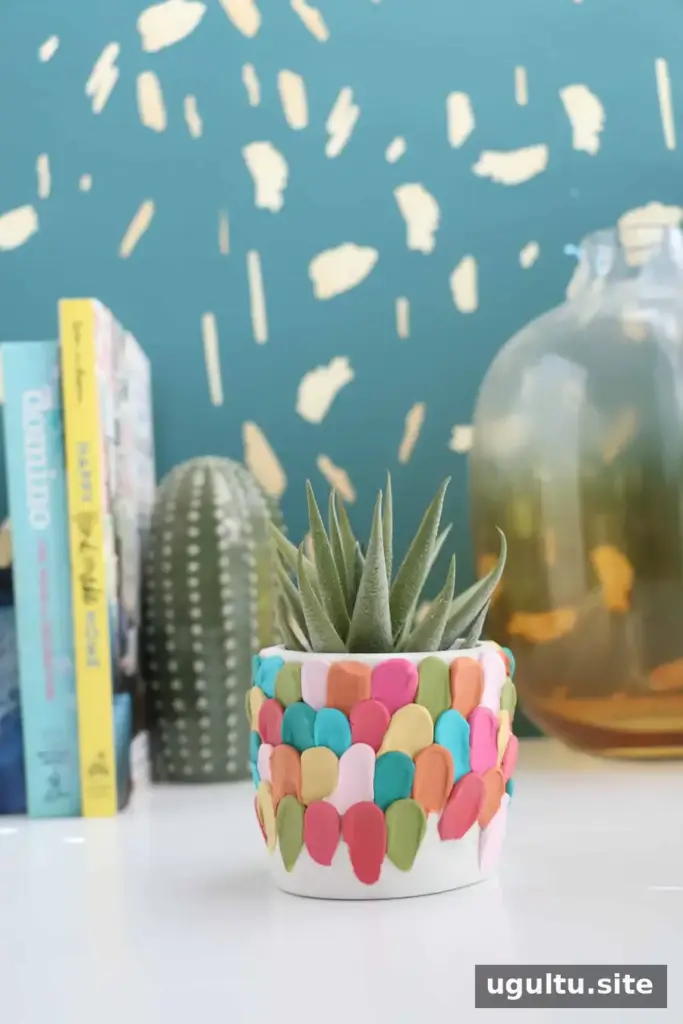
A clay petal planter adds a playful, handmade accent to a shelf, desk, or windowsill. This project uses small pieces of polymer clay pressed into petal-like shapes on a concrete or ceramic planter. The idea was inspired by a colorful cake created by Katherine Sabbath, whose icing featured soft, overlapping strokes.
Rather than recreate the cake, this craft translates its layered look into a simple decorative planter. Choose a few colors that work well together, or use a rainbow palette for a brighter finish. The petals do not need to match perfectly; slight differences in shape and texture give the finished piece its character.
Materials for a Clay Petal Planter
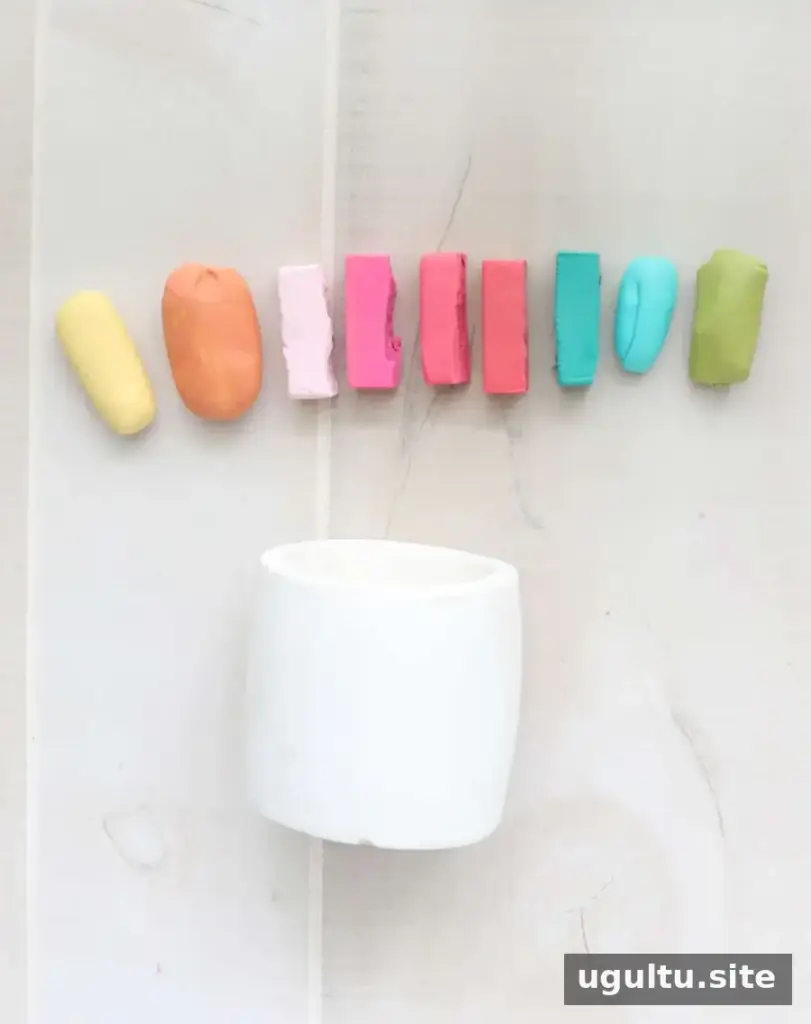
Gather the supplies before you begin so you can work around the planter without stopping. A palette knife helps shape each clay piece, while a heat-safe baking sheet provides a stable surface for baking.
Materials:
- Polymer clay in an assortment of colors
- A concrete or ceramic planter
- A palette knife
- An oven and an oven-safe baking sheet
Practical tip: Before starting, check that the planter can safely withstand oven heat. Follow the baking instructions on your polymer clay packaging if they differ from the temperature or time below.
How to Make the Clay Petal Planter
1. Add the first clay petal
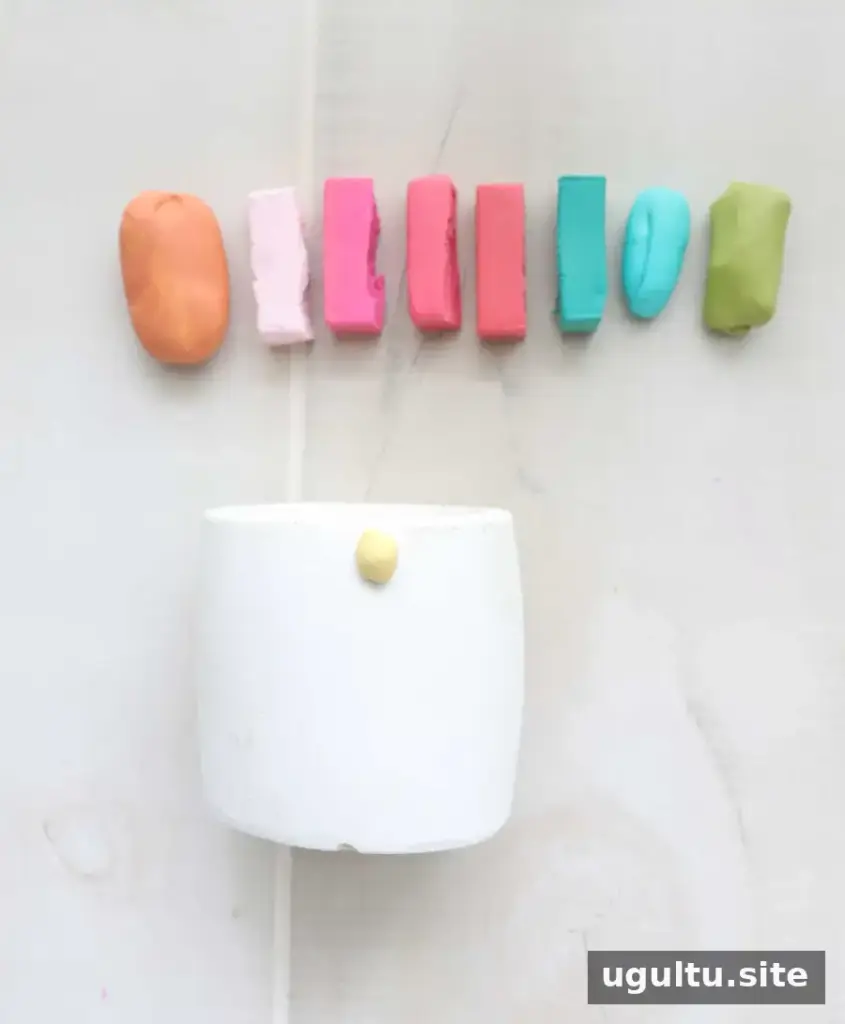
Roll a small, pea-sized ball of clay in your chosen color. Place it near the top of the planter, leaving enough room to pull the clay down into a petal.
2. Shape the clay
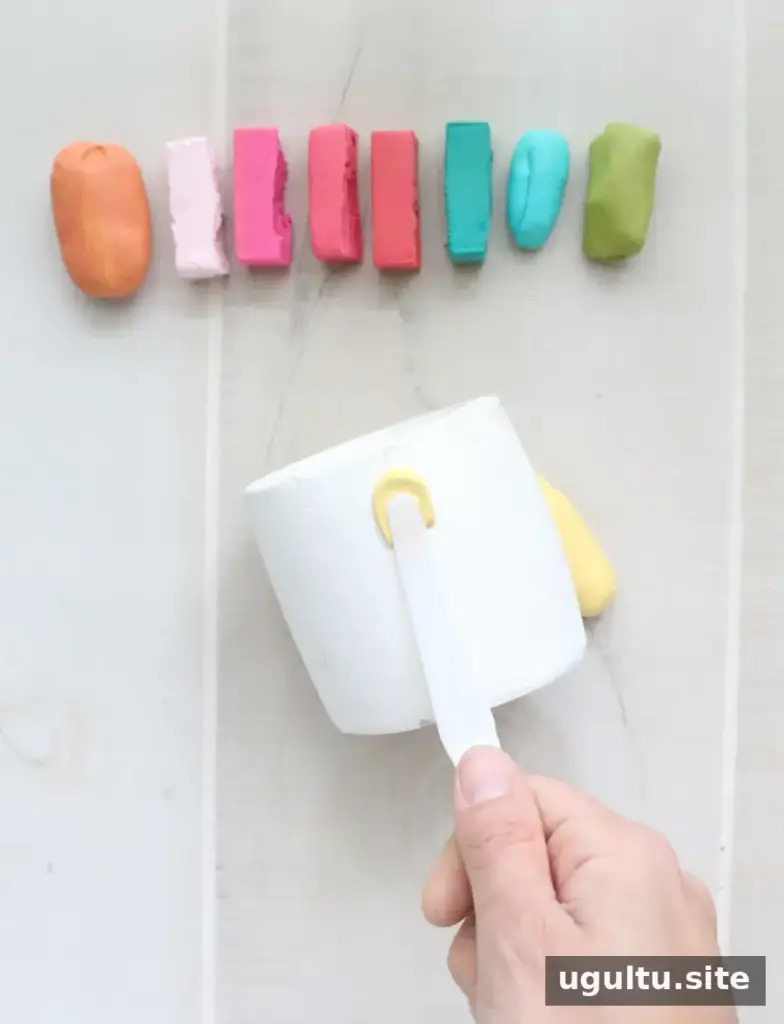
Press the palette knife into the clay and draw it downward in one smooth motion. This spreads the clay into a tapered petal shape. If the first attempt looks uneven, adjust the next petal rather than trying to make every mark identical.
3. Build overlapping rows
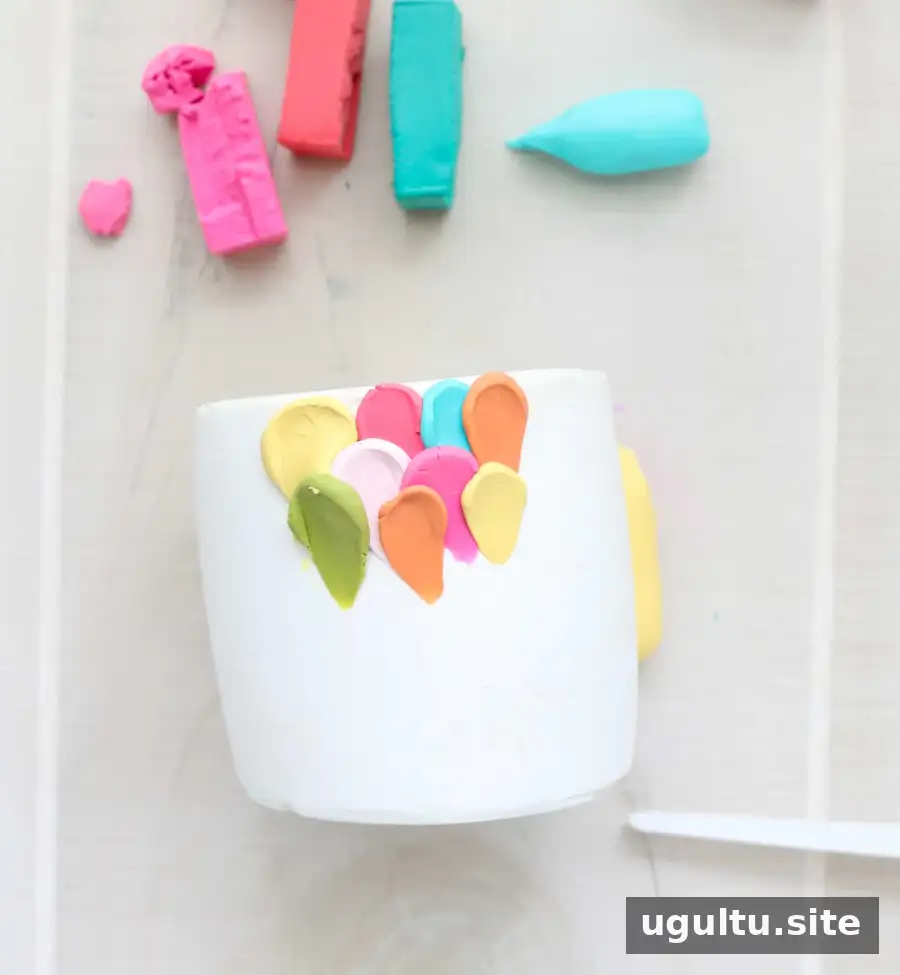
Continue around the top of the planter, placing petals side by side. Start a second row below the first, positioning its petals between the petals above. Repeat this pattern down the planter.
You can leave a small section of the planter uncovered at the bottom for a border, or extend the clay decoration all the way down. Keep the layers relatively consistent so the planter remains easy to handle.
4. Bake and cool
Set the planter on an oven-safe baking sheet and bake at 300°F for 15 minutes to set the clay. Allow it to cool before handling or using it. Always use the clay manufacturer’s directions as the final guide for baking.
Finishing and Planting Tips
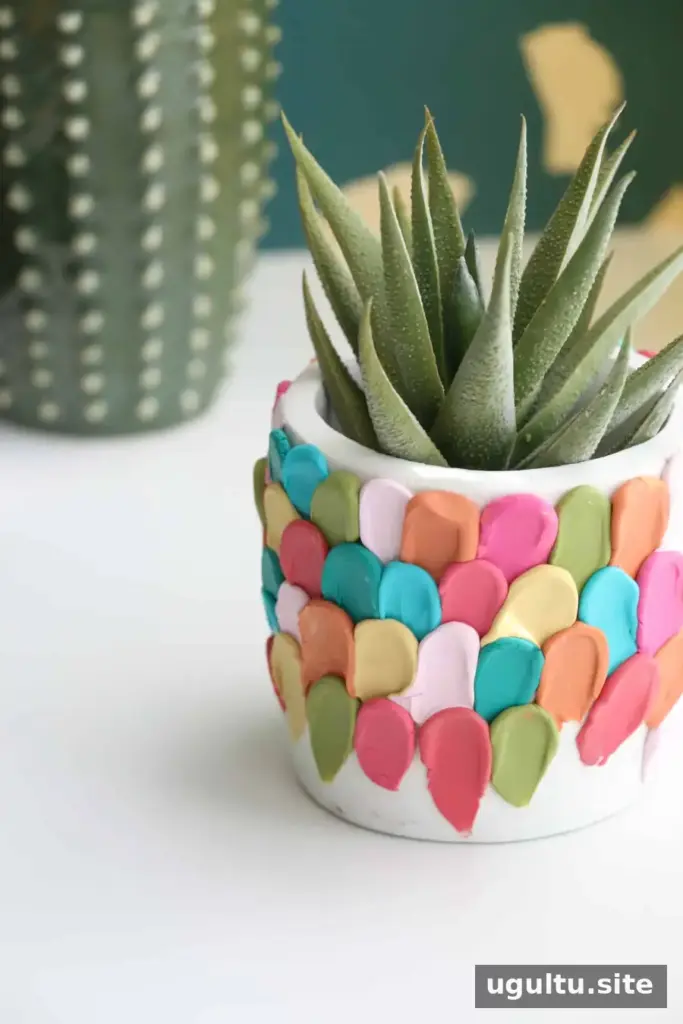
The petals may have different indentations and edges, which is part of the handmade look. Small plants such as spider plants and jade plants can suit this style of planter. Check whether your planter has drainage; if it does not, use an appropriately sized nursery pot inside and take it out when watering to help avoid standing water.
Enjoy Your Handmade Clay Petal Planter
A clay petal planter is an approachable way to add color and texture to a plain ceramic or concrete pot. Vary the clay colors, leave a little of the planter visible, or cover more of its surface to make the design your own. The imperfect petals echo the layered look of the cake that inspired the project, created by Katherine Sabbath.
Project by Kara.


