admin
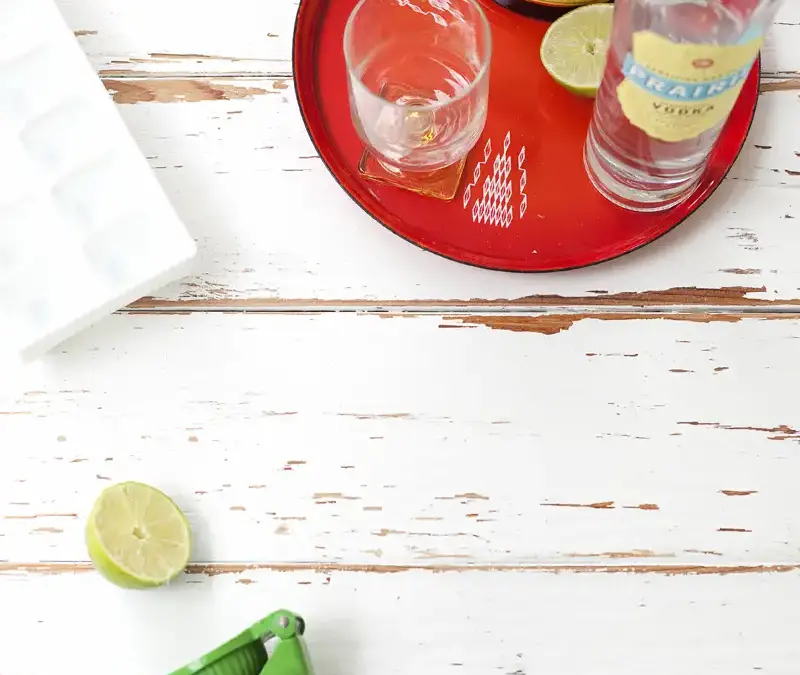
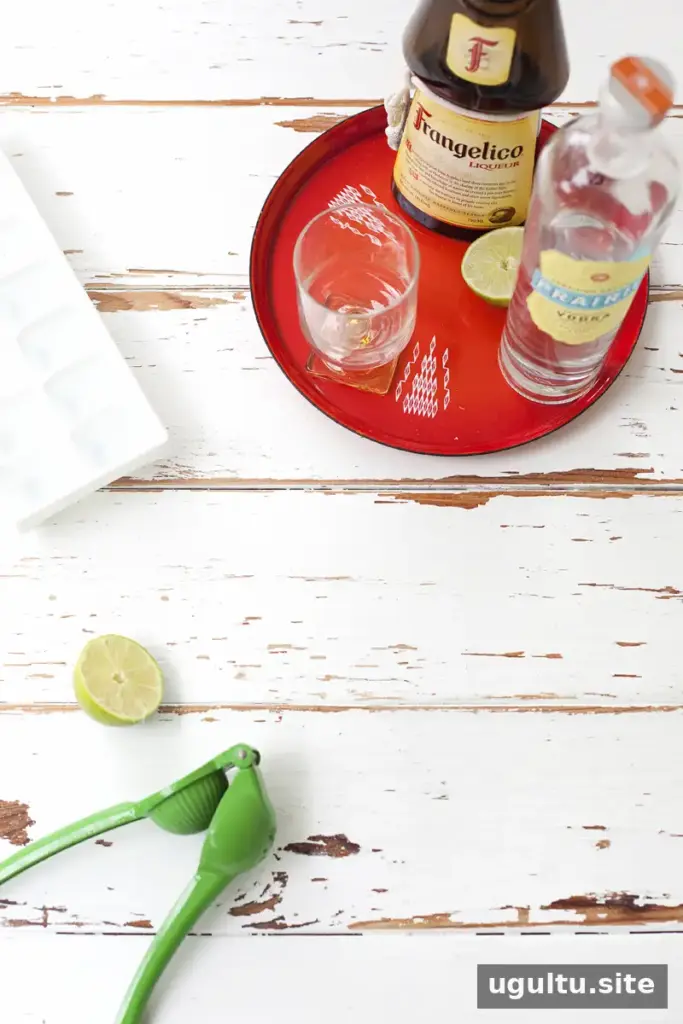
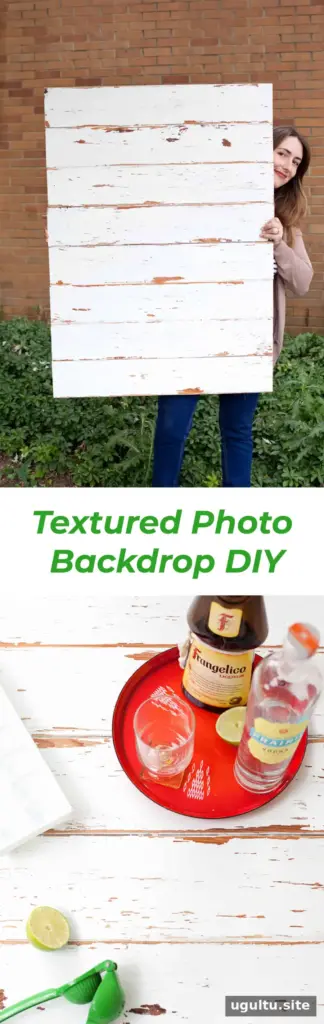
A distressed wood photo backdrop adds warmth and texture to food, craft, and product photography without requiring a special table or permanent studio setup. This DIY board combines visible wood grain with worn-looking paint, and its two-sided construction lets you use a natural wood finish on one side and a painted finish on the other. Adjust the board’s size to suit your space and the way you usually frame your photos.
Materials and tools for a distressed wood photo backdrop
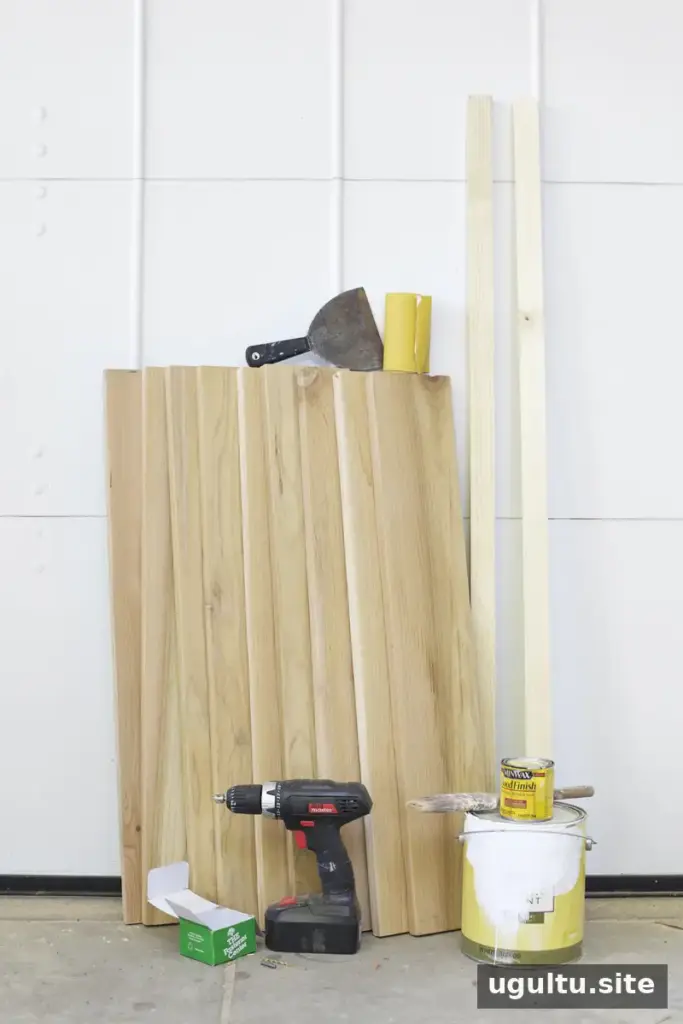
Materials:
- Wood planks. This example uses three 1″ x 6″ x 8′ cedar planks, cut into 36″ lengths.
- Two lightweight wood stretchers long enough to span the planks. One 1″ x 2″ x 8′ pine plank, cut in half, was used for this project.
- Wood stain, optional
- Paint
- Petroleum jelly
- Screws
Tools:
- Power drill and drill bits
- Countersink bit, optional
- Paintbrush
- Metal spatula
- 80–120 grit sandpaper, optional
- Paper towels or a rag
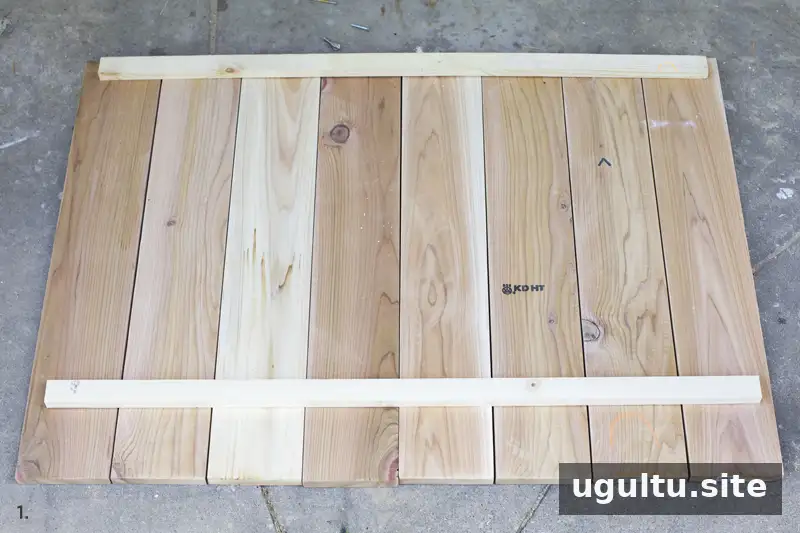
Choose the board dimensions based on your photography needs. A smaller surface may be enough for food photography, while a larger one can accommodate wider projects. Several shorter planks can create horizontal lines across a portrait-oriented frame; longer boards are another option. Before assembling, lay the planks out to check the overall size and the direction of the grain.
How to make the backdrop
Step 1: Arrange and prepare the planks
Place the planks side by side, leaving small, even gaps between them. Sand rough areas if needed, then position the two stretcher boards across the back, near the ends of the planks. Keeping the supports on one side leaves the reverse side available for a separate finish.
Step 2: Attach the supports
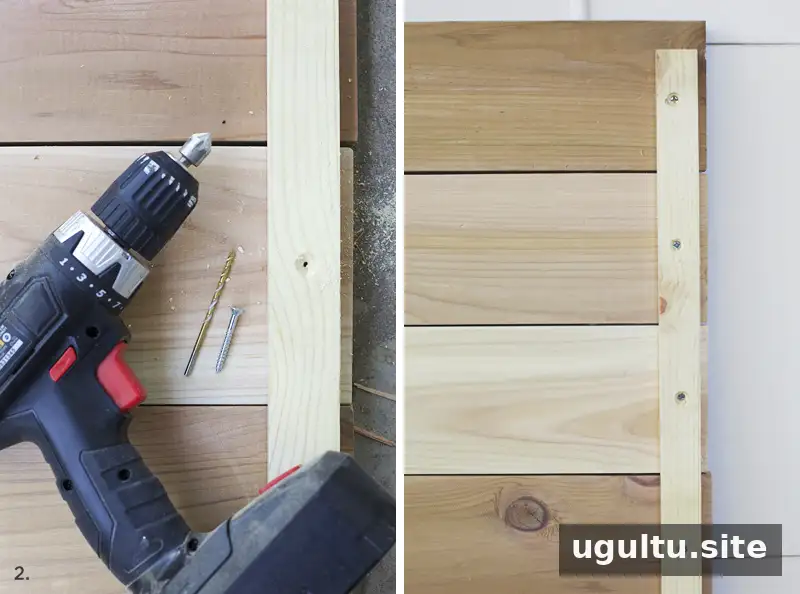
Screw the stretchers to the planks. If you are using wood screws, drill pilot holes first. A countersink bit can recess the screw heads so they are less likely to scratch the surface beneath the backdrop. Use screws of an appropriate length so they do not protrude through the front of the board.
Sheet metal screws can form their own pilot holes, but take care not to drive them too far. Check the screw length and the wood thickness before fastening. Softwood stretchers can also help reduce the risk of scratching when the board is placed on a table.
Step 3: Add the wood-tone base
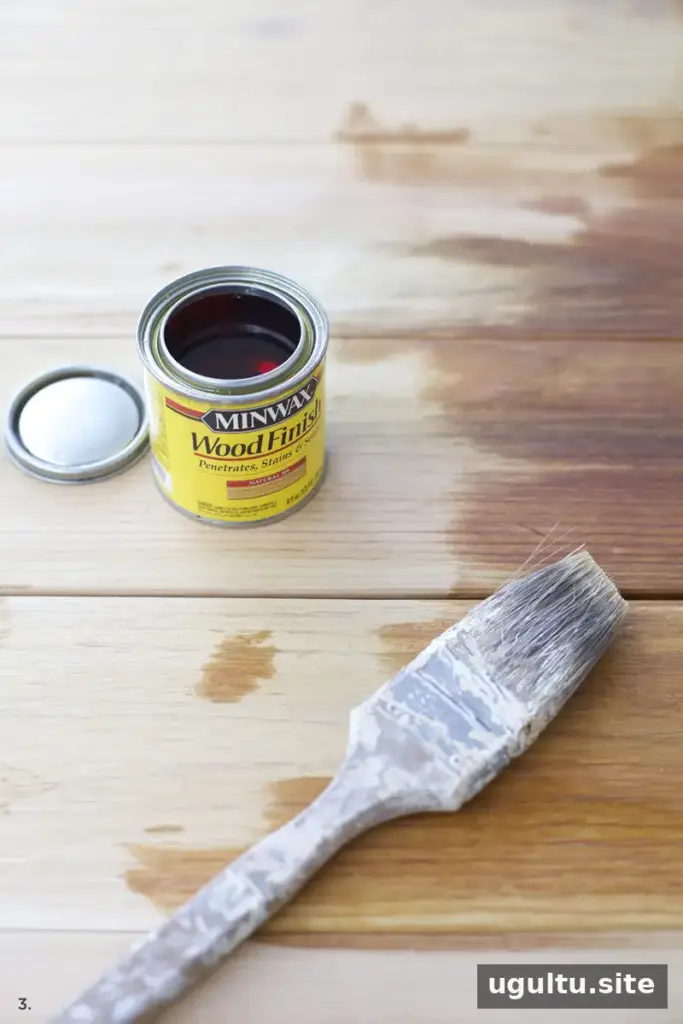
Apply stain or paint in the color you want to show through the distressed top coat. Cedar provides a naturally warm tone and a rough-sawn texture; reclaimed pallet wood can also work if it is clean and suitable for indoor use. Wood species can affect how a stain appears, so test it on a small offcut when possible. Follow the product label and allow the finish to dry before painting.
Step 4: Apply petroleum jelly to selected areas
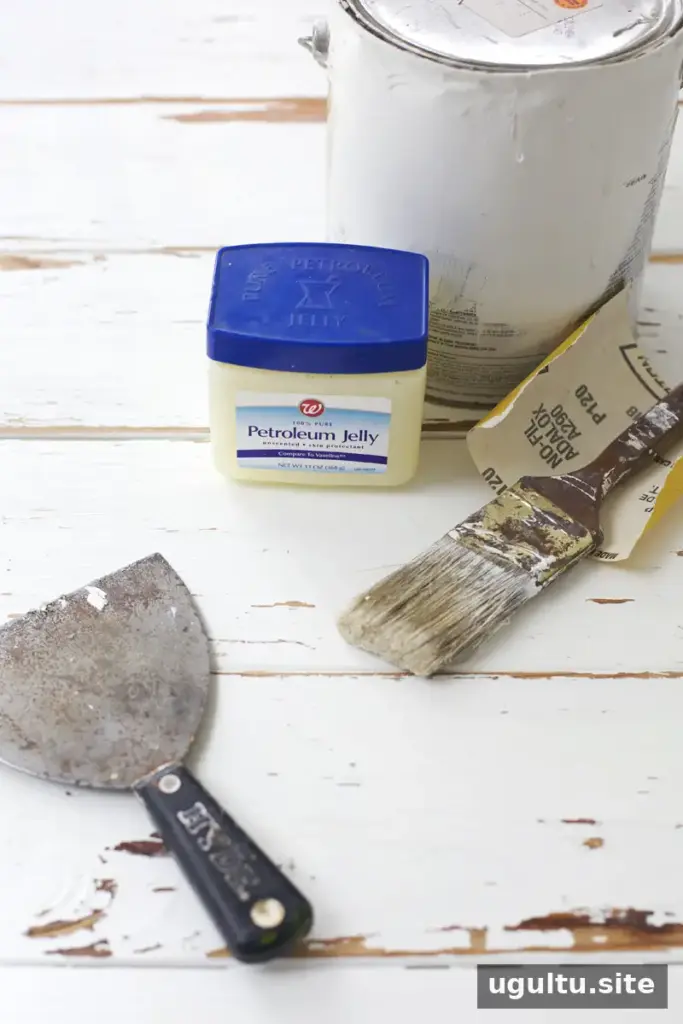
Once the base finish is dry, rub petroleum jelly over the areas where you want the top coat to look worn. Try the plank joints and a few irregular streaks across the boards. The jelly creates spots where the paint will be easier to remove, so use a light hand if you want a subtle aged effect.
Step 5: Paint the surface
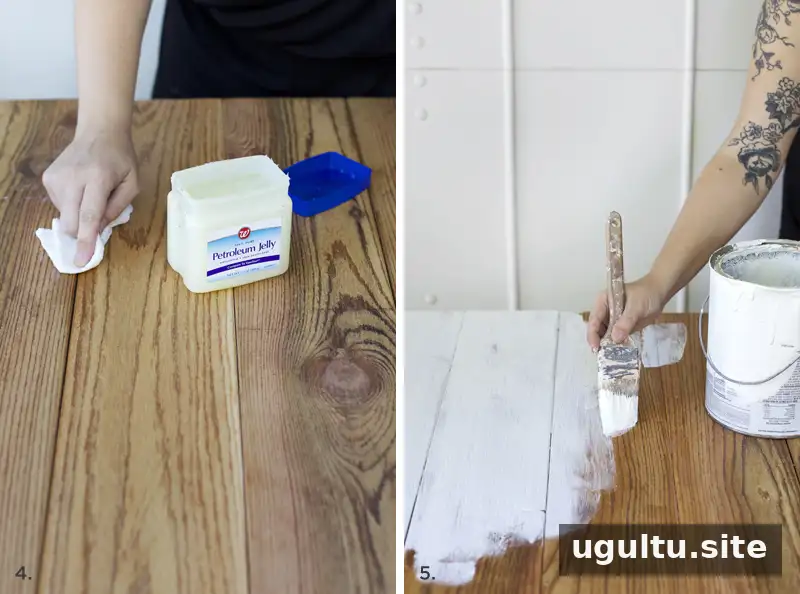
Apply two coats of paint, or continue until the underlying wood tone is covered. Do not use primer for this technique: the paint needs to release from the petroleum-jelly areas during distressing. Let the paint cure for at least a few hours before scraping, and check the paint instructions for its recommended drying time.
Step 6: Distress and sand the paint
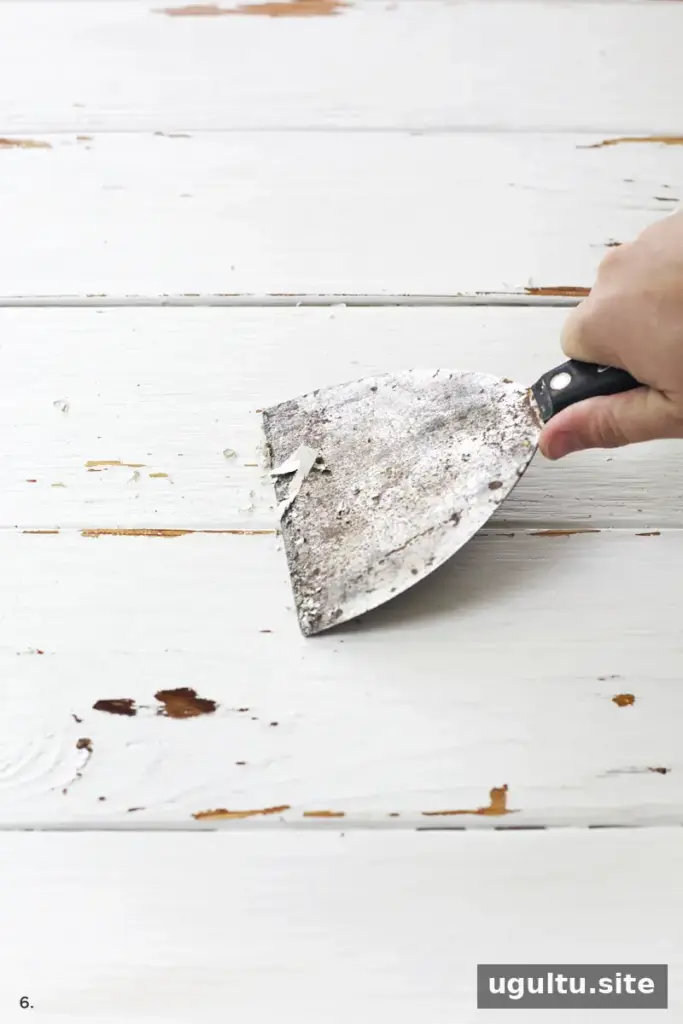
Use a metal spatula to gently scrape paint from the areas treated with petroleum jelly, especially around the plank joints. Lightly scrape other sections for a varied finish. Then sand a few areas with rough sandpaper to reveal more of the wood tone beneath the paint. Work gradually and stop to check the appearance; it is easier to remove more paint than to restore it.
Finishing and using your backdrop
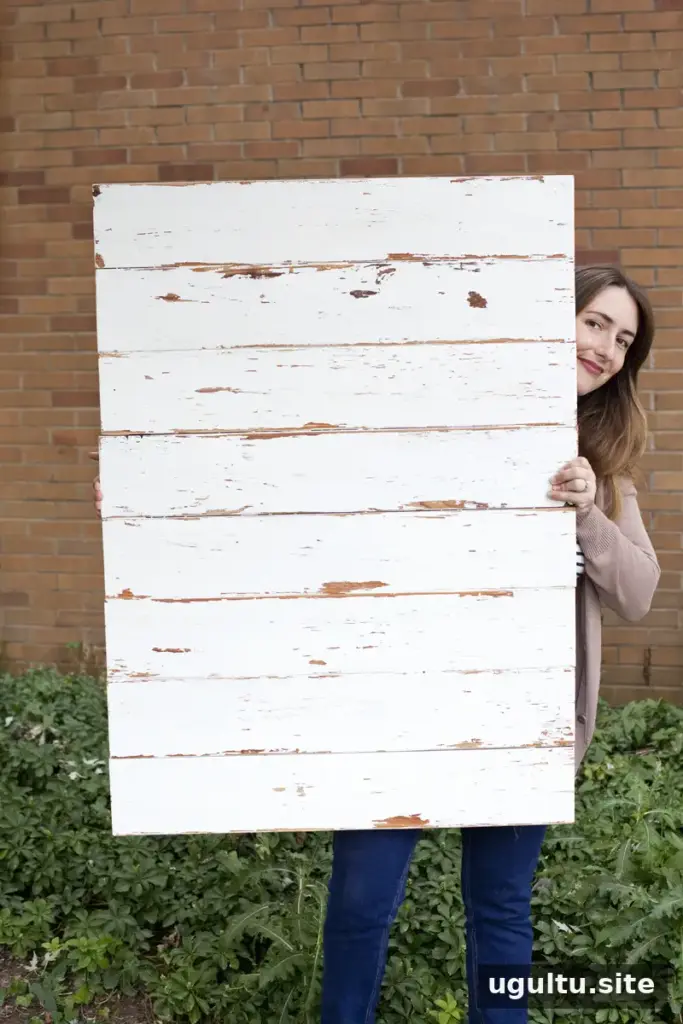
Test the backdrop in your photo setup and adjust the finish if needed by adding paint or removing a little more. A matte polyurethane sealer is optional if you want to reduce further paint peeling. Avoid a glossy finish, which can reflect light and create glare in photographs. If you plan to use the reverse side, apply a different stain or paint treatment and let it dry fully before turning the board over.
For safe, practical use, keep the board stable while shooting and check that no screw tips or rough edges are exposed. Store it flat or securely upright to protect the finish and prevent it from falling.
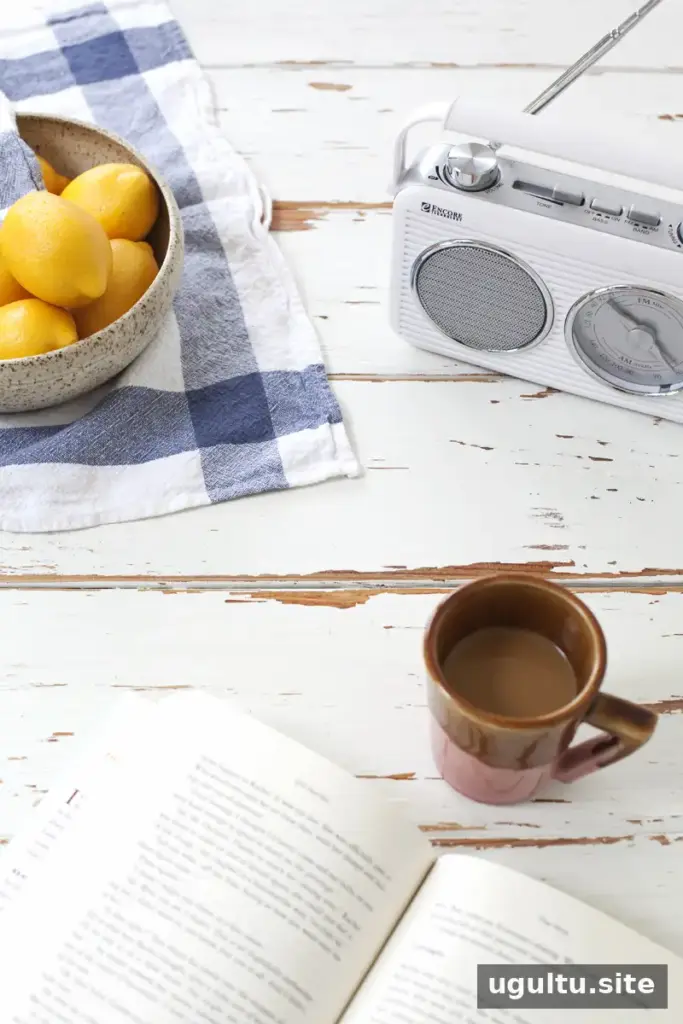
A handmade distressed wood photo backdrop is a reusable way to bring texture and color into food, DIY, and other styled photographs. Choose a board size that fits your subjects, build the surface carefully, and distress the paint in small stages until it suits your preferred look.
—Mandi