
 admin
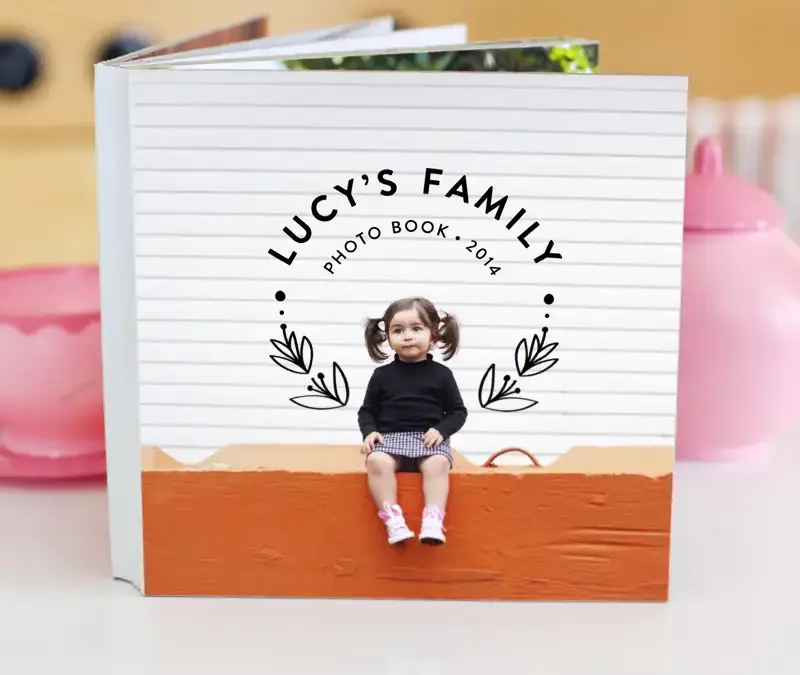
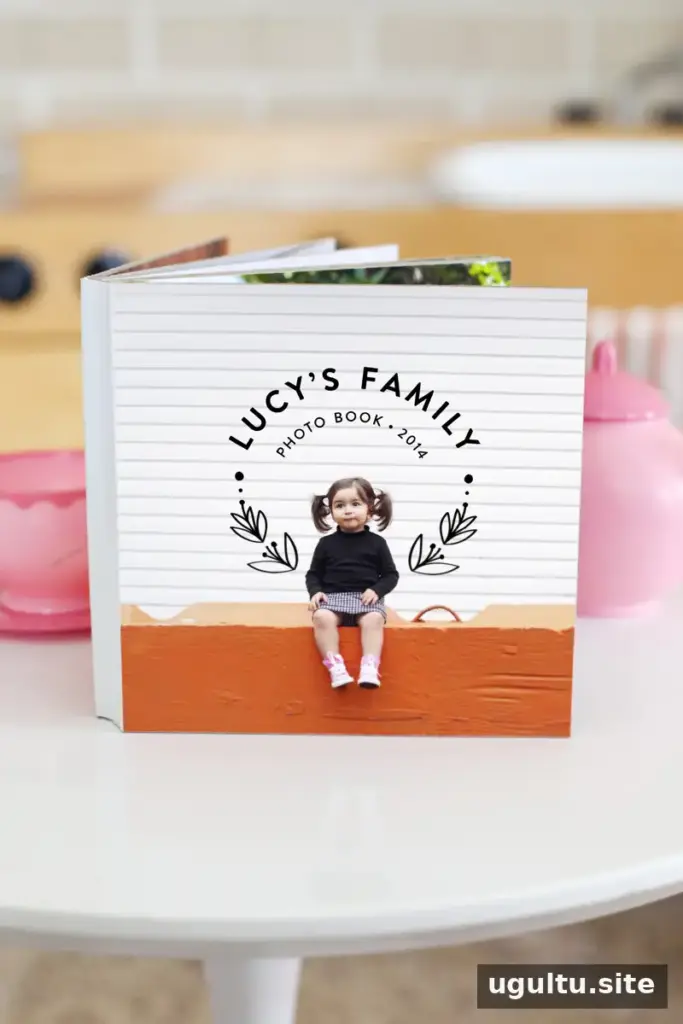
A family photo board book gives young children a sturdy, personal way to look at familiar faces and practice recognizing names. With 5-inch square chipboard pages, printed photographs, and a simple taped binding, you can make a keepsake that is easy to customize with pictures of relatives, caregivers, and pets. Careful measuring and a suitable spray adhesive help create neat, durable pages.
Set aside a clean work area and prepare all the photos before assembling the book. The cutting and adhesive steps are best handled by an adult; follow the adhesive label for ventilation and safe use.
Supplies and tools for a family photo board book
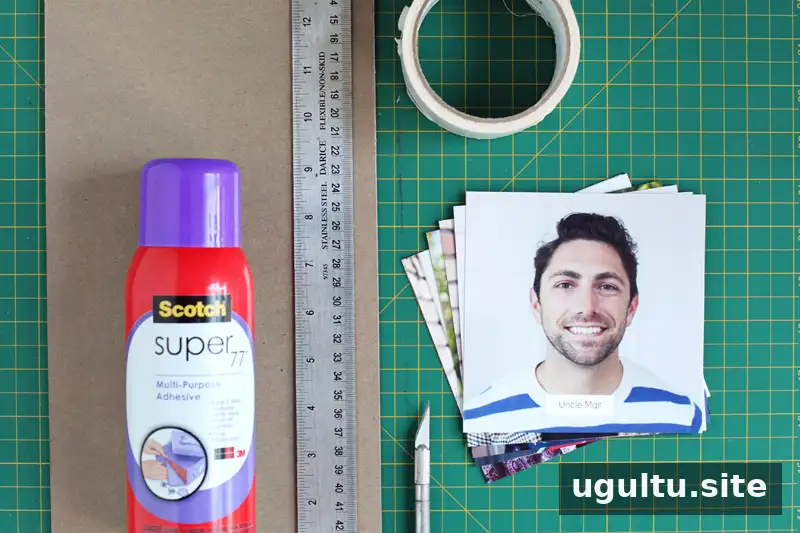
Gather the following materials before you begin:
- Chipboard
- 5-inch by 5-inch photos and cover images printed on matte or luster photo paper
- Permanent spray adhesive
- Replacement blades for a craft knife
- Duct tape or clear packaging tape
- A cutting mat and steel ruler
- A craft knife
Photo-quality paper is a practical choice for pages that will be handled often. Choose images with clear faces and enough contrast to be easy to recognize.
How to make the photo book
1. Cut the chipboard pages
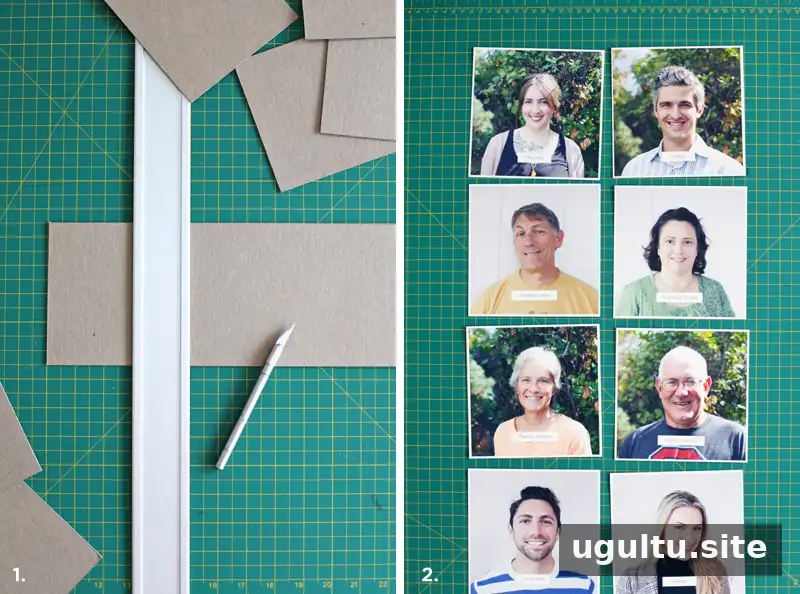
Cut the chipboard into 5-inch by 5-inch squares. Consistent measurements help the finished pages line up cleanly. Use a cutting mat and ruler, and replace the blade when it begins to drag or cut unevenly; chipboard can dull a blade quickly.
2. Prepare and trim the photos
Print photos and cover images at 5 inches by 5 inches, then trim them to match the chipboard squares. One option is to arrange two square images on an 8.5-inch by 11-inch sheet before printing. If you do not have a suitable printer, you can have the files printed at a copy shop or print 5-inch by 7-inch photos and trim them at home.
If you cannot add names digitally, write them on the printed photos with a paint marker. Let any writing dry fully before attaching the images.
3. Join the chipboard pages
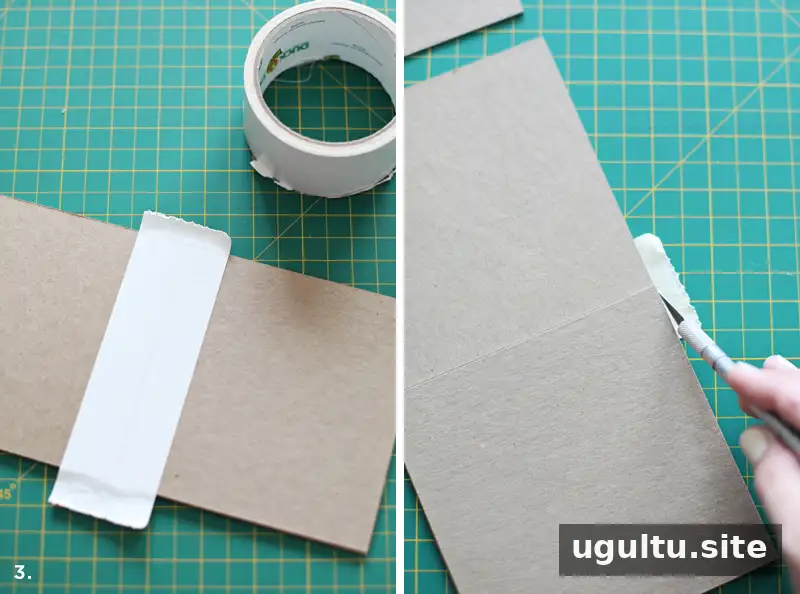
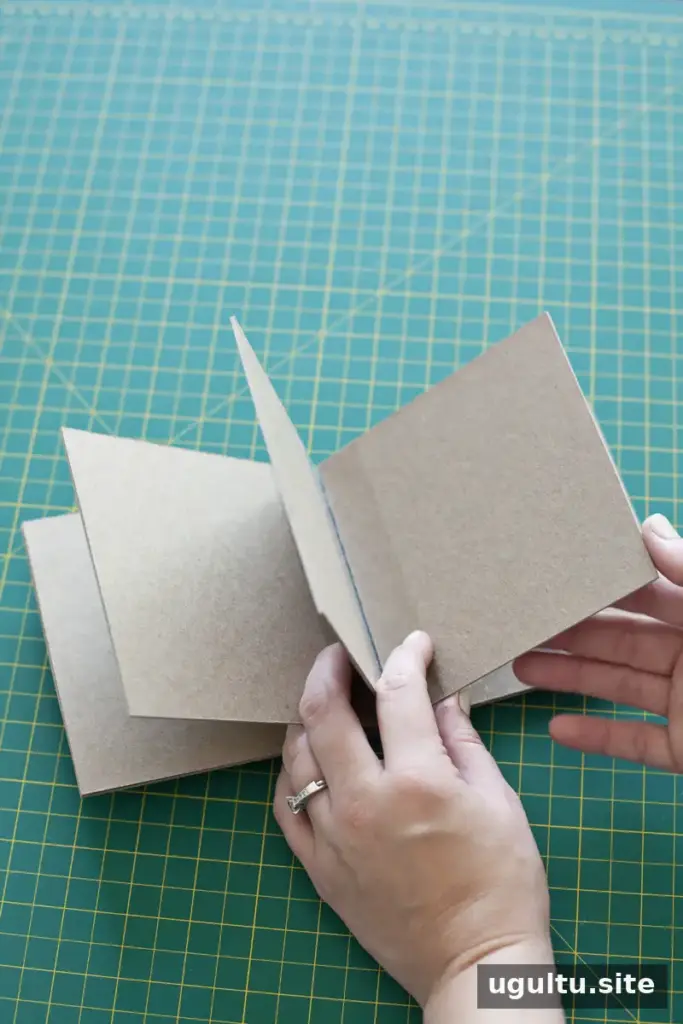
Connect the chipboard squares with duct tape or clear packaging tape. Leave a small gap between each page so the finished book can bend around the thickness of the attached photos. Trim excess tape carefully with a craft knife.
Clear packaging tape may create a less bulky hinge than duct tape. Before moving on, count the pages and confirm there is one for every planned photo, including pictures of family pets if you want to include them.
4. Attach the inside photos
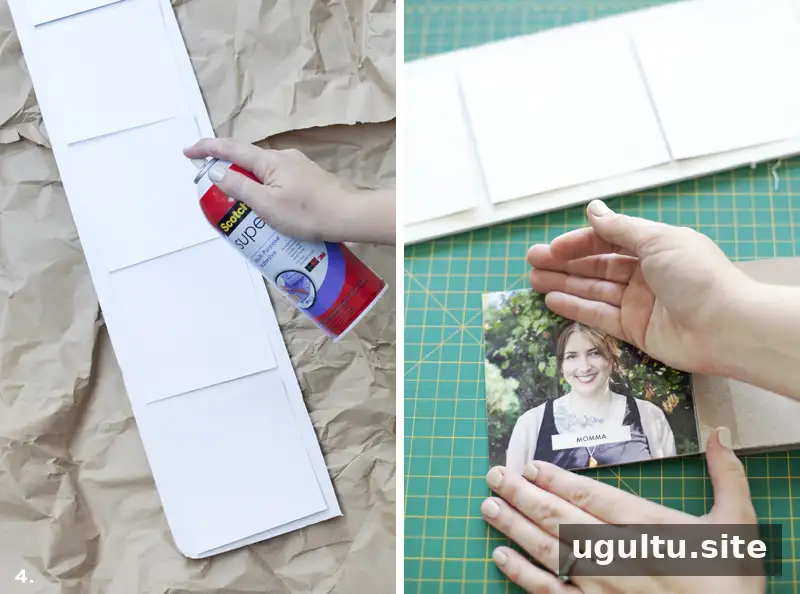
Place the photos on a clean, disposable surface and apply an even, light coat of spray adhesive to the back of each one. Cover the edges, but avoid using so much adhesive that it squeezes out from beneath the paper. Do not reuse a surface with adhesive residue, as it could transfer to the front of another photo.
Line up the photo with the chipboard corners, then smooth it onto the page from the outer edge using the back of your hand. Check the alignment before pressing the image firmly into place. Working slowly helps prevent wrinkles and misplaced photos.
5. Finish the binding
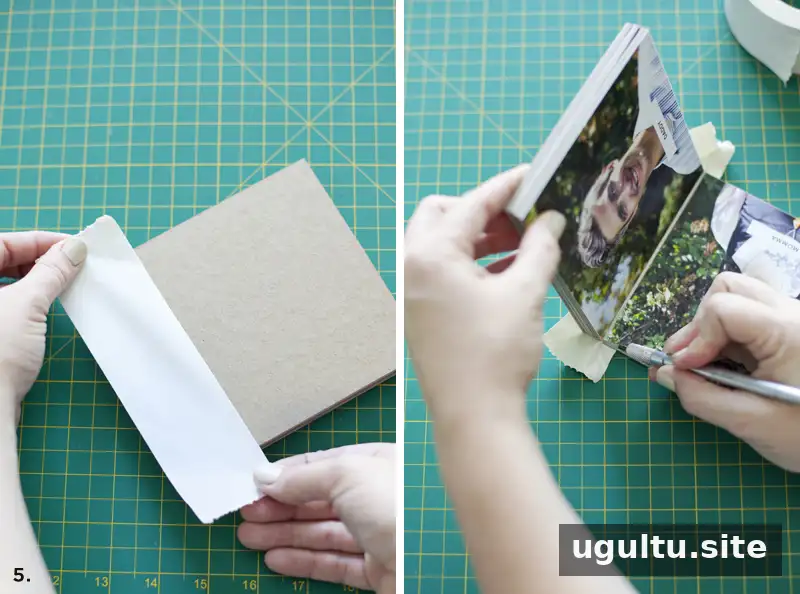
Once the inside pages are covered, add binding tape along the outside of the book. Smooth it across the front cover beside the spine, over the spine edge, and onto the back cover. Trim away any excess so the tape does not catch on the page edges.
6. Add the cover images
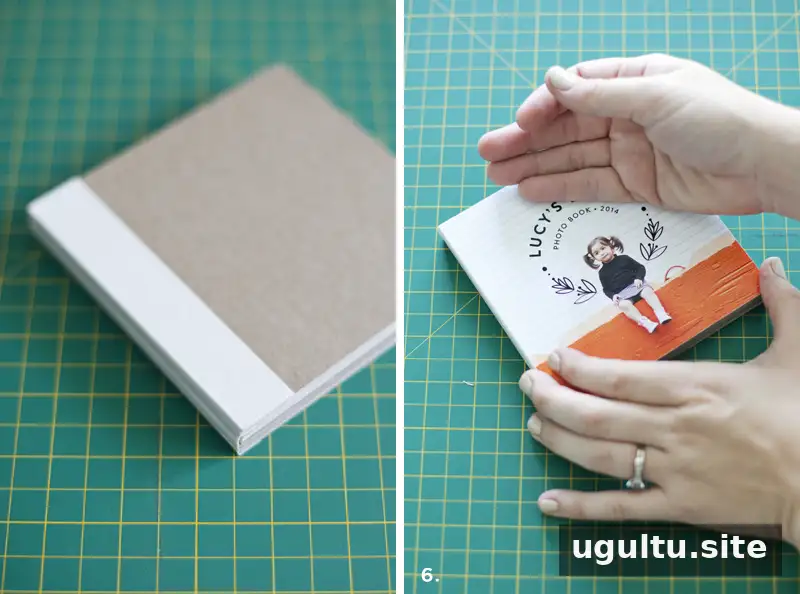
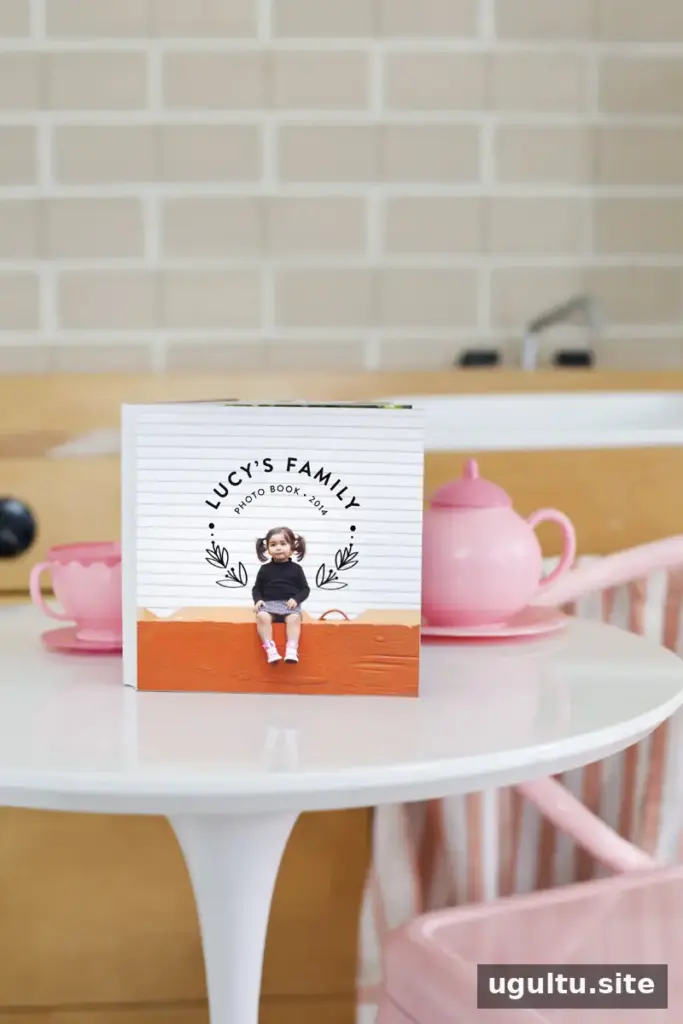
Apply spray adhesive to the backs of the front and back cover images, then position them on the chipboard. Smooth each image from the outside toward the center to help keep it flat.
Adhesive tip: Use spray adhesive according to its label and apply it in a well-ventilated area. Too much adhesive can seep out around the edges, while uneven coverage may cause a photo to lift. Allow the book to dry or cure as directed before handling it.

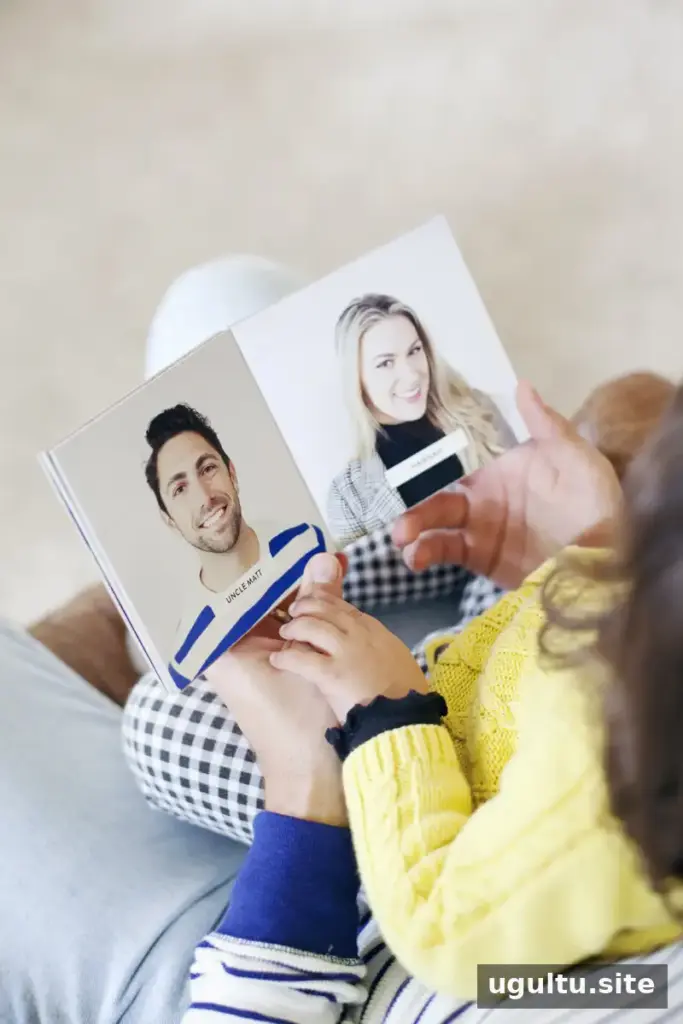
Accurate cutting takes the most time, so preparing a measured template can make the process easier. Keep spare blades nearby and work on a stable cutting surface. When the pages are attached neatly and the adhesive has set, the book is ready for an adult to share with a child.
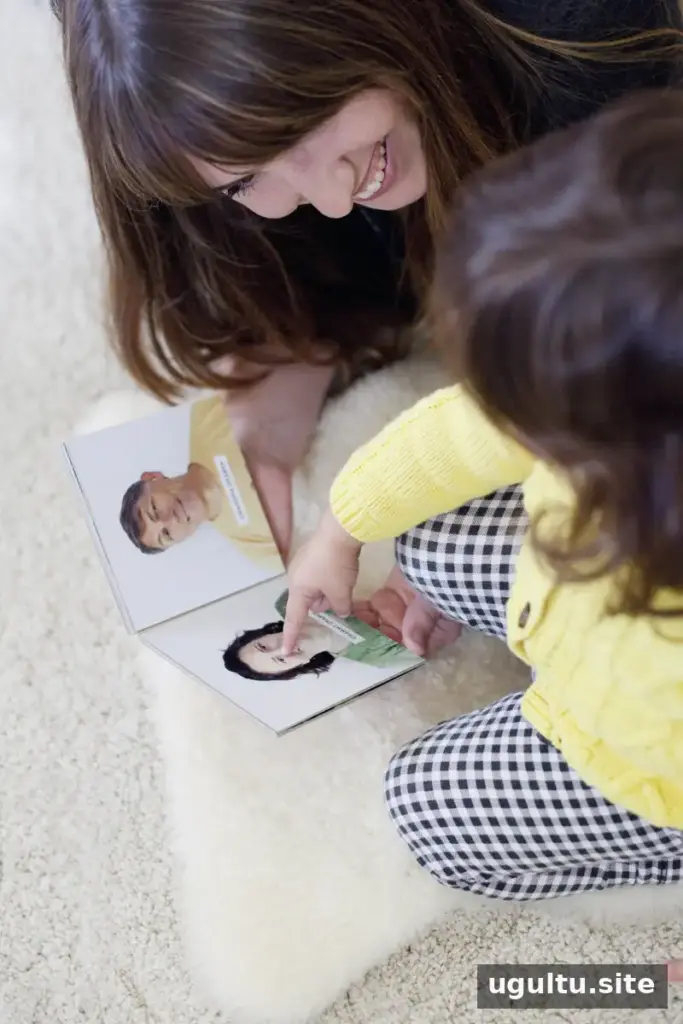
Make a family photo board book to suit your child
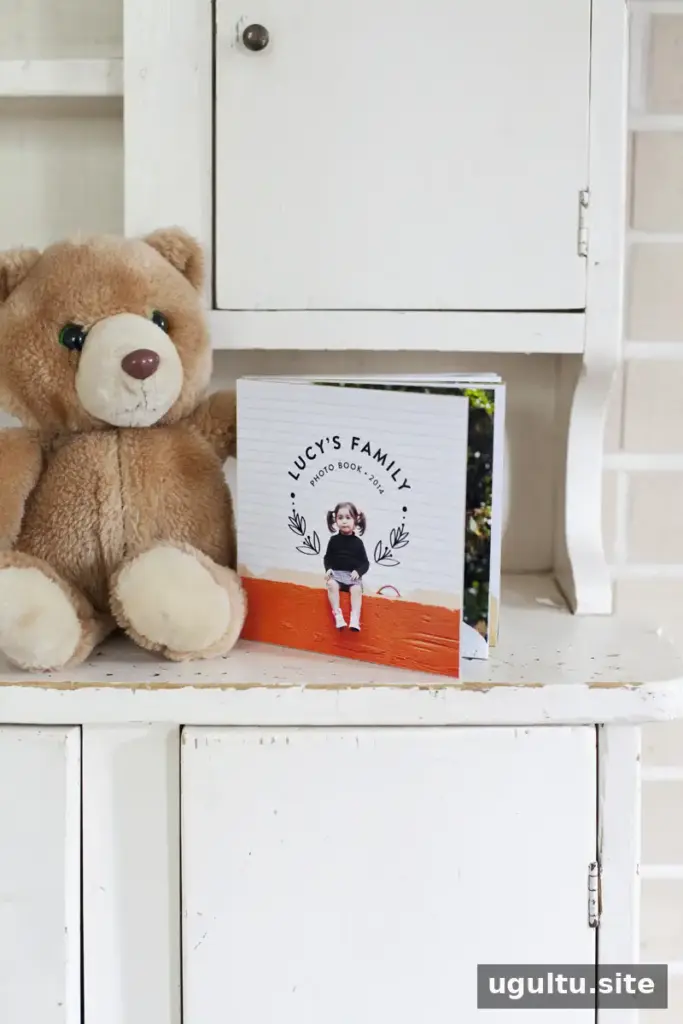
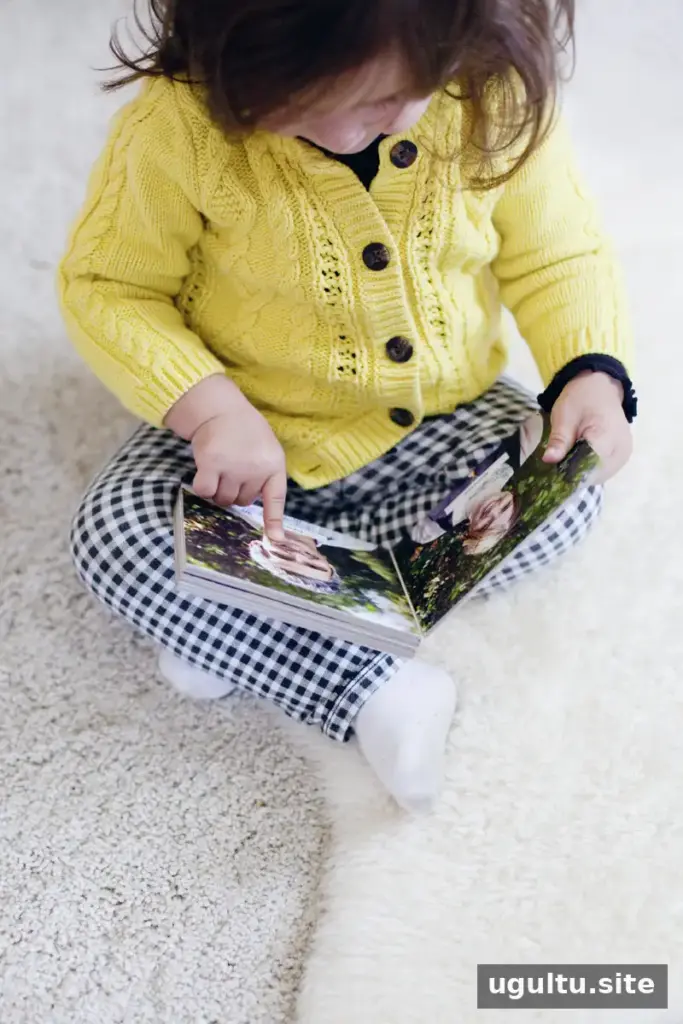
A family photo board book can feature more than portraits. Consider adding pictures of favorite places, familiar objects, or activities your child enjoys, with simple labels to encourage conversation and early word recognition. Keep the finished book in good condition by checking periodically for loose tape or lifted photo corners. —Mandi


