
 admin
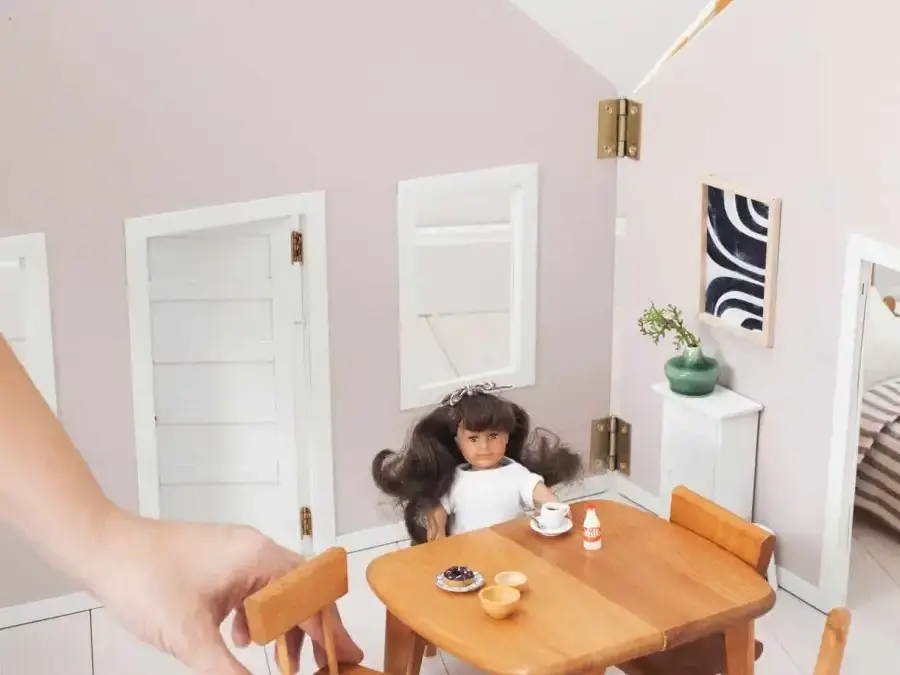
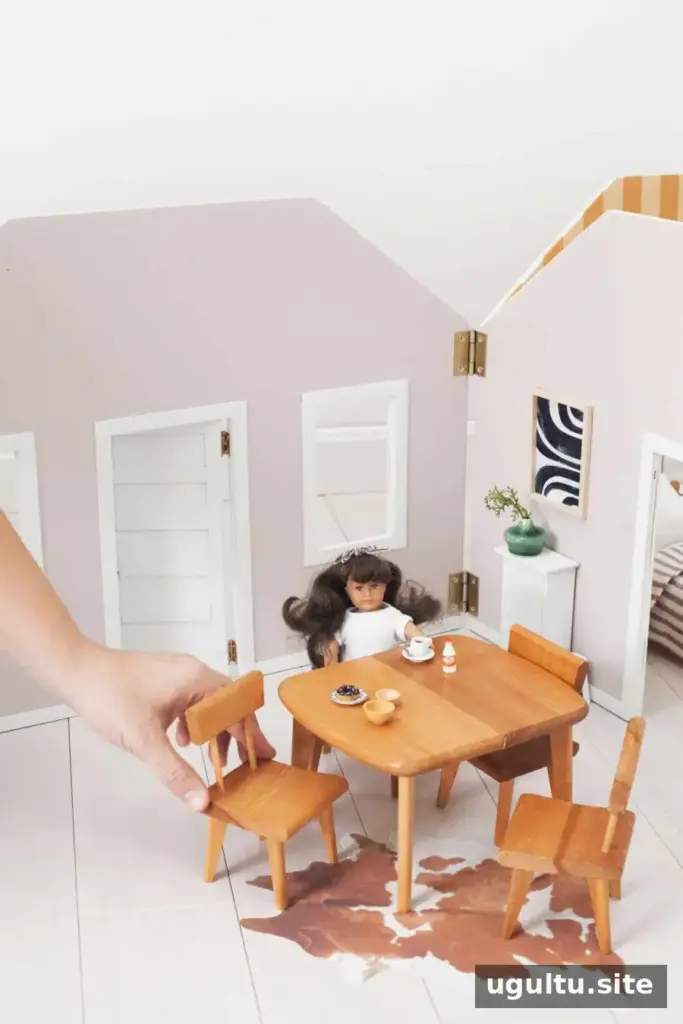
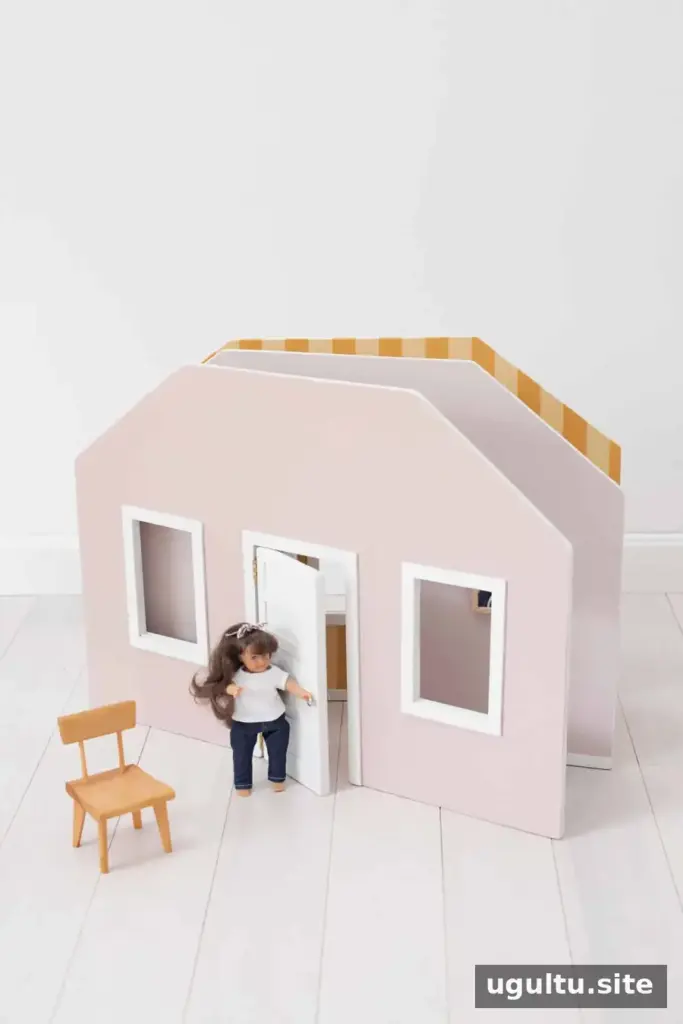
A fold-away dollhouse offers a practical alternative to a large playhouse that takes up permanent space. This DIY version uses hinged plywood panels to create a simple backdrop for dolls and furniture. When playtime is over, fold the walls together and store the small accessories in a basket.
You can adjust the dimensions to suit your dolls, available storage space and preferred level of detail. The example below was designed for 6-inch dolls, with each wall measuring 22 × 16 inches.
r
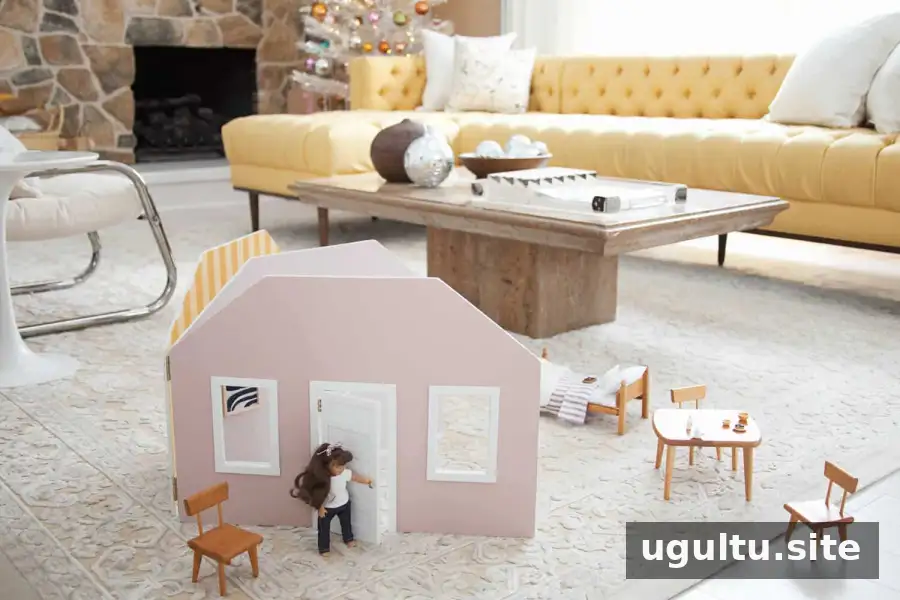
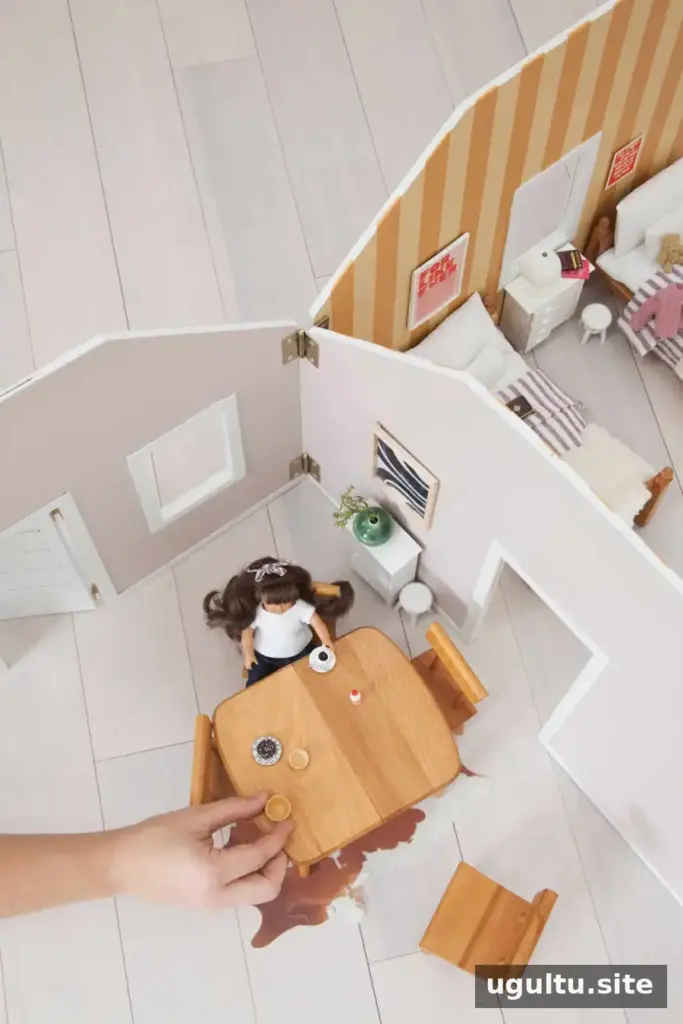
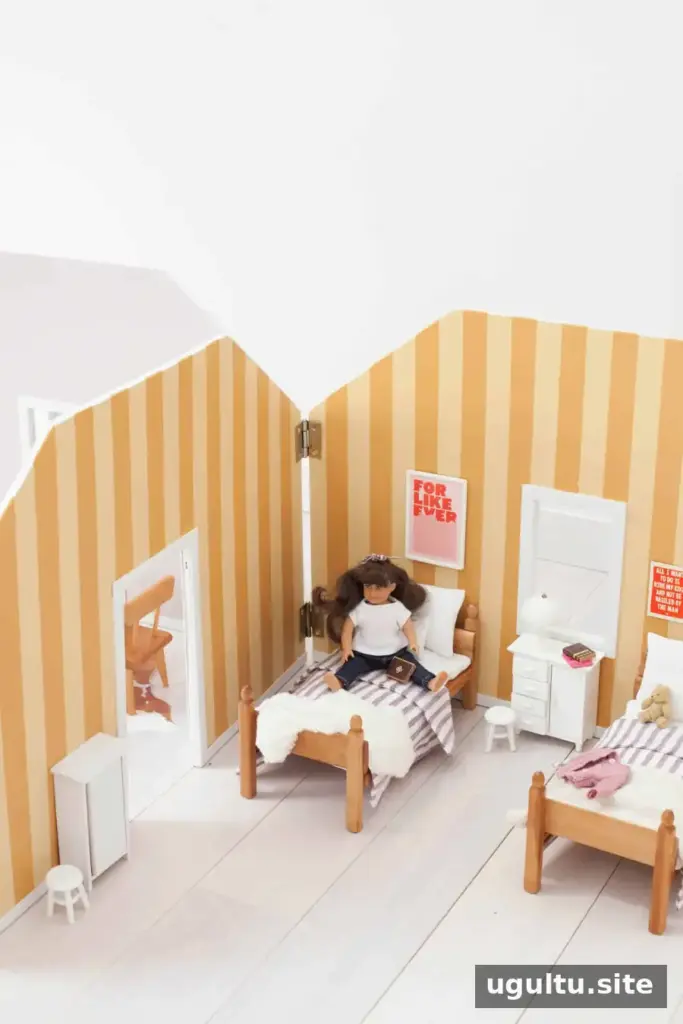
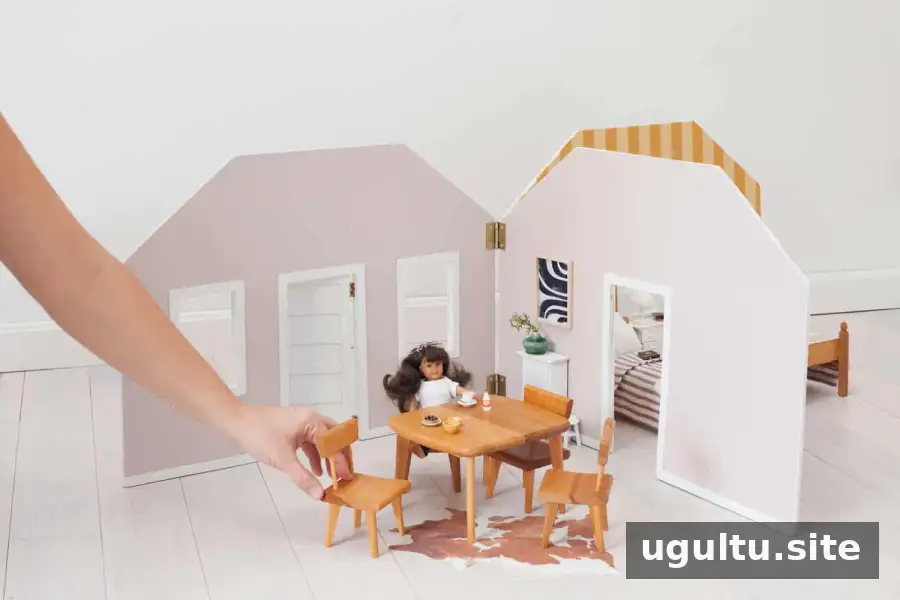
A flat backdrop can still suggest several rooms and settings without requiring a bulky structure. Plan the layout around the dolls and furniture you already have; checking the furniture measurements first helps determine how much room each section needs.
The project can be customized with paint, trim and other decorative details. Keep in mind that extra features add time and may affect how easily the panels fold together. The basic version uses plywood walls, hinges and simple painted finishes.
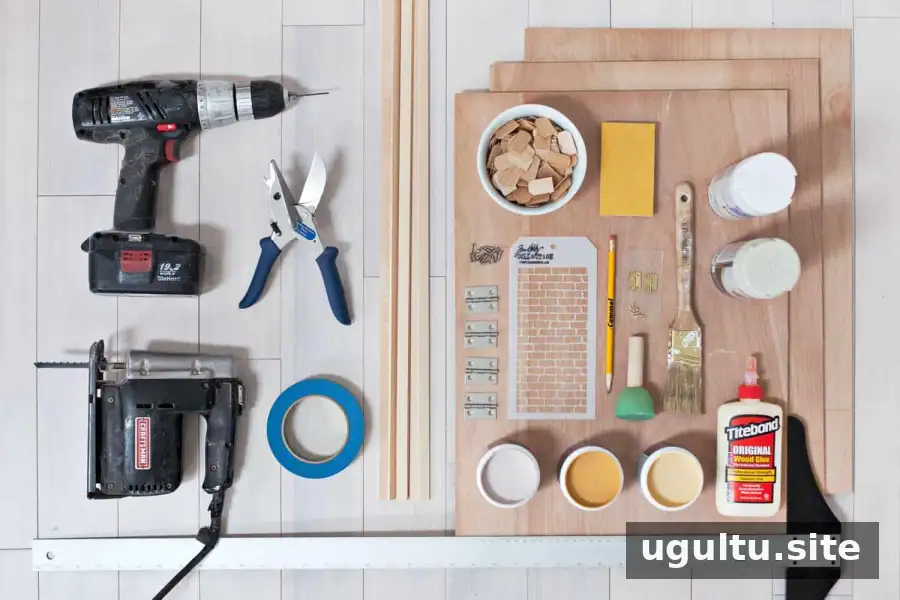
Materials and tools for a fold-away dollhouse
Materials:
- 1/2-inch plywood (about one-quarter of a full sheet)
- Hinges for the walls and front door; select a size for your project and check screw length so the screws do not protrude through the plywood
- Basswood trim pieces
- Sandpaper in 80, 120 and 400 grit
- Wood glue
- Primer and paint
- Pencil
- Optional: painter’s masking tape
Tools:
- Miter shears or sharp scissors
- Power drill
- Jigsaw
- Square
- Optional: paint brushes or sponges
Wear appropriate protective equipment when cutting or sanding wood, and follow the safety instructions for your tools and finishes. Children should not operate power tools.
How to build the fold-away dollhouse
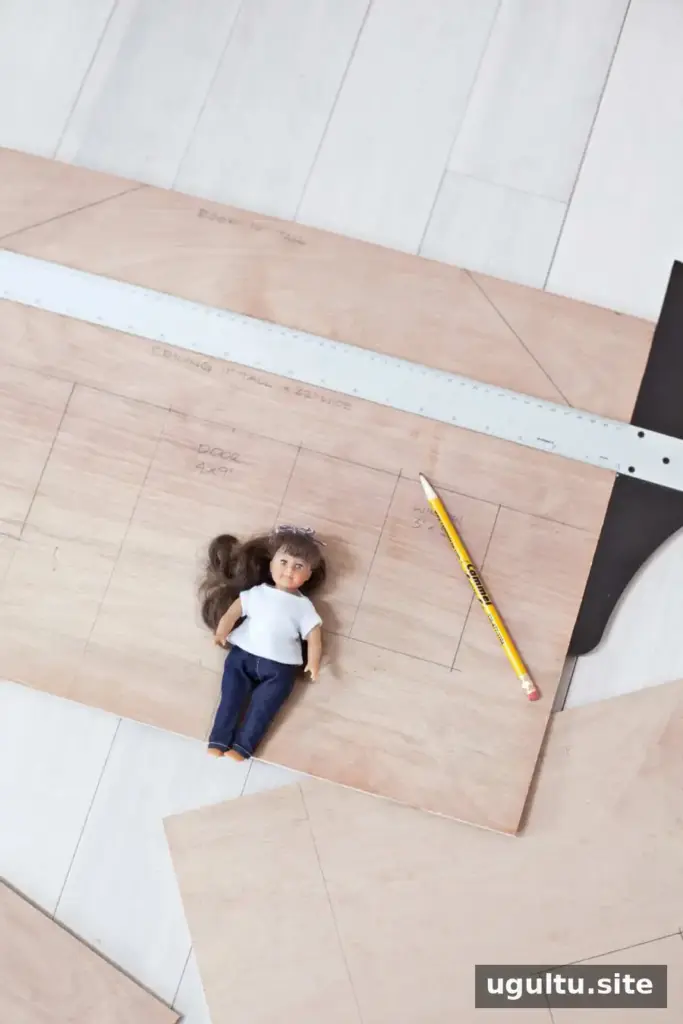
Step 1: Plan and mark the walls. Have the plywood cut to the dimensions you want. For a 6-inch doll, the example panels are 22 × 16 inches. Use a square or T-square to mark the windows, doors and roof lines before cutting.
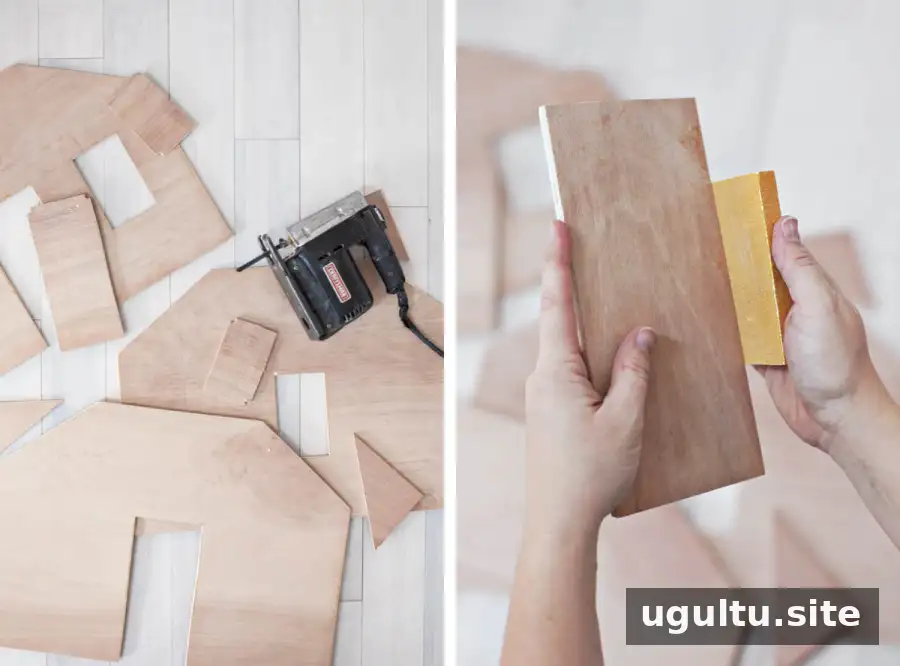
Step 2: Cut the openings. Use a jigsaw to cut along the marked shapes. If you need guidance on cutting an opening with a jigsaw, Laura’s tutorial is a helpful reference. Cut a separate piece for the front door, making it slightly smaller than the opening so it can swing freely once the hinges are attached.
Step 3: Sand the edges. Smooth rough cuts with 80-grit sandpaper, then use 120 grit to refine the surface. Sand carefully around openings so edges feel smooth to the touch.
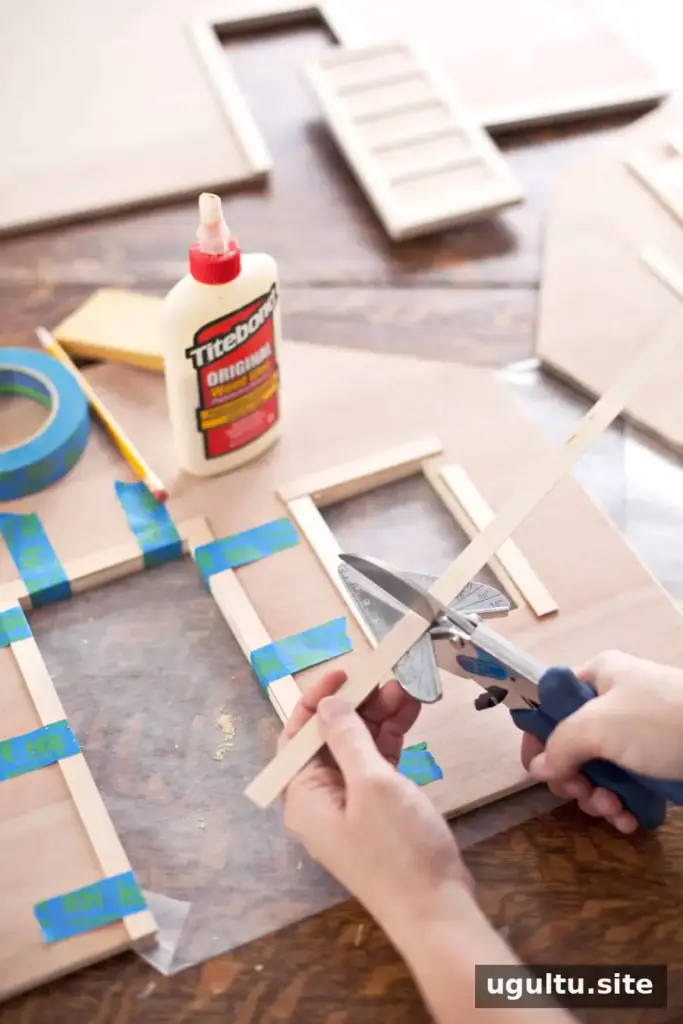
Step 4: Add trim. Cut basswood strips for the window and door surrounds and the floor lines. Attach them with wood glue and hold them in place with painter’s tape until the glue dries. If you plan to stencil the walls, painting before adding trim can make the pattern easier to apply.
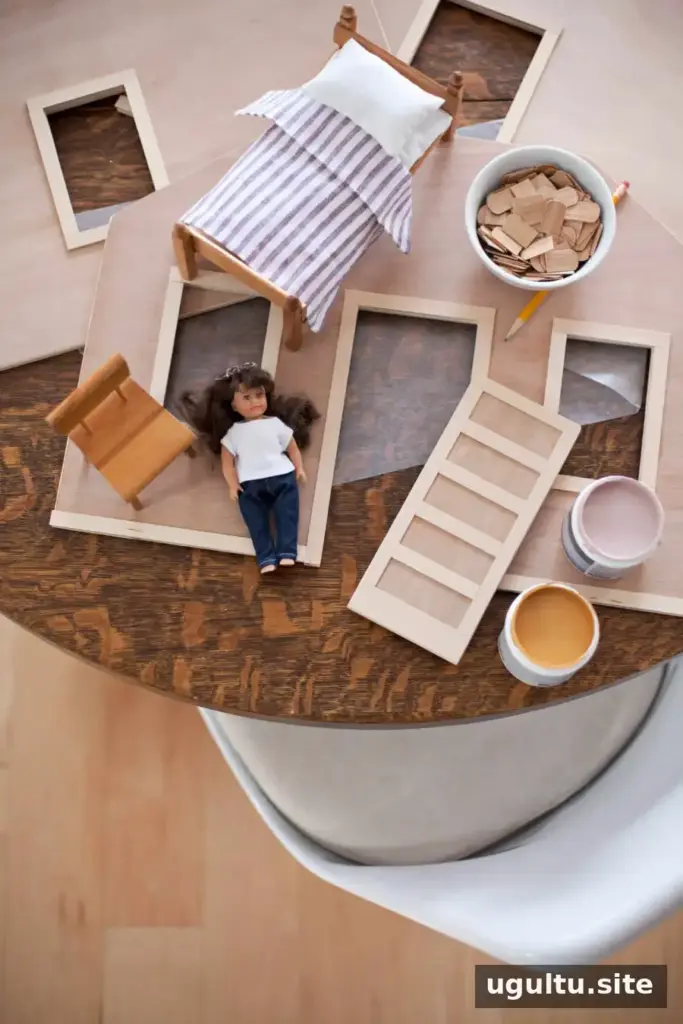
You can leave the wood natural or paint it. If you prefer an unpainted finish, choose plywood and trim with colors that work well together. Seal the surfaces with several coats of polyurethane, sanding lightly with 400-grit paper after the first coat for a smoother finish.
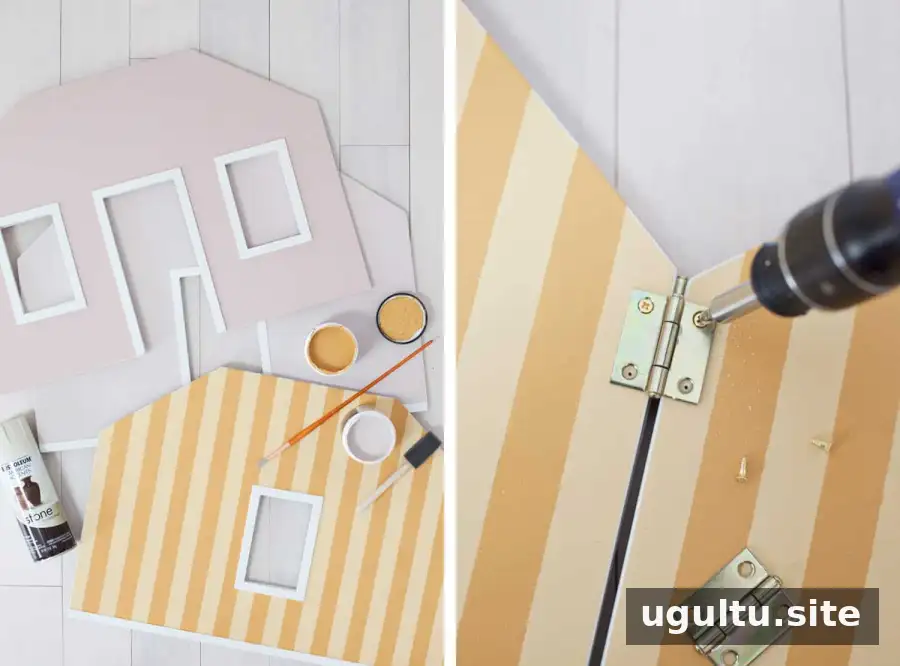
Step 5: Prime and paint. Apply primer, allow it to dry, and lightly sand with 400-grit paper before adding the final paint colors. Paint is a durable, straightforward option for walls that will be handled regularly. A textured spray finish can also give exterior panels a stucco-like appearance; follow the product label and use it in a properly ventilated area.
Step 6: Attach the wall hinges. Connect the panels with hinges so the structure can fold. Stagger the hinges above or below one another on opposite sides of the middle panel. This helps prevent screws from meeting inside the wood.
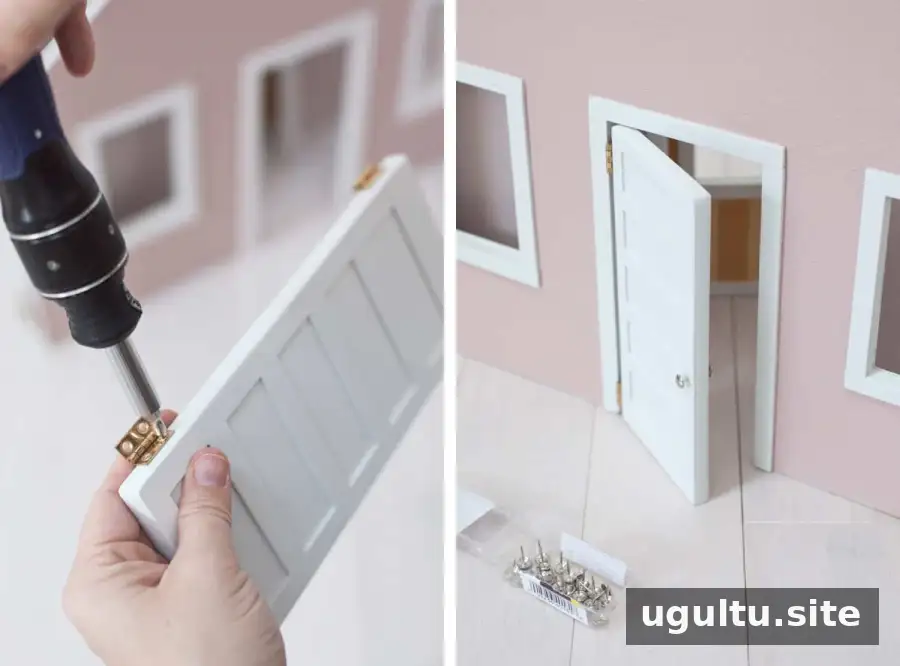
Step 7: Hang the door and add a knob. Attach hinges to the front door, checking that it opens without catching on the frame. Add a small knob using a suitable lightweight option, such as a bead or a small piece of polymer clay. Keep tiny parts out of reach of children who may put them in their mouths.
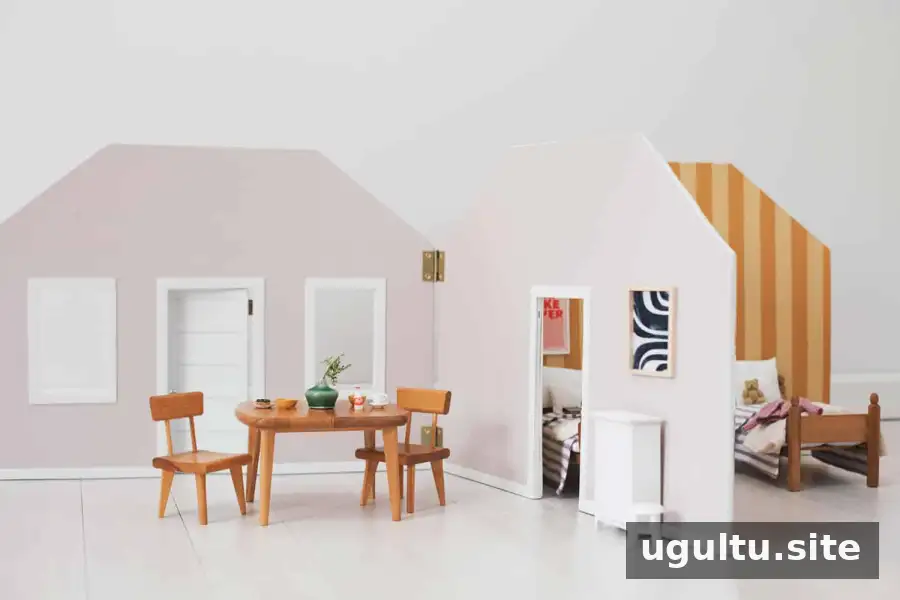
Once assembled, the dollhouse can be opened for play and folded away for storage. Keep the dolls and furniture together in a separate basket so the panels can close without trapping or damaging accessories.
Choose the scale before building
Decide which dolls and furnishings the house needs to fit before cutting the plywood. Miniature dolls around 6 inches tall can use compact rooms, while 18-inch dolls need substantially larger panels and furniture. Measure the tallest doll and the largest pieces of furniture to check that the planned layout will work.
Furniture availability varies by scale. Traditional 1:12 miniatures are a common size, while furniture for other doll sizes may take more searching. Vintage pieces can differ in scale even when they appear similar, so check item measurements before buying. Leave enough room for furniture to sit inside each section without obstructing the folding panels.
A fold-away dollhouse can provide a defined play area without taking up a room when it is not in use. With measured panels, well-positioned hinges and a simple finish, it is easy to adapt the project to different dolls and storage needs.
— Mandi


