
 admin
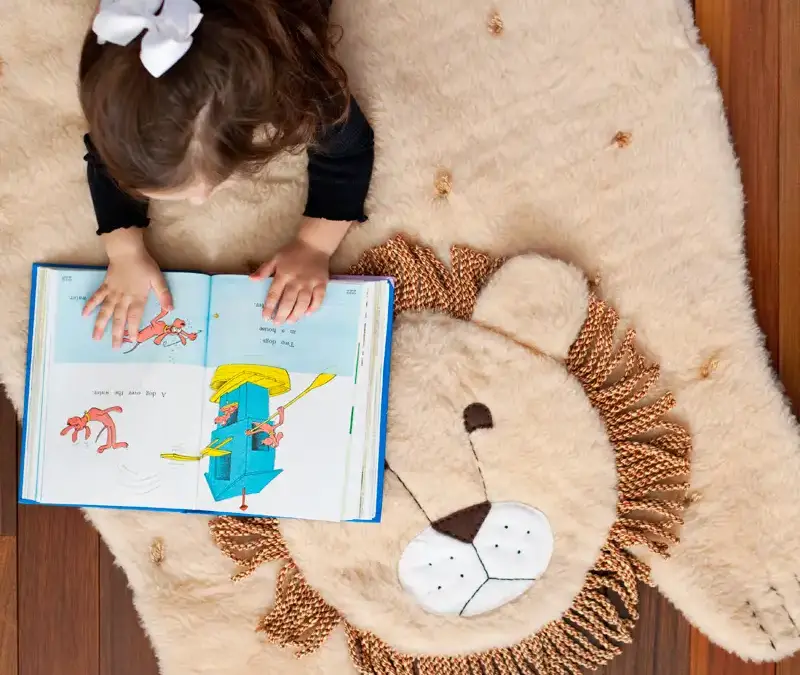
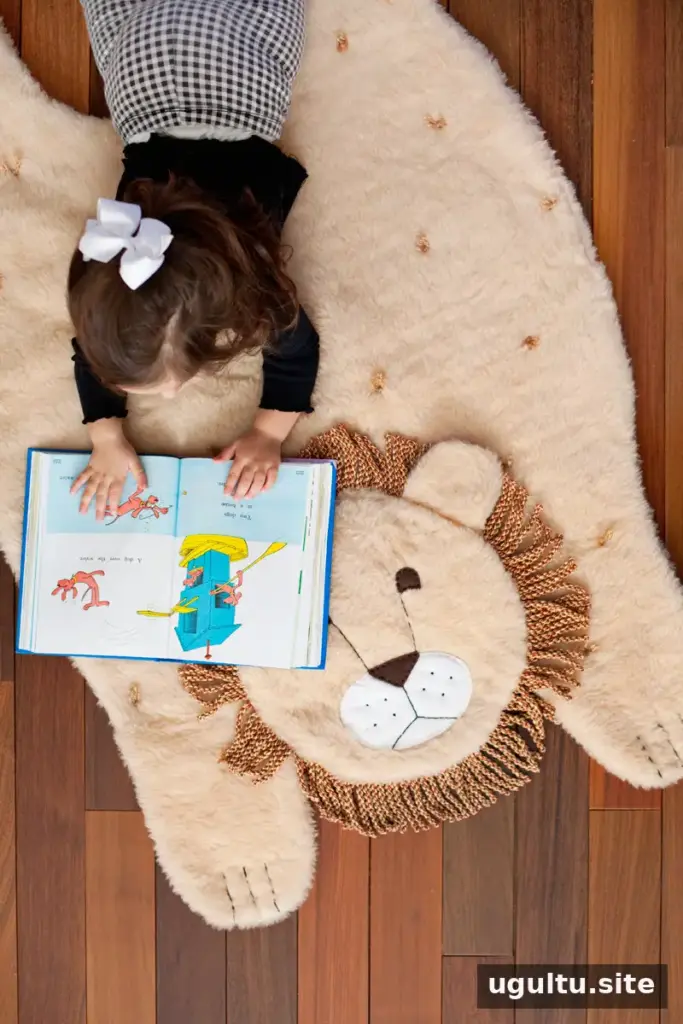
A plush animal mat adds a soft place to sit or play while bringing a little character to a room. This quilted project can be shaped like a lion or adapted to another favorite animal. With basic sewing skills, a sewing machine, and some patience, you can make a one-of-a-kind mat with a cushioned body and a separate animal head.
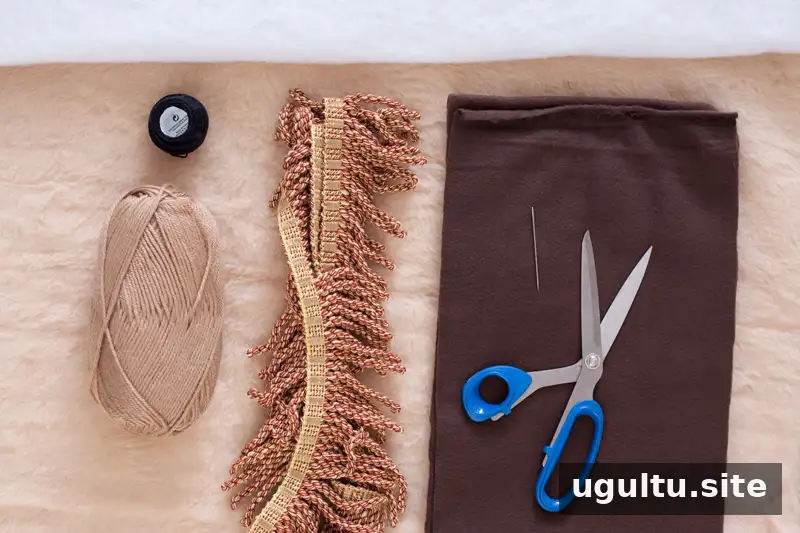
Materials
- 1.5 yards of furry tan fabric
- 1.25 yards of medium brown upholstery fringe
- Quilt batting; choose the thickness you prefer
- Thick black embroidery floss
- White embroidery floss
- Small pieces of white and brown felt or fleece
- Tan yarn
Tools
- Embroidery or darning needle
- Fabric scissors
- Marker
- Straight pins
- Sewing machine
How to Make a Plush Animal Mat
1. Cut and sew the body
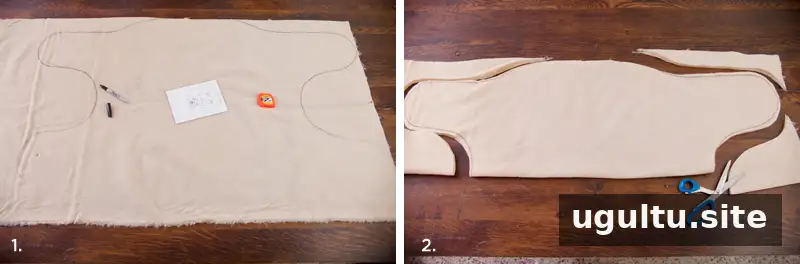
Spread the furry fabric in a single layer and sketch the outline of the animal’s body. Once you are happy with the shape, fold the fabric in half and cut around half of the outline. This creates a symmetrical body when the fabric is opened.
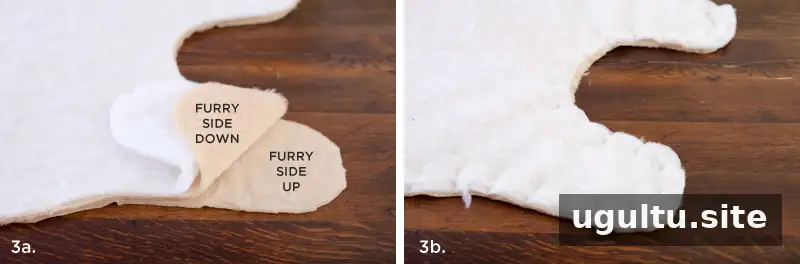
Use the body piece as a template to cut a second piece of furry fabric and one piece of batting. Pin the layers together with the furry sides facing each other and the batting against the wrong side of one fabric piece. Sew about 0.5 inches from the edge, removing pins as you go. Leave an opening of about 6 inches on one side so you can turn the body right side out. Close the opening with the sewing machine.
2. Make the animal’s head and ears
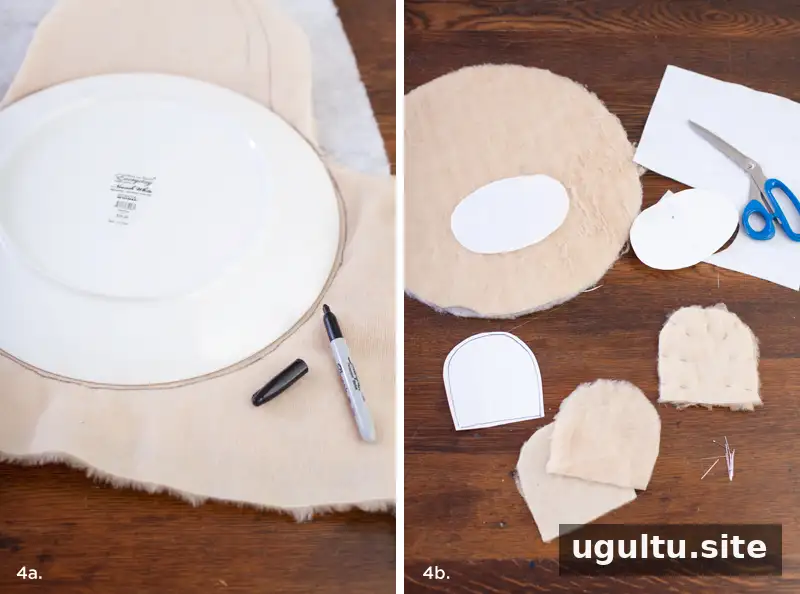
Use a circular object as a template to cut two circles from the furry fabric scraps and one circle from the batting. A 14.5-inch serving platter was used for the example. Cut two furry ear pieces and one batting piece for each ear, leaving enough fabric to tuck the ears into the head seam and a 0.5-inch allowance for stitching. Cut felt pieces for the eyes, nose, and mouth.
Try drawing the facial features and ears on paper first. This lets you adjust the shapes before cutting the felt and helps keep the finished design balanced.
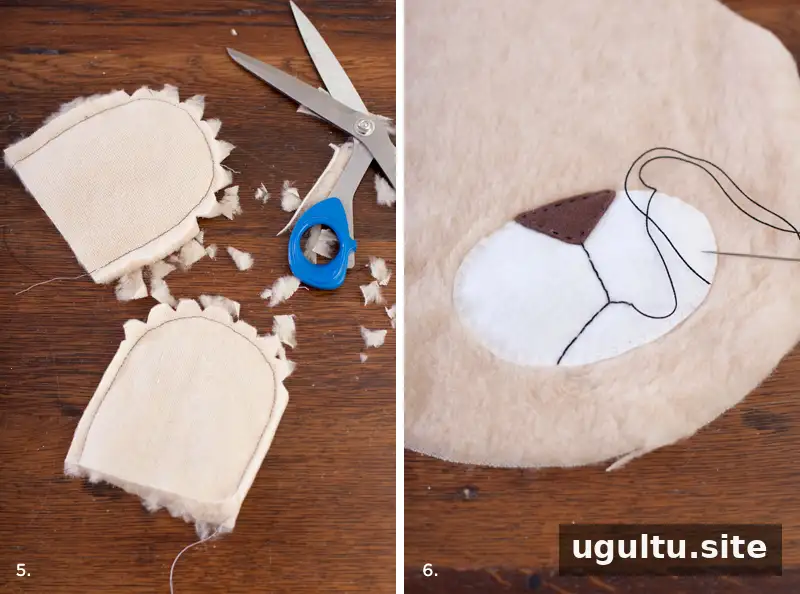
Layer and sew each ear in the same way as the body. Before turning it right side out, snip small V shapes around curved areas, taking care not to cut through the stitching. These small cuts help reduce puckering. Embroider the felt facial features onto the furry side of one head circle. Lightly sketching the mouth with a pencil first can help guide even stitches.
3. Add the fringe and assemble the head
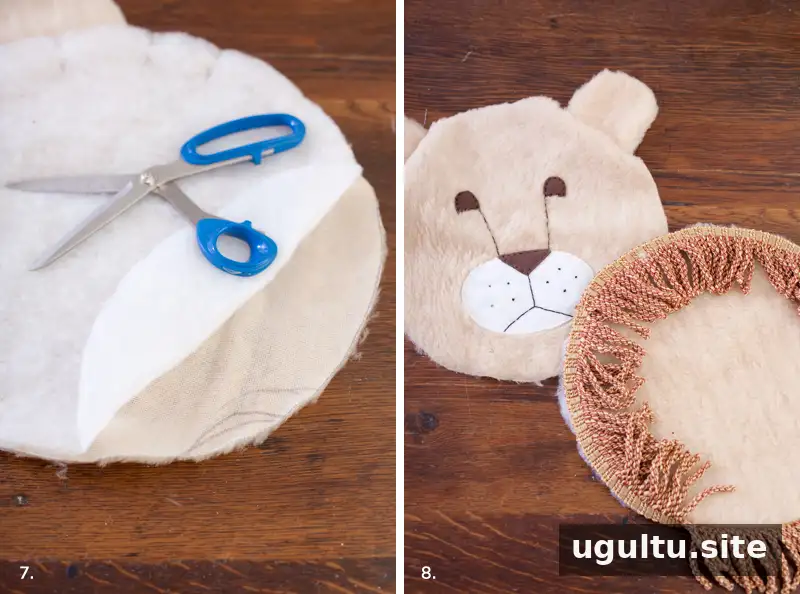
Sew the batting to the back of one furry head circle, using a wide stitch about 0.25 inches from the edge. Pin the fringe to the batting-lined piece and stitch it in place. Position and sew the ears to the embroidered face, with the ears pointing inward as you stitch so they will sit correctly after the head is turned.
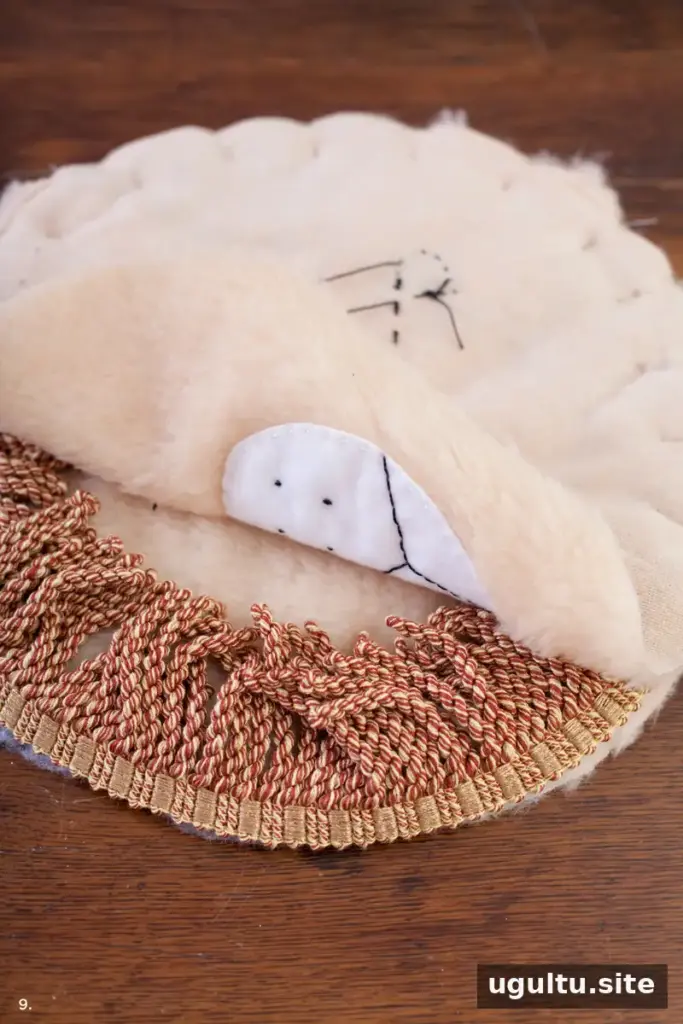
Place the two head pieces together with their right sides facing. Tuck the fringe and ears inside, then pin around the edge. Sew about 0.5 inches from the edge, leaving a 4–6-inch opening. Turn the head right side out and hand-stitch the opening closed.
Tip: Several fabric and fringe layers can make the head bulky for a sewing machine. If your machine struggles with the layers, leave the batting out of the head and add Polyfil stuffing before closing it. This creates a softer, pillow-like head.
4. Tie the body layers and attach the head
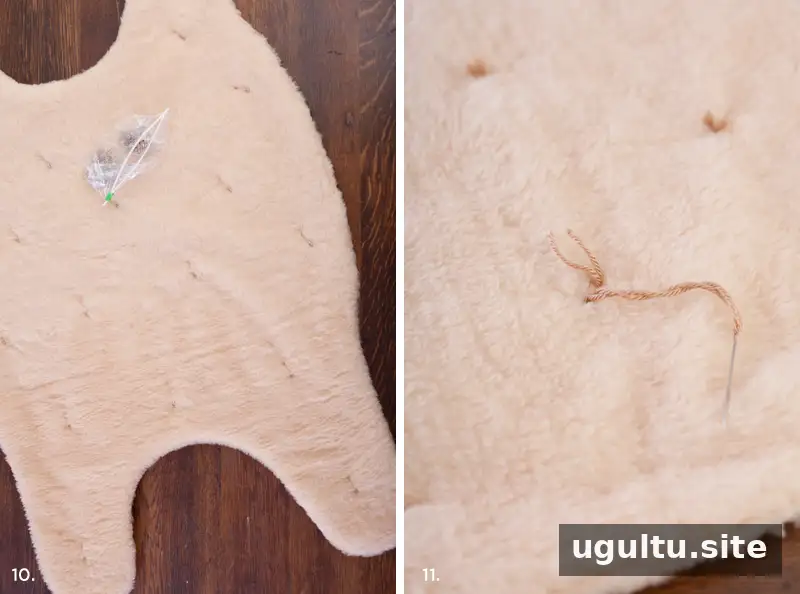
With the body turned right side out and its opening closed, secure the layers together using safety pins or quilter’s safety pins. Choose tie locations by measuring them or spacing them by eye, keeping the arrangement consistent across the mat.
Thread tan yarn through a darning needle. Pass the needle through all three layers to the back, then bring it to the front about 0.25 inches away. Repeat the pass, leaving yarn tails long enough to knot. Tie the ends together and trim the excess. A double strand of yarn was used for the example, but a single strand can also be used.
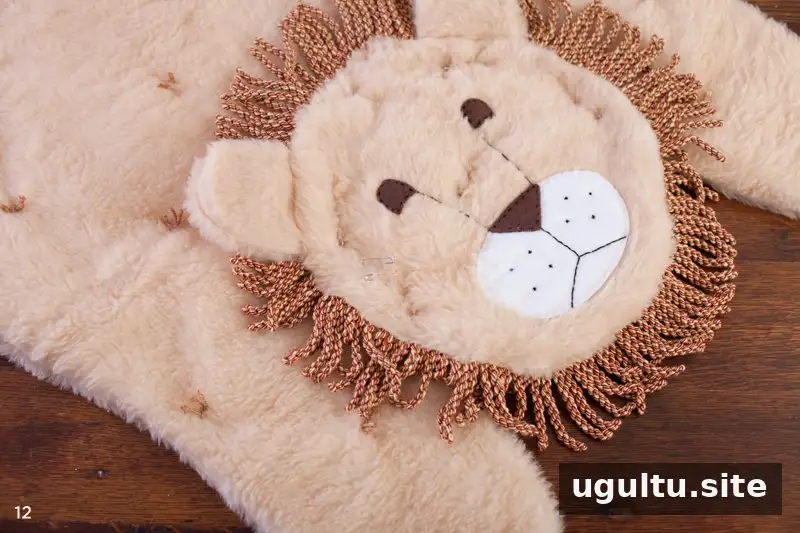
Pin the head to the body with safety pins, then attach it using a darning needle and slip stitches. Check that the head is firmly secured before using the mat.
Finishing Tips for Your Plush Animal Mat
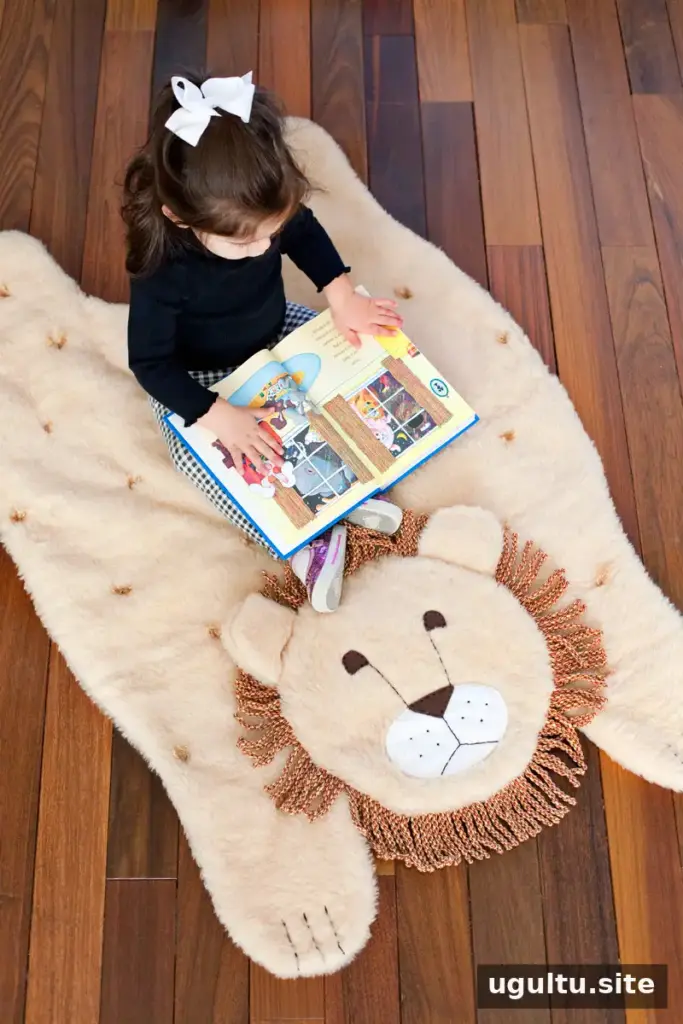
The project can be completed in less than a day, depending on sewing experience and how detailed the face is. Take extra time when cutting the symmetrical body and placing the facial features; careful preparation helps the pieces fit together neatly.
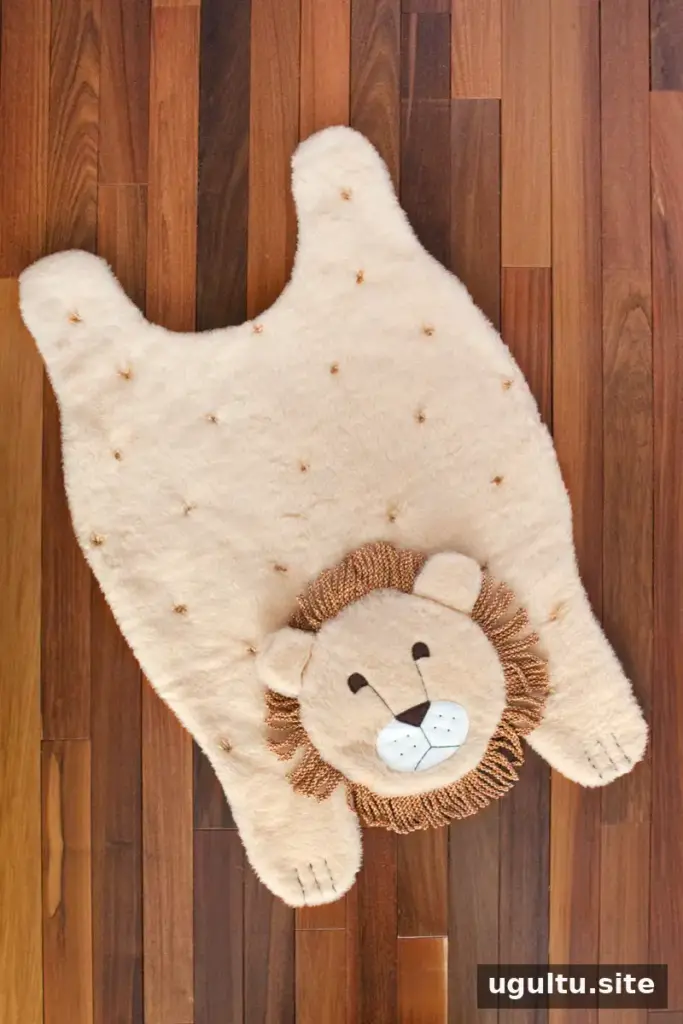
A lion is one option, but the body, ears, and face can be adapted to suit different animals. Before use, inspect the seams and tied quilting points, and repair any loose threads. Keep small felt details securely attached, especially if young children will use the mat. Project instructions by Mandi.
With straightforward materials and beginner sewing techniques, a plush animal mat can become a personalized play or reading spot. Follow the steps carefully, choose a design that suits the intended space, and check the finished mat regularly for loose stitching.


