
 admin
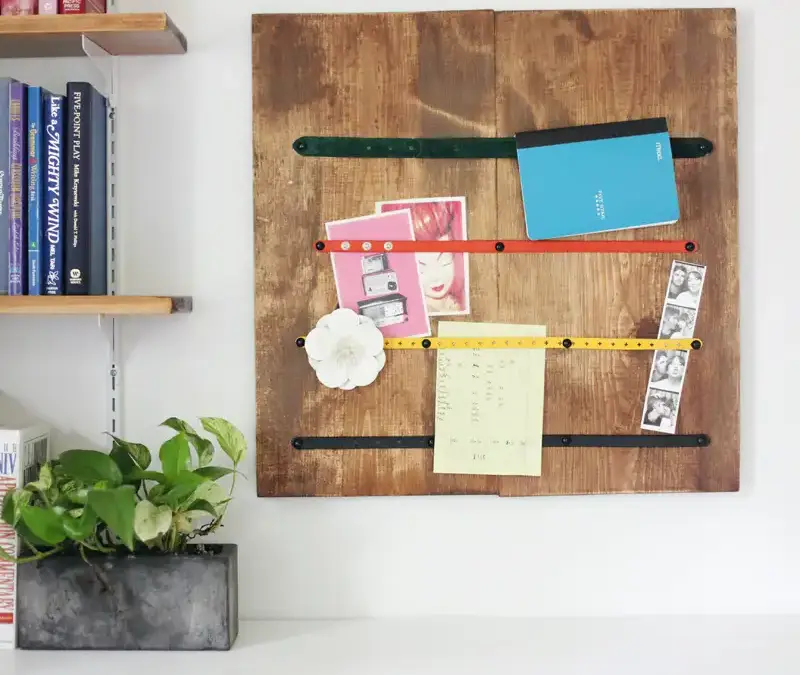
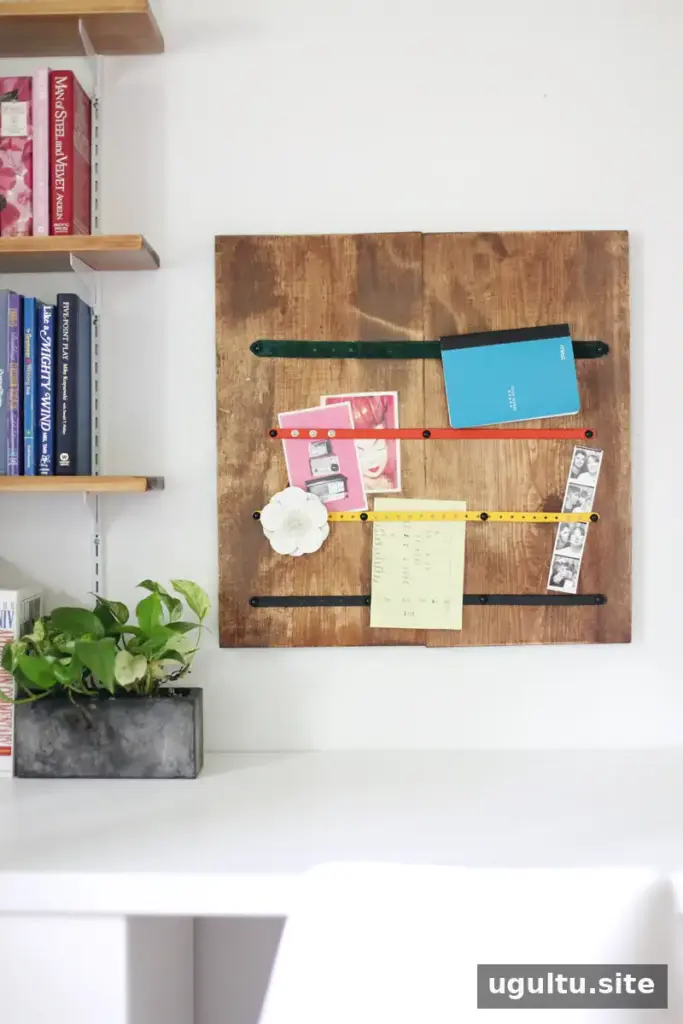
A belt strap memo board turns old or thrifted belts into a practical place to keep notes, photographs, and reminders in view. The design, inspired by the trompe l’oeil artwork of Evert Collier, gives worn belts a new purpose and can also serve as a display for a wedding or party seating chart. Choose belts that are still sturdy enough to hold papers, even if their surfaces are cracked or worn.
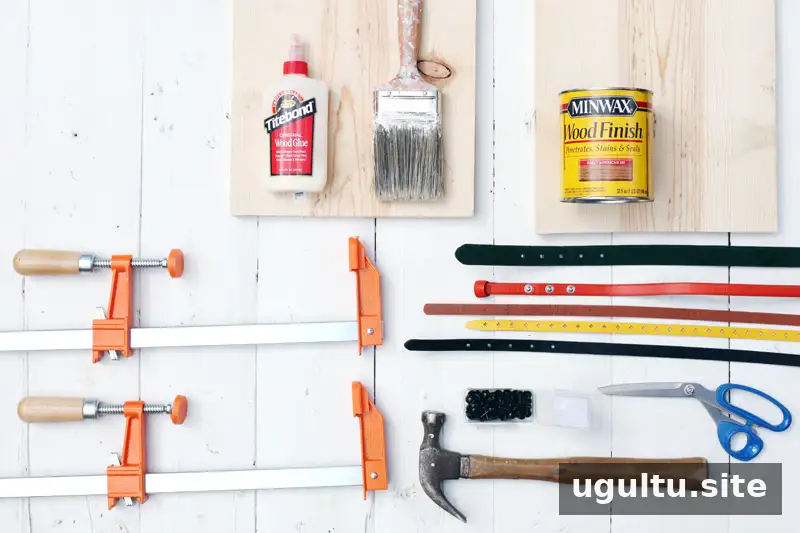
Supplies
- An edge-glued board, or two boards cut to the same length. The example uses a pine 1x12x48 board cut in half.
- Wood glue and long clamps, if joining two separate boards
- Upholstery nail heads
- Fabric scissors
- Belts
- Picture-hanging hardware
- Hammer
Before starting, check that the board is large enough for the belts and the items you plan to display. Lay the belts out on the wood first to decide on spacing and leave room around the edges for a neat border.
How to Make a Belt Strap Memo Board
1. Prepare the wooden board
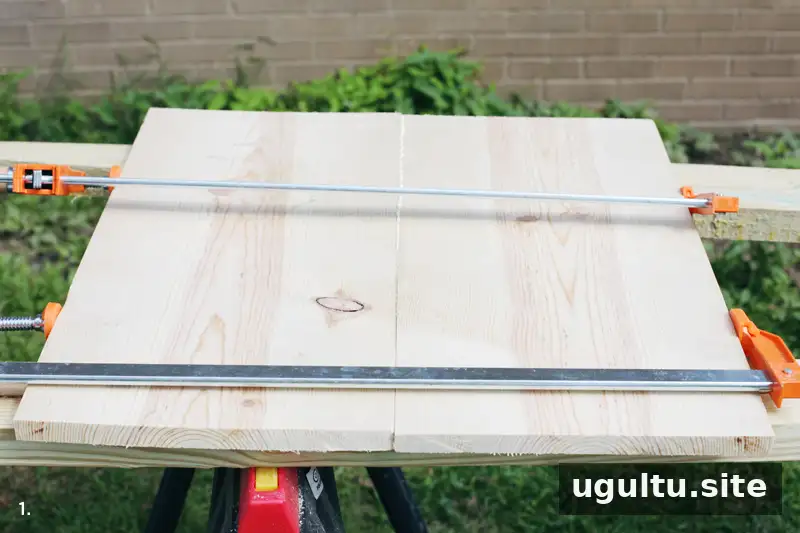
If you are not using a ready-made edge-glued board, join two planks of equal length. For the example, a pine 1x12x48 plank was cut into two 24-inch pieces. Apply wood glue along the edges that will meet, align the boards, and clamp them tightly while the glue dries. Keep the surfaces level as you clamp so the finished board is easier to hang and use.
2. Remove excess glue
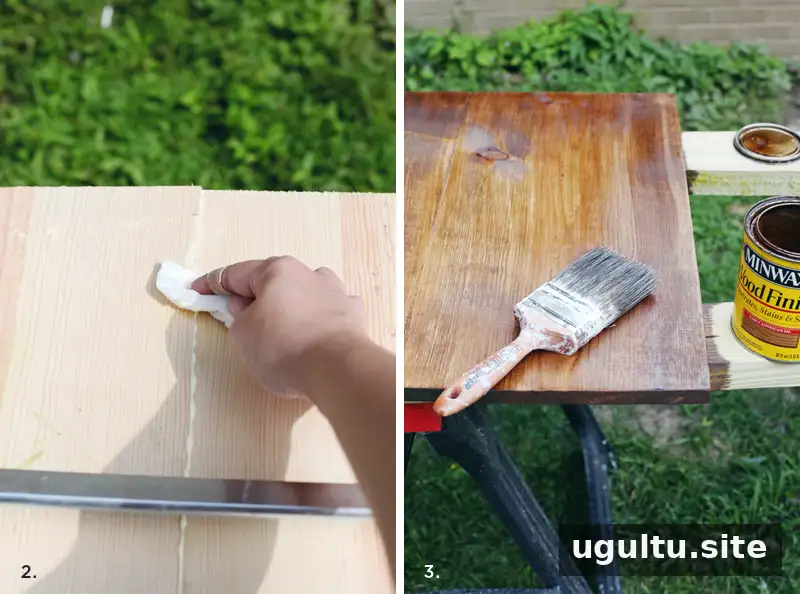
While the glue is still wet, wipe away any that squeezes out of the joint. Wood glue can be difficult to remove after it dries, and leftover residue may affect the appearance of a stained or painted finish.
3. Finish the wood
Once the glue has dried, remove the clamps and paint or stain the board in your preferred color. Allow the finish to set according to its product instructions. Sanding the surface with steel wool after staining can help smooth raised wood fibers; use a light touch and follow the finish manufacturer’s safety guidance.
4. Attach the belts
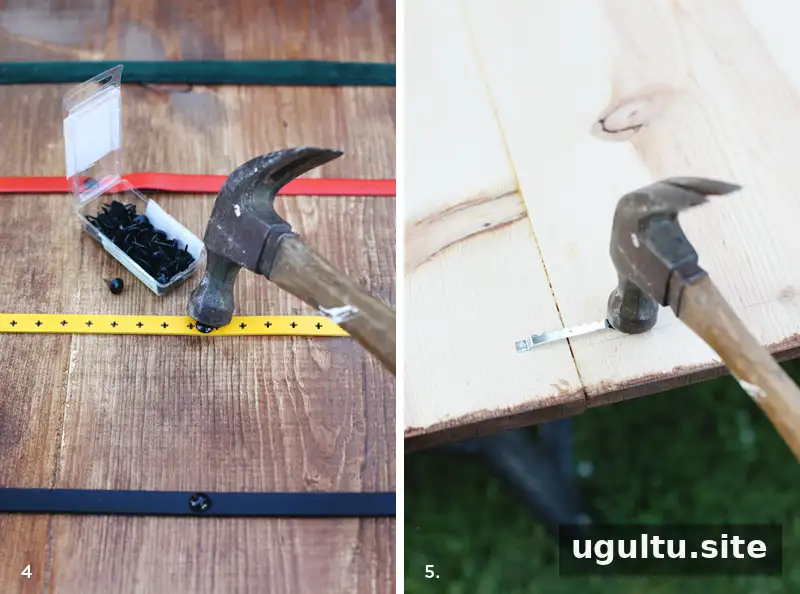
Cut each belt to fit across the board, leaving space for a border. Position the straps where you want them before fastening them with upholstery nail heads hammered through the belt and into the wood. On very soft wood, the nail heads may press into place by hand, but take care to keep them secure and evenly spaced. Keep fingers clear while working with the hammer.
5. Add hanging hardware
Fasten picture-hanging hardware to the back of the board, following the hardware instructions and choosing a hanging method suitable for the board’s weight and the wall. Check that the board is level and securely supported before placing notes or photographs on it.
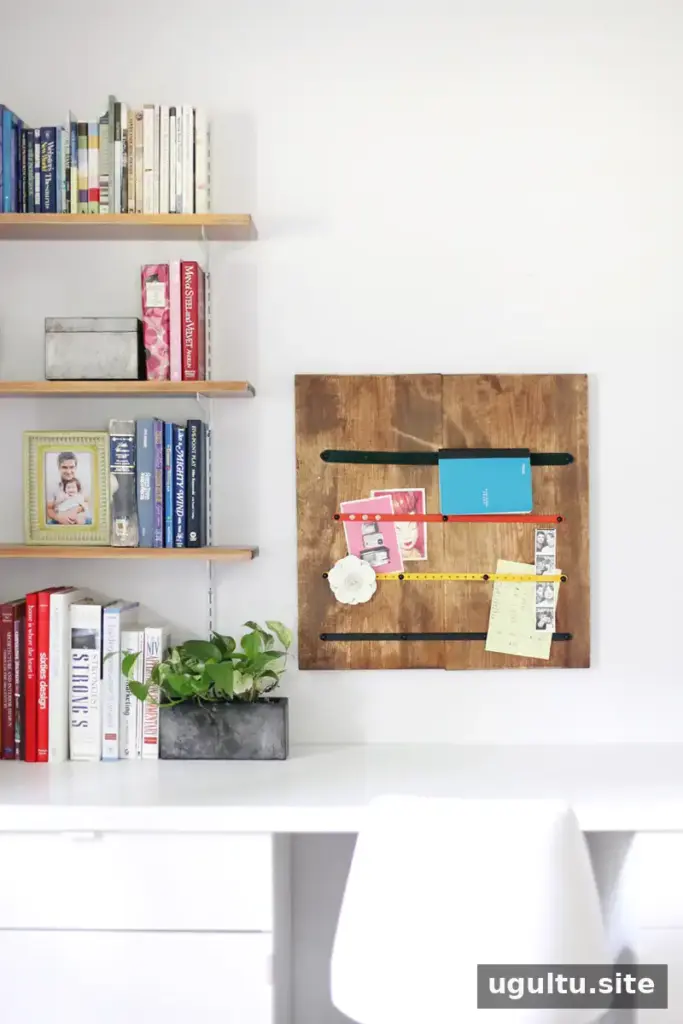
Ideas for Using Your Finished Memo Board
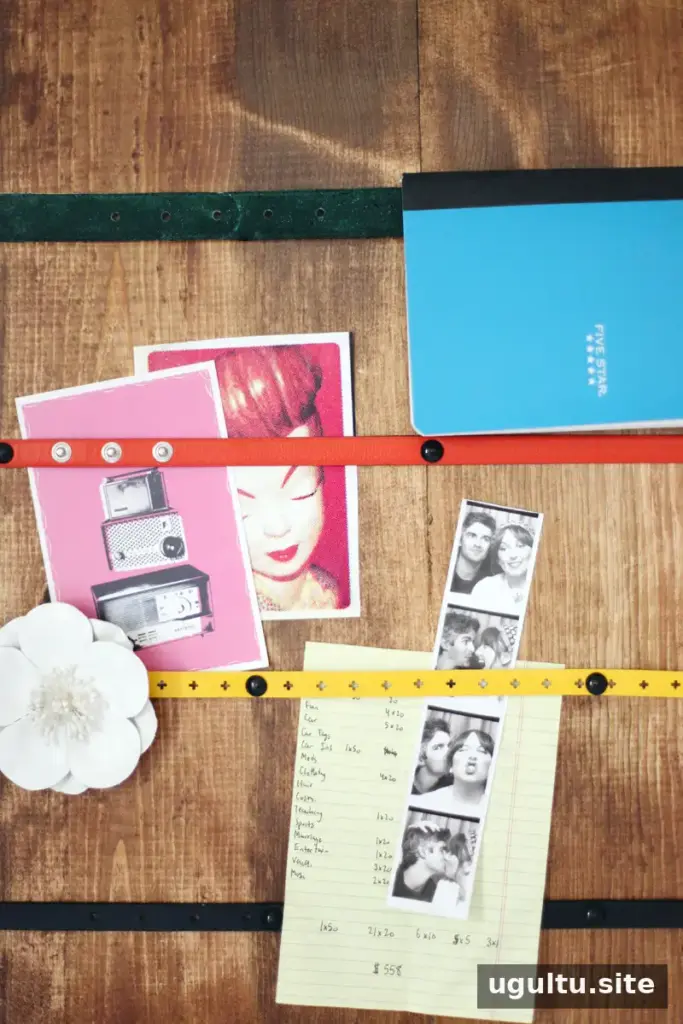
Use the finished board to organize everyday reminders, display photographs, or show a seating plan at a gathering. Reusing leftover lumber and old belts can reduce the need to buy new materials, and the layout can be adapted to suit the size of the board. The original project also reused leftover lumber and upholstery nail heads from other projects. — Mandi
A belt strap memo board is a straightforward way to repurpose worn accessories into a useful display. Plan the strap arrangement before cutting, allow finishes and glue to dry fully, and use appropriate hanging hardware for a secure result.


