
 admin
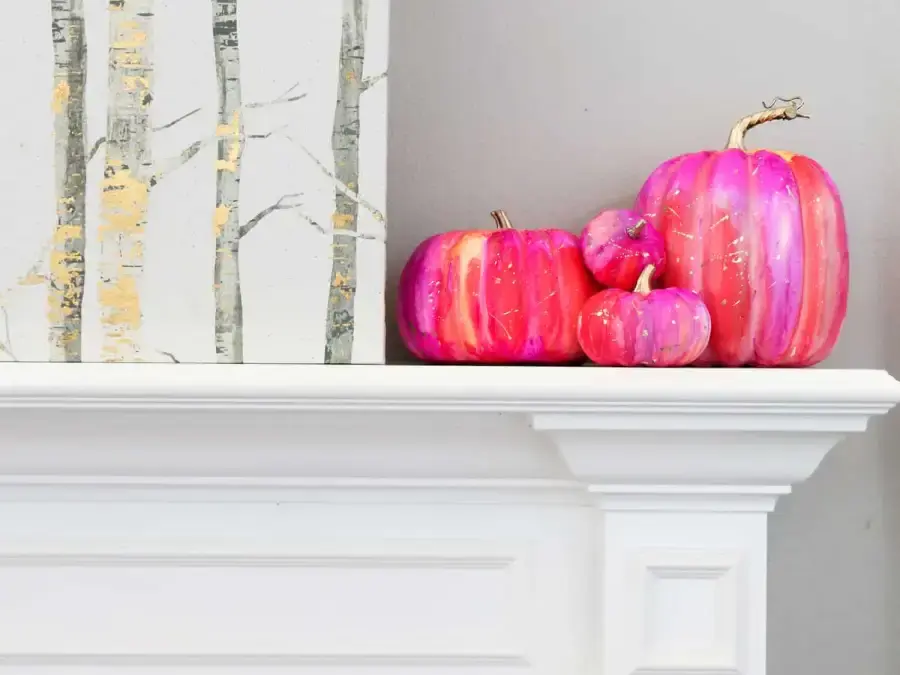
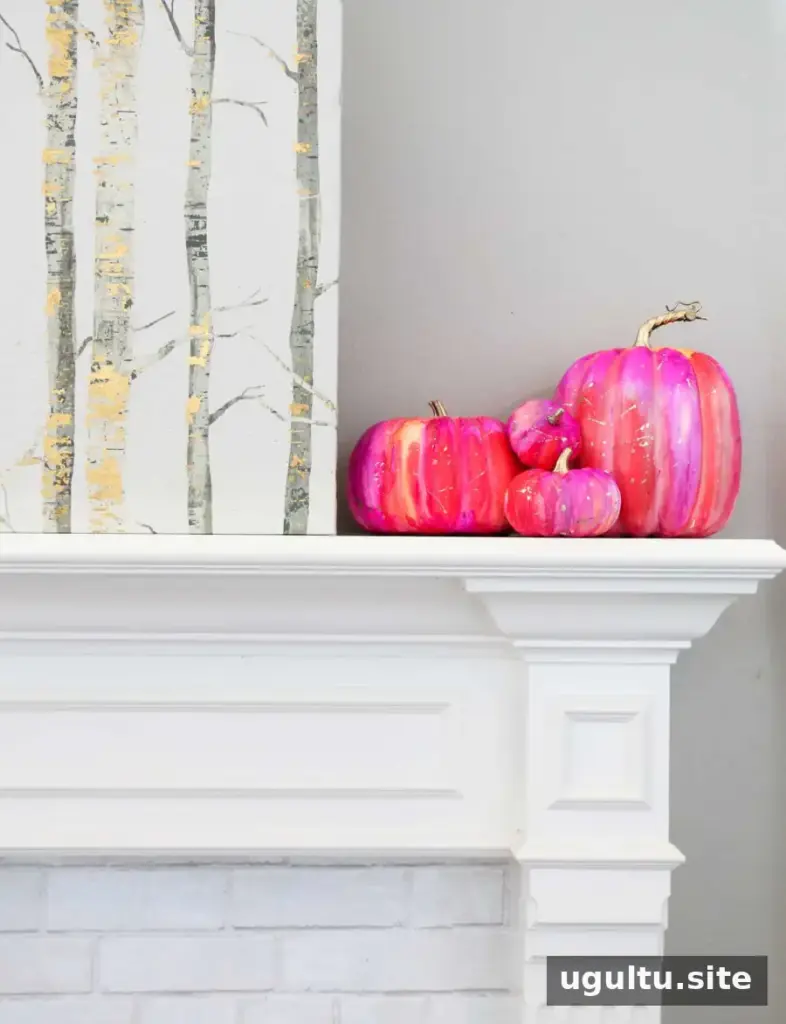
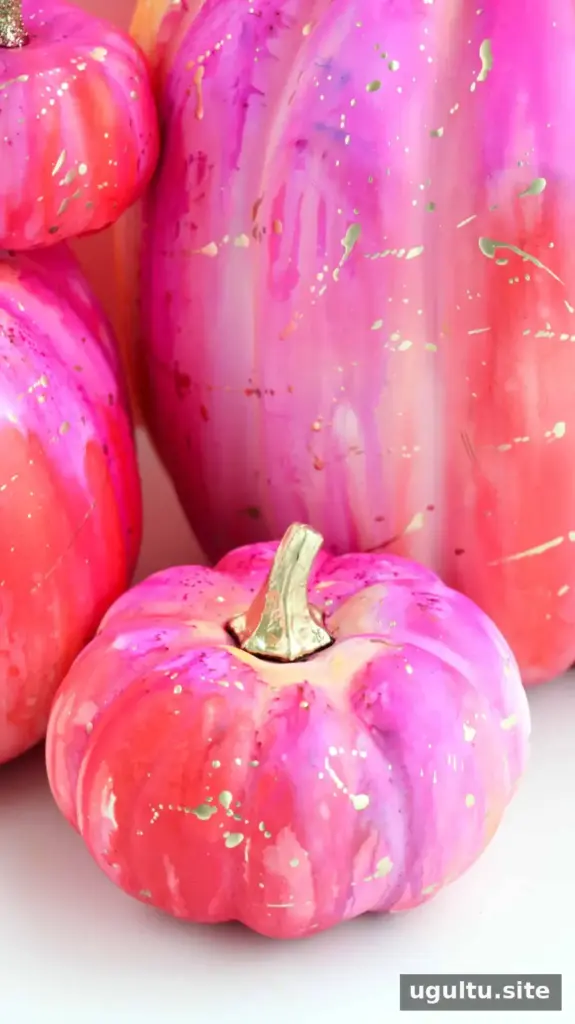
Alcohol ink pumpkins are a colorful, no-carve way to decorate faux pumpkins for fall. The inks flow and blend across the surface, creating a marbled, drip-like pattern with vivid bands of color. With a few supplies and a little patience, you can make each pumpkin look different while keeping the palette coordinated.
Set up a protected work area before you begin: alcohol inks and rubbing alcohol can stain surfaces, so cover your table and wear gloves. Work in a well-ventilated space and keep rubbing alcohol away from heat or open flames.
Supplies for Alcohol Ink Pumpkins
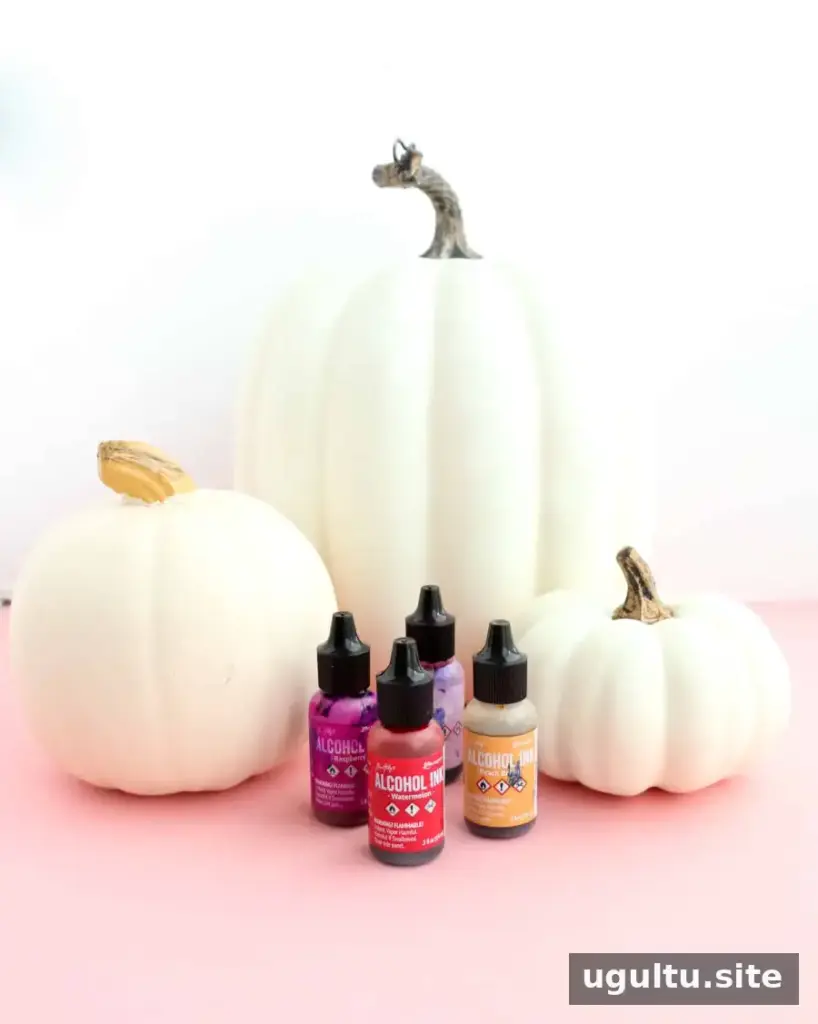
- White faux pumpkins
- Alcohol inks in watermelon, peach belini, raspberry, and pink sherbet
- A spray bottle filled with clear rubbing alcohol
- Plastic sheeting to protect your work surface
- Rubber or latex gloves
- Gold paint, optional
Before decorating the whole pumpkin, you can try a small amount of ink on an inconspicuous area to see how it behaves on that pumpkin’s finish. Keep paper towels nearby for small spills, and avoid touching the ink while it is wet.
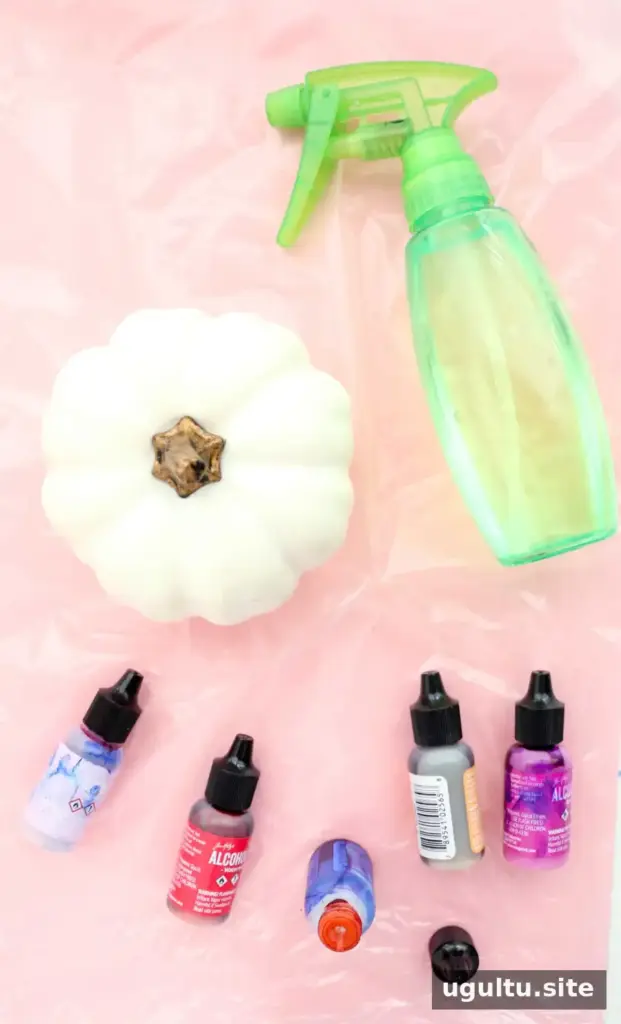
How to Make Alcohol Ink Pumpkins
1. Prepare the pumpkin and workspace
Spread plastic sheeting over your work surface and put on your gloves. Lightly spray the pumpkin with clear rubbing alcohol. This gives the inks a damp surface to move across and helps them flow as you add color.
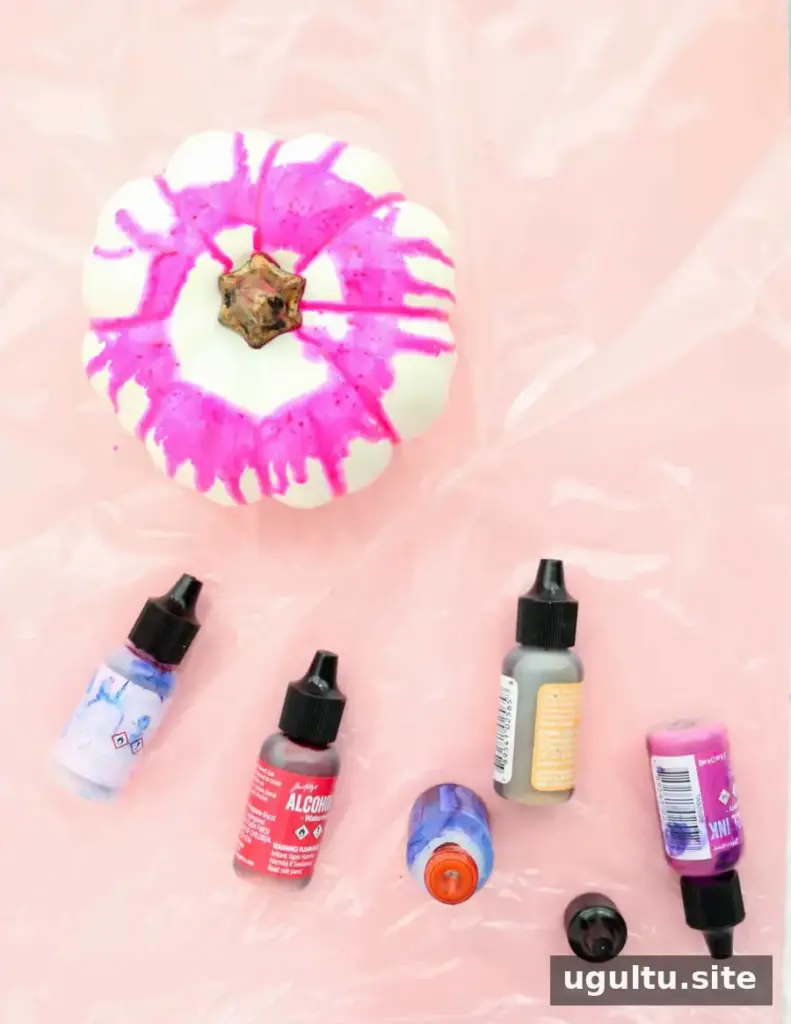
2. Add bands of color
Slowly drip the alcohol inks around the pumpkin in bands. You can begin near the top or bottom. For a layered effect, start about one-third of the way up from the base, make a ring of color, and gradually work toward the top. Add the colors in small amounts so you can see how they blend before applying more.
3. Fill bare areas and build the pattern
The ink tends to travel across areas that are already wet with alcohol. If a section remains uncolored, lightly spritz it with rubbing alcohol and add a little more ink. Continue adding color and alcohol until the pumpkin is covered. Applying ink gradually makes it easier to control the pattern and avoid using more than you need.
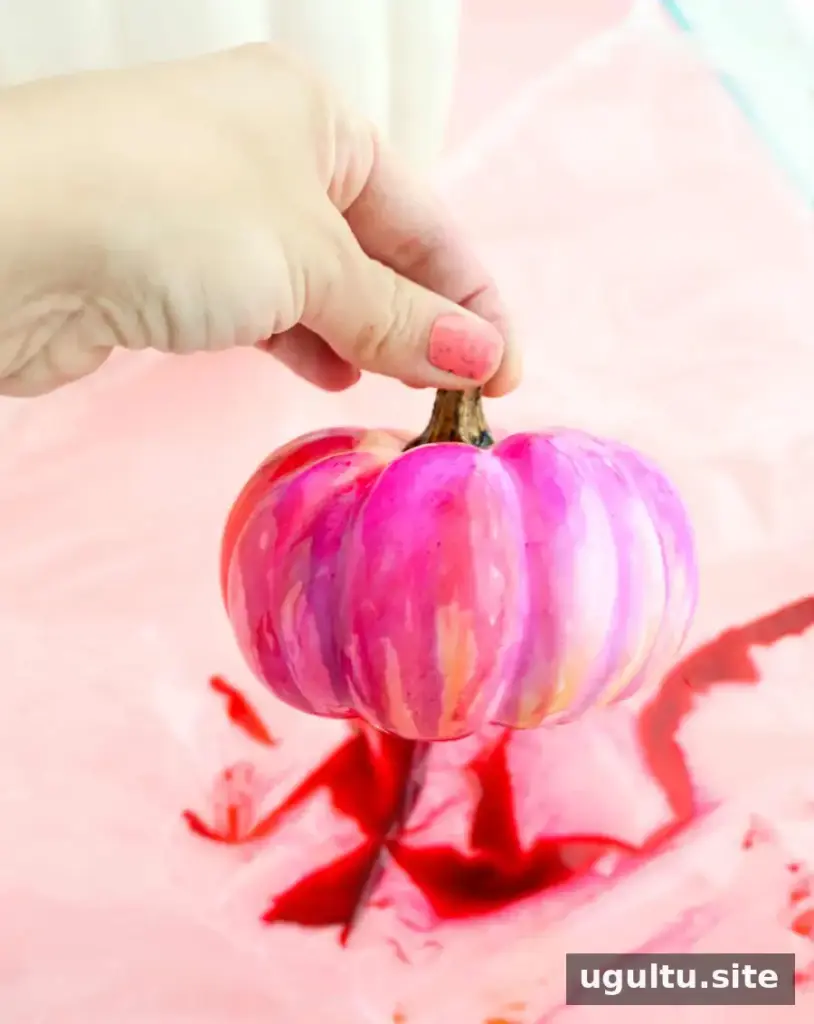
4. Let the finish dry
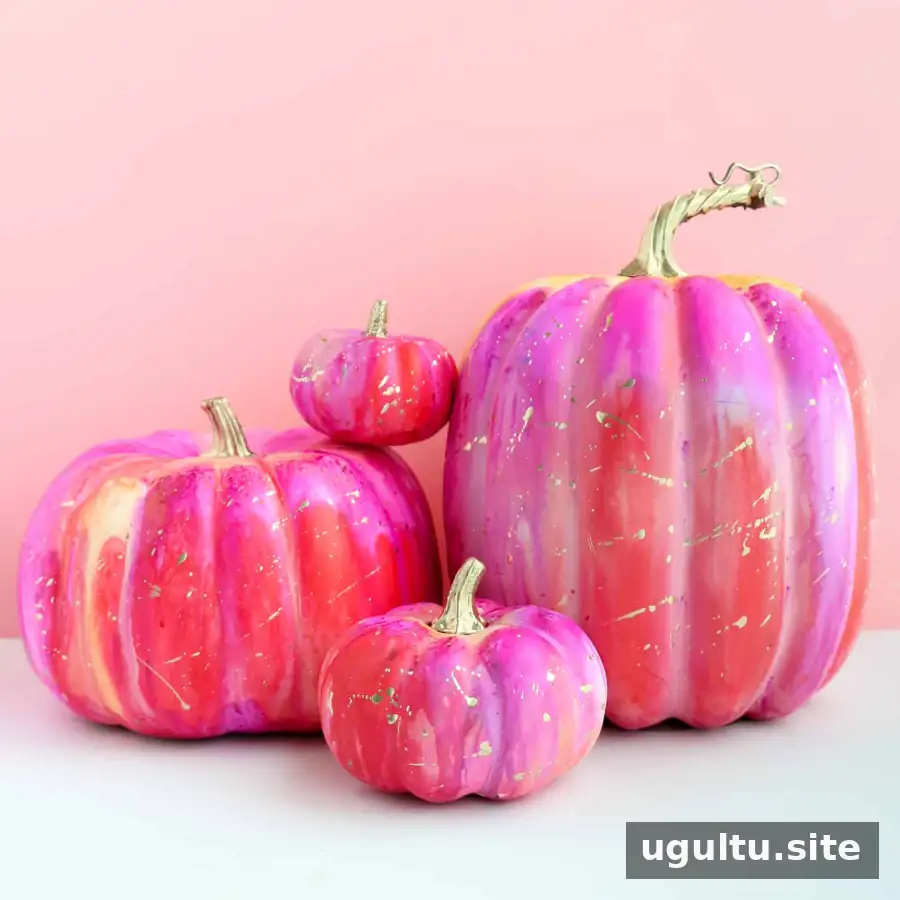
Move the pumpkin onto a clean piece of plastic sheeting and leave it to dry. Once the ink is dry, paint the stem gold if desired. You can also add a few gold splatters for extra detail. Allow the paint to dry before displaying the pumpkin.
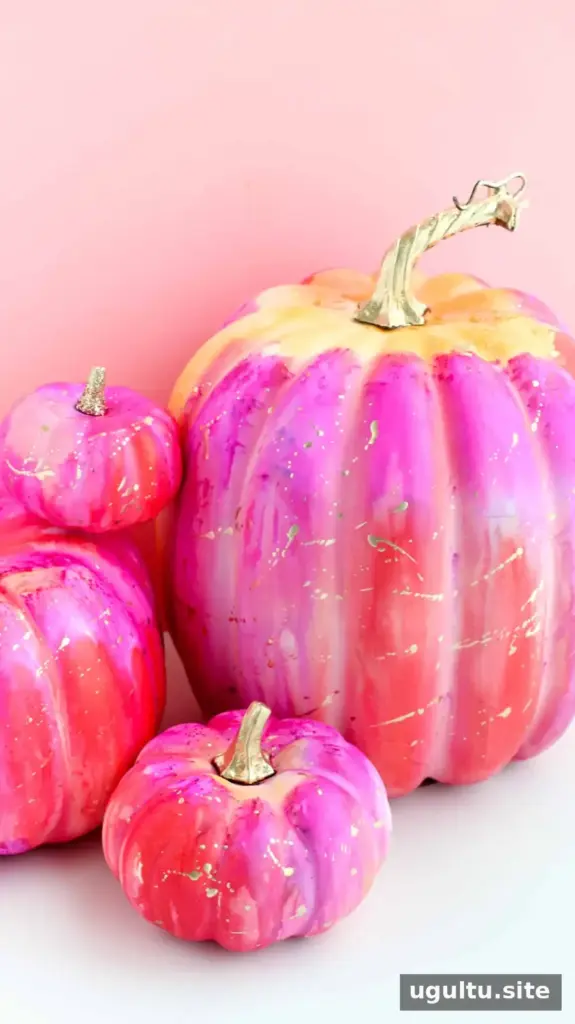
Choosing Colors and Getting a Balanced Finish
Alcohol inks are available in many shades, but colors can mix in unexpected ways. Sticking to shades from one color family is a simple way to create a more consistent result. For example, the watermelon, peach belini, raspberry, and pink sherbet inks create a coordinated pink-toned palette. Combining colors that may blend into an unwanted shade can make the final pattern less predictable.
There is no need to make every drip perfectly even: variations in the bands are part of the marbled look. If the color seems too pale, add ink in small increments rather than pouring on a large amount at once.
Final Thoughts
After drying, the colors blend into a bright, marbled pattern that gives each pumpkin its own look. For an easy seasonal display, group pumpkins with similar color palettes together, or use gold-painted stems to tie different designs together. Alcohol ink pumpkins are a simple no-carve project, and working slowly with coordinated colors helps create a vibrant finish. — Kara


