
 admin
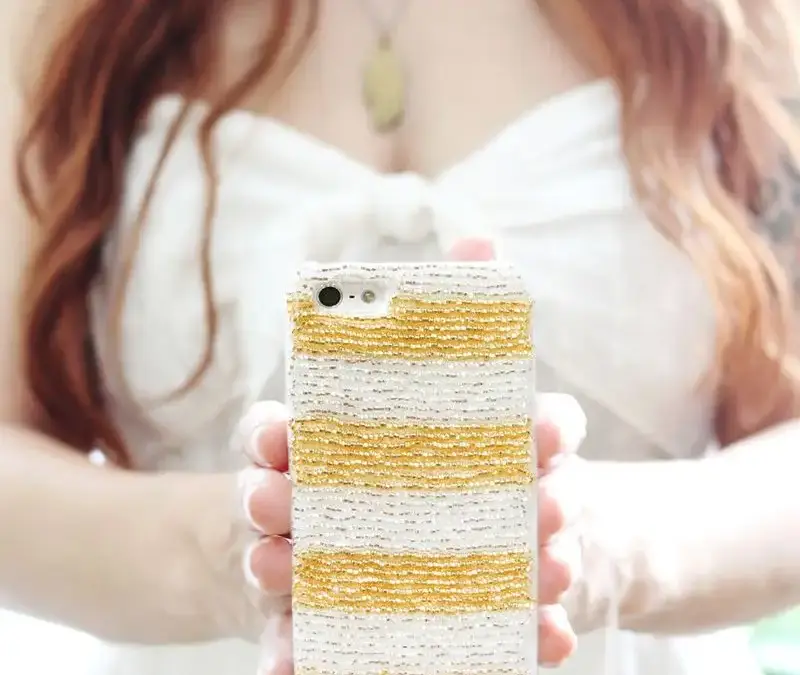
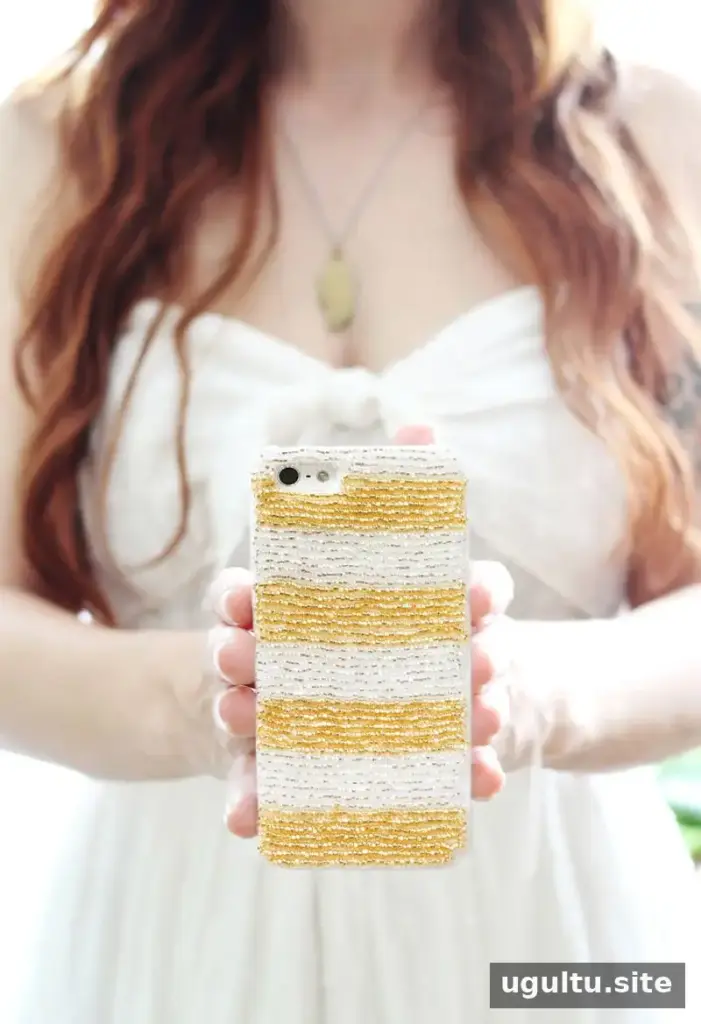
A beaded phone case is a simple way to create a colorful accessory that reflects your style. By threading the beads before attaching them, you can arrange neat rows and help keep the design in place. Choose a blank case that fits your phone, plan a pattern, and work carefully around the camera opening for a polished result.
Materials for a Beaded Phone Case
Gather your supplies before you begin. Having the beads, thread, and adhesive ready makes it easier to work in short, orderly sections.
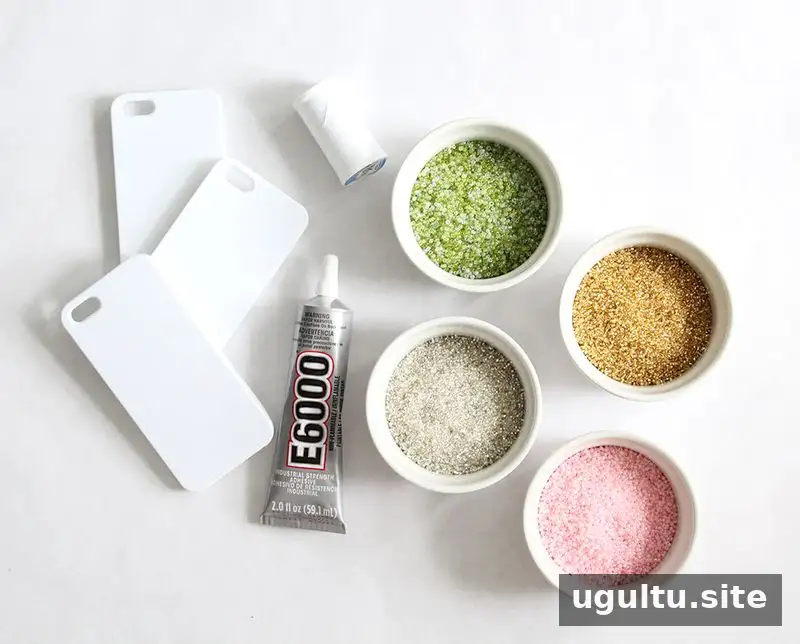
- Glass beads in your preferred colors
- A blank phone case that fits your device
- Strong craft adhesive suitable for the case material
- A small needle and thread
- Needle-nose pliers or toothpicks to guide the bead rows
Check that the beads fit the available surface and do not obstruct the camera, buttons, charging port, or speakers. Before applying adhesive, make sure the case is clean and dry. Follow the adhesive’s label directions, including any ventilation and curing precautions.
How to Make a Beaded Phone Case
1. Plan the pattern and thread the beads

Decide on your colors and layout before gluing anything down. Simple stripes are a practical starting point, while alternating colors or a small motif can add variety. Thread a manageable length of beads onto the needle and thread. Avoid making a strand so long that it becomes difficult to position neatly.
2. Apply adhesive in small sections
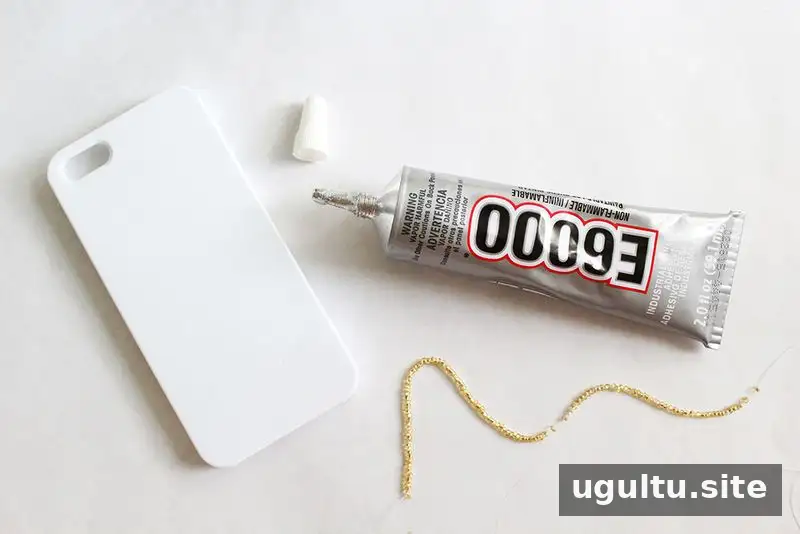
Starting at the bottom of the case, apply three or four generous rows of adhesive. Working in sections helps prevent the glue from drying before you place the beads. Use only enough adhesive to secure the rows, and keep it away from the case edges and openings.
3. Position the bead rows
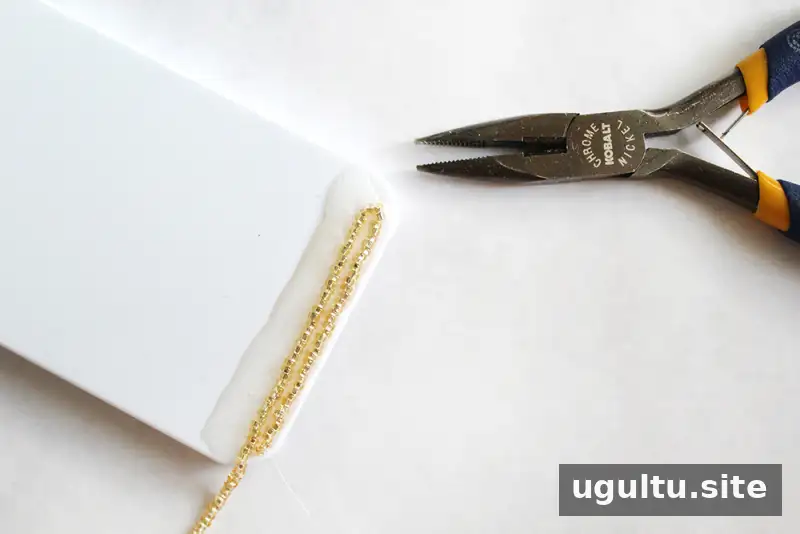
Guide each strand into place with needle-nose pliers or toothpicks. Press gently so the beads sit close together without being pushed out of alignment. In the example design, each stripe was seven rows deep before the color changed; adjust the number of rows to suit your pattern and the size of your case.
4. Continue toward the top
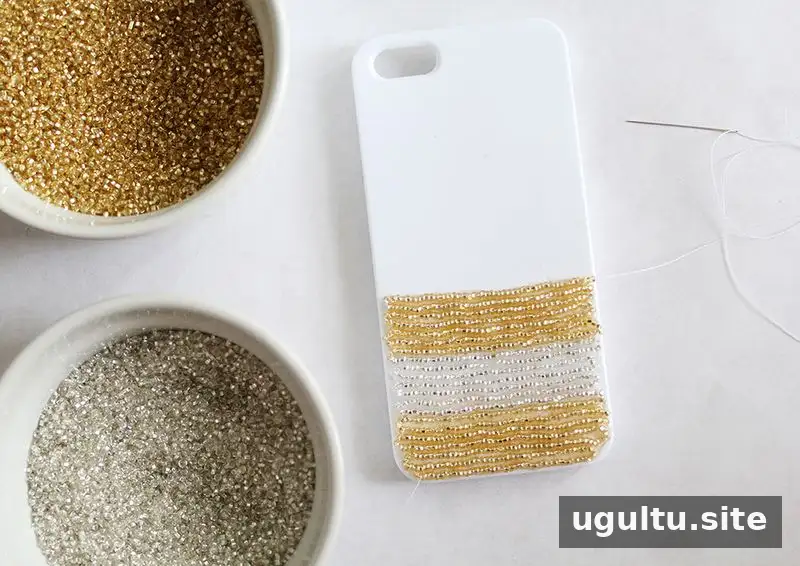
Repeat the process, threading beads and adding adhesive a few rows at a time. Keep the rows even and trim excess thread when you reach the top. Avoid handling the case until the adhesive has fully cured according to its package instructions.
5. Work carefully around the camera opening
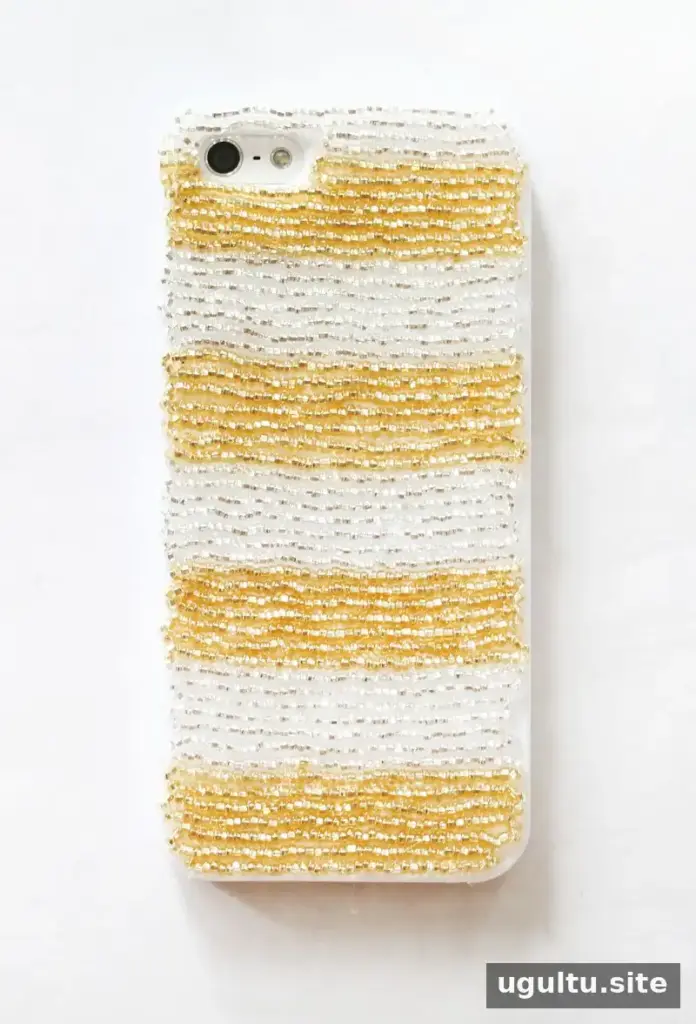
The camera cutout may require extra attention. Place beads slowly around its edge, checking from the back of the case that the lens and flash remain completely clear. If a bead does not fit, adjust the spacing rather than forcing it into the opening.

Finishing Tips for Your Beaded Phone Case
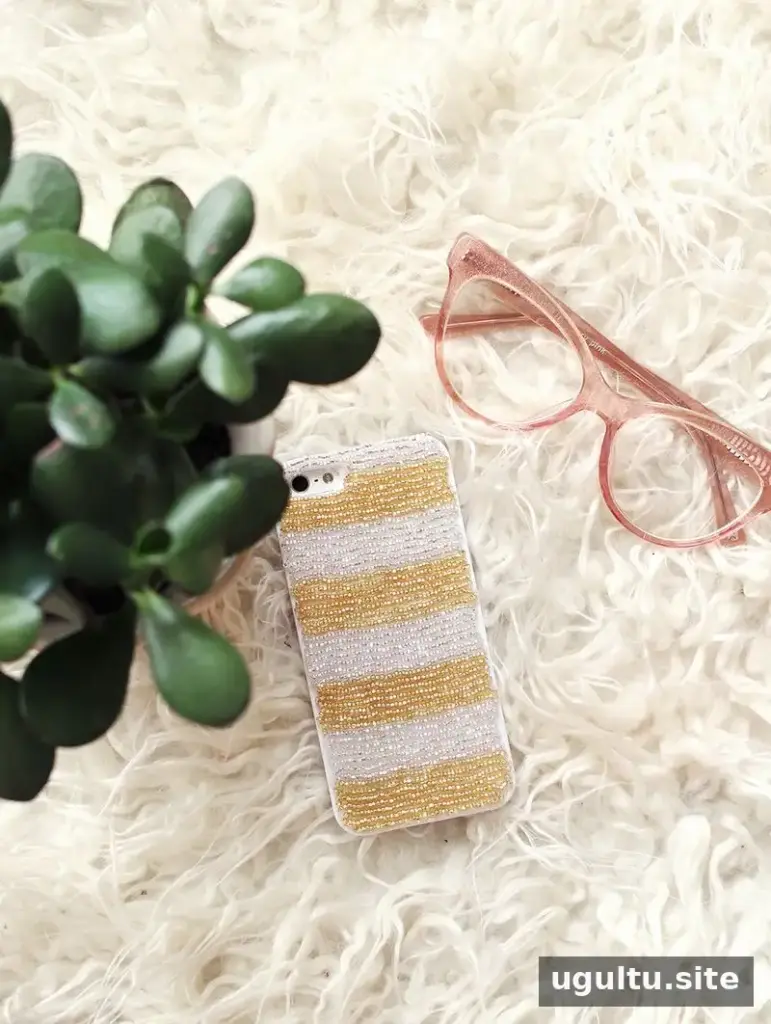
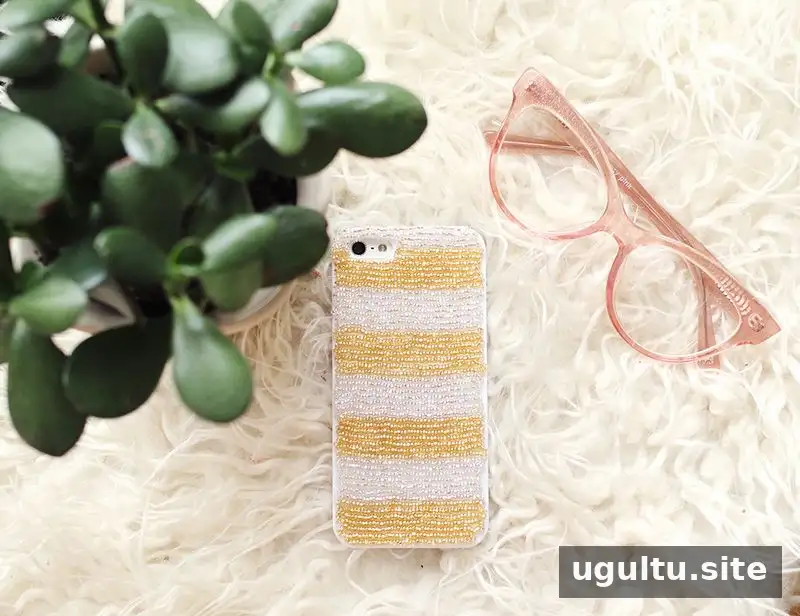
Once the adhesive has cured, inspect the surface and edges for loose beads before putting the case on your phone. A repeating stripe pattern is easy to plan, but you can also arrange beads into a heart, a piece of pizza, or a cat-inspired design. For a group crafting session, prepare several blank cases and let each person choose a different color scheme.
Keep in mind that raised beads can catch on fabric or be knocked loose with frequent use. Handle the finished case gently, and check it periodically for beads that need repair. With a little planning and careful placement, a beaded phone case can become a distinctive handmade accessory.
— Katie


