
 admin
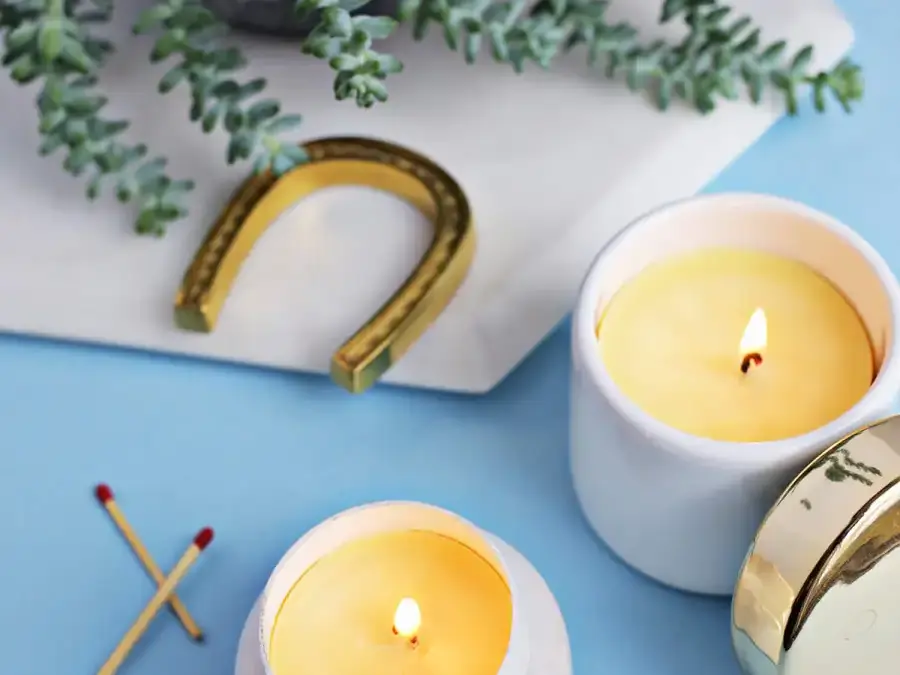
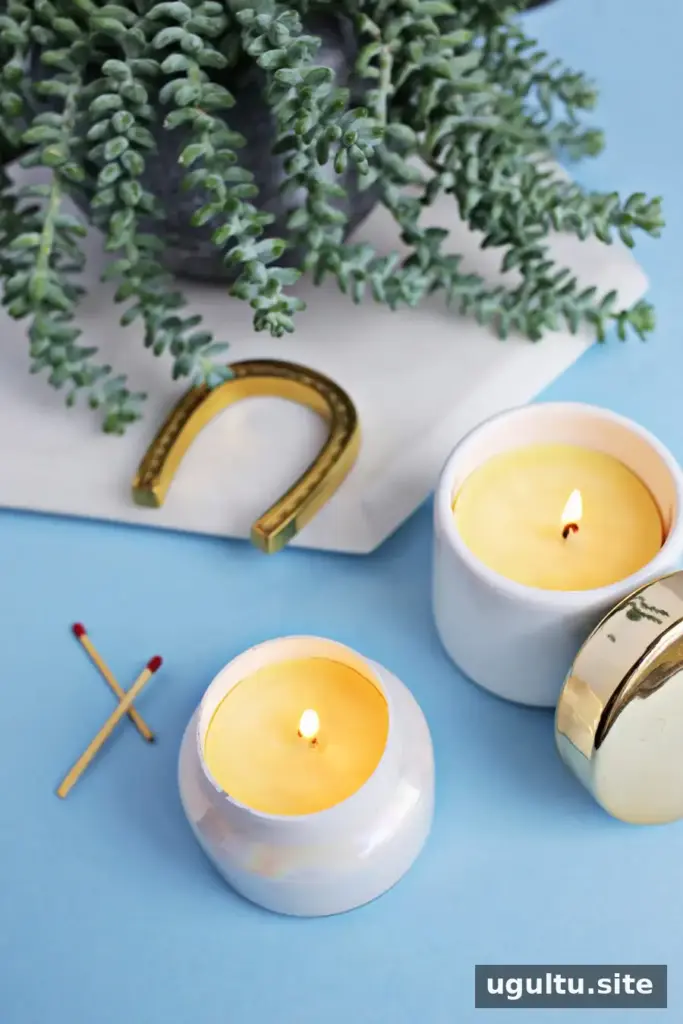
Making beeswax candles at home is a straightforward craft that requires just a few supplies. This recipe combines filtered beeswax pellets with coconut oil to make two 4-ounce candles. Beeswax has a gentle honey scent, and the finished candles can be left unscented or customized with fragrance.
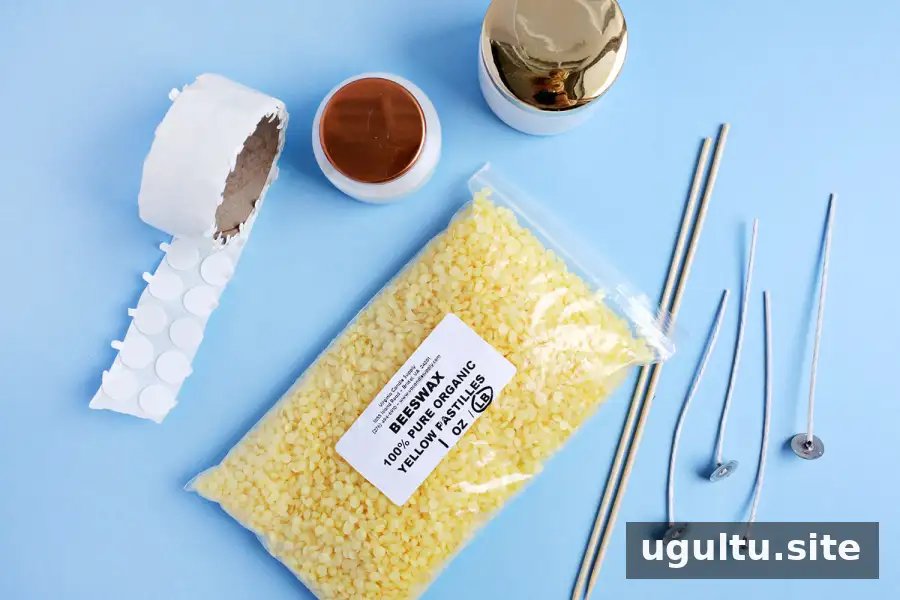
Supplies for Beeswax Candles
Gather the following materials before you begin. Using clean, heat-safe containers and preparing the wicks first makes pouring easier.
- ½ pound beeswax pellets (filtered beeswax is best)
- ¼ cup coconut oil
- Cotton candle wicks and wick stickers
- Two 4-ounce glass or ceramic jars
- One large glass jar for melting the wax
- Bamboo skewers, or another utensil for stirring
How to Make Beeswax Candles
1. Melt the beeswax gently
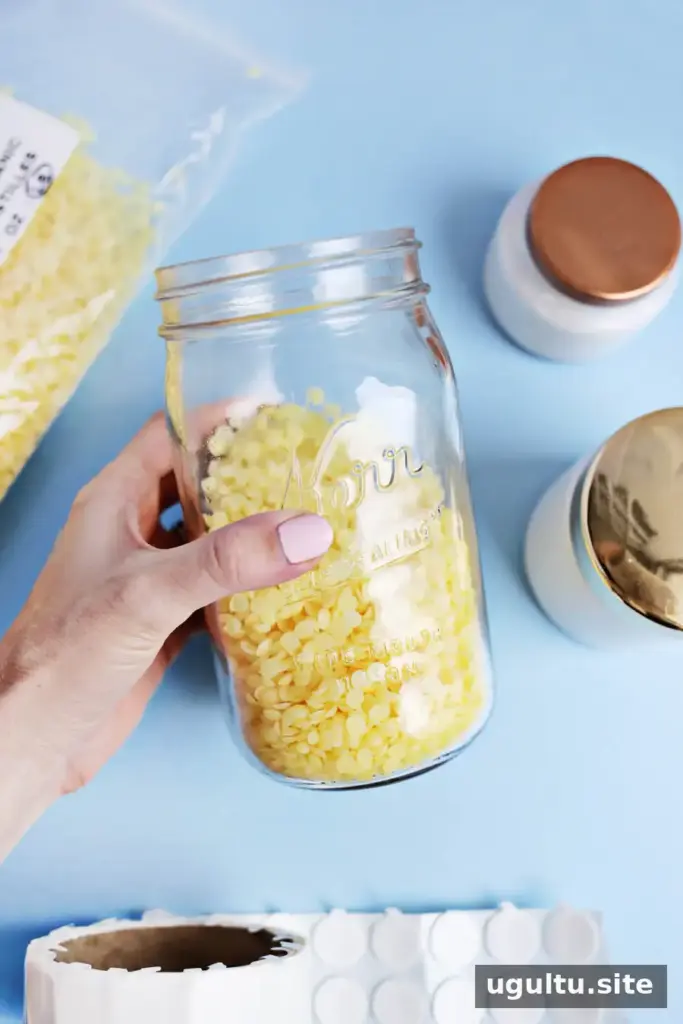
Place the beeswax pellets in the large glass jar. Set the jar in a pot of water, adding enough water to reach roughly the height of the wax without risking overflow as it heats. Warm the water to a low, gentle boil and stir the wax every few minutes with a wooden skewer.
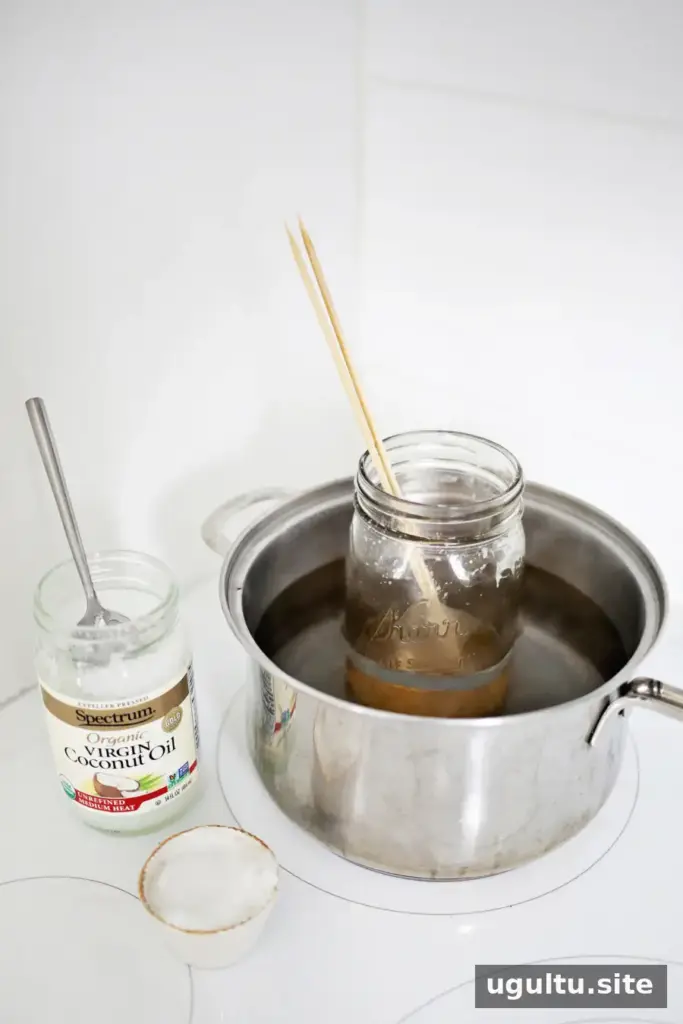
Beeswax can be flammable, so keep a close watch while it melts. Make sure no loose pellets land on the hot stovetop. If the wax begins to smoke, it is getting too hot; turn off the heat and let it cool.
2. Set up the jars and wicks
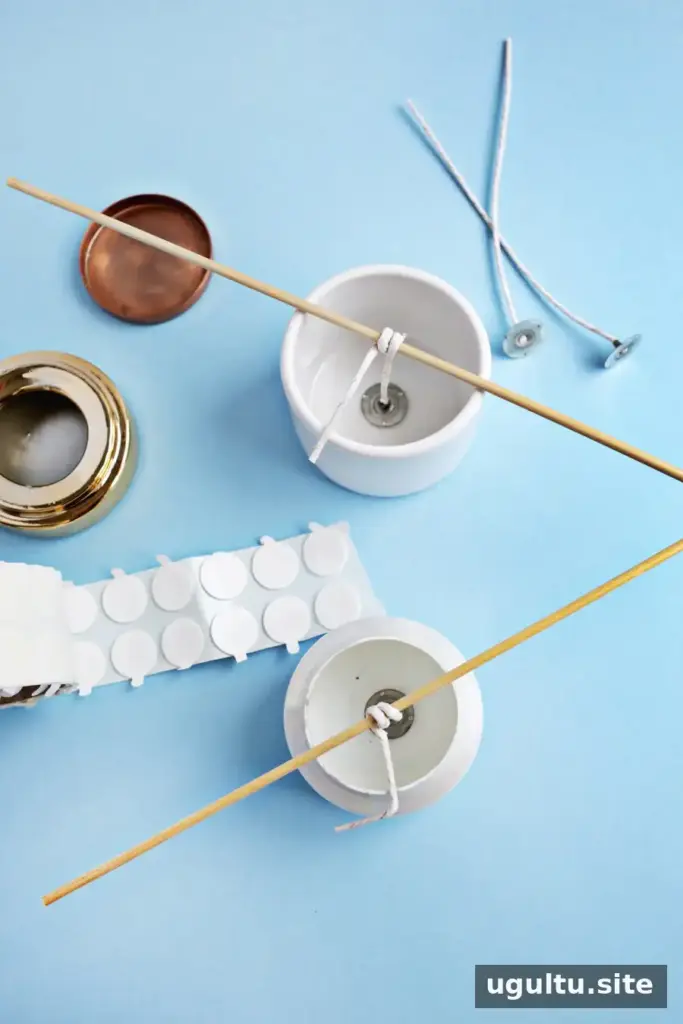
While the wax melts, attach a wick sticker to the bottom of each wick and press it into the center of the jar base. For a wood wick, wrap the wick around a skewer, rest the skewer across the jar opening, and secure it if needed so the wick stays upright.
3. Add coconut oil and pour
When the beeswax has melted, turn off the heat. Add the coconut oil and stir until combined. Coconut oil can help the candle burn more evenly and reduce tunneling. For a candle made with 100% beeswax, leave out the coconut oil.
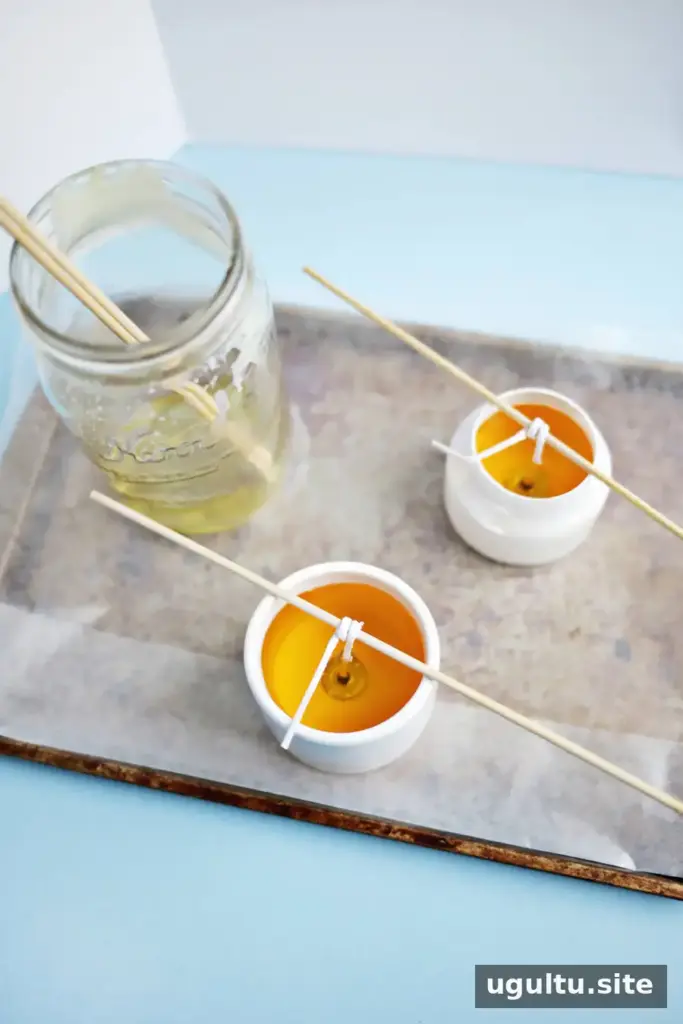
Carefully pour the mixture into the prepared jars. Leave the candles undisturbed for 1–2 days to set, then trim each wick to ½ inch before lighting.
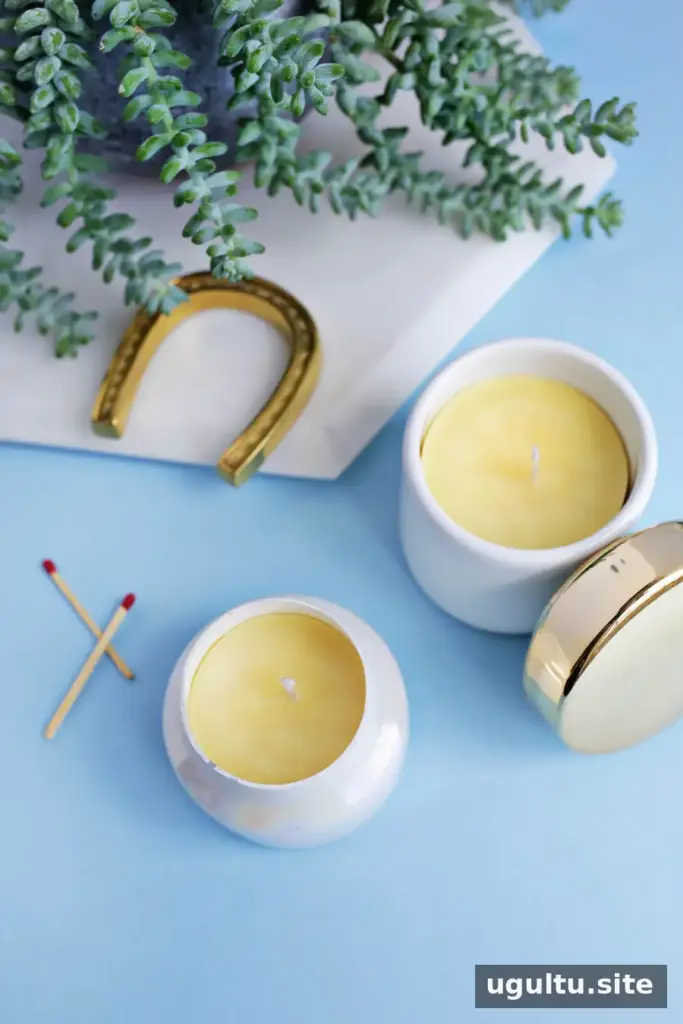
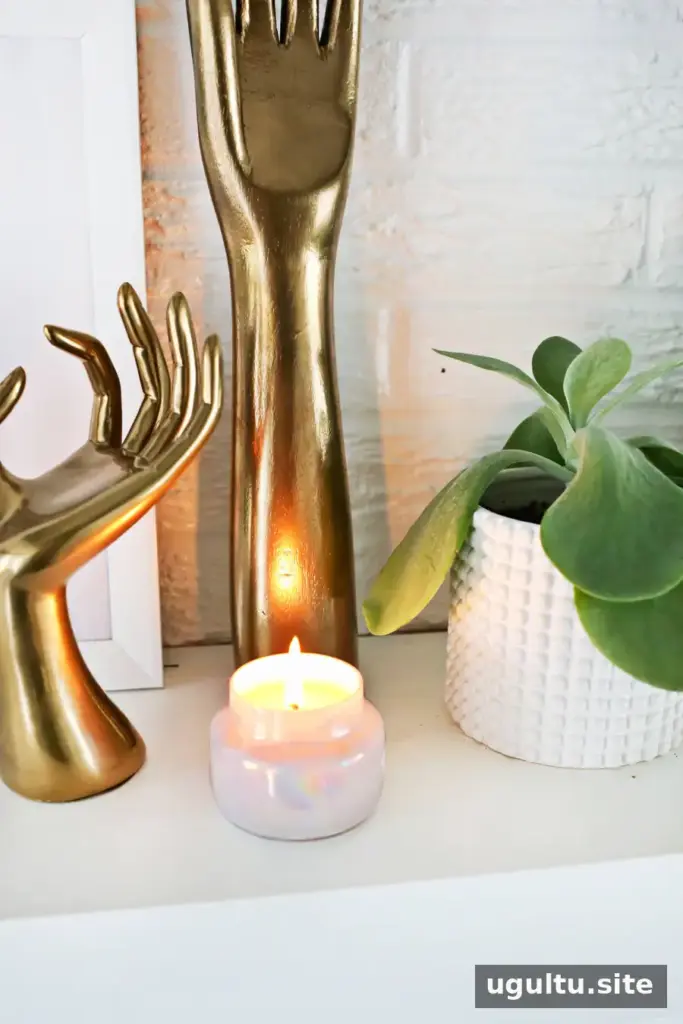
Wick size, jar dimensions, and the type of beeswax can all affect how a candle burns. If the first test burn is uneven, adjust the wick rather than changing several parts of the recipe at once.
Troubleshooting Beeswax Candles
Why is the candle sinking or tunneling?
If the flame melts a narrow channel down the center without reaching the edges, try a larger or thicker wick. A wick that produces more heat may help melt the wax more evenly. If only a small amount of wax remains around the sides, you can leave the candle as it is and scoop out and reuse the leftover wax as needed.
If the candle melts too quickly or the flame goes out because melted wax overwhelms it, try a smaller wick. Change one variable at a time so you can see which adjustment improves the burn.
What if the candle cracks as it cools?
Beeswax candles may develop cracks on top or dip slightly in the center while cooling. Set aside a little of the wax mixture before the first pour. If the surface becomes uneven, remelt that portion and add a thin layer after the candle has cooled.
Can You Add Essential Oils?
Beeswax has a naturally light honey aroma, but it may be subtle once the candle is burning. The recipe suggests trying ½–1 ounce of a stronger essential oil, such as lavender or vetiver, per 8 ounces of melted wax. Lighter-scented oils may require more for a noticeable aroma. Check the oil manufacturer’s guidance for candle use, and remember that scent strength can vary.

Recipe at a Glance
- Yield: Two 4-ounce candles
- Setting time: 1–2 days
- Wick length before lighting: ½ inch
- Optional ingredient: ¼ cup coconut oil; omit it for a 100% beeswax candle
With careful melting, centered wicks, and a little patience while the candles set, this beeswax candle project is easy to adapt to different jars and fragrance preferences. For the best results, test the wick and make small adjustments if the candle tunnels, burns too quickly, or develops an uneven surface.
By Laura


