admin
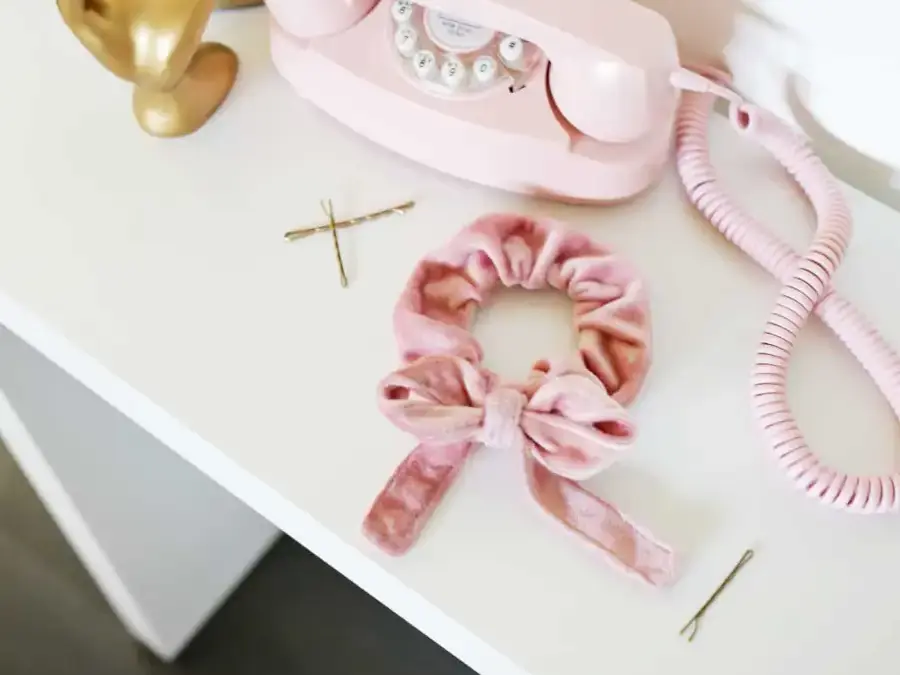
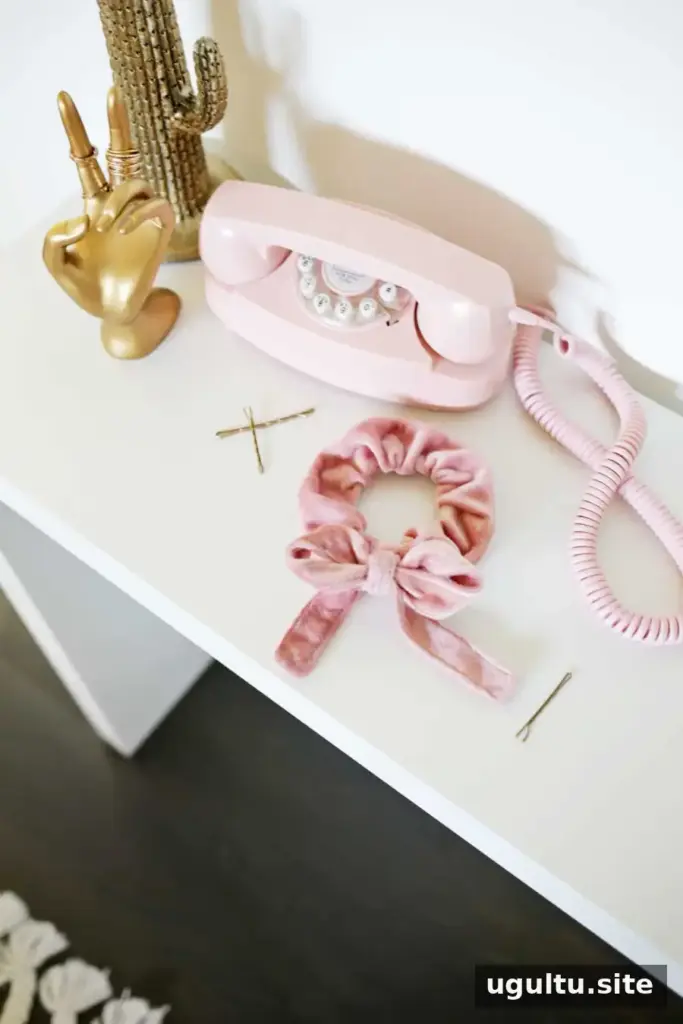
A bow scrunchie combines a practical hair tie with a fabric bow you can customize to suit your style. This beginner-friendly sewing project uses a small amount of non-stretch fabric, elastic, and basic sewing supplies. Follow the steps below to make the scrunchie band and a removable bow that ties over the seam.
Supplies for a bow scrunchie
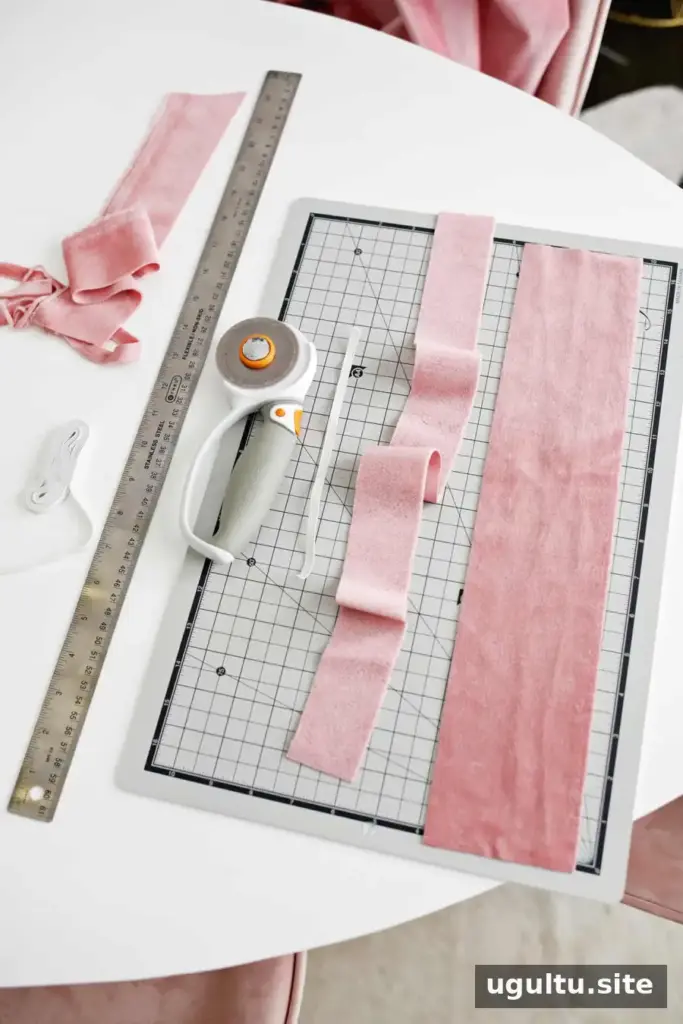
- A small amount of non-stretch fabric, such as velvet
- Fabric scissors
- Sewing machine
- Straight pins
- 1/4-inch elastic
- Safety pin
For the scrunchie, cut one rectangle measuring 3.5 inches by 18 inches. For the bow, cut a second strip measuring 2.5 inches by 25 inches. Keep the fabric grain and any visible pattern in mind when cutting, especially if you are using velvet or a directional print.
Make the scrunchie band
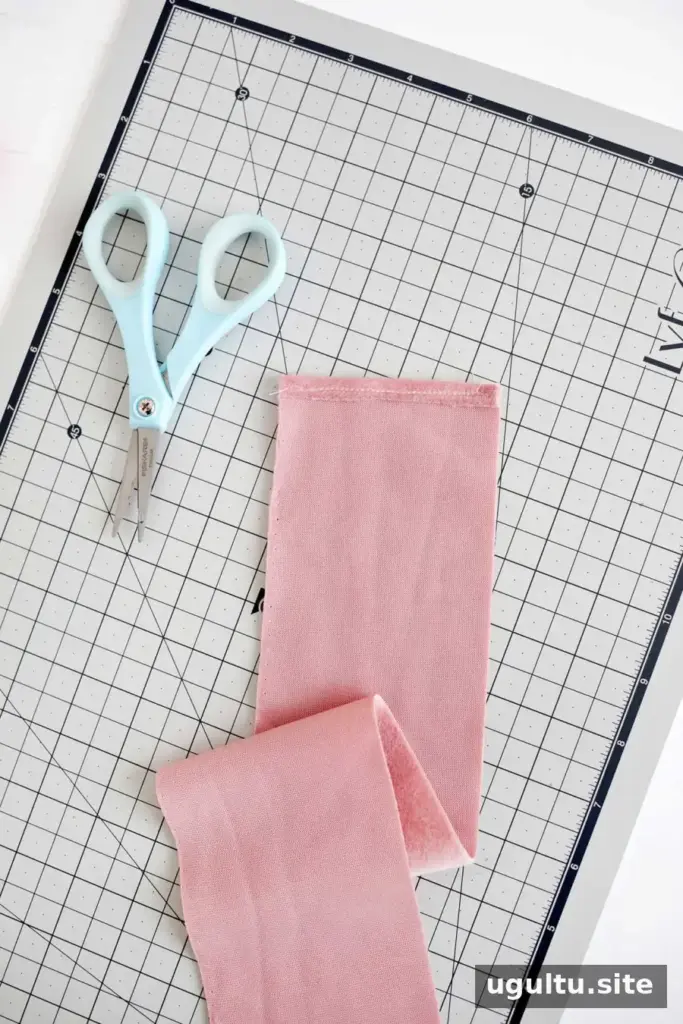
Fold one short edge of the 3.5-by-18-inch rectangle over by 1/4 inch and sew it down to create a finished edge. This finished edge will later overlap the raw edge of the tube.
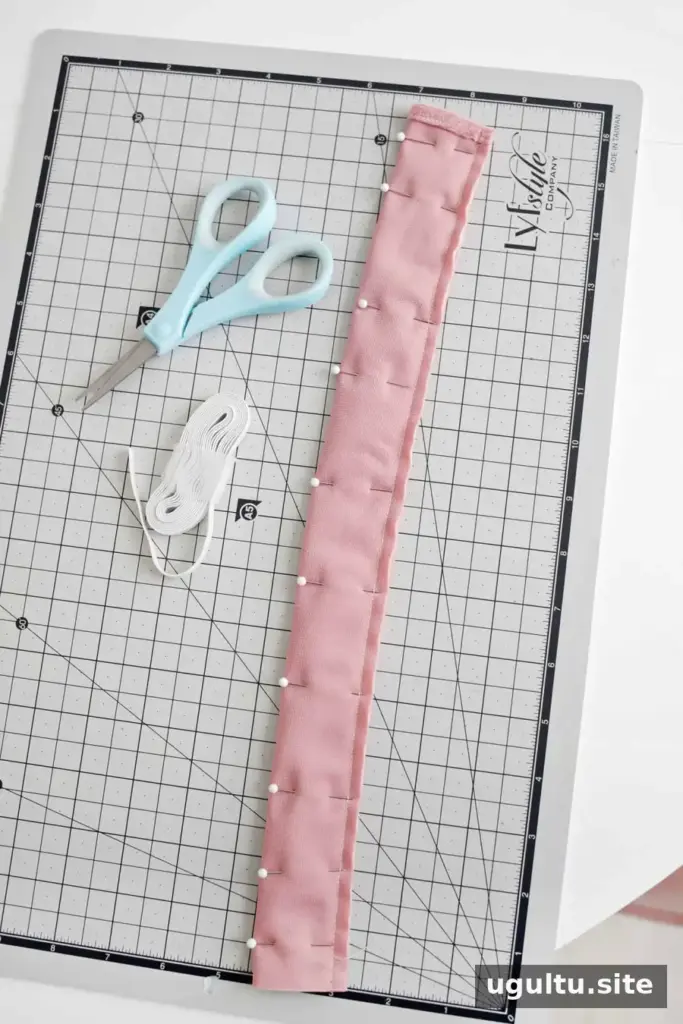
Fold the rectangle in half lengthwise with the right sides of the fabric facing each other. Pin the long open edges together, then sew along that side with a 1/4-inch seam allowance to form a tube.
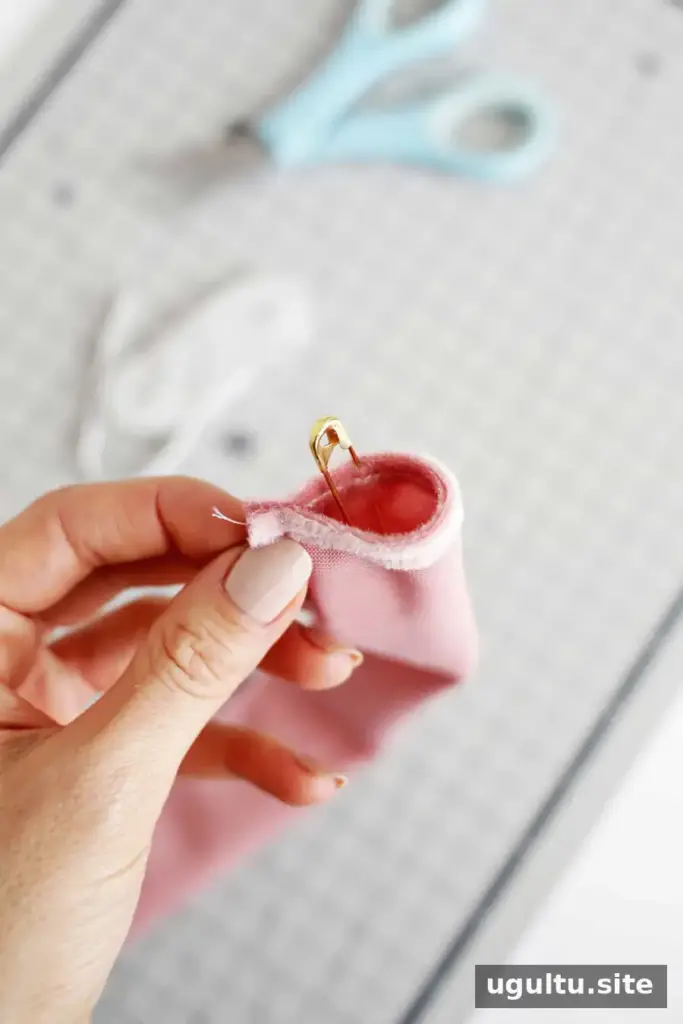
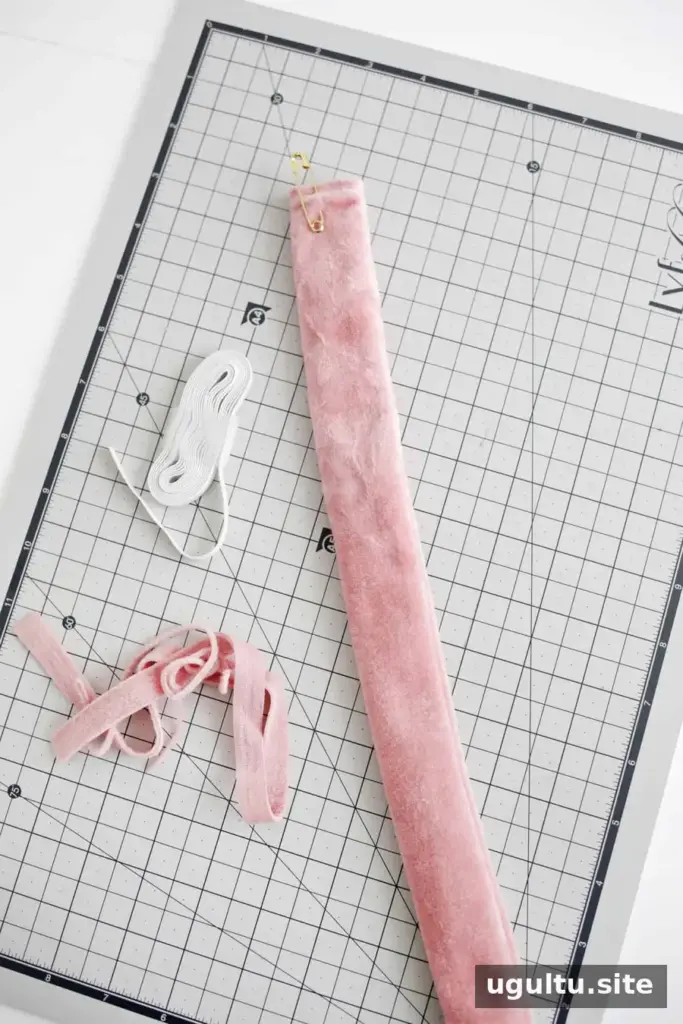
Attach a safety pin to one end of the tube and use it to guide the fabric through itself until the tube is right side out. Move slowly so the seam does not catch or twist inside the fabric.
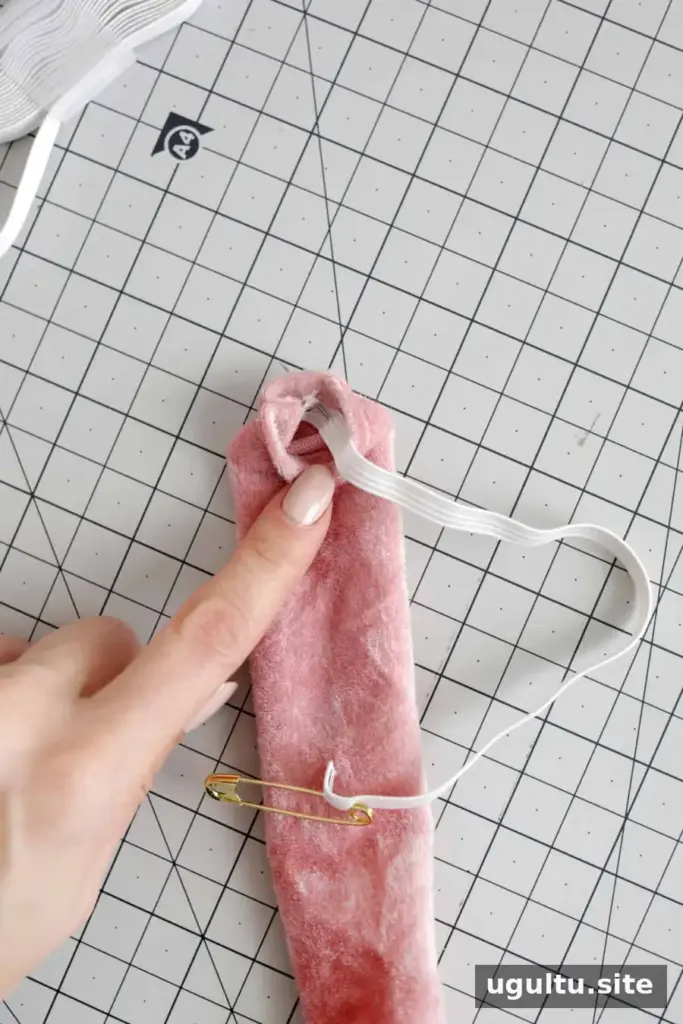
Cut an 8-inch piece of elastic. Attach a safety pin to one end and feed the elastic through the fabric tube. Keep hold of the other end so it does not disappear inside. Before joining the elastic, feel along the tube to check that it has not twisted.
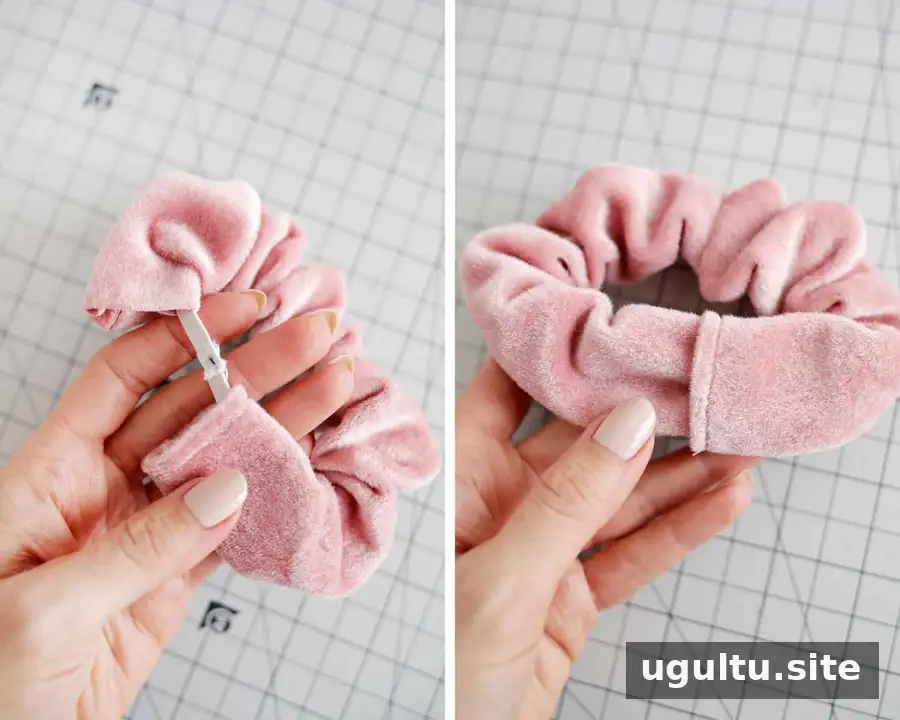
Sew the two elastic ends together securely. Tuck the unfinished fabric edge inside the previously finished edge, then pin the overlap flat.
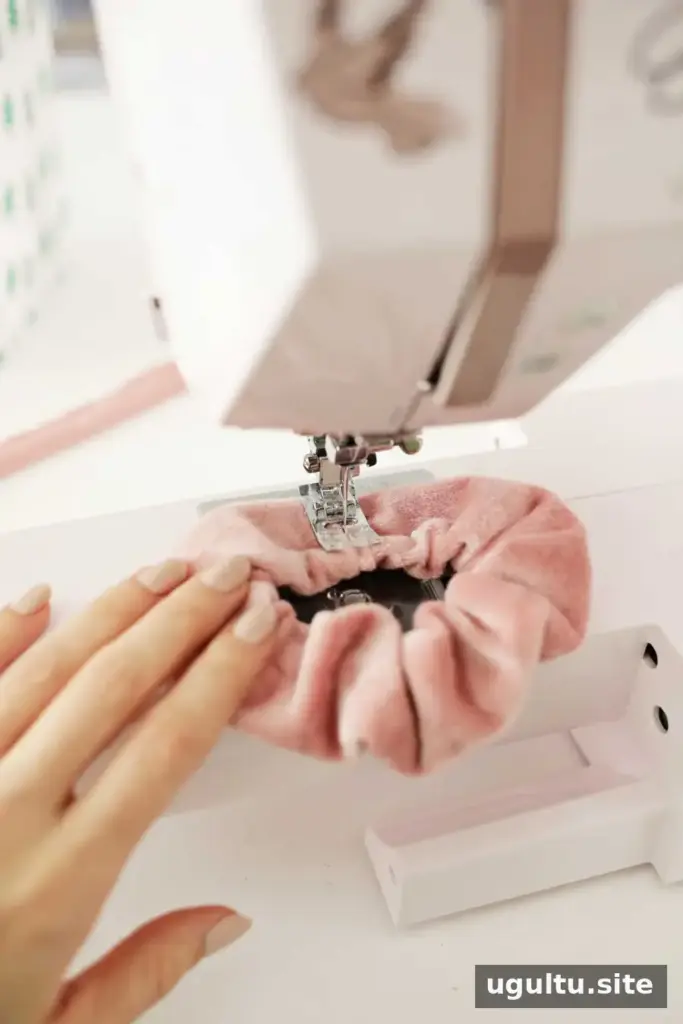
Sew across the overlapped edges to close the band, making sure the elastic stays inside the seam. The join may look slightly flat; the bow will cover this area when the accessory is assembled.
Sew the bow
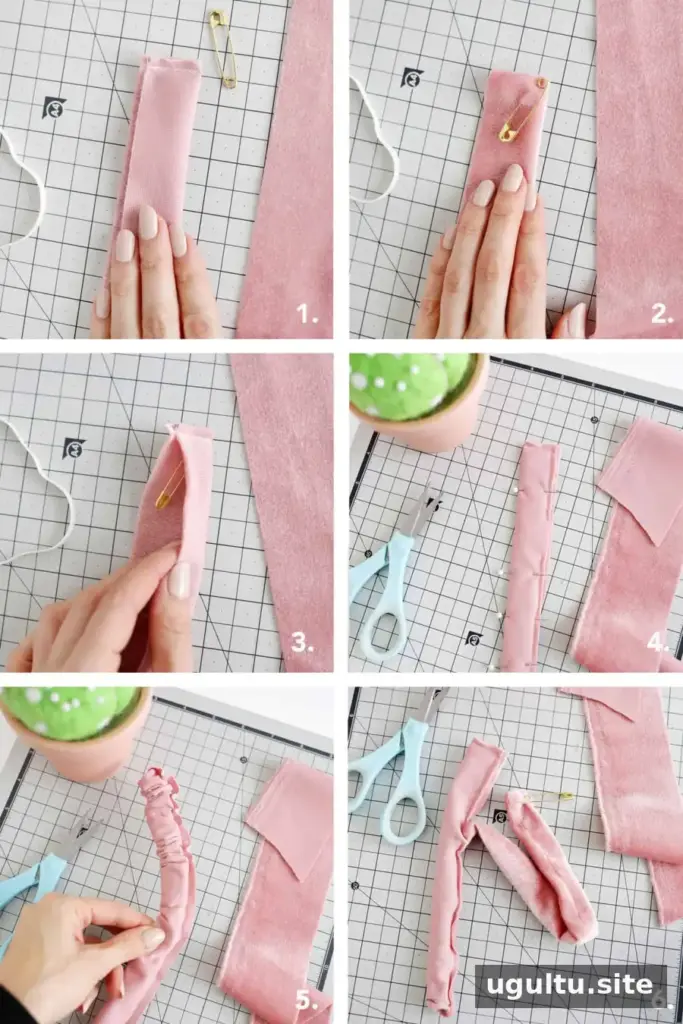
Fold the 2.5-by-25-inch strip in half lengthwise with right sides together and pin it. Sew along the top edge using a 1/4-inch seam allowance. Open the top so the fabric is right side out, then place a safety pin at the inside corner. Fold the strip back so its right sides are together, leaving the safety pin between the layers.
Sew down the long side, leaving a 2-to-3-inch opening toward the bottom. Continue sewing around the bottom edge. Reach for the safety pin through the fabric and use it to pull the corner toward the opening. Keep pulling gently until the strip turns right side out, then remove the pin.
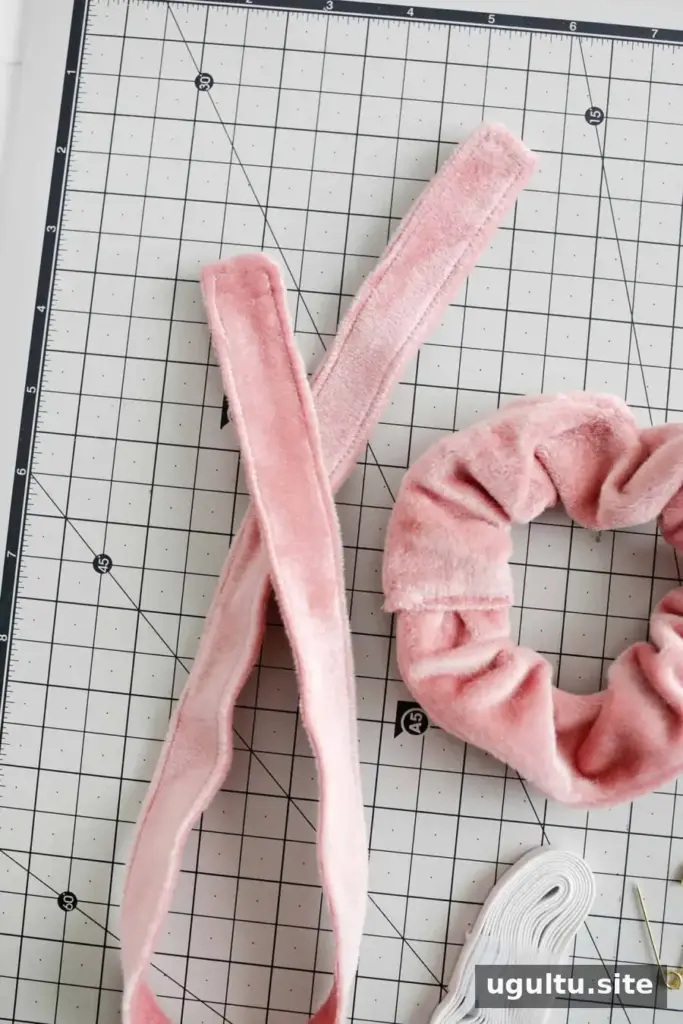
Topstitch around the strip with a 1/8-inch seam allowance. This closes the turning gap and gives the bow a neat, flattened edge. Take care not to catch or fold the fabric as you sew.
Tie the bow onto the scrunchie
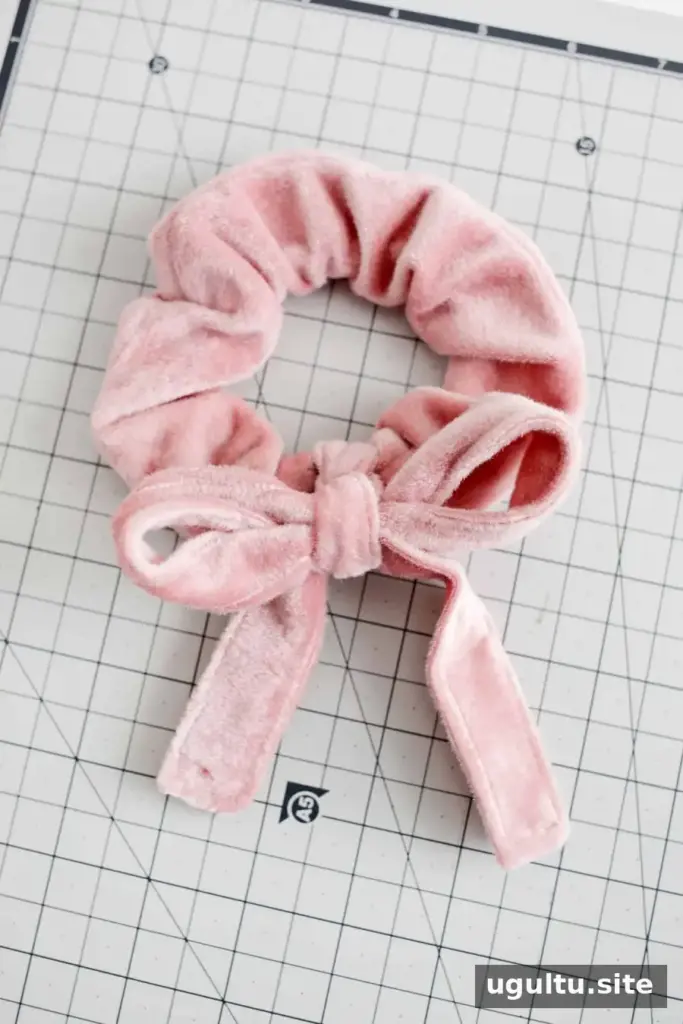
Tie the finished bow around the flat seam area of the scrunchie band. Adjust the loops and tails until they sit evenly. The bow can be untied for storage or repositioned as needed.
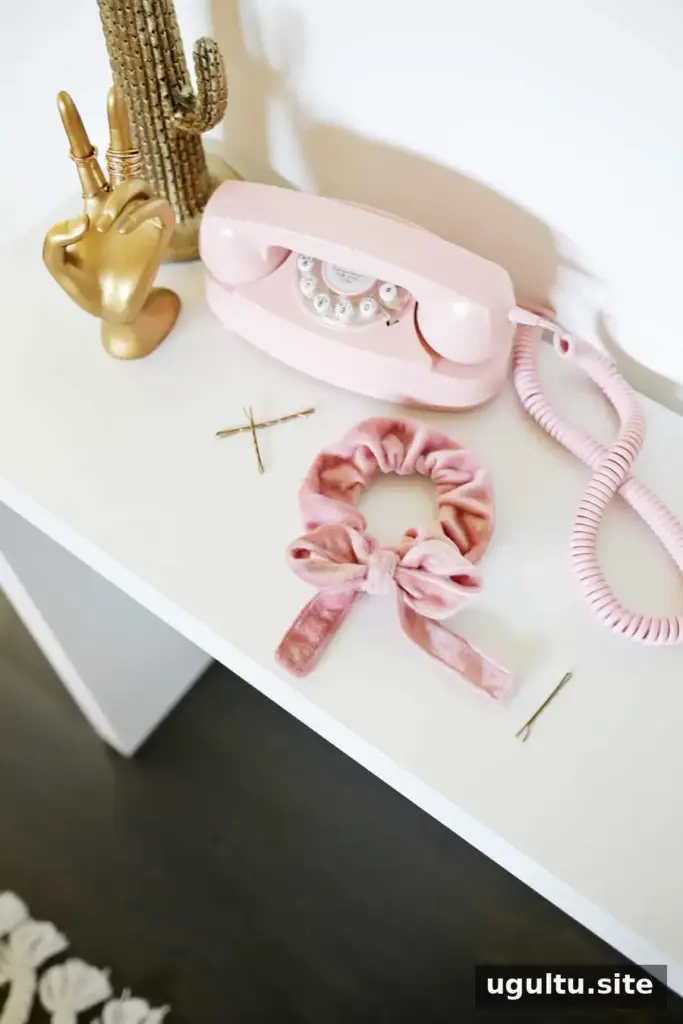
Change the fabric pattern or texture to coordinate the bow scrunchie with different outfits or seasons. Before cutting, consider how the fabric will look when the bow is tied, since the pattern may appear at different angles in the loops and tails.
This tutorial is credited to Laura. With the measurements above and a few basic sewing steps, you can make a bow scrunchie tailored to your preferred fabric and bow shape.