
 admin
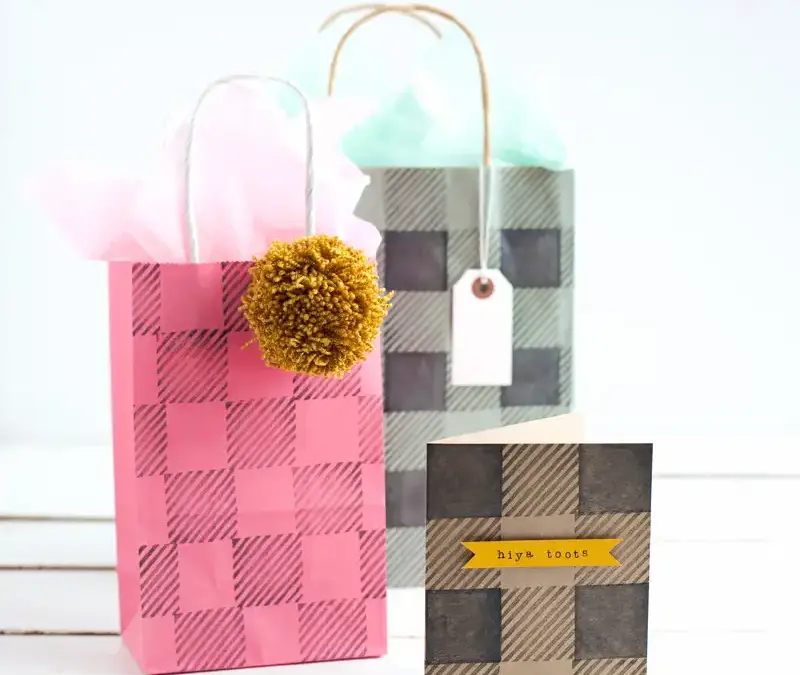
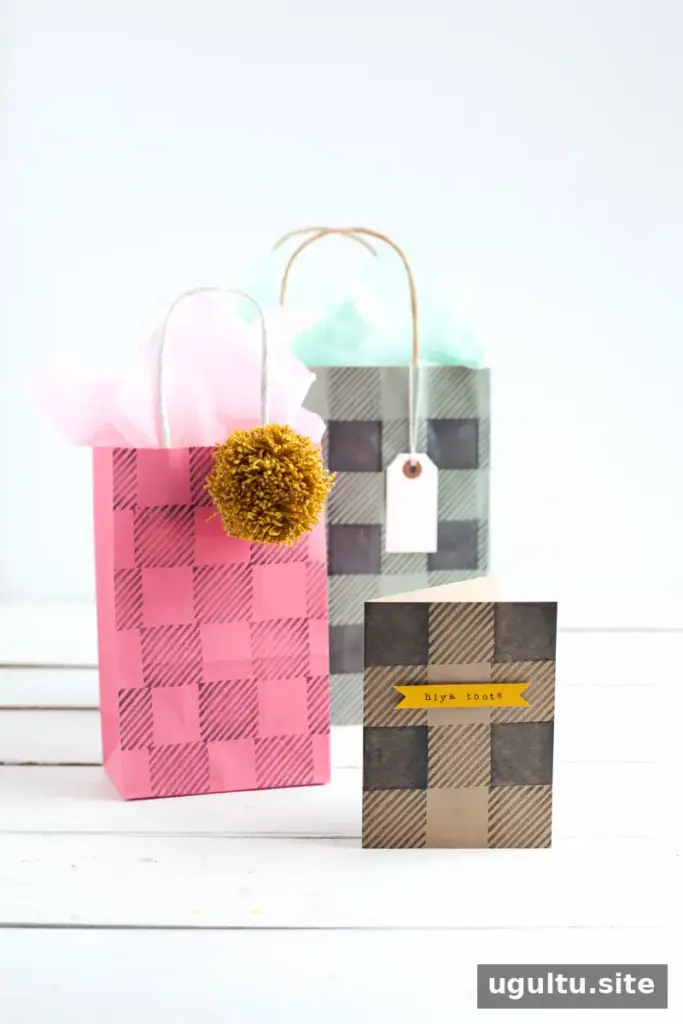
A buffalo plaid stamp set makes it easy to add a bold, repeating pattern to handmade cards, gift bags and scrapbook pages. With stamp-making rubber, a carving tool and a few basic supplies, you can create a grooved stamp for the plaid lines and a separate solid square stamp. Choose stamp sizes that suit your project, and test the pattern on scrap paper before stamping your finished item.
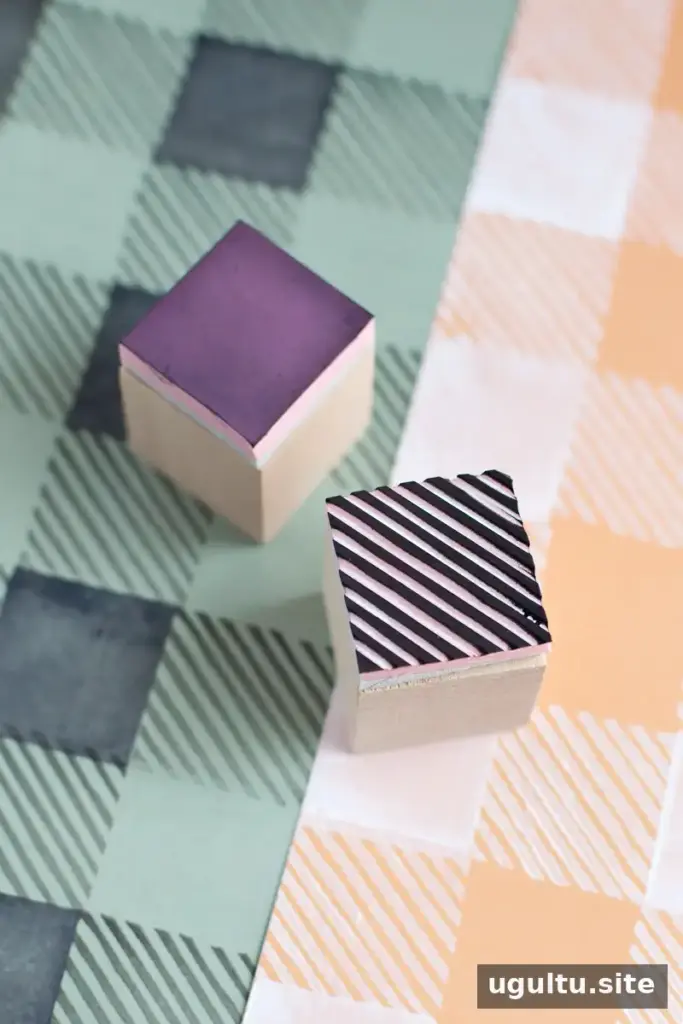
The method below explains how to carve and mount both stamps. Work on a cutting mat, keep your fingers clear of the blade, and take your time when cutting the rubber so the grooves stay even.
Supplies for a buffalo plaid stamp set
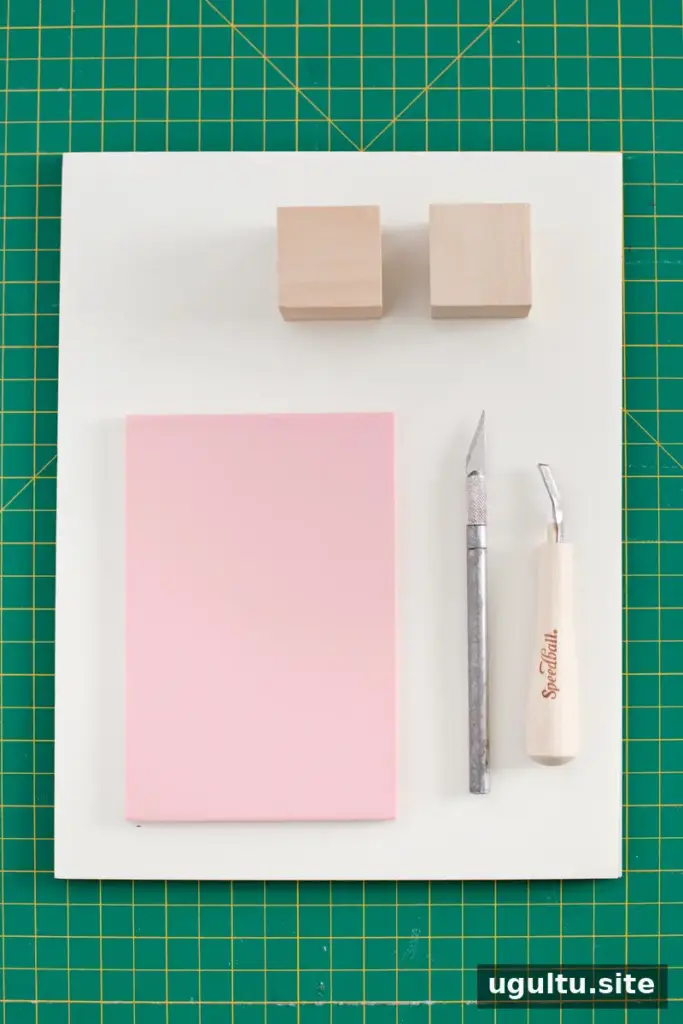
Gather the following materials before you begin:
- A wooden block in your preferred size, or an acrylic stamp block if using static-cling mounting foam
- A stamp-carving kit
- Static-cling stamp mounting foam for an acrylic block, or foam tape for a wooden block
- A craft blade
- A cutting mat
- A steel ruler, optional
Check that your rubber piece is large enough to cover the block before cutting. A ruler can help you make straight edges, while the cutting mat’s diagonal guides are useful for laying out the grooves.
How to make the carved plaid stamp
1. Carve diagonal grooves
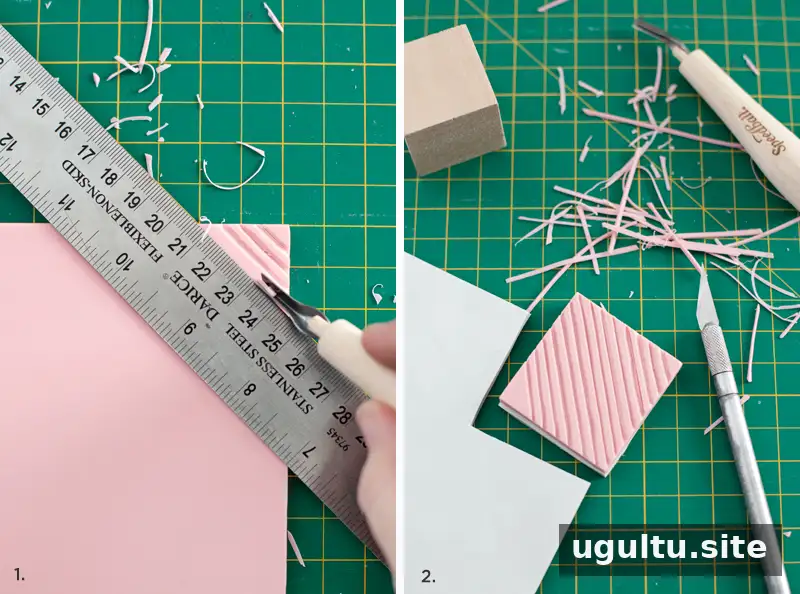
Use the diagonal lines on the cutting mat as a guide and carve a series of parallel grooves into the stamp rubber. Stamp-carving kits may include different tool tips, so choose the one that feels easiest to control. Apply steady pressure along each cut and aim to make the grooves and the spaces between them similar in width. Even spacing helps the stamped pattern look consistent.
2. Attach the rubber to mounting foam
Cut the carved rubber slightly larger than the wooden block. Cut a matching piece of mounting foam, remove its adhesive backing and press the rubber onto it. If you are using foam tape with a wooden block, prepare the pieces for mounting according to the tape’s size.
3. Trim the stamp to size
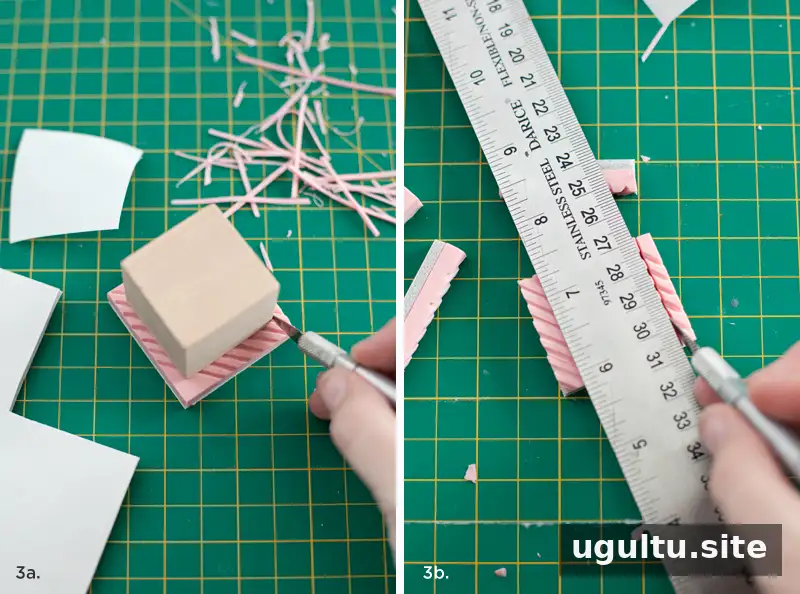
Use the wooden block as a guide to mark the rubber’s outline, then set the block aside before finishing the cut. Cutting against the block can make it difficult to reach the mat cleanly. Use a craft blade carefully, and guide the cut with a steel ruler where helpful.
4. Mount the stamp and make a solid square
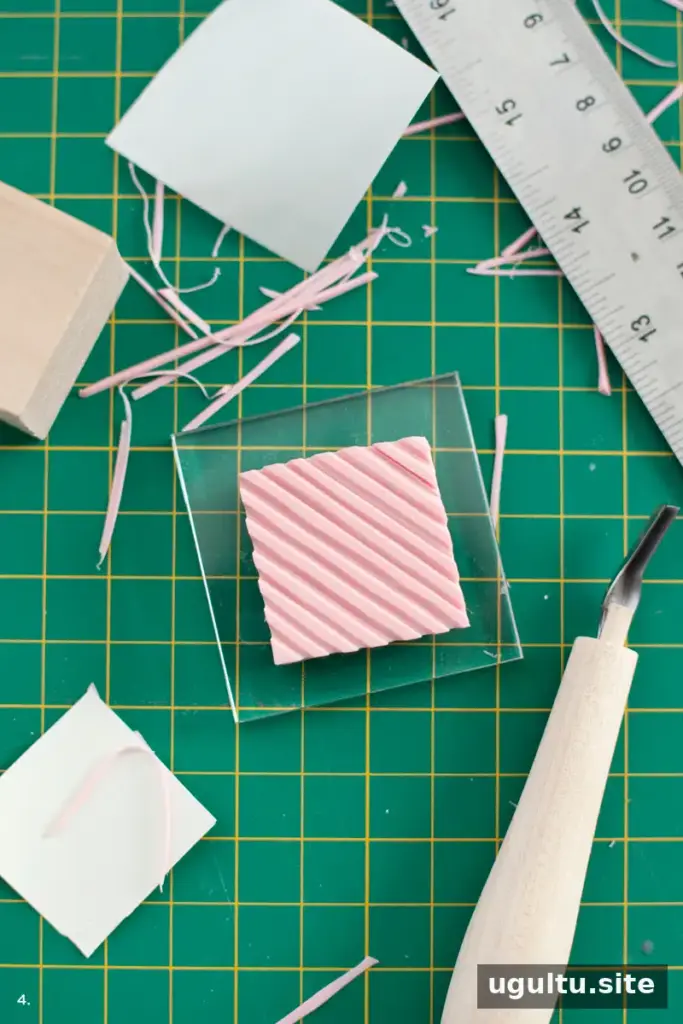
For an acrylic block, peel away the backing from the static-cling foam and attach the stamp to the block. For a wooden block, remove the foam tape’s backing and fix the rubber to one side. Make a second stamp using an uncarved piece of rubber, cut to the same size, to create the solid square element.
Stamping a buffalo plaid pattern
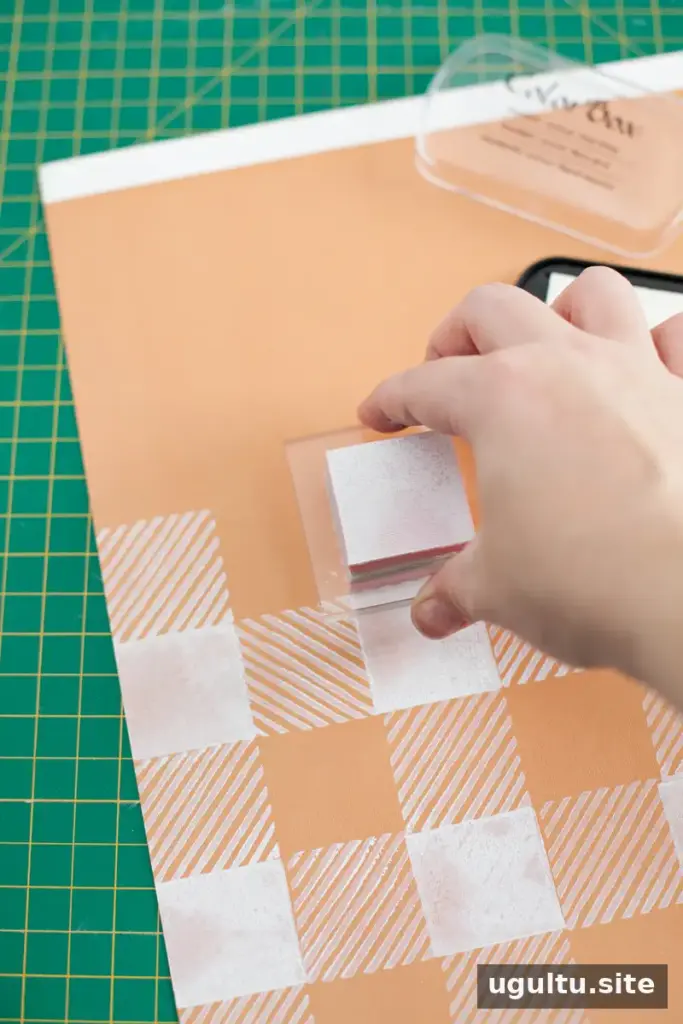
To build the plaid, alternate impressions from the grooved stamp and the solid square stamp. Keep the diagonal squares oriented in the same direction throughout the design. A paper square cut to the same size as the stamp can serve as a spacing guide for the first row. Test a few impressions on scrap paper first to check alignment and spacing.
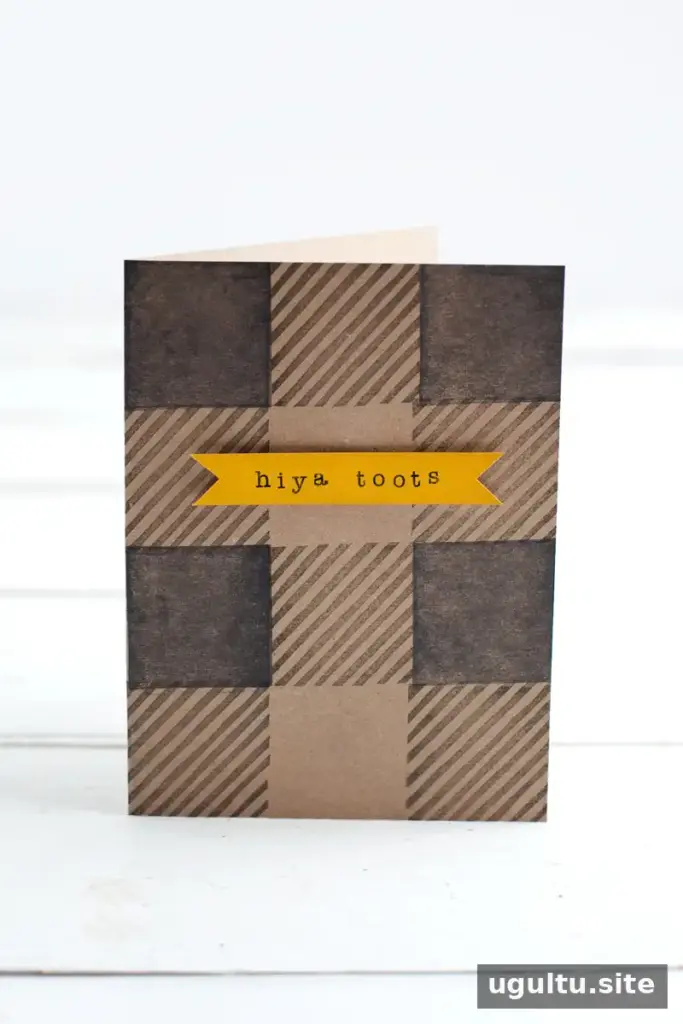
For a simpler plaid effect, use the grooved stamp without adding the solid squares. Try the pattern on a small area first, especially when working on a gift bag or another finished surface.
Project ideas and finishing tips
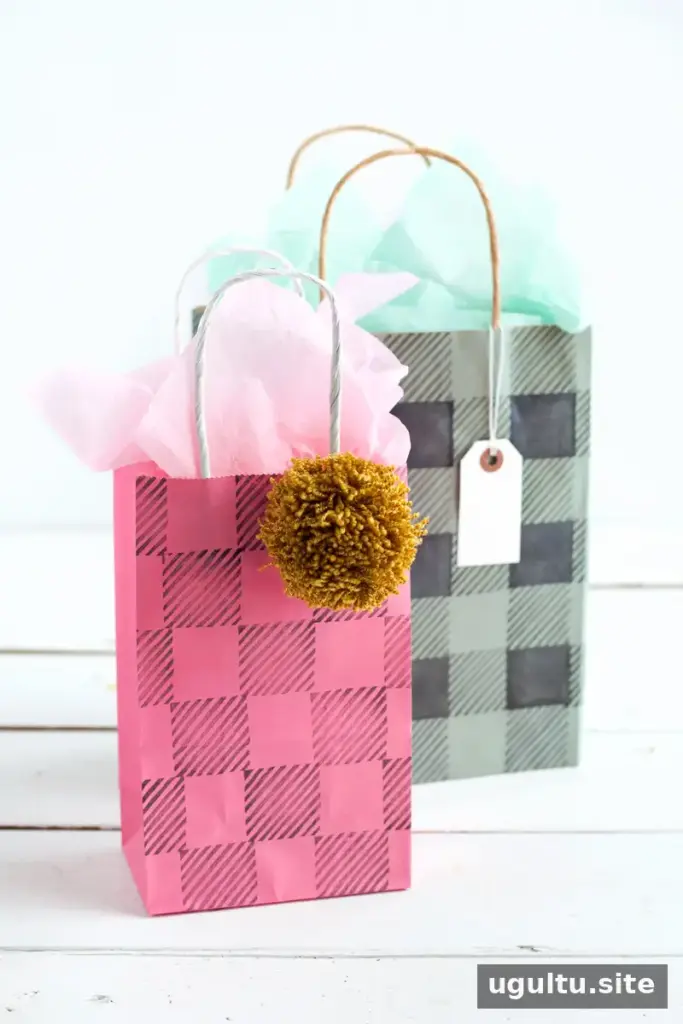
Use the stamps to decorate plain gift bags or create patterned backgrounds for scrapbook pages and album covers. For fabric projects, choose paint made for textiles and follow its instructions for application and setting. Test the paint and stamp on a fabric scrap before starting a larger item, since results can vary by material. Clean the stamps according to the ink or paint manufacturer’s directions and let them dry before storing them.
A little planning makes the finished pattern neater: keep the stamp orientation consistent, use scrap material for test impressions and avoid overloading the stamp with ink or paint. These simple steps help make a handmade buffalo plaid stamp set more versatile across paper and suitable fabric projects.
—Mandi


