admin
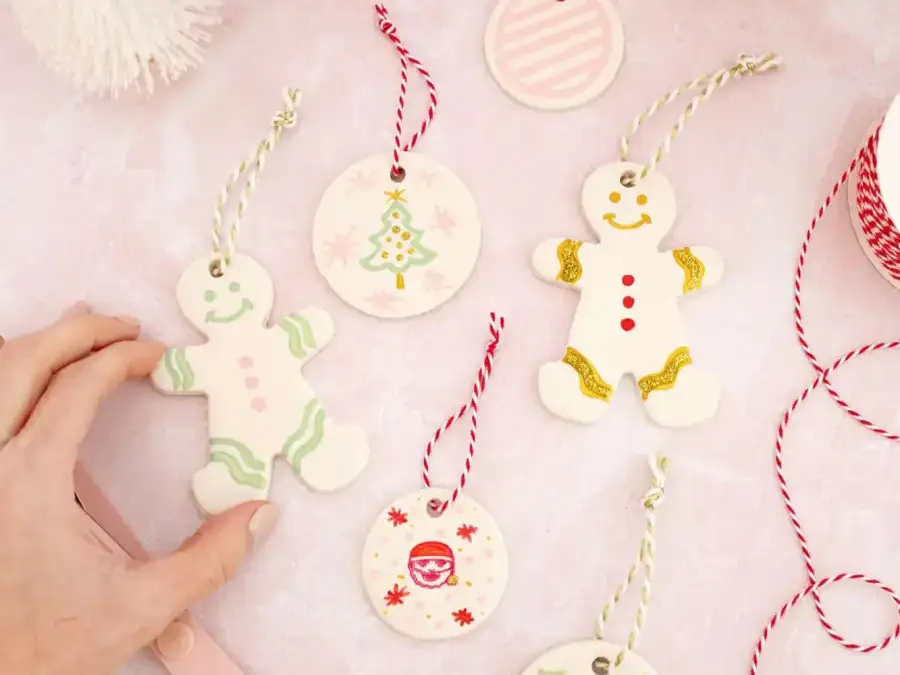
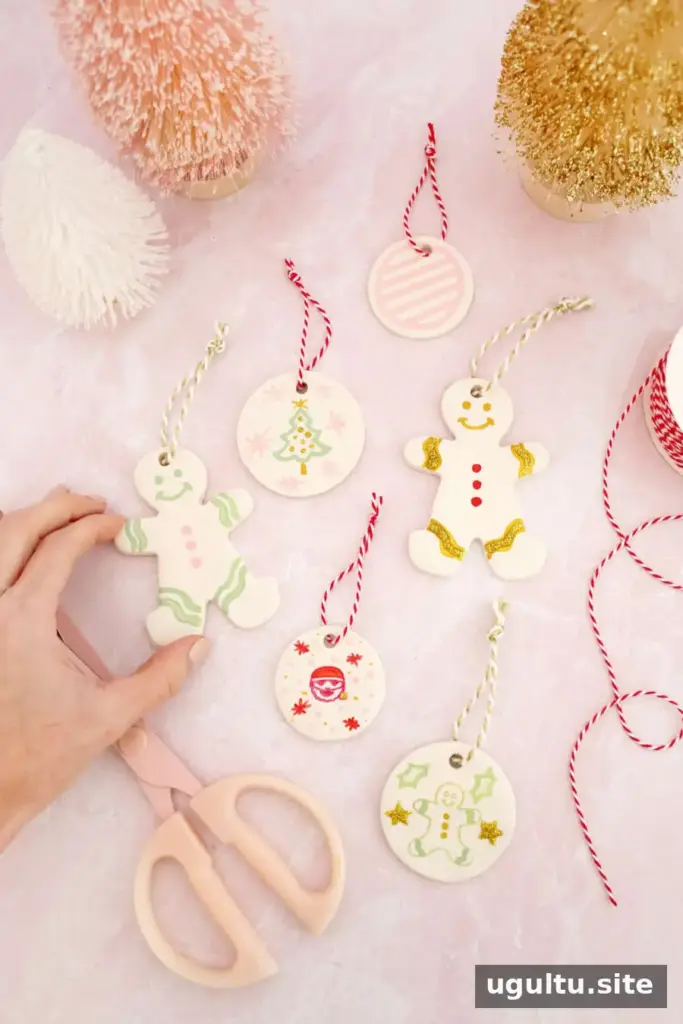
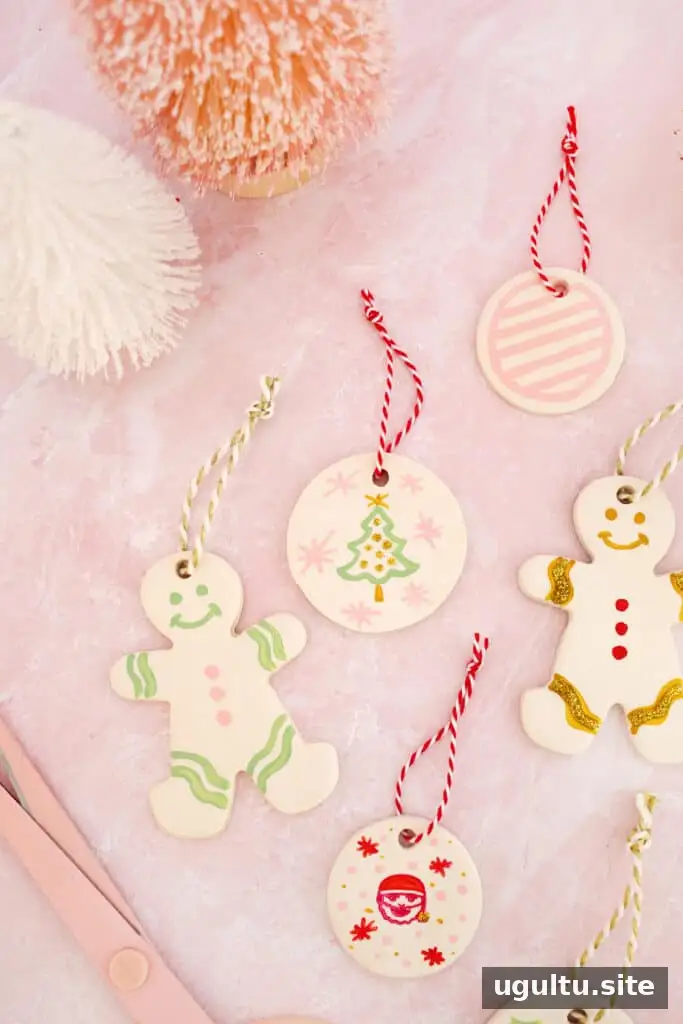
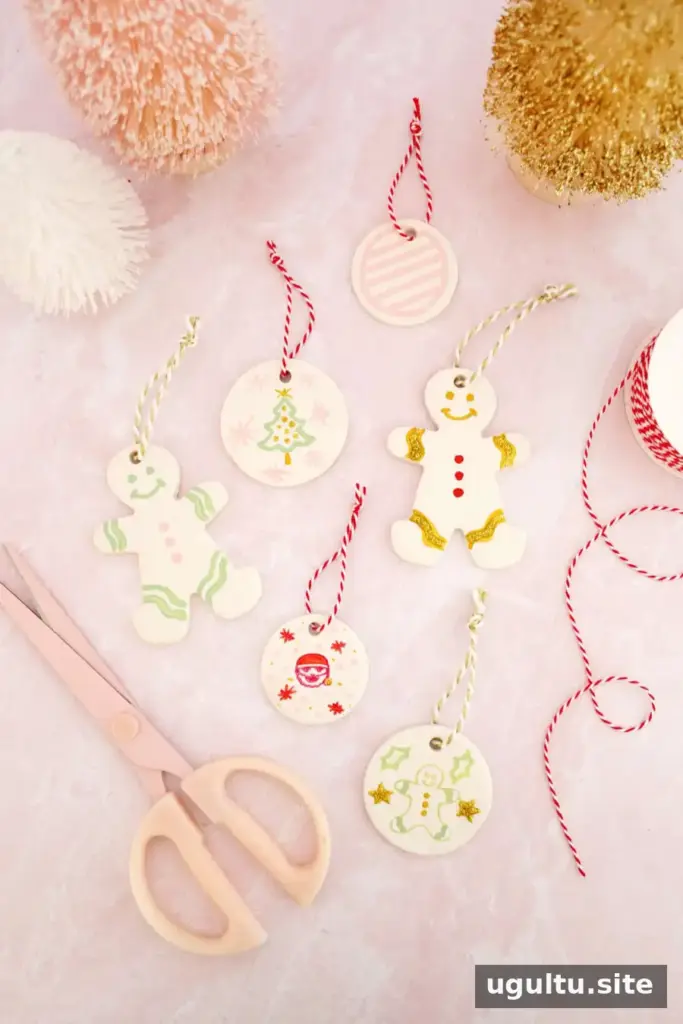
Making clay ornaments is a simple holiday craft that can also create personalized gift tags. With oven-bake clay, cookie cutters, and a few decorating supplies, you can make shapes in different sizes and finish them with paint, stamps, or paint pens. Check the clay package before starting so you have the correct baking instructions for your material.
Choosing clay for ornaments
Use a clay that hardens after baking or drying. Firmer oven-bake clay is often easier to roll into an even sheet and cut cleanly than softer air-dry clay. Different clays have different handling and curing requirements, so follow the directions on the package rather than assuming all clay can be baked the same way.
Supplies and equipment
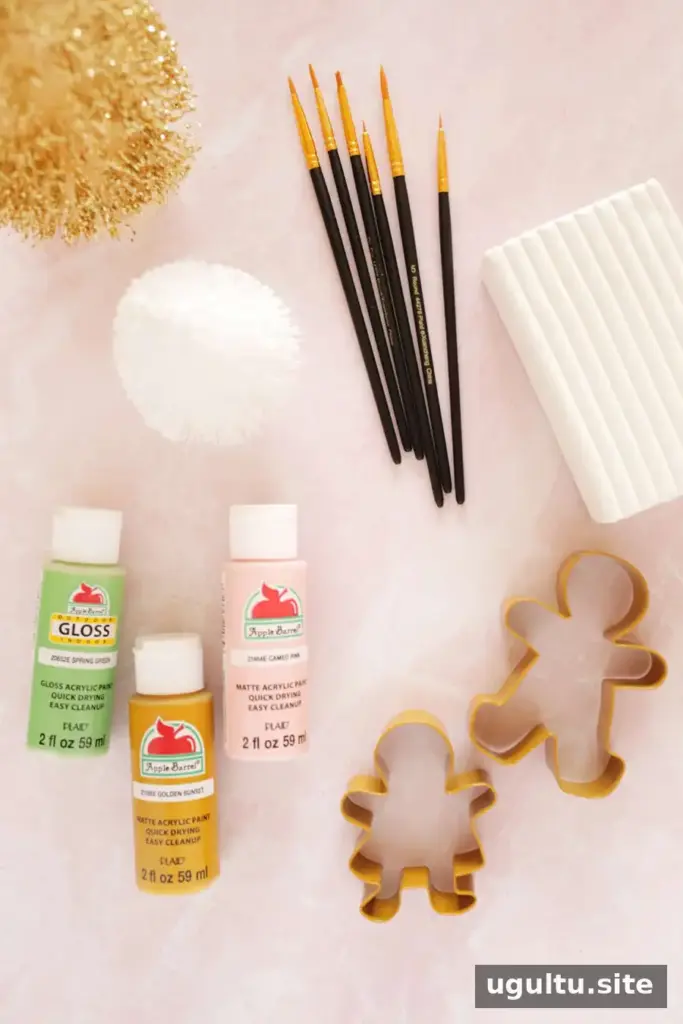
- Oven-bake clay
- Rolling pin
- Cookie cutters
- Straw for making hanging holes
- Baker’s twine, thin ribbon, or yarn
- Acrylic paint, paint pens, stamps and ink, or puff paint
- Paintbrushes
Keep craft tools separate from tools used to prepare food. Before you begin, check that your chosen clay is suitable for oven curing and note its recommended temperature and baking time.
How to make clay ornaments
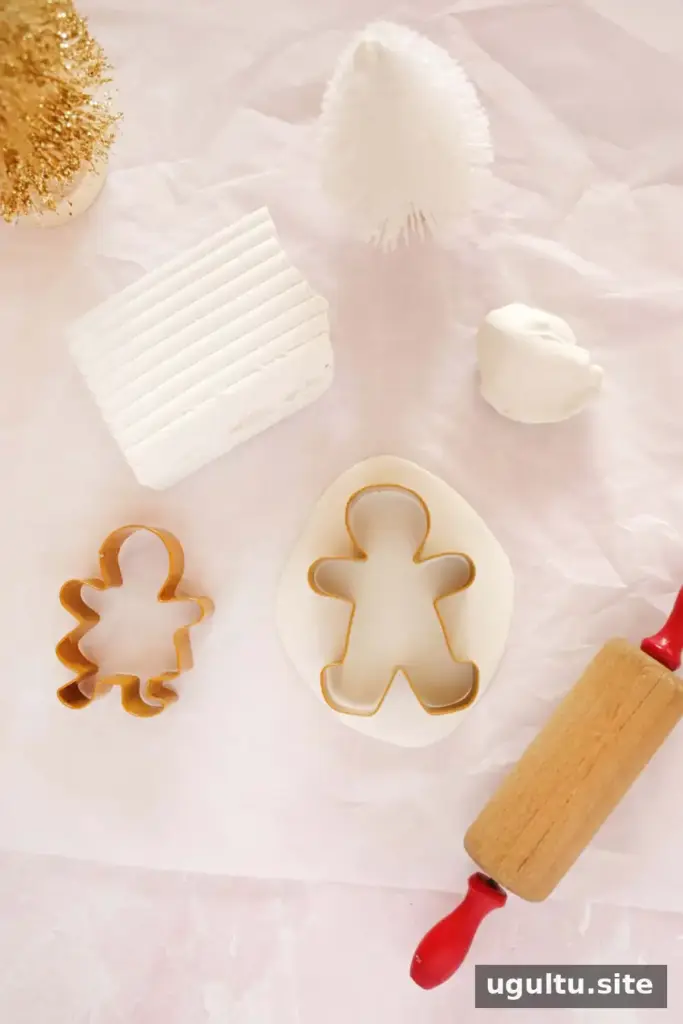
- Roll the clay. Roll it into a thin, even sheet, about 5/8 inch thick, as specified in this project.
- Cut out shapes. Use cookie cutters to make ornaments in different sizes. Any suitable cutter shape can work; press evenly for neater edges.
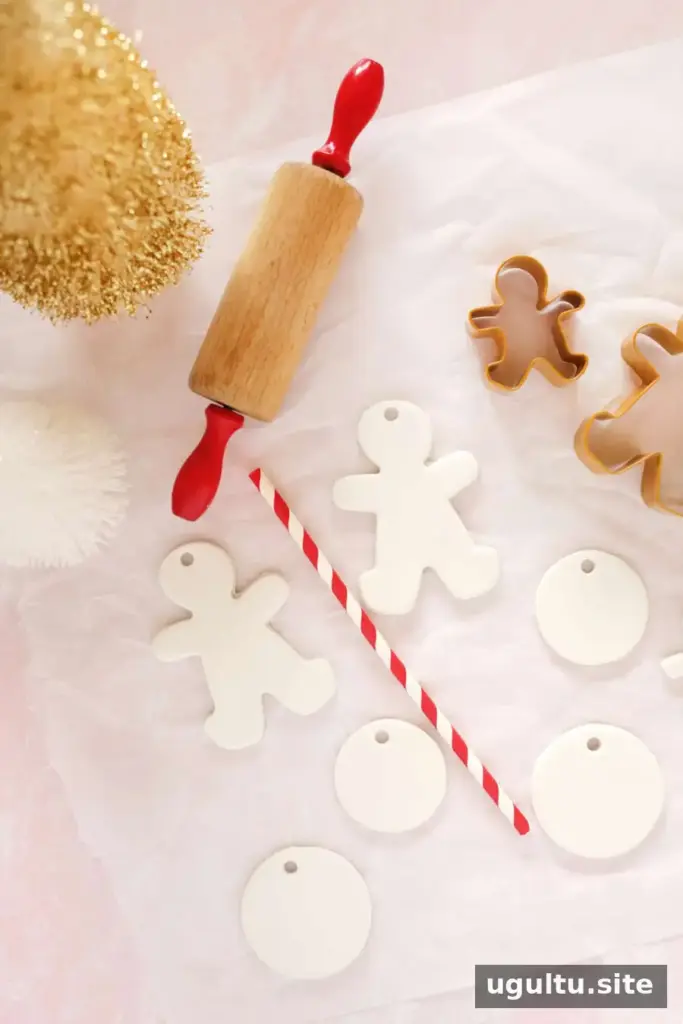
- Add a hanging hole. Before baking, use a straw to make a hole near the top of each shape. Leave enough clay around the hole so it can hold a string after curing.
- Bake as directed. Place the pieces on a glass sheet or dish only if that is suitable for your clay, and follow the package instructions. For the original clay formula referenced in this project, the stated example is 275°F for 15 minutes per 1/4 inch of thickness. Baking directions vary by product, so the package takes priority.
- Cool and decorate. Let the ornaments cool completely before painting or adding other decorations. Once the finish is dry, thread baker’s twine, ribbon, or yarn through each hole.
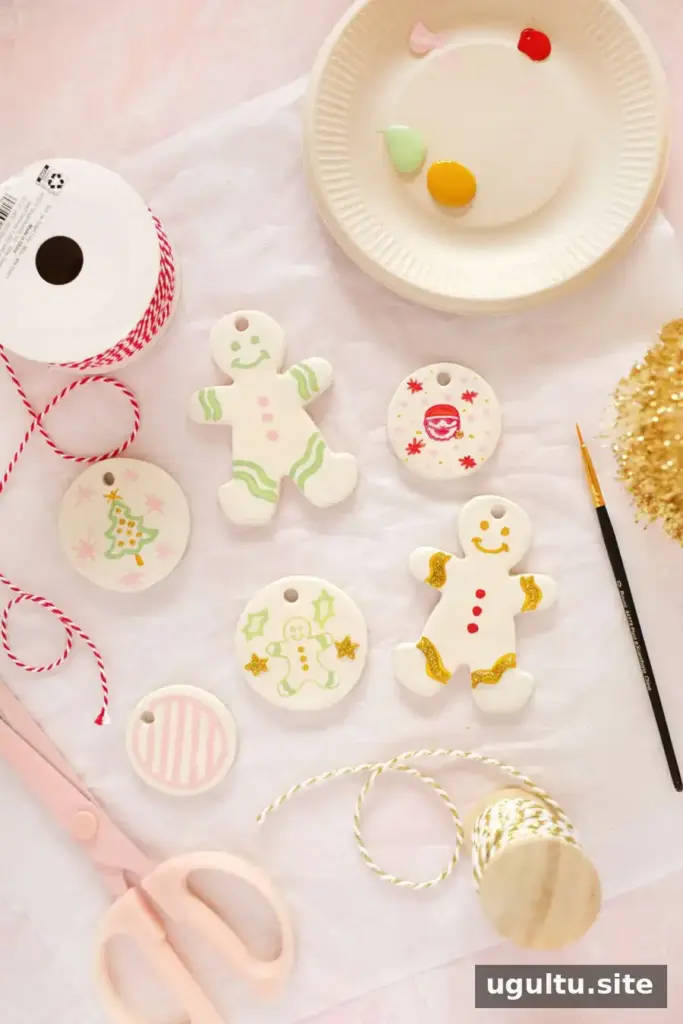
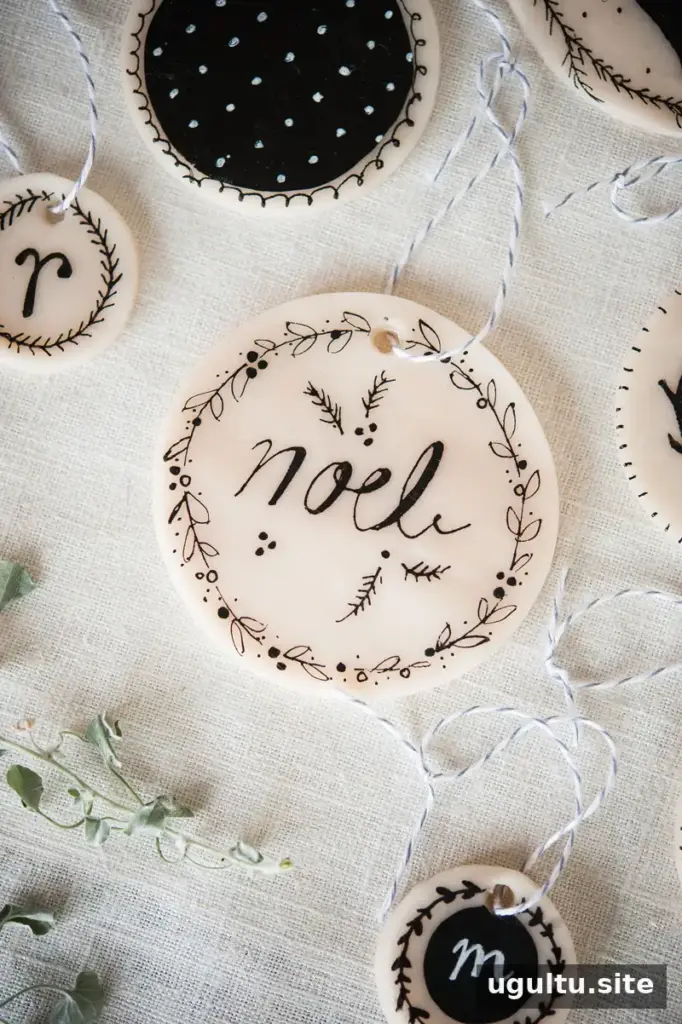
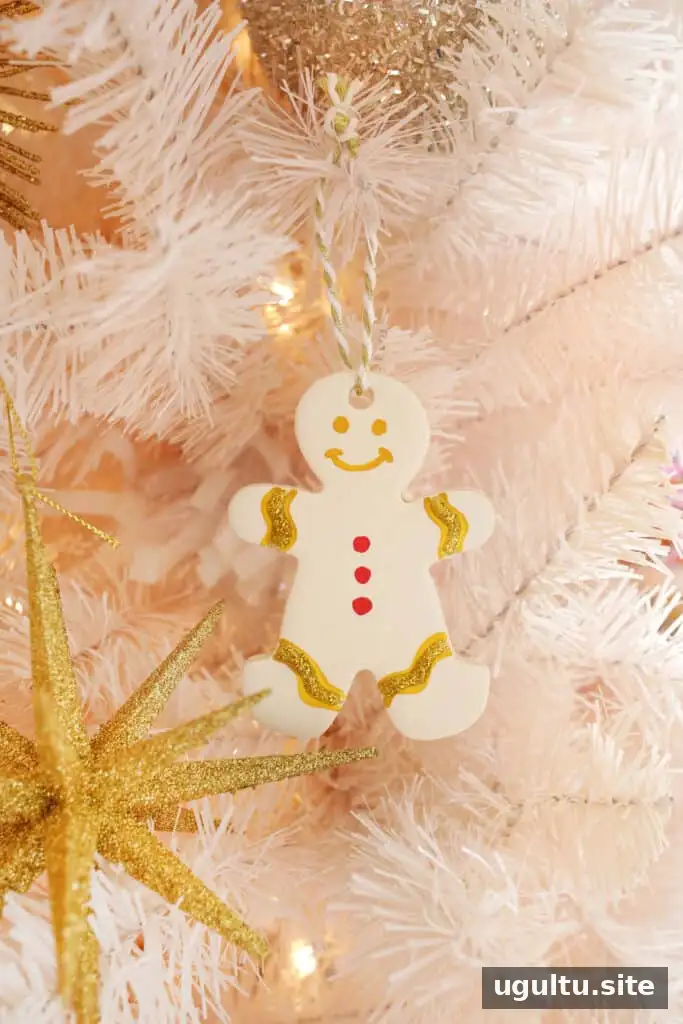
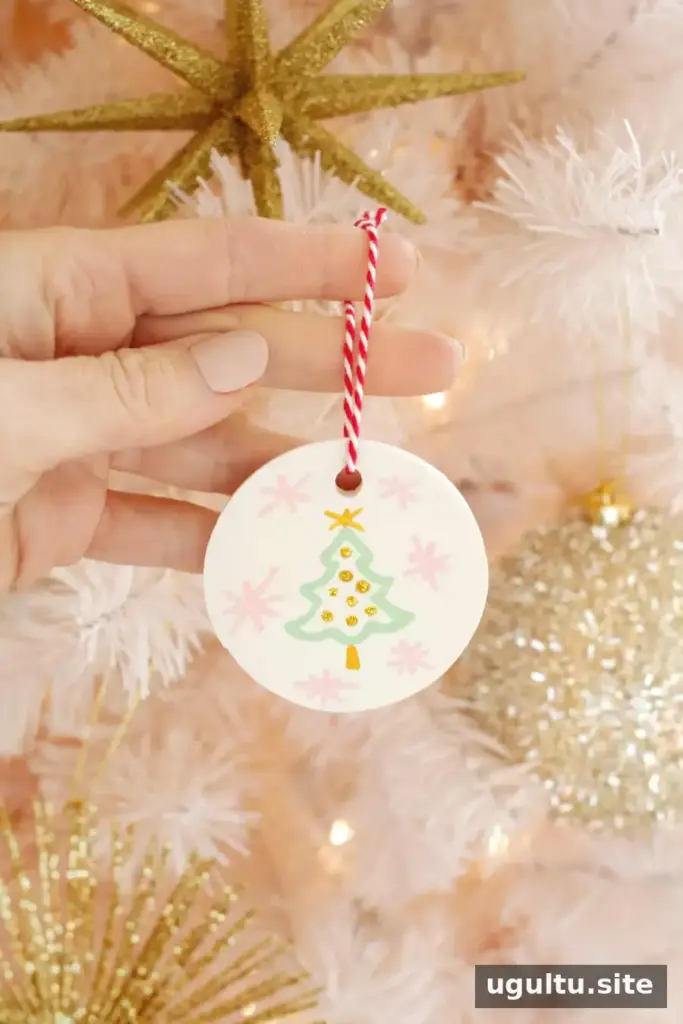
Paint, stamps, and glitter puff paint are some ways to add color and texture. You can also try a simple black-and-white look with paint and paint pens, as in Kelli’s design. Test your decorating materials on a spare piece if you are unsure how they will look on the cured clay.
Ways to use your finished clay ornaments
Small pieces can work as personalized gift tags, while larger shapes can be hung on a Christmas tree. If using an ornament as a gift tag, make sure the hole and string are sturdy enough to stay attached during handling. Keep finished pieces away from food and use them only as decorations.
Project details
- Estimated cost: $5
- Yield: 10 ornaments
- Prep time: 10 minutes
- Bake time: 20 minutes listed in the project estimate; use the clay package’s directions to determine the actual time.
- Total time: 50 minutes listed in the project estimate.
The smaller and larger shapes can serve different purposes, so consider cutting a mix of sizes from the same sheet. For best results, keep the clay thickness as even as possible and make each hanging hole before baking.
These clay ornaments are an adaptable handmade decoration for the holidays, whether you use them on a tree or as gift tags. Follow the package directions, let each piece cool before decorating, and finish with a string or ribbon that fits the hole. Have fun making your own creations! —Laura