admin
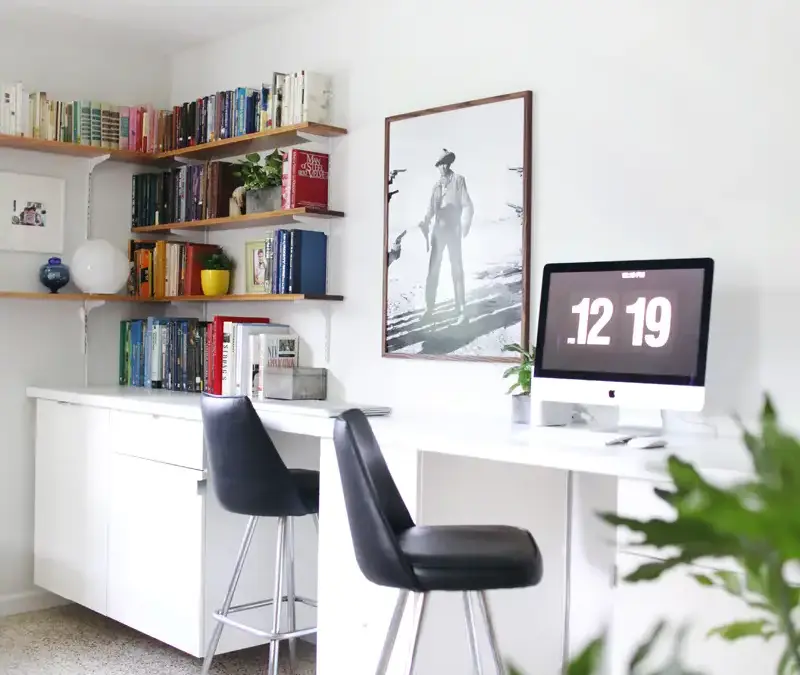
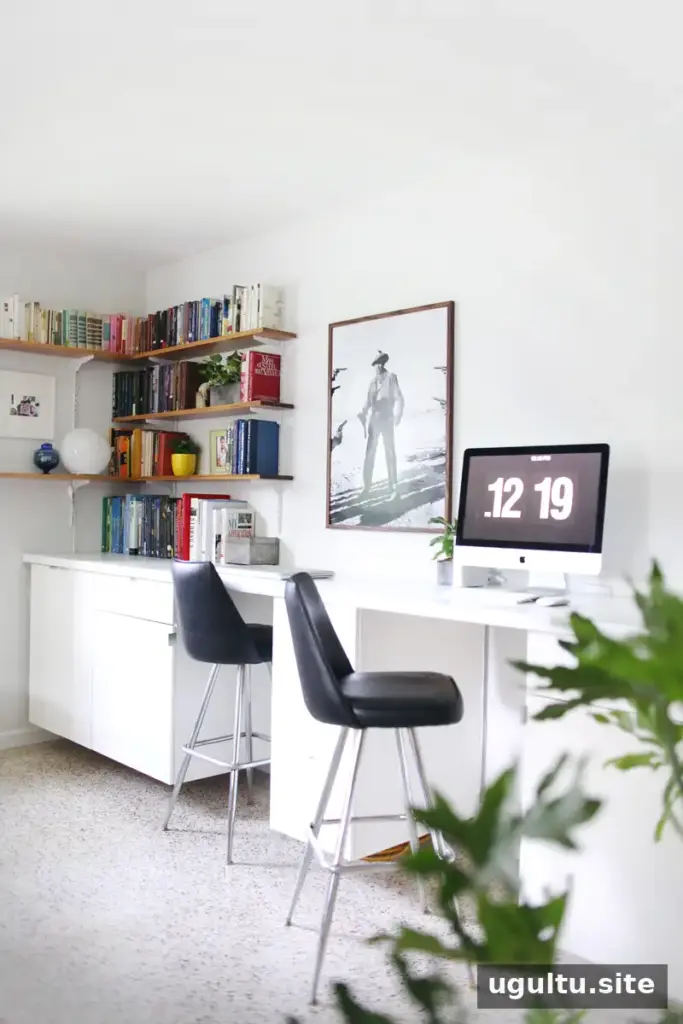
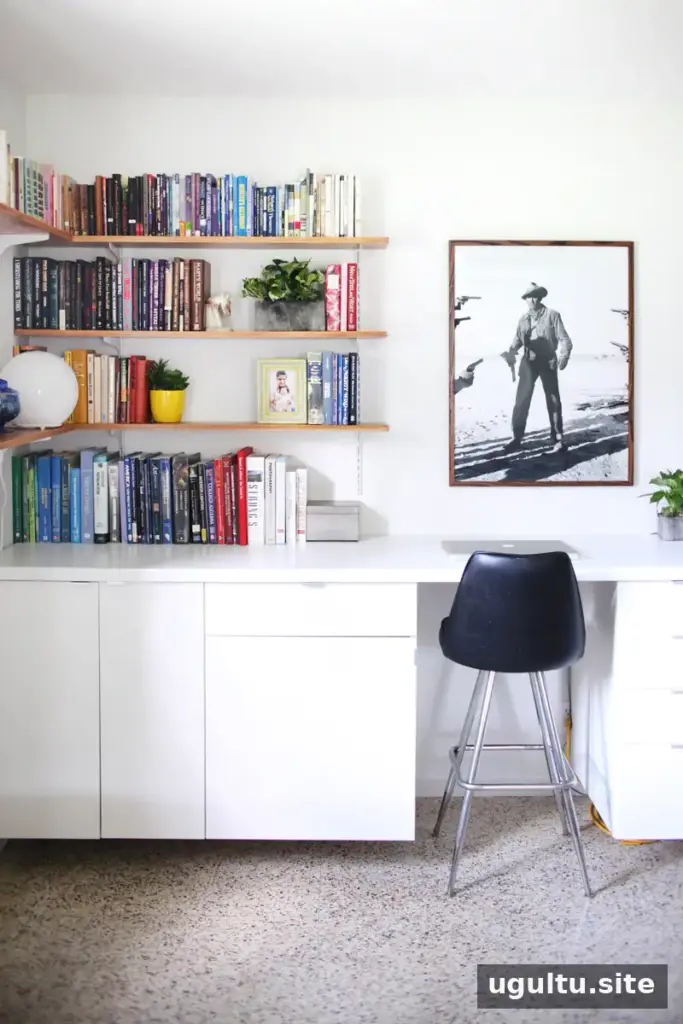
A custom built-in desk can create a practical home office without taking over a separate room. By pairing cabinets with a made-to-measure desktop, you can add a long shared work surface and storage while keeping supplies easy to put away. This project uses assembled cabinets and a painted plywood top, making it adaptable to a living room or another suitable space.
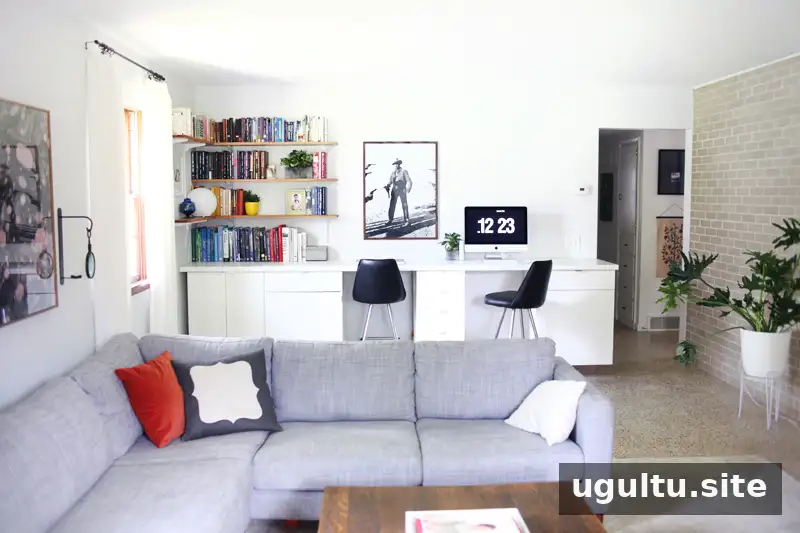
Plan a custom built-in desk for your room
Start by deciding how many people will use the desk and how much legroom each person needs. In this project, the planned width for each seating area was about 24 inches. A narrow drawer cabinet was placed between the two workspaces, while the remaining cabinets filled the wall.
Cabinet storage can help keep office materials out of sight, which is especially useful when a workspace shares a room with family activities. Measure the wall and check the cabinet layout before buying materials. Also identify wall studs and select suitable fasteners for securely attaching the cabinets or supporting strips.
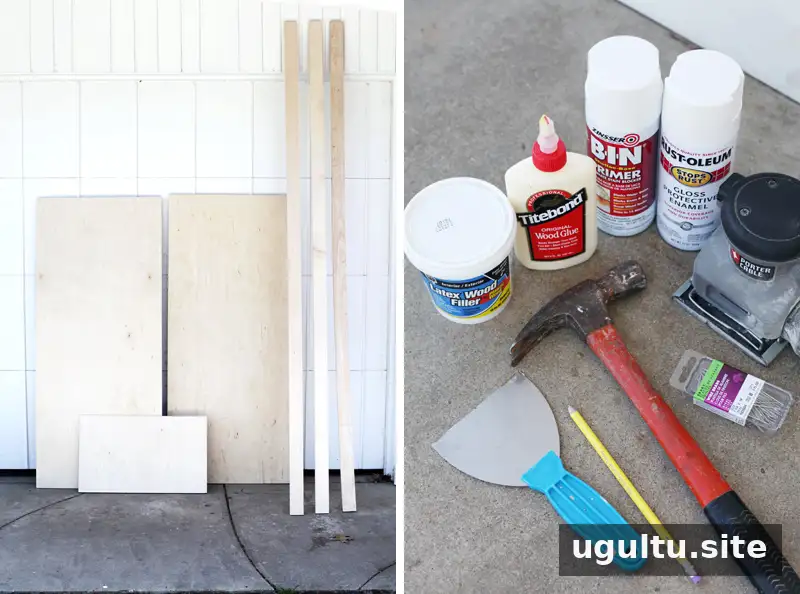
Materials and tools
Materials:
- 26-inch-wide pieces of 1-inch-thick plywood, with a combined length matching the desired desktop
- 1×3 lumber for the desktop border and the seams between plywood pieces
- Latex wood filler
- Wood glue
- 1.5-inch nail brads for softwood, or screws for hardwood
- Primer and enamel paint
- Sandpaper, including 180- and 320-grit
Tools:
- Power sander
- Hammer for softwood, or power drill for hardwood
- Spackling spatula
- Pencil and tape measure if cutting lumber yourself
- Respirator mask
- Sawhorses and wood clamps (optional)
Build and finish the desktop
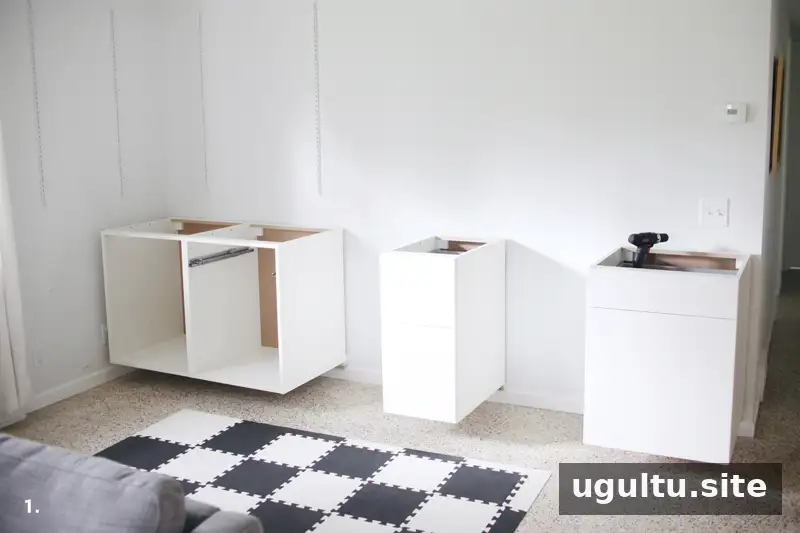
1. Assemble and measure the cabinets
Choose cabinet widths based on the planned seating areas and storage needs. Assemble the cabinets according to their instructions, then attach them securely to the wall using appropriate supports and fasteners. Measure from the wall to the outside edge of the end cabinet to determine the desktop length, adding 1 inch for an overhang at that edge. Confirm the measurements before ordering or cutting the plywood.
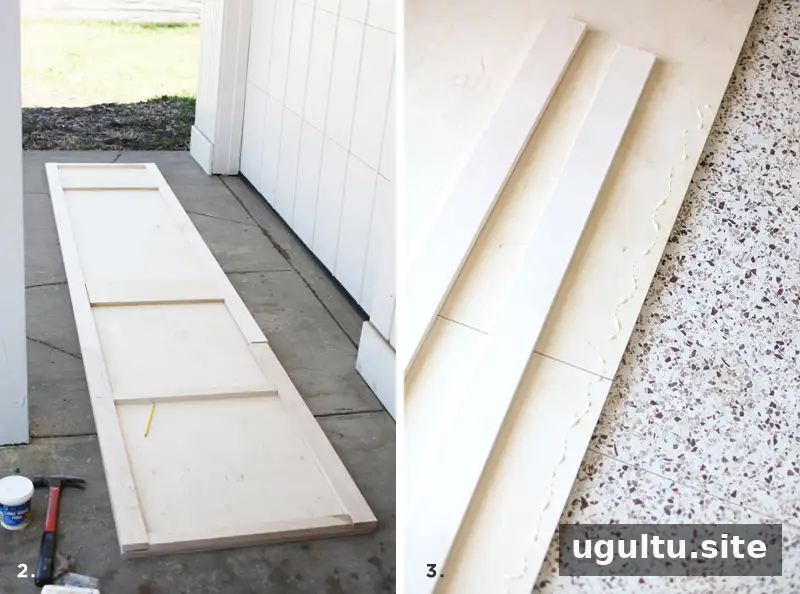
2. Plan and arrange the plywood pieces
Write down the finished desktop dimensions, along with the size of each plywood section and 1×3 border piece. Plywood is sold in different lengths and formats, so ask the lumber supplier about available sizes and cutting services. Using suitable offcuts may help reduce material waste.
Arrange the plywood sections on a flat surface to check the fit. Position the 1×3 lumber along the perimeter and across the seams on the underside of the desktop. Add support pieces where needed to keep the sections aligned.
3. Glue and secure the supports
Once the layout is correct, apply wood glue to attach the 1×3 pieces to the plywood. Clamps and sawhorses can help hold the parts in position; alternatively, place the assembly on a flat surface and use suitable weights. Fasten the supports while the glue dries: countersunk screws are an option for hardwood, while wire brads can hold softwood pieces in place. Follow the glue manufacturer’s instructions for drying time before moving the desktop.
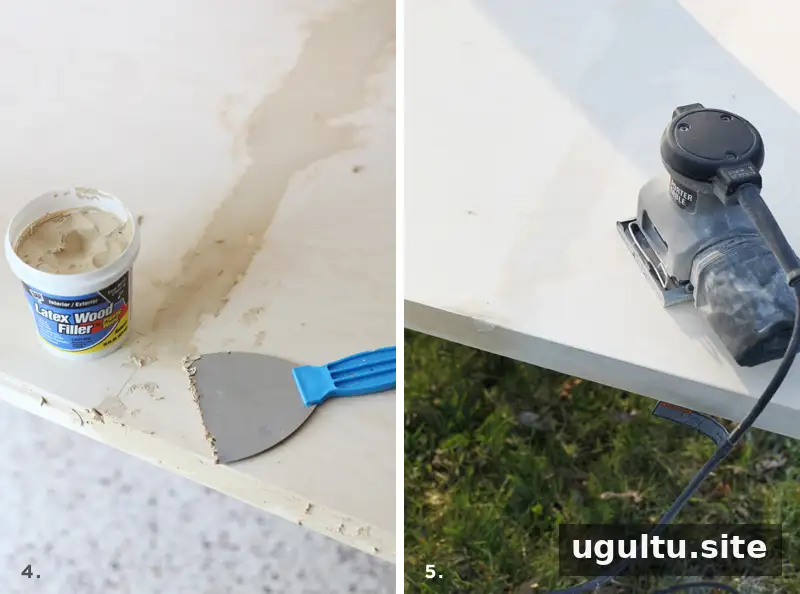
4. Fill seams and sand smooth
After the glue has cured, turn the desktop over so the supports are underneath. Press wood filler into the seams and any small gaps along the top and edges, then smooth away excess filler. Once it has dried, sand the surface with 180-grit sandpaper using a power sander. Refill and sand any remaining dips or rough areas until the top feels even.
5. Prime, paint, and allow the finish to cure
Apply primer to the prepared desktop. Two coats were used for this project, followed by a light sanding with 320-grit paper to remove bumps and create a smooth base. That extra sanding is optional. Apply enamel paint with a brush, roller, spray cans, or a spray gun; each application method may leave a slightly different surface texture. Work in a suitable, well-ventilated area and follow product safety directions.
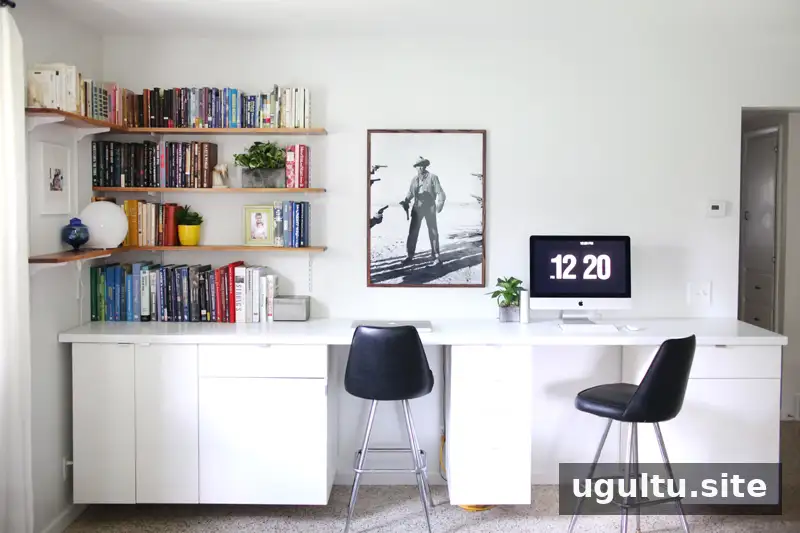
Wait at least 48 hours after painting before placing items on the desktop. The finish may need time to harden, and setting equipment down too soon could damage the paint. For a different surface treatment, laminate is another option. Iron-on wood veneer can also be added to the edge if a wood accent suits the room.
Enjoy your custom built-in desk
A well-measured custom built-in desk can combine shared workspace and concealed storage in one area. Before regular use, check that the cabinets are secure, the desktop sits evenly, and the paint has fully dried. Keeping frequently used items in nearby drawers and returning supplies after work can help the workspace stay organized.
—Mandi