
 admin
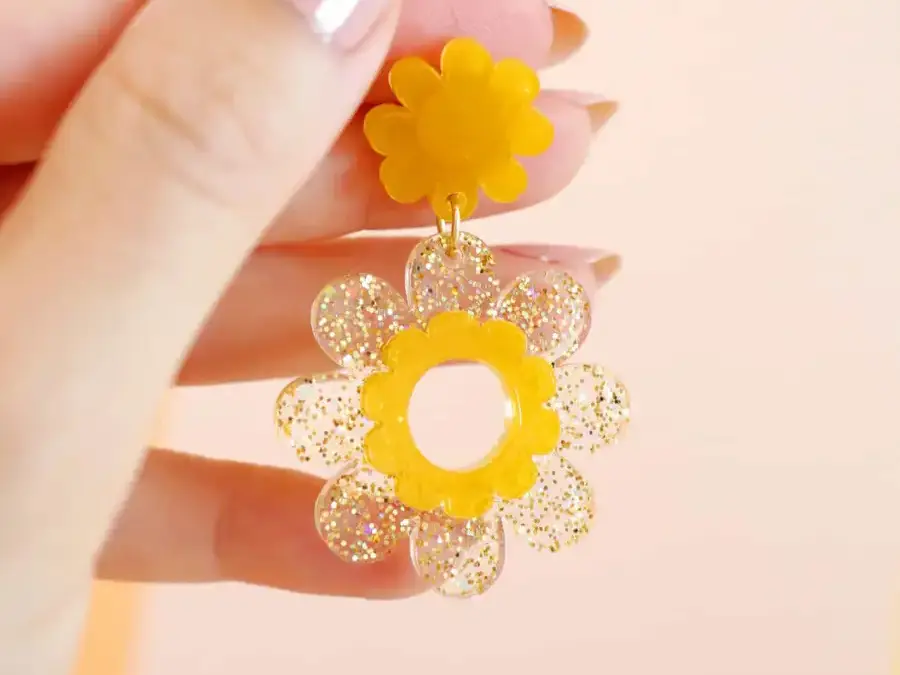
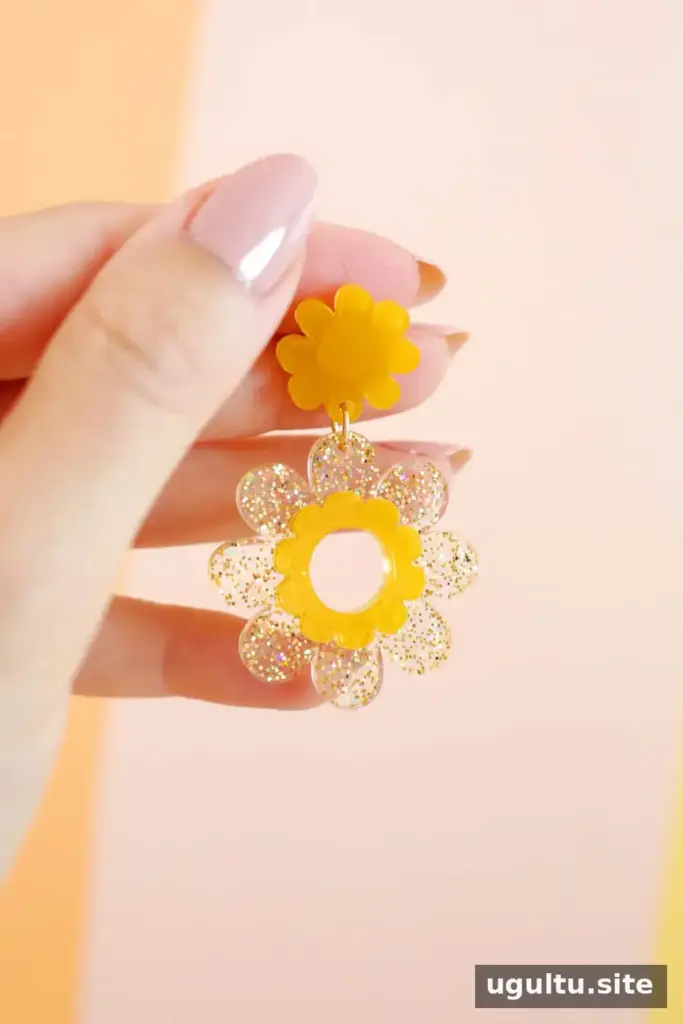
DIY daisy earrings are a fun way to make wearable art in colors that suit your style. This resin project creates a pair of layered flower earrings using a daisy mold, acrylic paint, and glitter. Plan for about a day of drying time, and follow the instructions on your resin kit for mixing and curing.
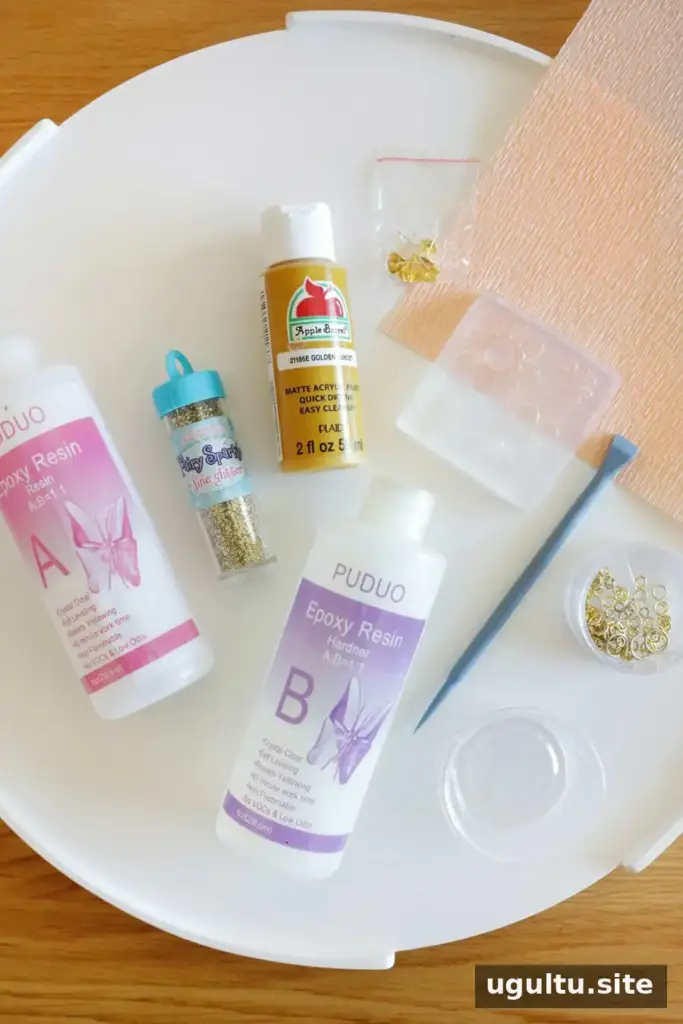
Supplies for DIY Daisy Earrings
- Epoxy resin kit, including plastic gloves
- Daisy earring mold
- Small disposable cups for mixing
- Wooden or plastic mixing sticks
- Acrylic paint in your chosen color
- Loose glitter
- Two 6 mm jump rings
- Earring stud posts and backs
- Super glue
- Small needle-nose pliers
- Paper towel for drips
- Disposable pipette or eye dropper (optional)
Before starting, protect your work surface and work in a well-ventilated area. Wear the gloves provided or recommended for your resin, avoid skin contact, and follow the kit’s safety and curing directions. Keep resin and finished pieces away from children and pets while they are being mixed or cured.
How to Make DIY Daisy Earrings
1. Mix and tint the first resin batch
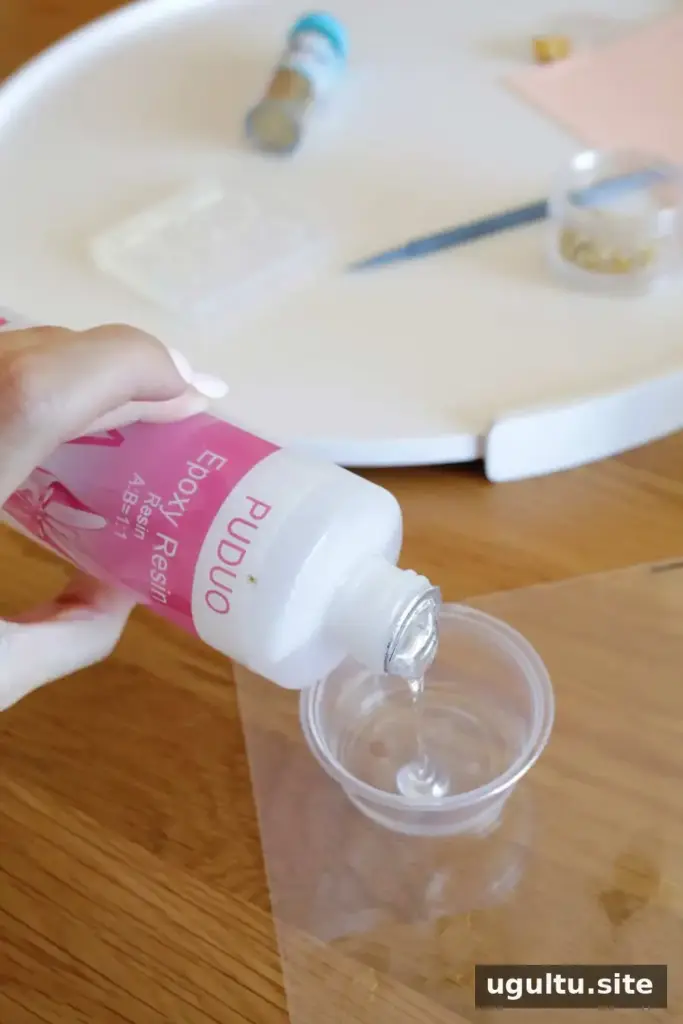
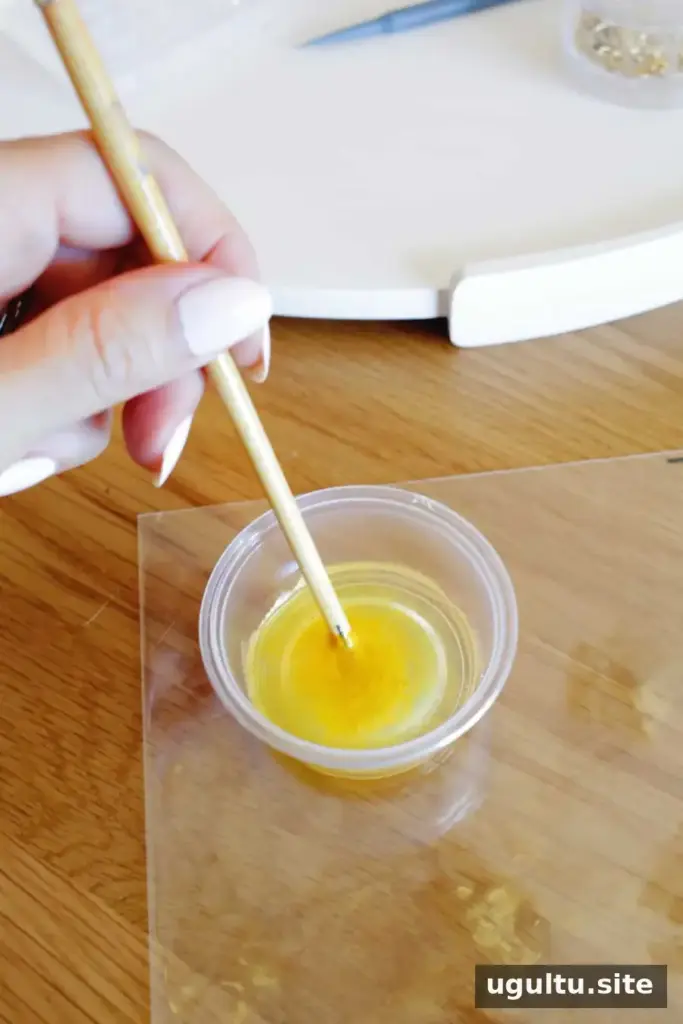
Pour about 3 teaspoons of Part A and 3 teaspoons of Part B into a small cup. The amounts should follow the ratio specified by your resin kit; measure carefully if its instructions require precise quantities. Stir with a wooden or plastic stick, then add acrylic paint a little at a time until you reach your preferred shade.
2. Fill the flower centers
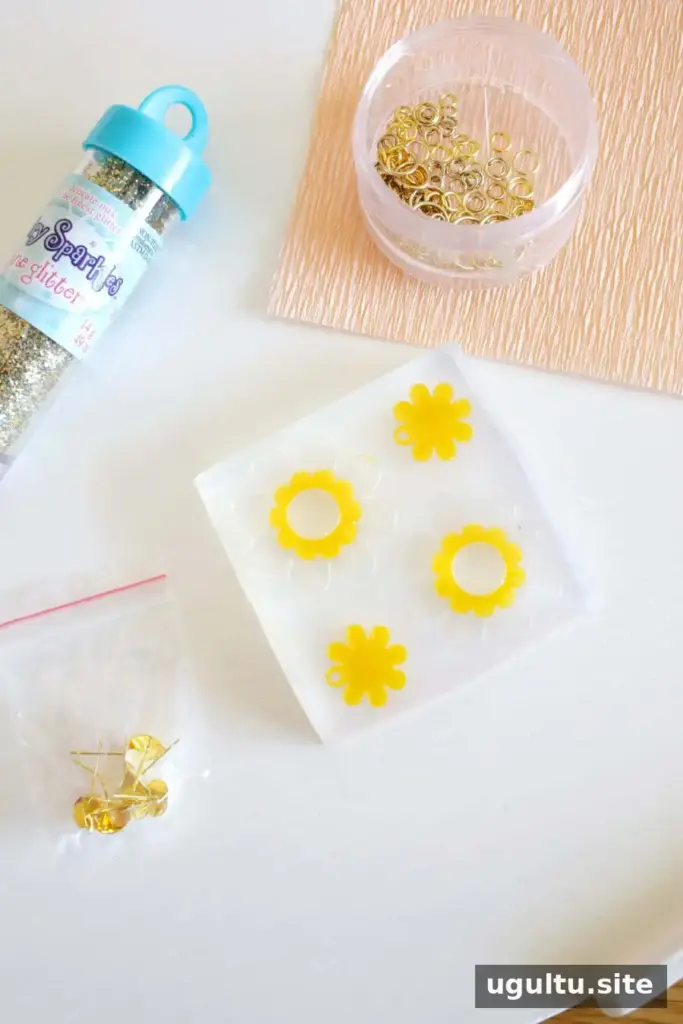
Pour the colored resin into the small flower molds and the lowest section of the larger flower. A flexible cup can be pinched to form a narrow pouring spout. Wipe away drips after each pour, or use a disposable pipette to place resin neatly in small areas and reduce overflow. Leave the pieces to set overnight, or use the curing time specified by your resin kit.
3. Add the glitter layer
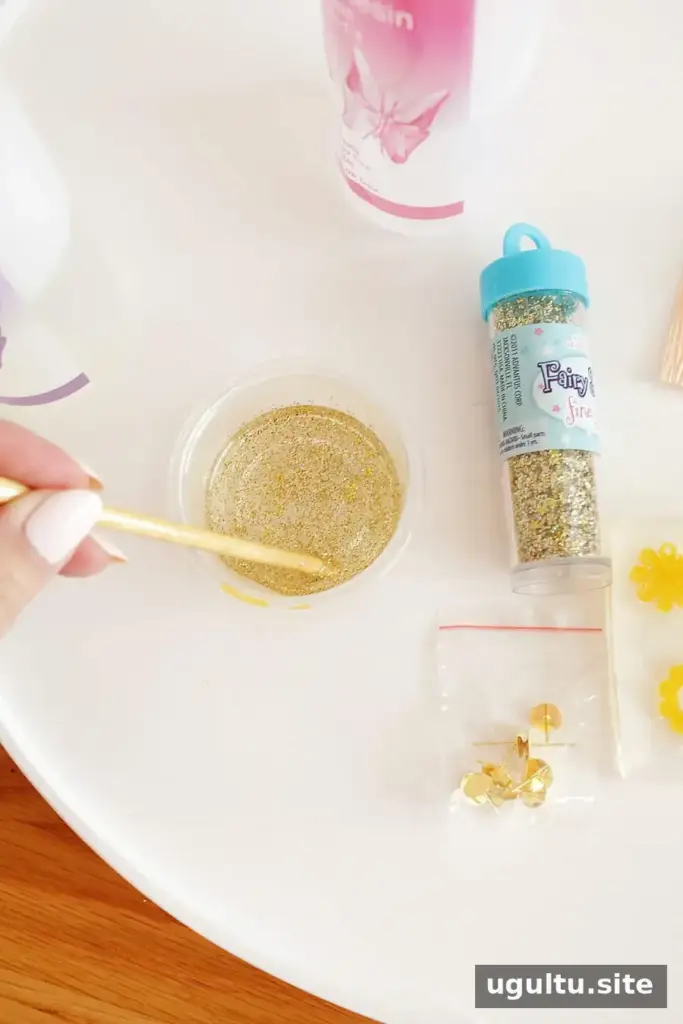
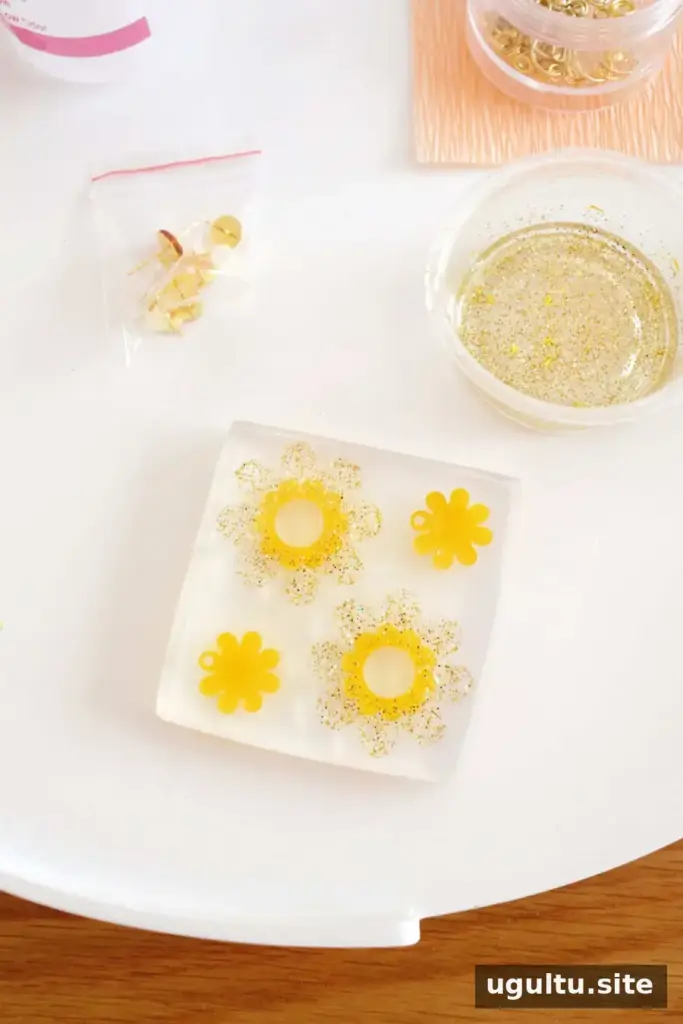
Mix another batch using about 3 teaspoons each of Part A and Part B, following the kit’s mixing directions. Stir in loose glitter, then fill the remaining mold sections. A smaller amount of glitter leaves the resin more translucent; adding more makes the finished section look more opaque.
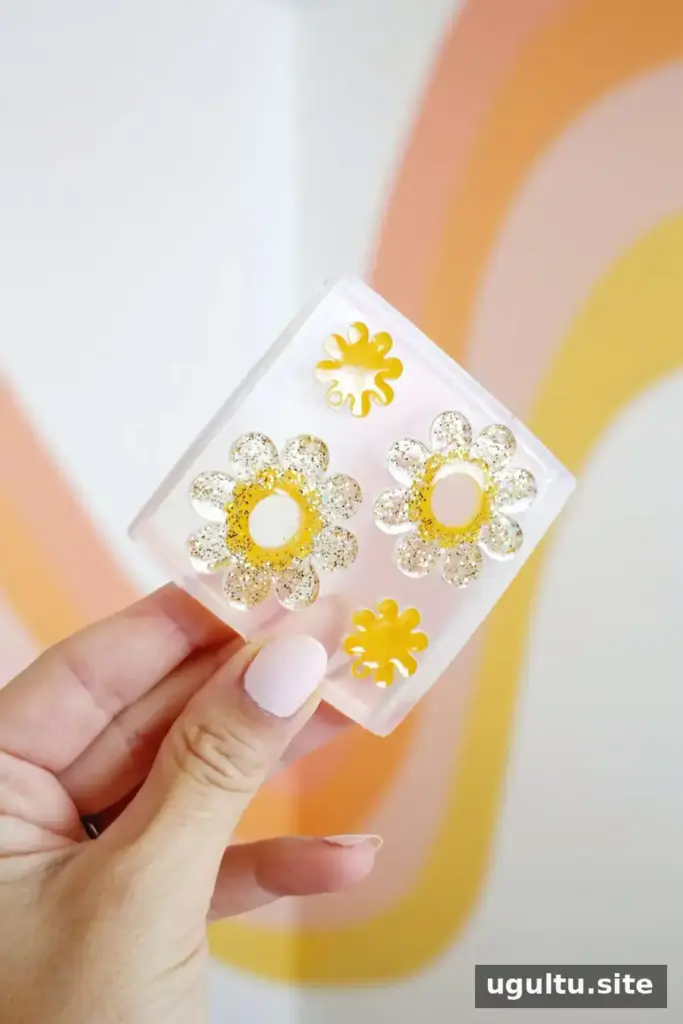
Let the resin cure completely before removing the shapes from the mold. Demolding too early can bend or damage the pieces, so check that they are fully set rather than relying only on appearance.
4. Assemble the earrings
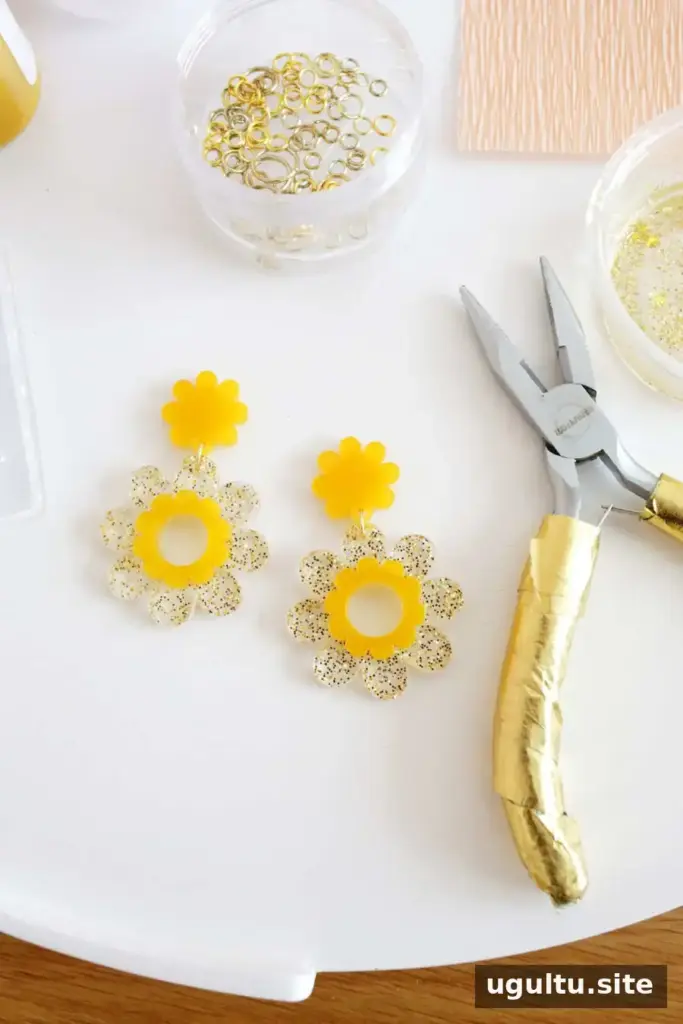
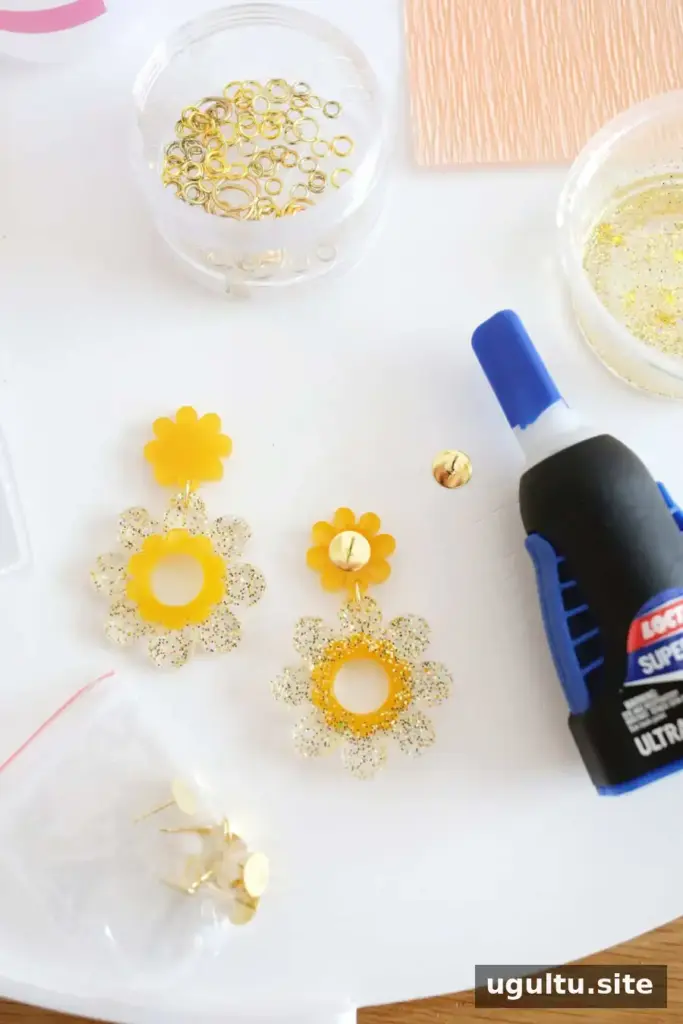
Use small needle-nose pliers to open a jump ring by moving its ends sideways apart, rather than pulling them directly outward. Connect the flower shapes through the molded holes, then close each ring securely. Glue an earring stud post to the back of the smaller flower with super glue and allow the adhesive to set fully before wearing.
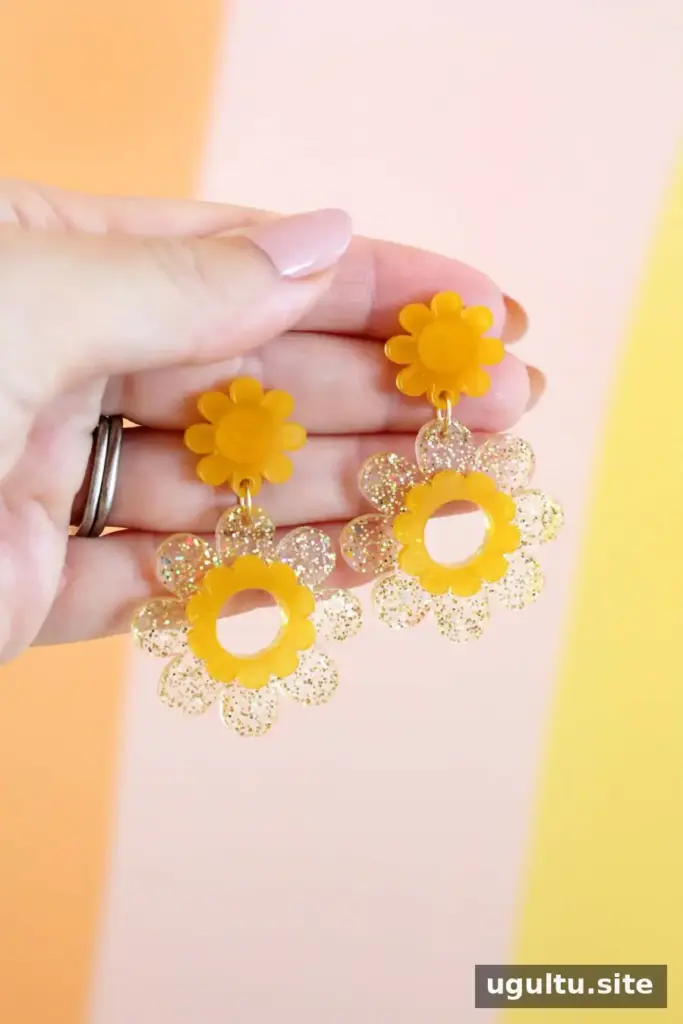
The finished acrylic-style resin earrings are designed to be lightweight while still making a noticeable statement. Change the paint or glitter colors to customize the look, or combine paint and glitter in a layer. Make additional pairs only after checking that you have enough resin and that each batch is mixed according to its product instructions.

Project Details
- Cost: $20 for the first pair and $4 for each pair after
- Yield: 1 pair of earrings
- Prep time: 5 minutes
- Dry time: 1 day
- Listed craft time: 25 minutes
- Total time: 1 day and 30 minutes
Project by Laura.
Make Your Own DIY Daisy Earrings
With a flower mold, resin, and a few basic jewelry findings, DIY daisy earrings can be customized for everyday wear or handmade gifts. Allow the full curing time, secure the jump rings and posts, and make sure the glue has completely set before wearing the finished pair.


