
 admin
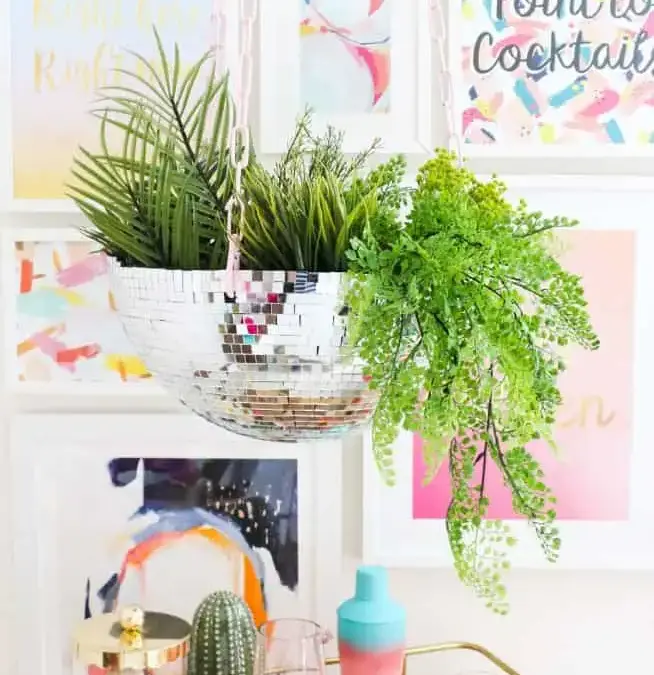
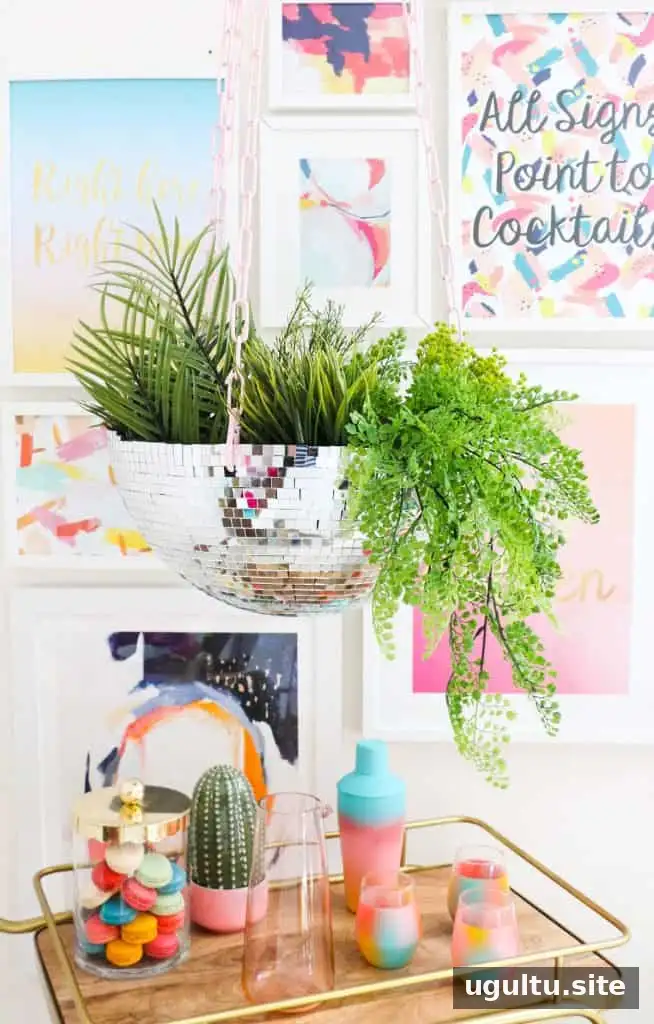
A disco ball hanging planter combines reflective party decor with greenery for a playful accent in a bright room or by a window. This afternoon DIY turns a 16-inch disco ball into a suspended planter using a few power tools and three attachment points. Plan the hanging location and check that the ceiling can safely support the finished planter before you begin.
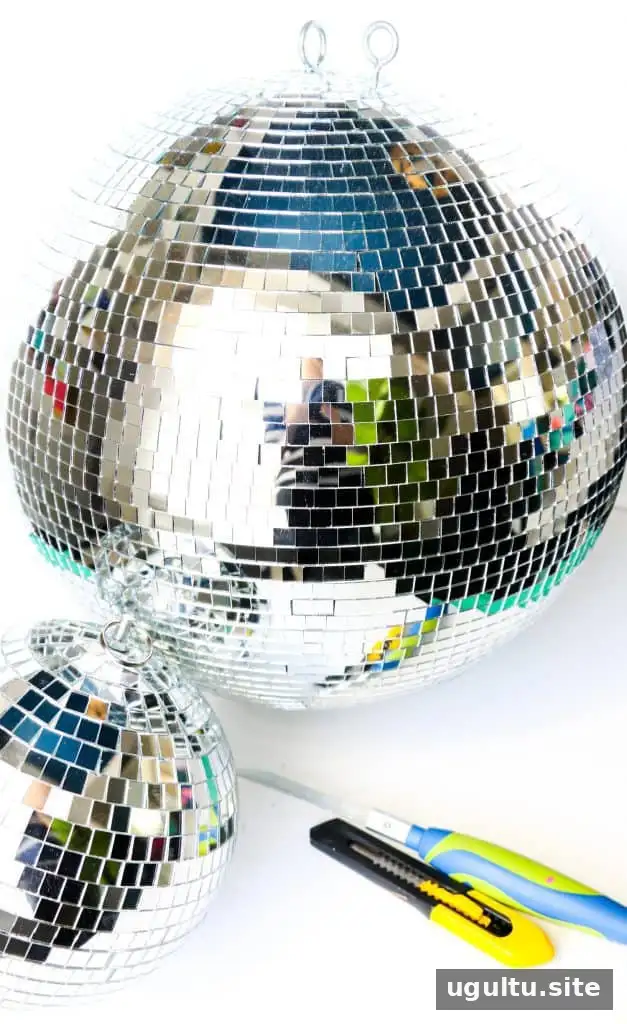
Supplies for a Disco Ball Hanging Planter
Gather the materials and tools before starting. To work out the chain length, measure from the ceiling to the intended hanging height and multiply that distance by three.
- 16-inch disco ball
- Utility knife
- Jigsaw
- Drill with a 1/2-inch bit
- Metal chain, cut or sized to three times the ceiling-to-planter distance
- Three small carabiners
- Heavy load-bearing screw-in hook for the ceiling
- Pink spray paint for the chain and carabiners, optional
Wear eye protection when cutting or drilling, and secure the disco ball so it cannot roll while you work. Check the hook and ceiling mounting point against the planter’s expected weight, including the plant and damp soil.
How to Make the Planter
1. Clear the center of the disco ball
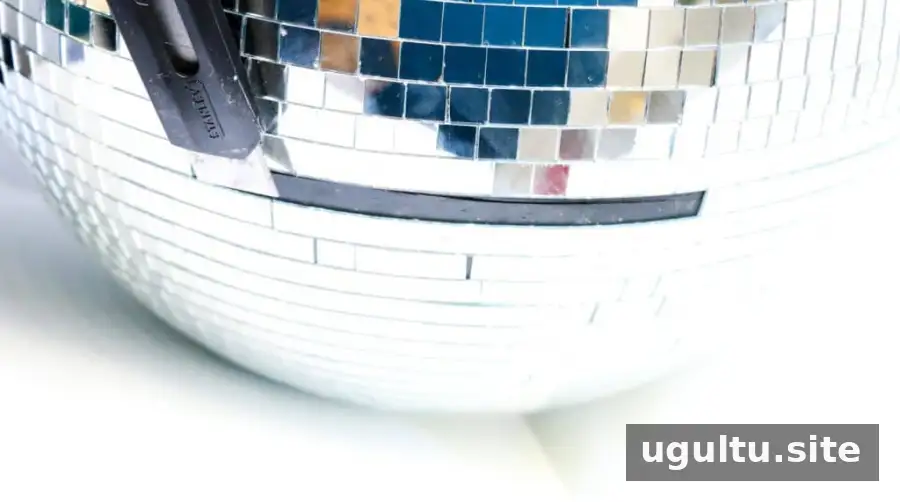
Use a utility knife to lift and remove the mirror tiles around the ball’s center seam. Slide the blade carefully beneath each tile and work slowly to reduce the chance of slipping or damaging the ball.
2. Cut the ball in half
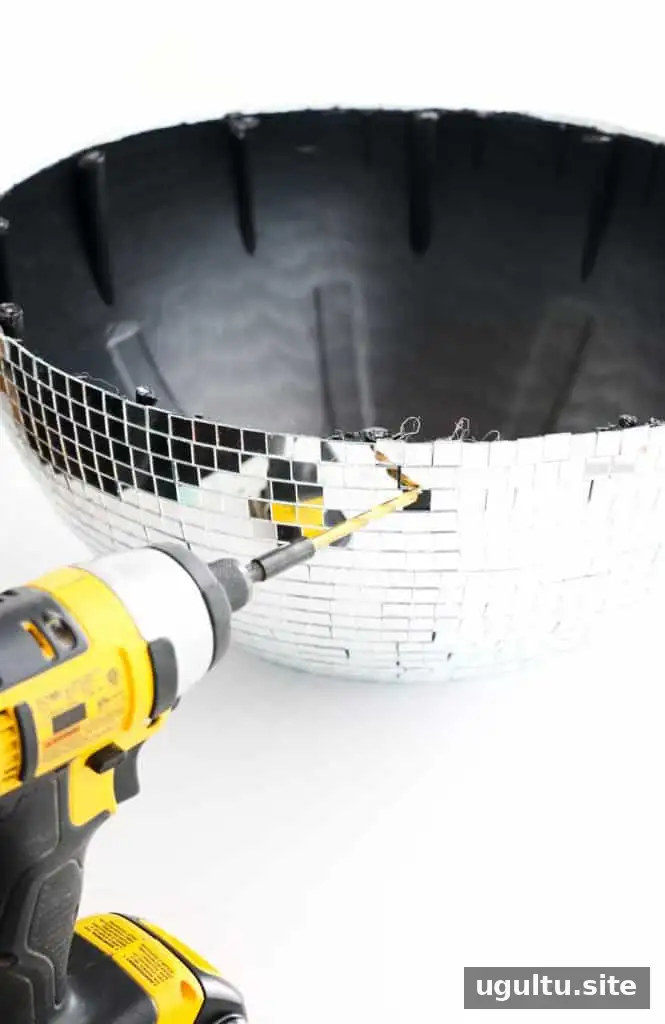
With the center area cleared, cut the disco ball in half using a jigsaw. Pins hold the two halves together, so expect some resistance as the blade reaches them. Keep your hands clear of the cutting path and follow the tool’s safety instructions.
3. Drill the attachment holes
Remove a mirror tile one or two rows below the cut edge. Drill a 1/2-inch hole at that spot, then repeat twice more, spacing all three holes evenly around the ball. Even spacing helps distribute the planter’s weight across the chain.
4. Paint the hardware if desired
For a coordinated finish, spray-paint the chain and carabiners pink. Let the paint dry fully according to its label before assembling the planter.
5. Hang the planter
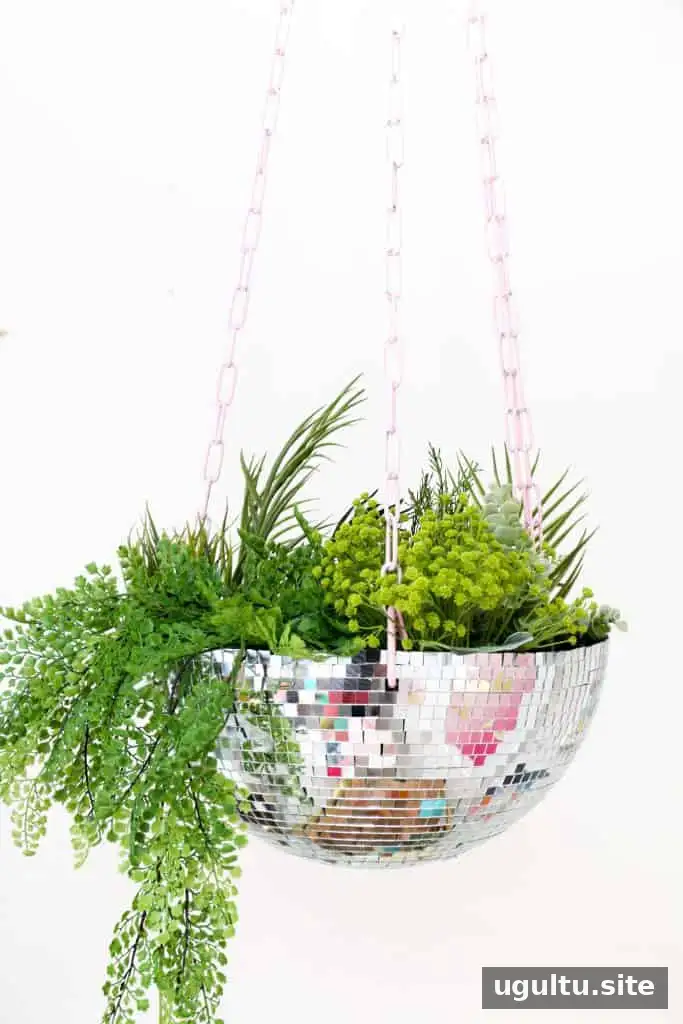
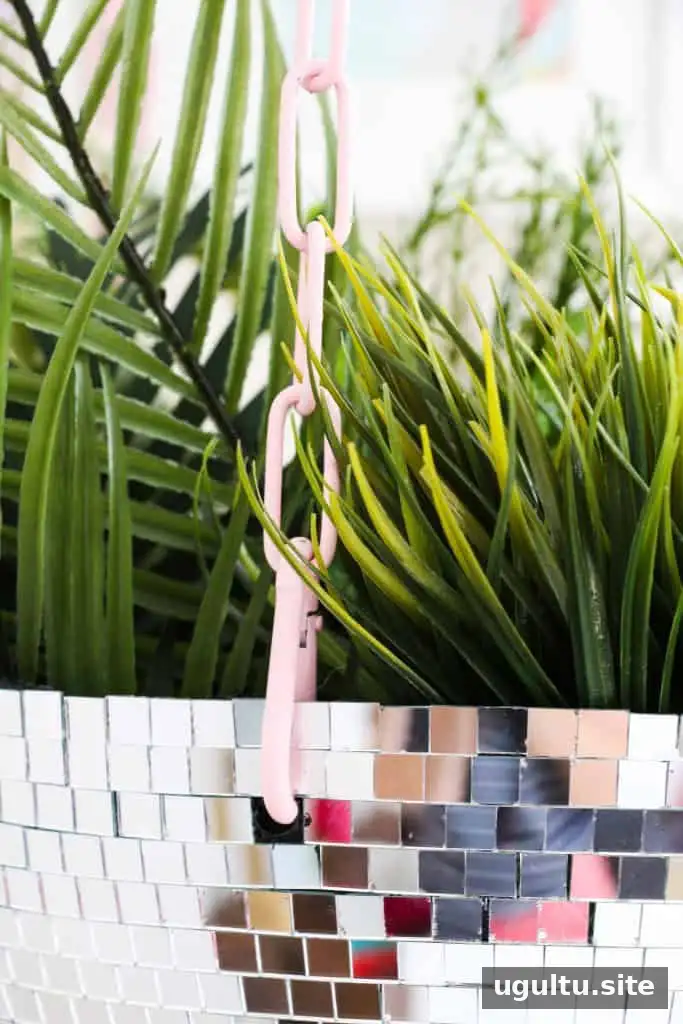
Install the screw-in hook in a suitable ceiling support or with an appropriate rated anchor. Attach a carabiner through each drilled hole. The chain can run continuously: from the ceiling hook down to one carabiner, across to the second, onward to the third, and back up to the ceiling. This arrangement avoids cutting the chain into separate lengths.
6. Add plants and growing material
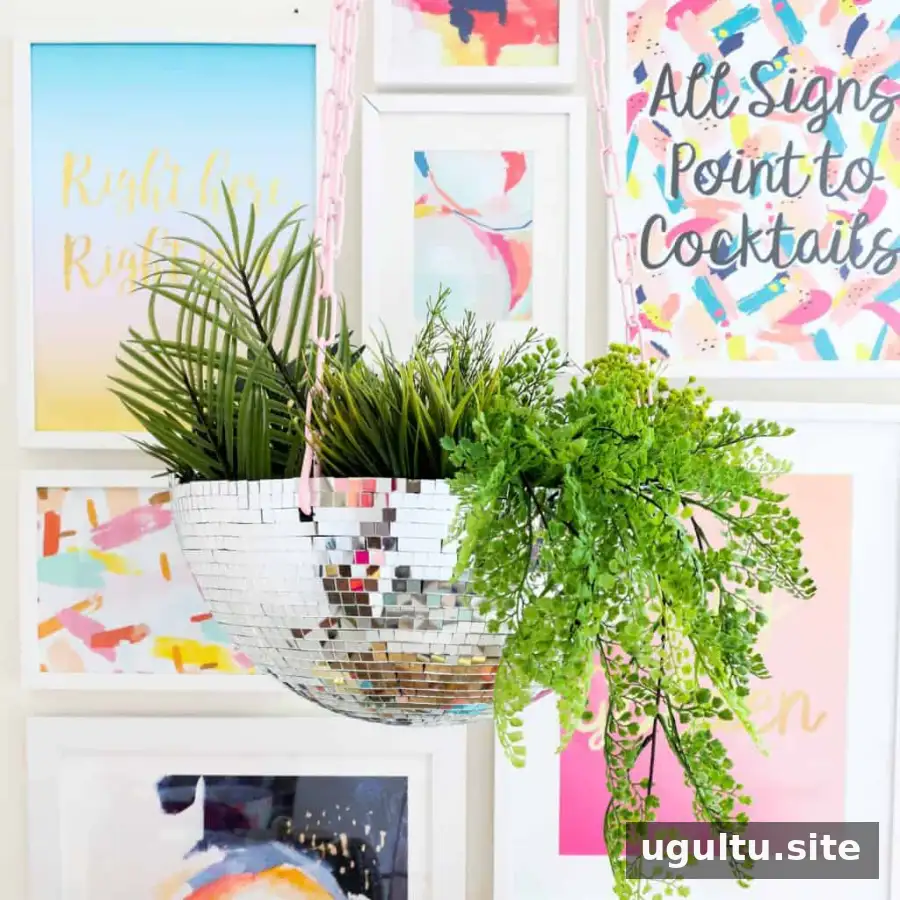
Keep the suspended planter as light as practical. The original method uses cut pieces of foam at the bottom, followed by some soil and plants. Choose compact plants, including spider plants, jade plants or trailing varieties. Water carefully, since excess water and saturated soil add weight; you can also keep plants in lightweight pots that are easy to remove for watering.
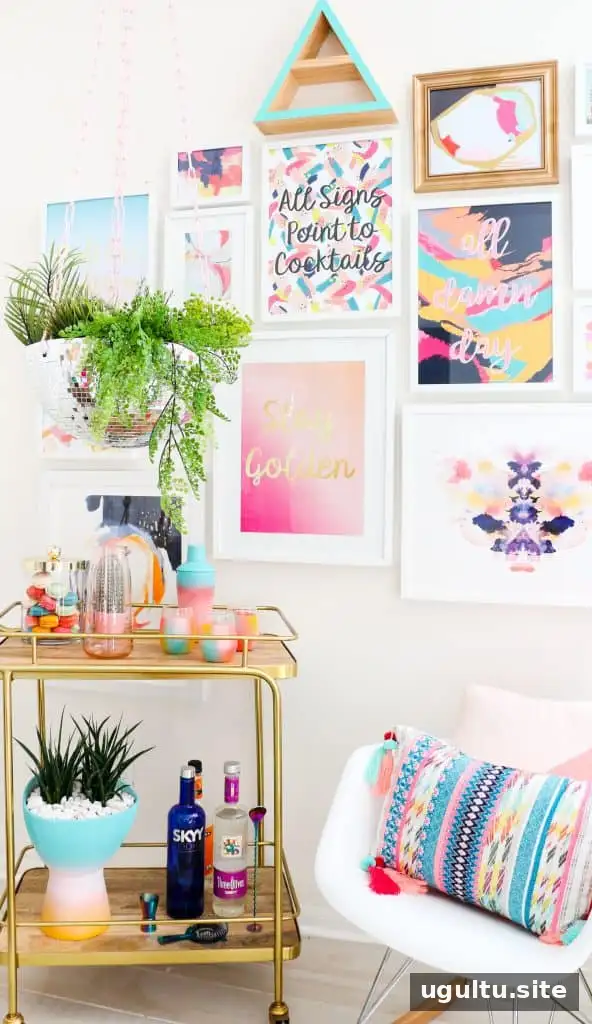
Finishing Tips for Your Disco Ball Hanging Planter
A single disco ball can provide material for two planters. Smaller 8-inch disco balls can also be used to create a group of different-sized planters. Before hanging any version, check that the carabiners are fully closed, the chain is securely attached, and the ceiling hook is stable. Recheck the setup occasionally, especially after watering or moving the plants.
This DIY disco ball hanging planter adds reflective detail while making room for greenery. With careful mounting, evenly spaced supports and lightweight plants, it can bring a lively focal point to a window or indoor corner.
Project by Kara.


